









In this article
You labeled every jar on a Sunday, and by Friday one label was already curling at the edge like it had somewhere better to be. The instinct is to blame the label and go buy a nicer set. That’s almost never the problem.
A spice label has a real job description, which is surviving airborne oil, steam, and daily handling in the hottest, greasiest corner of your house, and only two things decide whether it can do that job: the material it’s made of and the ten seconds of prep before it goes on. Here’s which label sets actually hold up, how to match one to the jars you already own, and where you can skip the purchase entirely.
| Label Set | Best For | Removable? |
|---|---|---|
| Talented Kitchen Round Spice Jar Labels | Jars stored lid-up in a drawer | Removable |
| AllSpice Ultimate Spice Label Set 525-Piece | Jars stored beside the cooktop | Long-term hold |
| Chalkboard Vinyl Labels, 192-Pack | Collections that change often | Removable and rewritable |
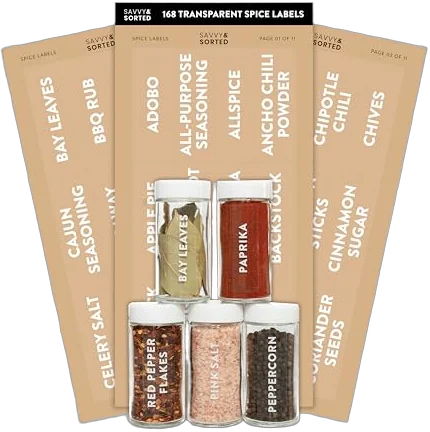
| SAVVY and SORTED Clear Spice Labels | Glass jars and a minimal look | Meant to stay put |
Why Spice Jar Labels Peel, and the Ten Seconds That Prevent It
Ask anyone who has relabeled a spice drawer twice in one year and you’ll get the same two complaints, almost word for word: peeling within a week, and bubbling at the edges. Those aren’t two versions of “cheap product.” They’re two separate mechanical failures with two separate fixes, and neither fix costs money.
The oil film nobody wipes off
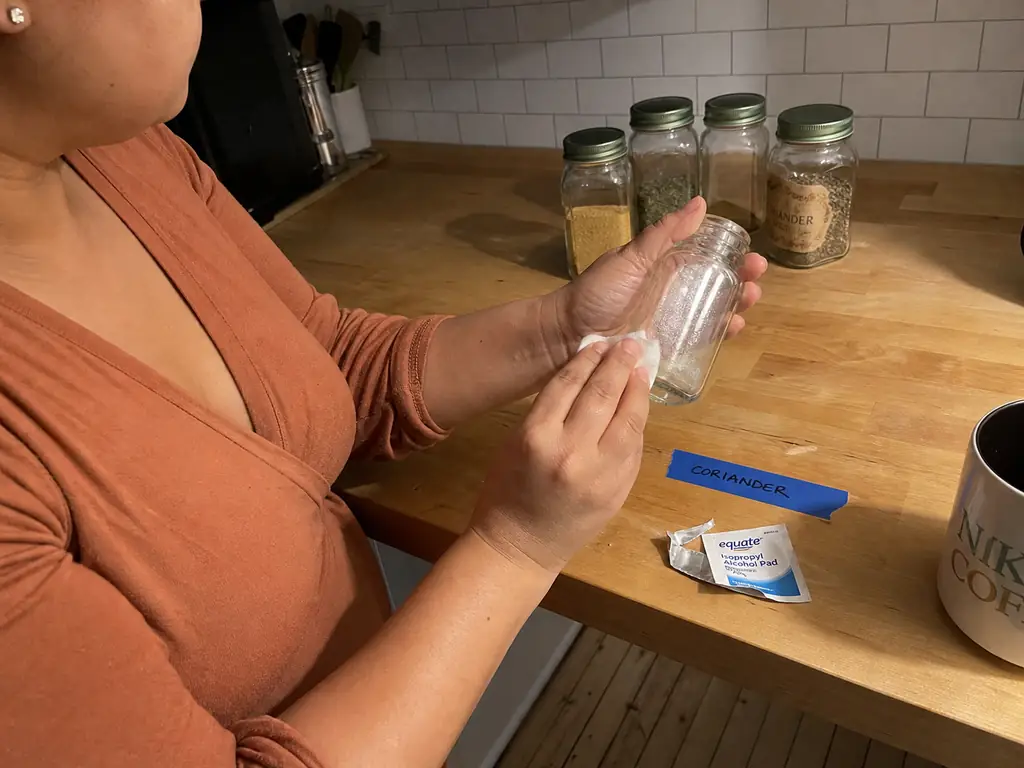
Your spice jars carry an invisible layer of cooking oil. It doesn’t matter how clean the kitchen is. Oil goes airborne every time something hits a hot pan, it settles on every surface within a few feet, and it lands on the glass you’re about to stick an adhesive to.
Label manufacturers name that residue as the top cause of early edge-lifting, which is why their own application guidance starts with wiping the surface down with isopropyl alcohol. Plain rubbing alcohol from the drugstore is the same thing. Ten seconds per jar. That single step does more for label longevity than any upgrade you can buy.
Flat labels on round jars trap air
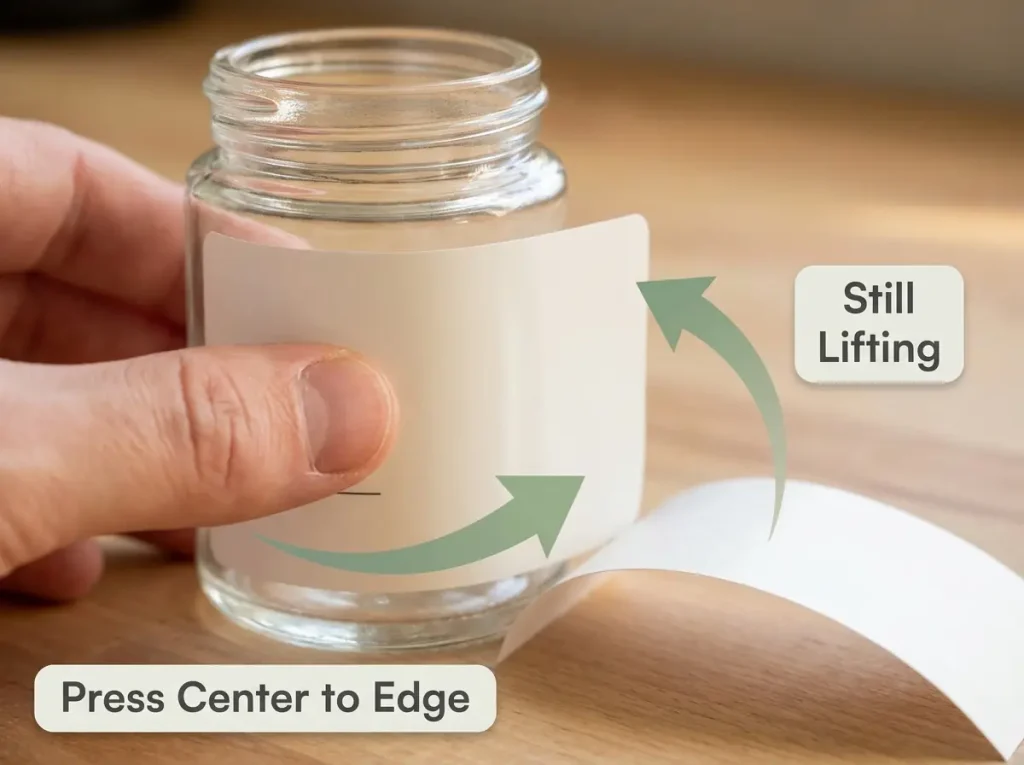
The second failure has nothing to do with adhesive quality. Label stock is flat. A spice jar’s shoulder is curved. When you wrap a rectangle around that curve, the material physically cannot lie flush, so it traps air and bubbles at the seam. The same complaint shows up on candle jars in label manufacturer forums, which tells you it’s geometry rather than one bad batch of stickers.
The fix is matching label shape to jar shape, not buying a better label. Flat panel or flat lid, flat sticker. Curved surface, either a label narrow enough to sit inside the curve or a wraparound designed for it.
Application order matters too. Peel back roughly half the backing, line the label up where you want it, then press from the center outward toward the edges. Pressing the whole thing down at once seals the air in instead of pushing it out, which is exactly how you end up with a bubble in the middle of a jar you were careful with.
The 24 to 48 hour rule most people break
Adhesive doesn’t reach full bond strength the moment it touches glass. It takes roughly 24 to 48 hours at room temperature. Anyone who labels a batch of jars and then immediately wipes them down, loads them into a rack, and shoves the drawer shut has handled every label during the window where it’s weakest. Then it lifts three days later and the label gets blamed for something the timing caused.
Label your jars, put them somewhere they won’t get knocked around, and leave them alone until the next day.
Label the jars empty, before you fill them. A dry jar wipes down properly, sits flat on the counter while you press the label on, and gives you both hands. Labeling full jars is how the label ends up crooked on half of them.
Test your naming for free first
Before you buy anything, run the whole system for nothing. Painter’s tape or washi tape and a permanent marker is a legitimate first pass, not a consolation prize. Tape a name on every jar, put them where they’ll actually live, and cook from them for a week.
You’ll find out fast whether you wanted “cayenne” or “red pepper,” whether you need the label on the lid or the front, and whether the duplicate spice purchases in your cabinet are two paprikas or four. The same peeling problem shows up on pantry labels for exactly these reasons, and a week of tape costs nothing to get wrong.
Label Materials Ranked by What Your Kitchen Throws at Them
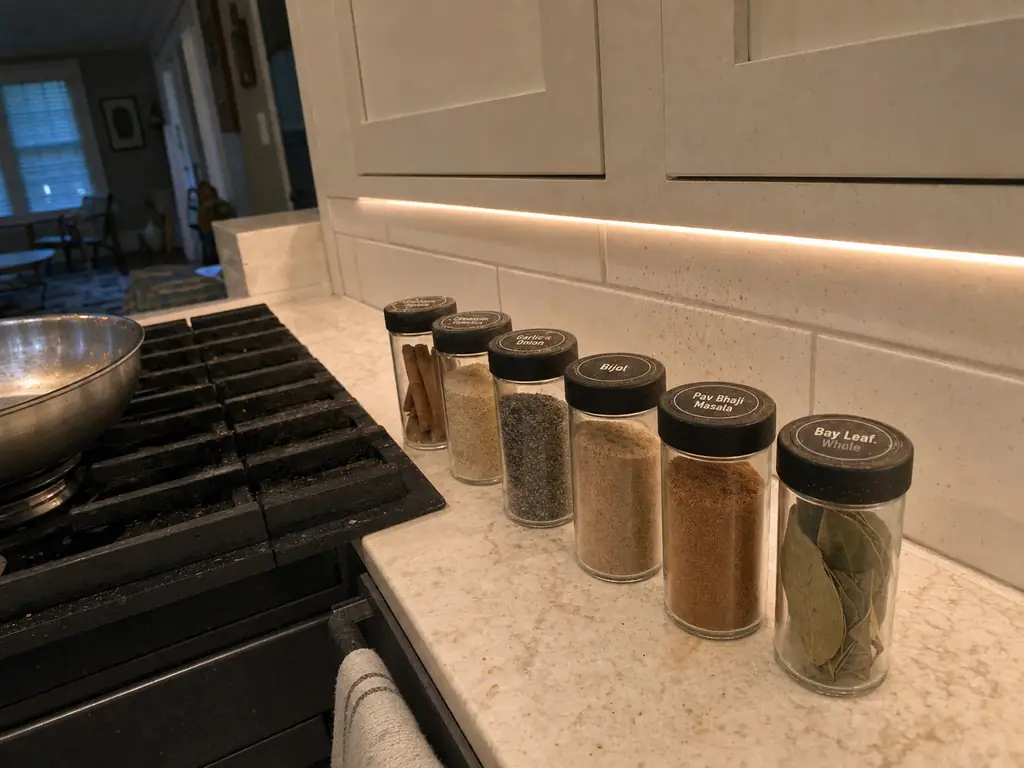
Two jars in the same kitchen live completely different lives. The cumin sitting beside the cooktop takes oil and steam every night. The star anise on a shelf across the room takes nothing. Buying identical labels for both is how one of them looks terrible in a month while the other still looks new, and it’s worth understanding how a label fits into the wider spice organization system before you spend on one.
Waterproof vinyl and weatherproof polyester
Waterproof vinyl with a kitchen-grade coating is the default for a reason: it’s oil-resistant and steam-resistant at the same time, which are the only two tests a spice jar ever runs. It doesn’t smear, peel, or yellow on contact with cooking oil, steam, or condensation, and you can wipe it clean with a damp cloth without the ink going anywhere. Matte vinyl and high-gloss permanent vinyl both pass; matte just hides fingerprints better on a jar you handle daily.
Weatherproof polyester is the print-at-home equivalent, and it’s what weatherproof label manufacturers who sell both paper and moisture-resistant stock tell their own spice customers to buy. When a seller talks you out of the cheaper option they also stock, that’s worth listening to.
Where paper actually fails
Plain paper and unprotected ink lose first, and they lose in a specific order: the edges curl, then the ink smudges wherever a wet hand touched it, then the whole thing fades. There’s no spice jar in any kitchen where paper is the right answer. If paper is what you have, pressing a strip of clear packing tape over the top buys you some of vinyl’s water resistance for free. It’s a real workaround, and it’s the right move while you decide what to buy rather than a permanent solution.
The arm’s-reach-of-the-stove rule
Here’s the filter nobody sells you: any jar stored within arm’s reach of the cooktop needs matte, wipeable vinyl or weatherproof polyester. Not chalkboard, not paper, not the pretty kraft-paper set. That’s the zone that takes oil splatter every time something hits a hot pan. Anything less durable is fine, genuinely fine, for a jar that lives across the room on a pantry shelf.
Sort your jars by distance from the burner before you sort them by anything else, and the material decision makes itself.
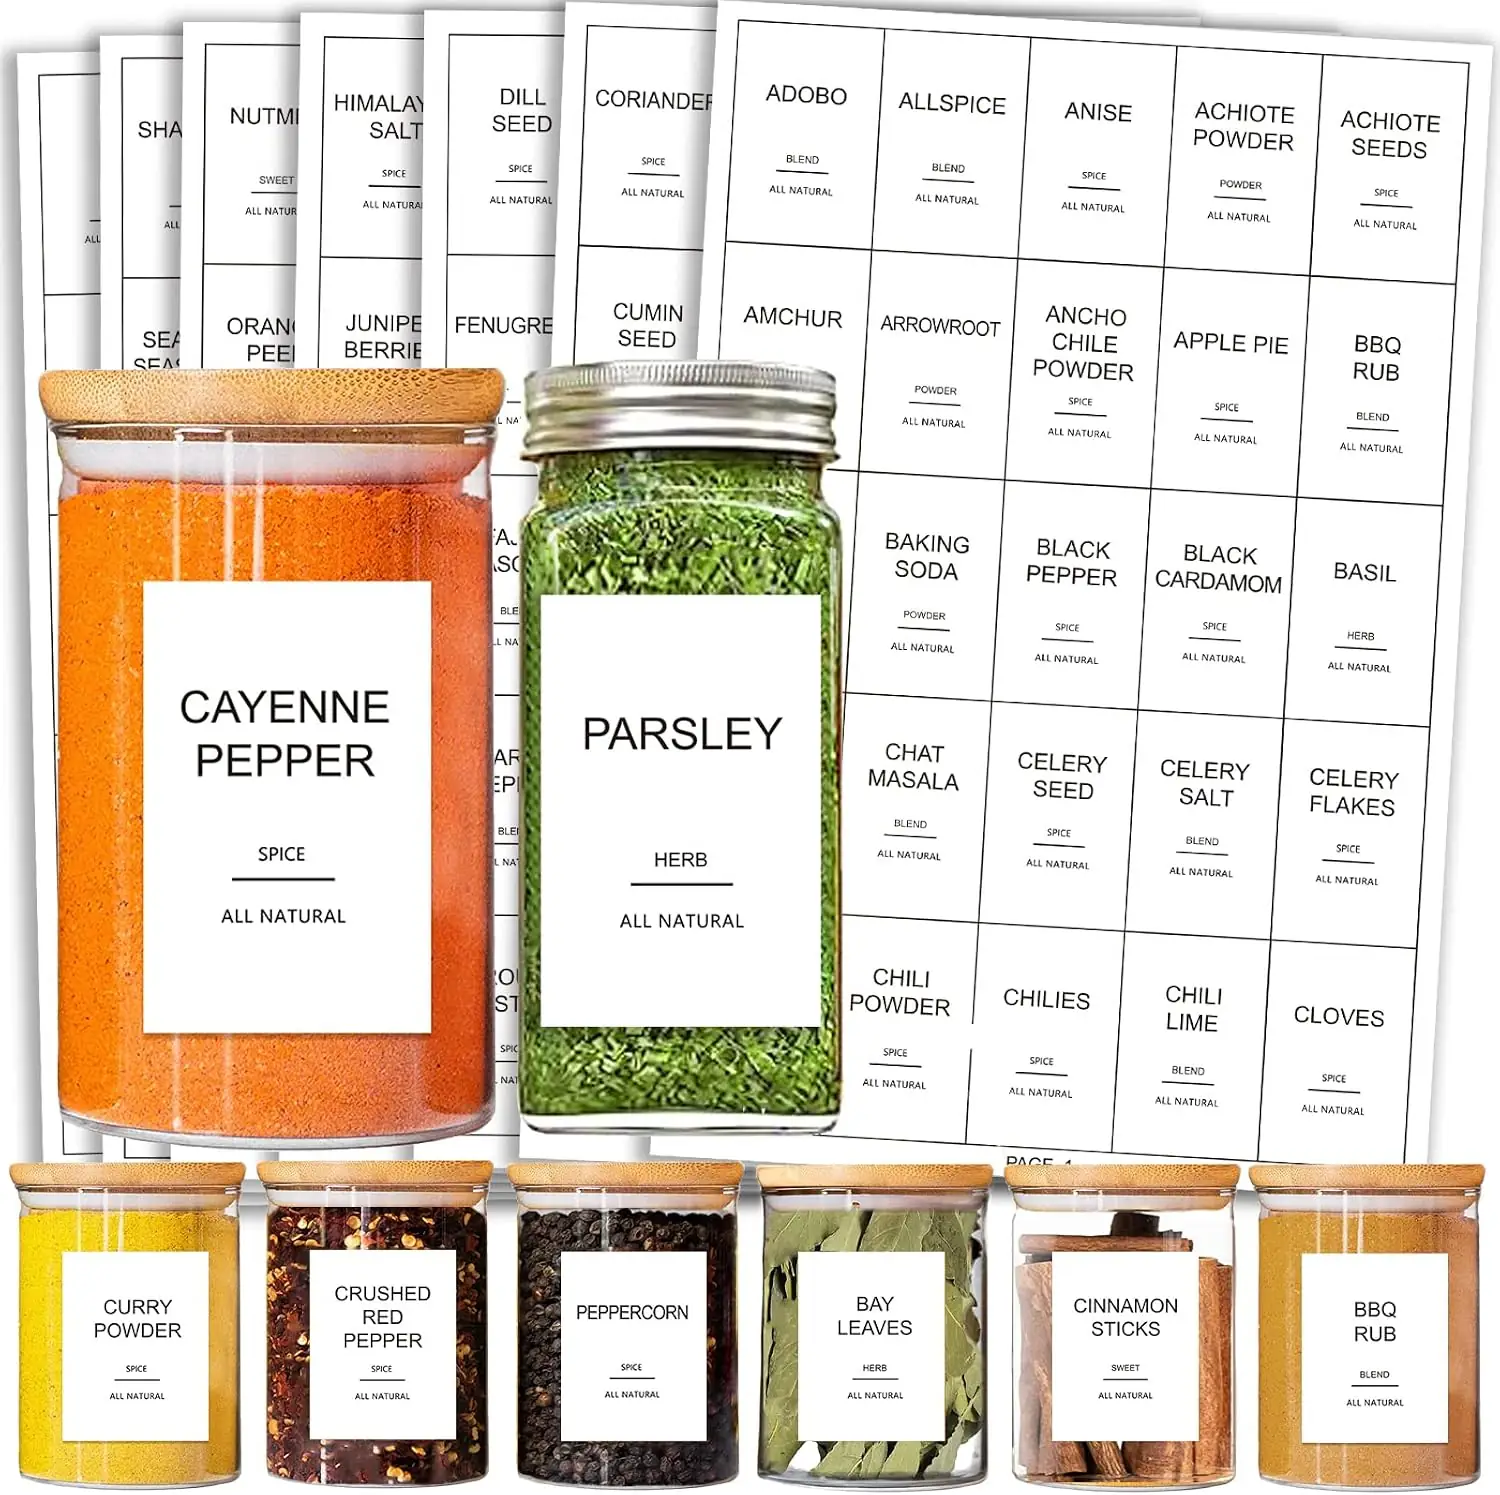
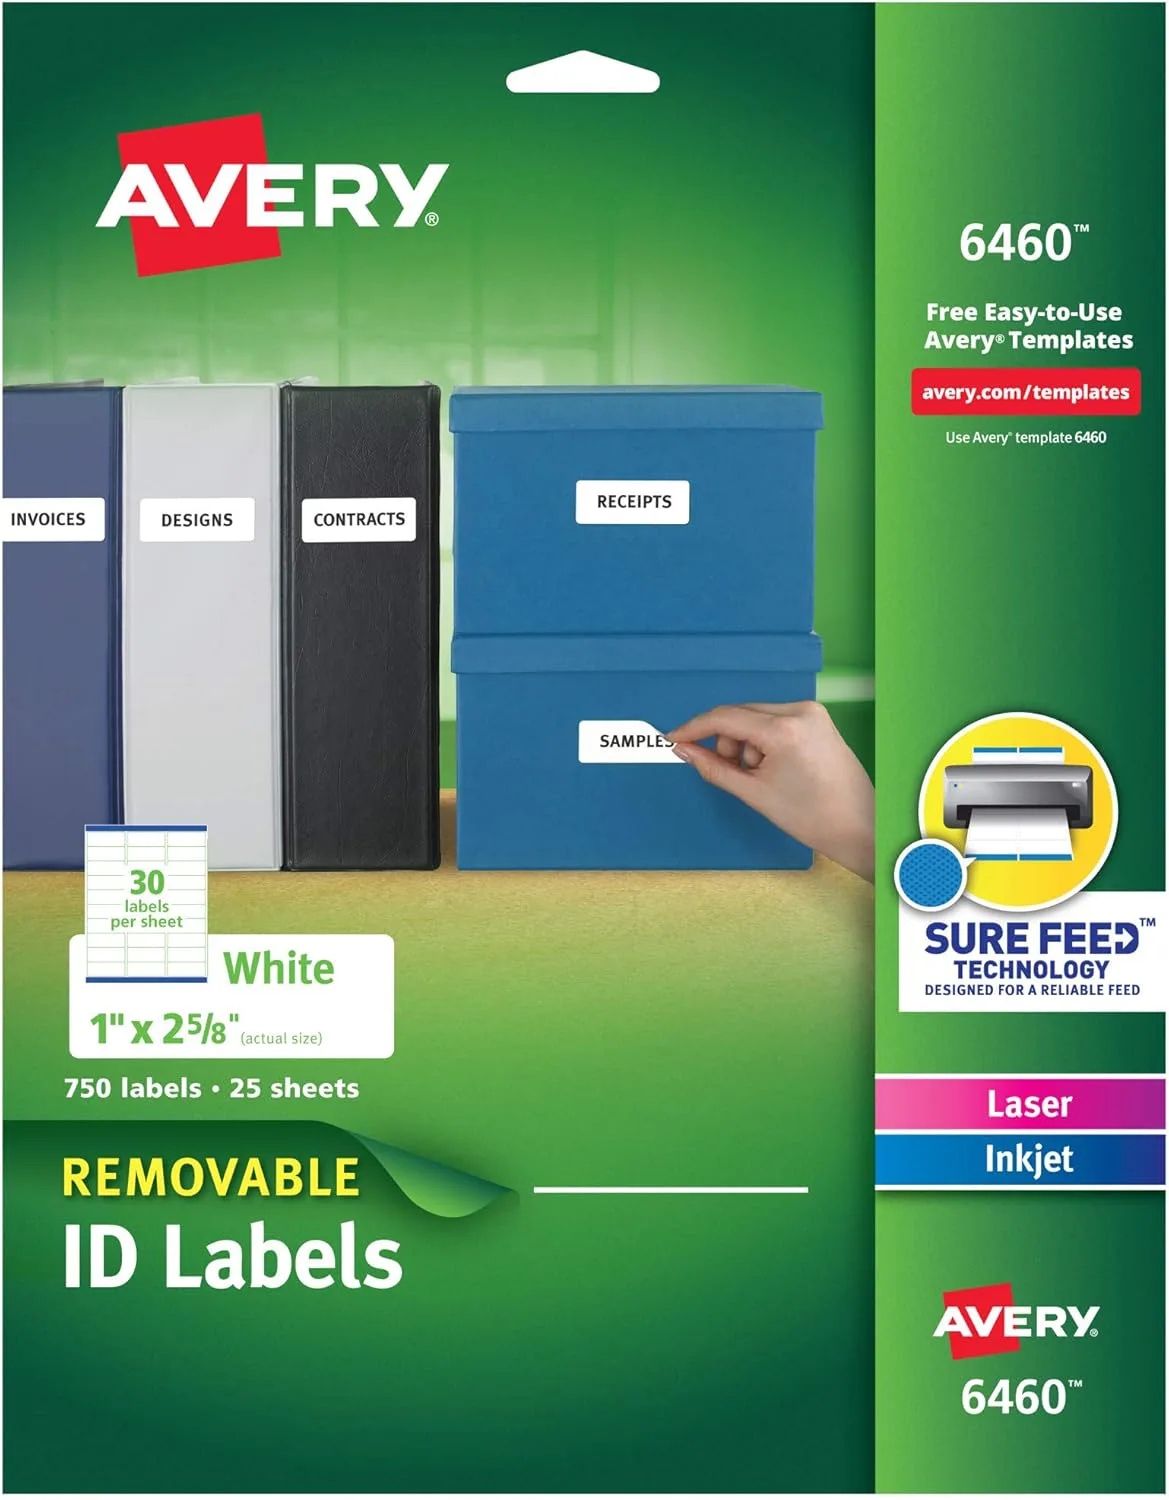
For most kitchens, where the spices live in a drawer or a cabinet rather than on the counter beside the burner, the safer default is a removable round set. Removable adhesive is the feature people underrate, because the first naming system almost nobody keeps forever.
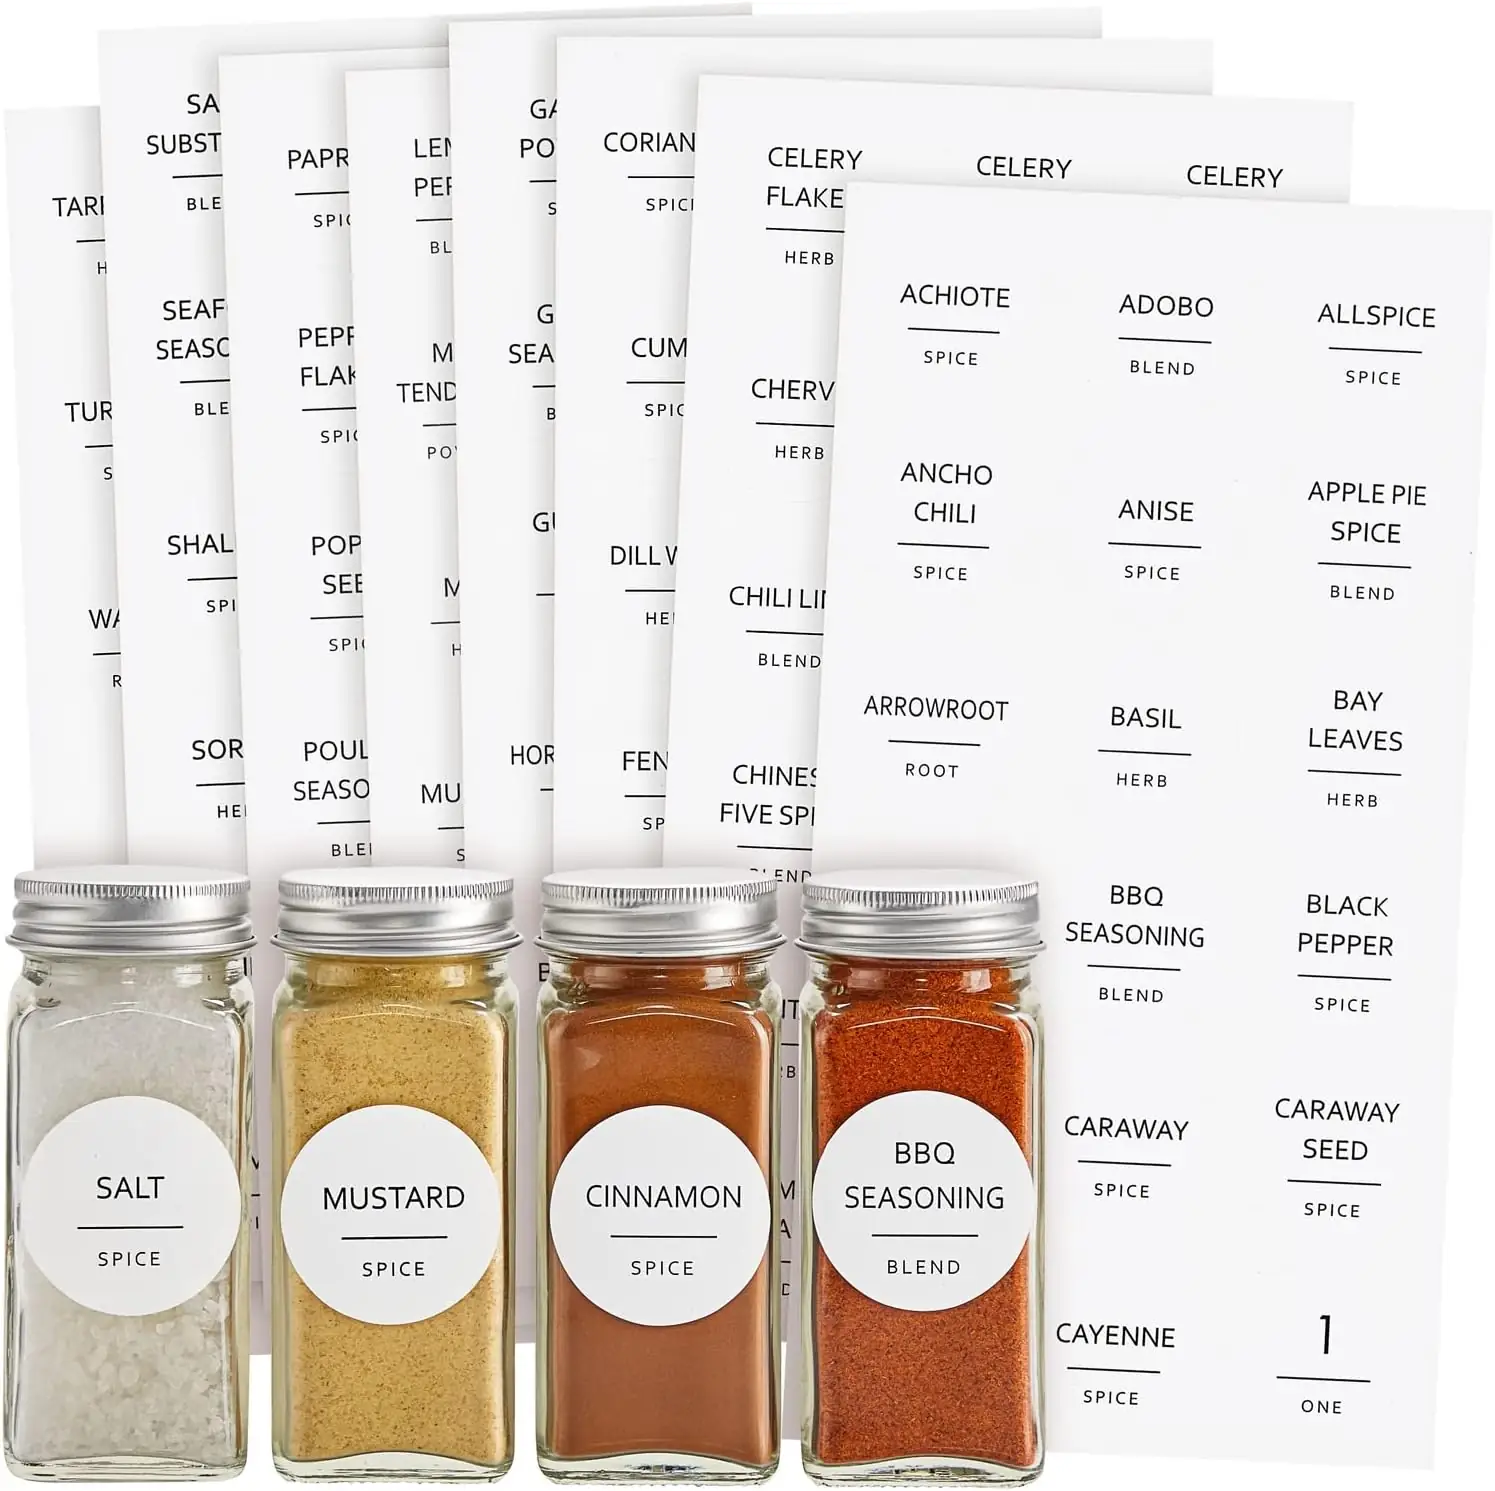
If you want the same waterproof material for less, the budget pre-printed set below is the one worth knowing about, mostly because it ships both shapes.
Sizing and Shape Matched to the Jars You Already Own
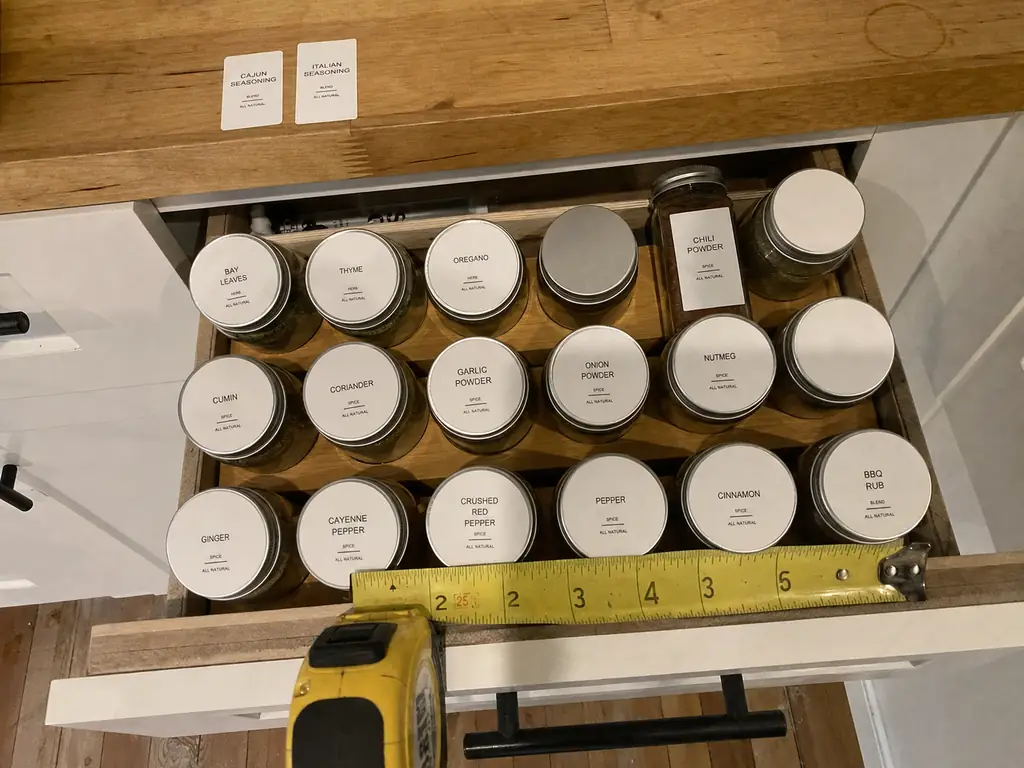
This is the return-shipping section. Someone buys a beautiful rectangular set, opens it, and discovers their jars live lid-up in a drawer where nobody will ever see a front label again. Five minutes with the actual jars in front of you prevents the entire thing.
Round lid labels versus rectangular front labels
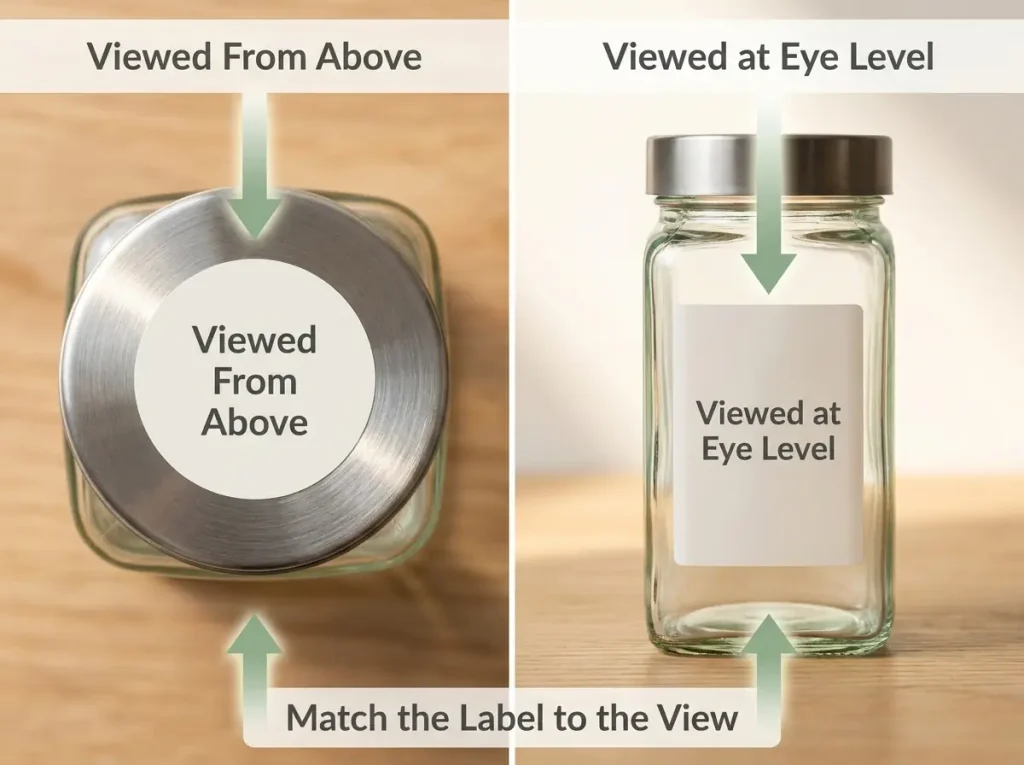
Which surface you see isn’t a preference, it’s decided by where the jars live. Drawer or stacked shelf means you’re looking at lids. Rack or open shelf means you’re looking at fronts.
That placement rule gets covered in depth in the spice drawer guide, so the only thing you need from it here is the purchase consequence: decide whether your spices belong in a drawer or on a rack first, then buy the shape that matches. If you’re choosing the spice rack at the same time, that decision is already made for you, because a rack puts the front of every jar at eye level.
Measure the flat area, not the jar
Round lid labels commonly run 1.5, 2, and 2.5 inches in diameter. Rectangular jar-front labels run around 1.75 by 0.75 inches, or 2 by 1 inches, which is what fits the flat panel on a standard spice jar. Most sets ship in one fixed size, so “close enough” means either overhang curling off the edge or a small sticker floating in a sea of white space.
Measure the lid itself, or the flat panel on the front, and ignore the overall jar. The usable flat area is always smaller than the jar looks.
What to buy for a mixed jar collection
Almost nobody has a matched set. You have four jars from a starter rack, two tall bottles that came with the good vanilla, and one wide shaker for the everyday paprika. A set that includes both round and rectangular shapes covers that in one purchase. And this is where the bubbling problem from earlier shows up as a shopping error rather than a product defect: forcing a rectangle onto a curved bottle shoulder because the set only came in one shape is a decision you make at checkout, not something the adhesive did to you.
Put the label at the same height on every jar. Not roughly, actually the same. A row of labels that line up scans in about half a second; a row where each one sits a little differently makes your eye stop on every jar, which is the exact task you bought labels to avoid.
Pre-Printed, Custom, or Blank — Pick Your Path Before You Pick a Product
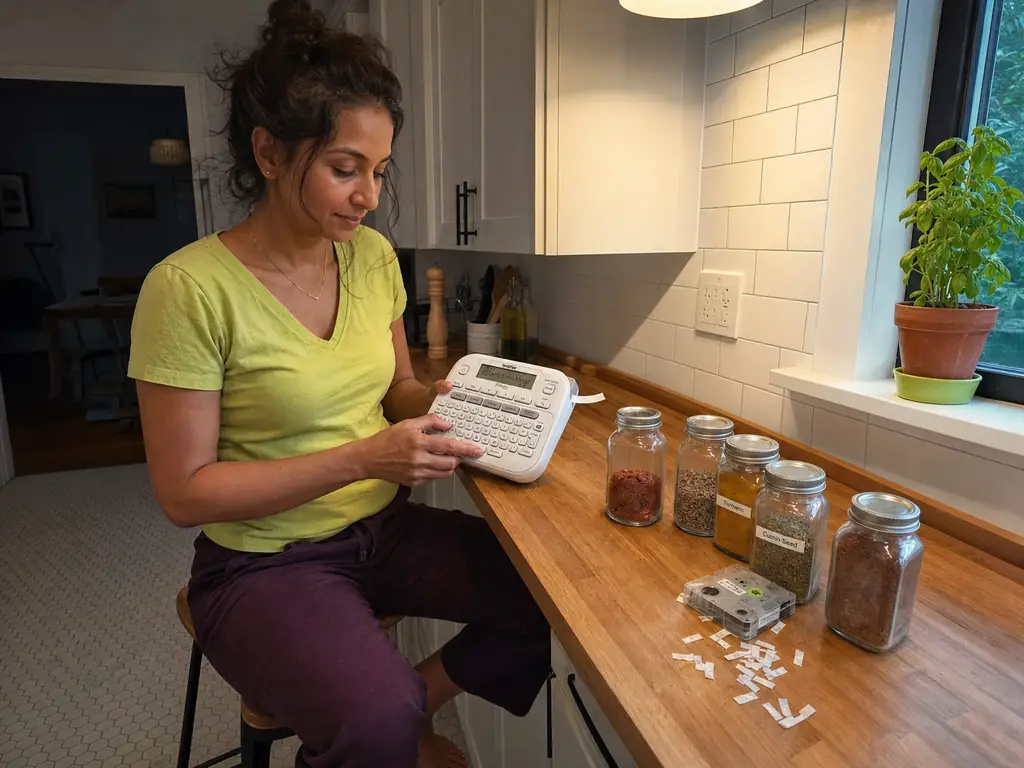
There are only three ways to get names onto jars, and they trade off against each other cleanly. Pre-printed is fast but fixed. Custom covers everything but means owning a machine. Blank is cheapest but your handwriting becomes the design.
Pre-printed sets and where they run out
A pre-printed set is done in an afternoon, which is its whole appeal. The catch arrives about four months later when you buy sumac, gochugaru, or the specific chili flake you now cook with weekly, and the set has none of them. That’s why the larger sets ship blank labels and a pen in the same box: the manufacturer knows their vocabulary won’t match yours.
Buy pre-printed if your cooking is stable. Buy something else if you’re still collecting.
Printing your own with a label maker
I used to send people straight to pre-printed sets by default, because they’re cheap and instant. After enough “the set didn’t include half my spices” stories in organizing threads, I stopped. If your spice collection is genuinely yours rather than a starter kit, printing on demand solves the problem permanently. (If you already own a Cricut or a similar cutting machine, you’re covered too, but nobody should buy one just for spice jars.)
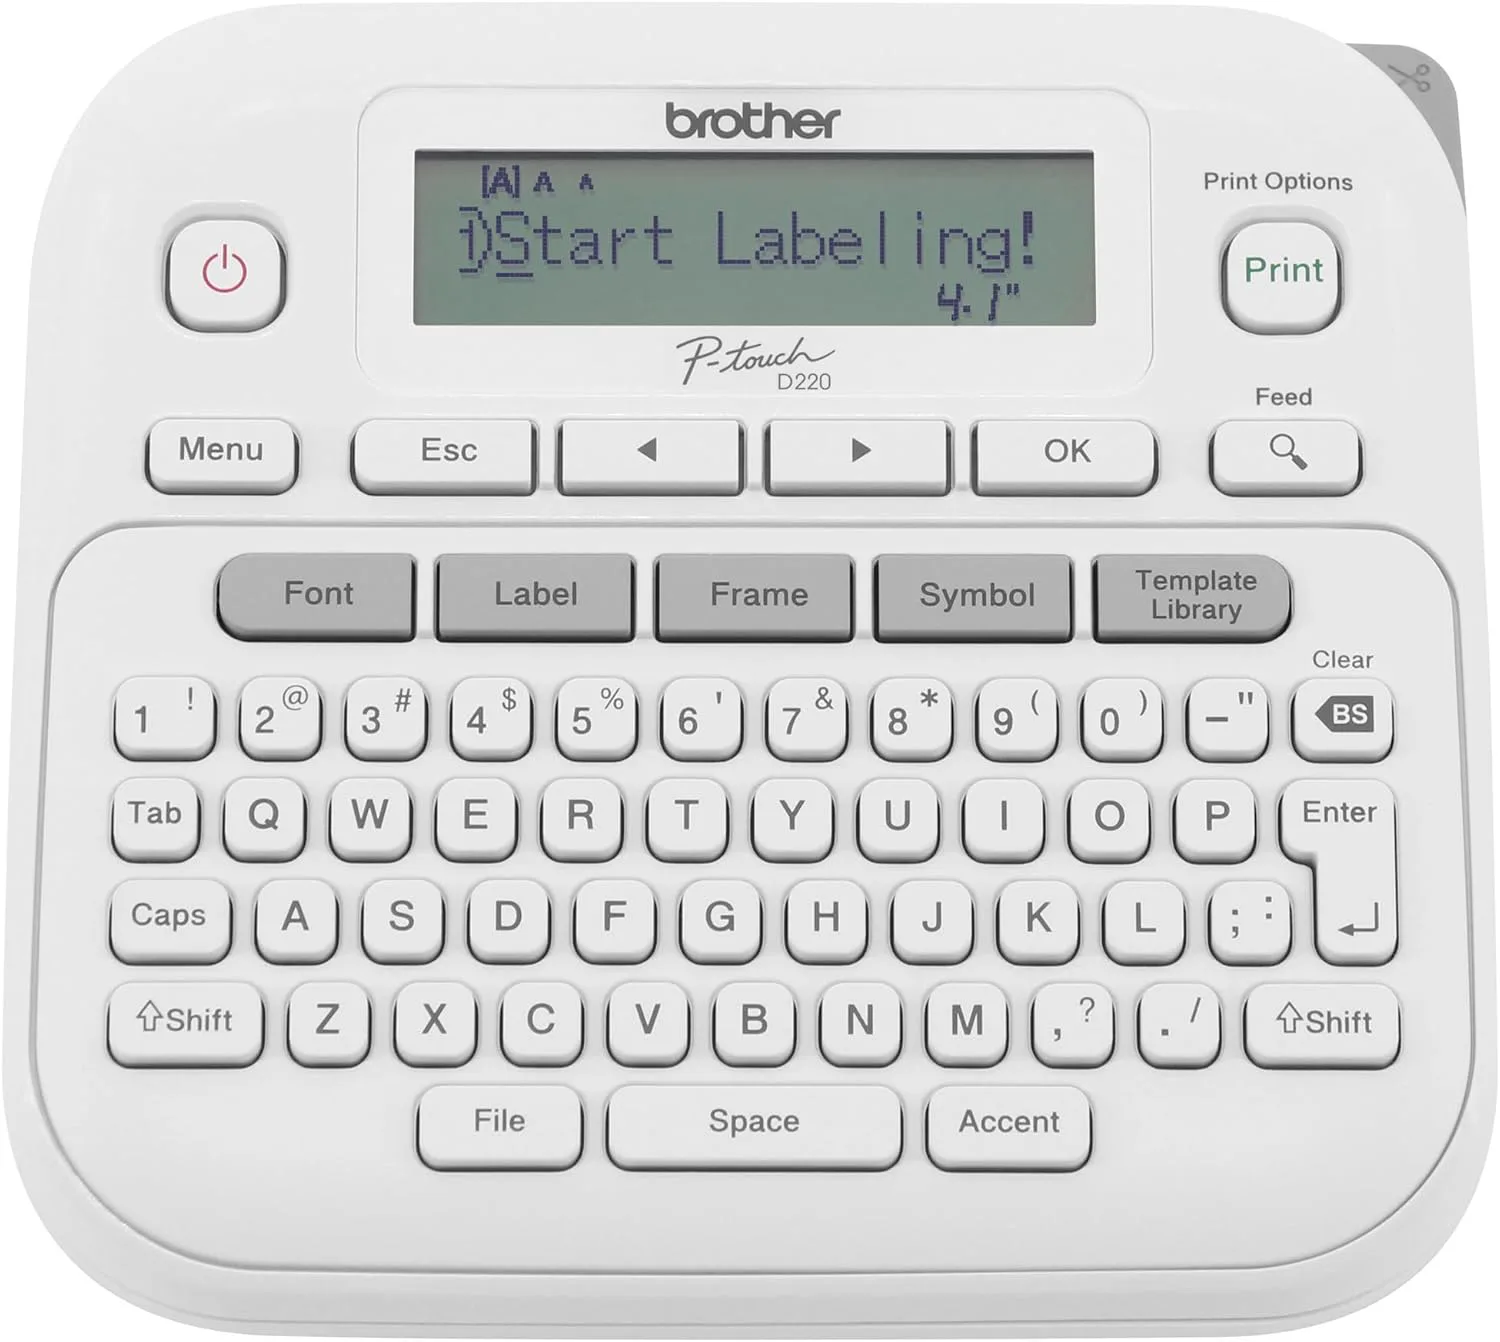
One thing that gets skipped: the tape cassette decides whether the label survives the kitchen, not the printer. Brother TZe-231 laminated tape in black on white is the half-inch standard, and the lamination is what keeps a wet hand or a steam cloud from taking the print off. Plain paper cassettes are cheaper and give up in a kitchen.
Blank labels and a steady hand
If a machine isn’t happening, blank labels plus a marker is the cheapest real path. Label sellers publish free spice templates and a free custom label design tool alongside the weatherproof sheets, so printing at home costs you paper and nothing else. Blank also buys you something pre-printed can’t: room to add expiration date labels, or just the month you opened the jar, which is the only reliable way to know whether that cumin is still worth using. This is the natural neighbor of DIY spice organization at the no-buy end, where the whole point is spending nothing.
Permanent or Rewritable — Which One Forgives a Mistake
There’s a specific moment that settles this for most people. You reach for cinnamon mid-recipe, dump it in, and realize it’s cumin, because someone else in the house refilled that jar last week and never mentioned it. What happens next depends entirely on what the label is made of.
When permanent is the right answer
Permanent adhesive locks the name in. If your spice lineup has been the same for three years and you’re not the household that buys a new chili powder every month, that’s a feature. The label stays put, the print stays sharp, and you never think about it again. It stops being a feature the moment the contents change, because fixing it means scraping adhesive off glass with your thumbnail and a bottle of oil.
Rewritable labels and the refill mistake
Chalkboard labels solve that in thirty seconds. Wipe, rewrite, done. Dry-erase labels work the same way with a finer line, if chalk texture isn’t your thing. The label itself never has to come off, which also means the jar never has to survive a removal.
The other half of this problem is a habit rather than a product, and the refill routine that stops mislabeled jars in the first place is worth reading if the refill mistake happens in your kitchen more than once. My own rule: a labeling system is a practice you maintain, not a purchase you make once, and that holds whether you run it yourself or hire a professional organizer certified through NAPO.
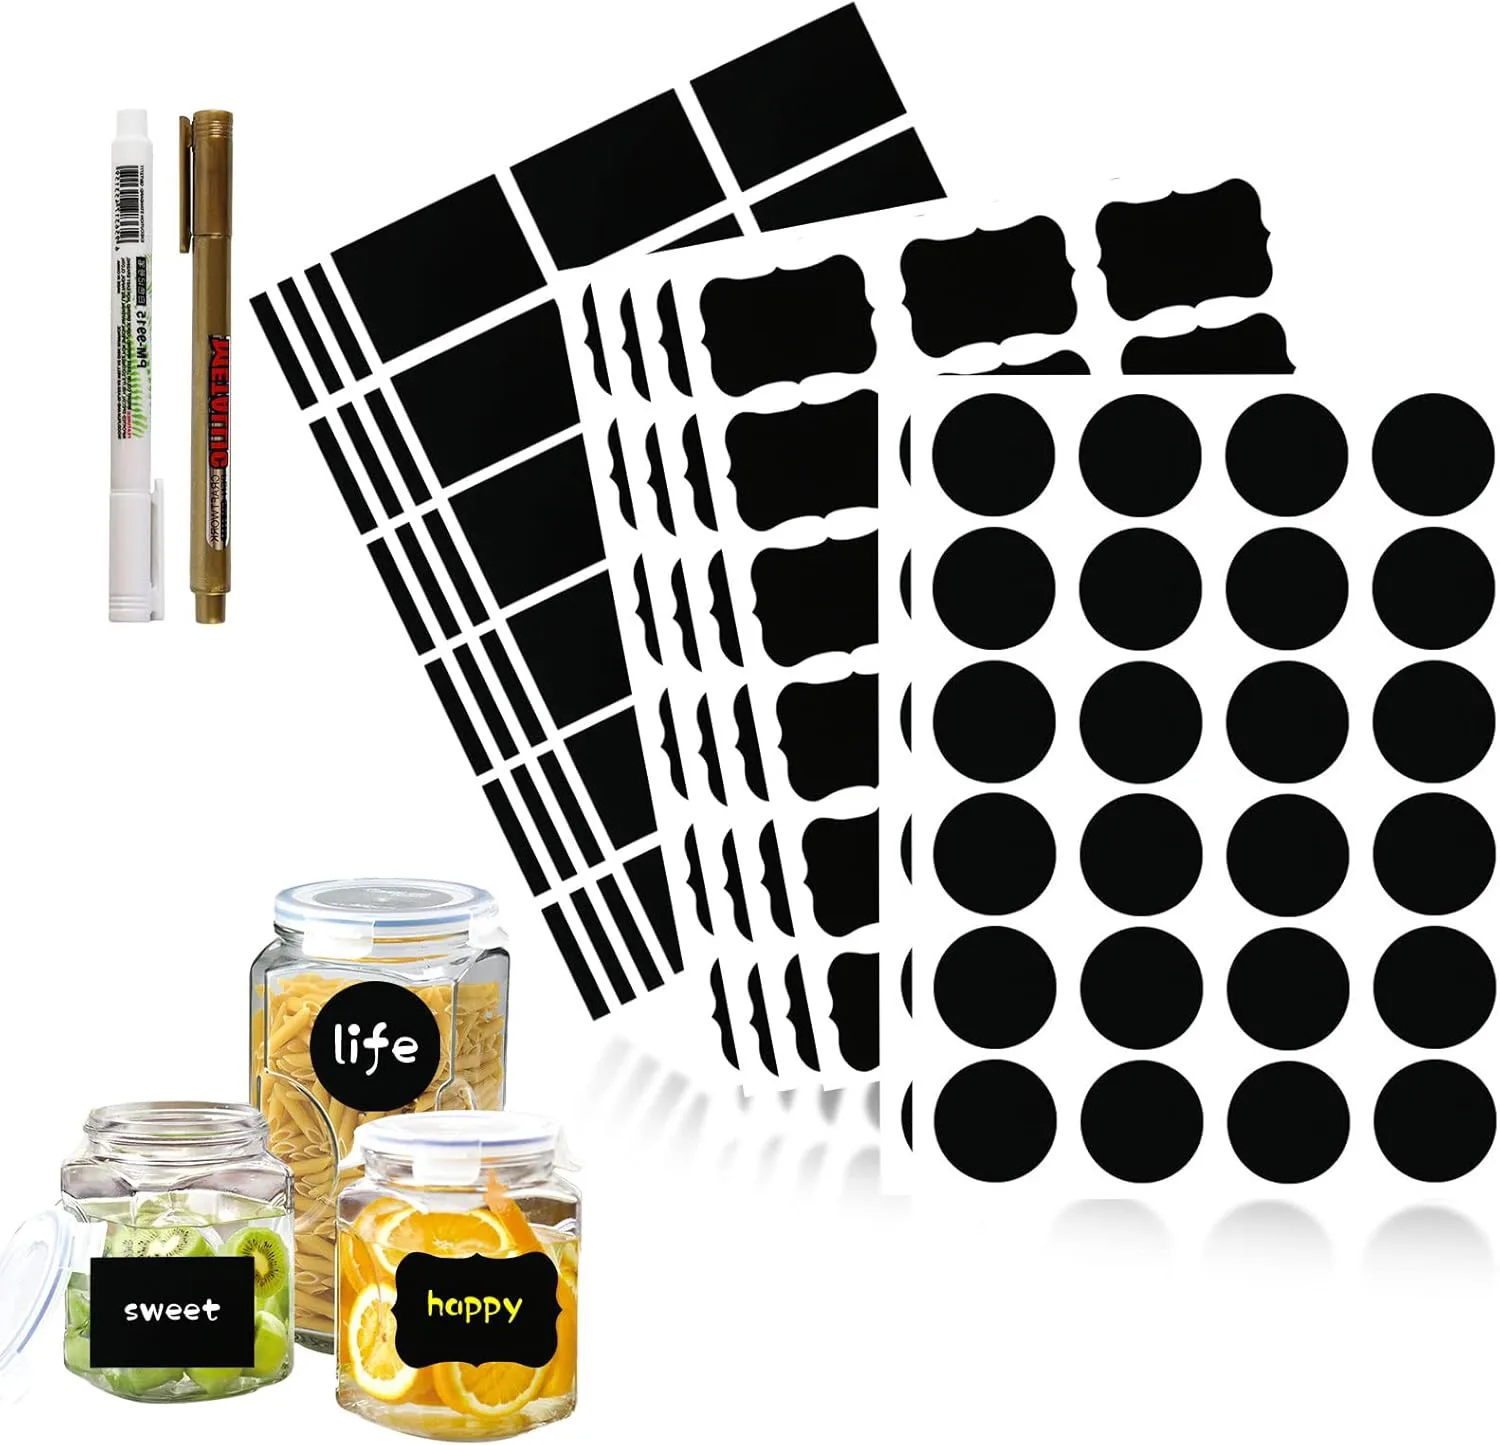
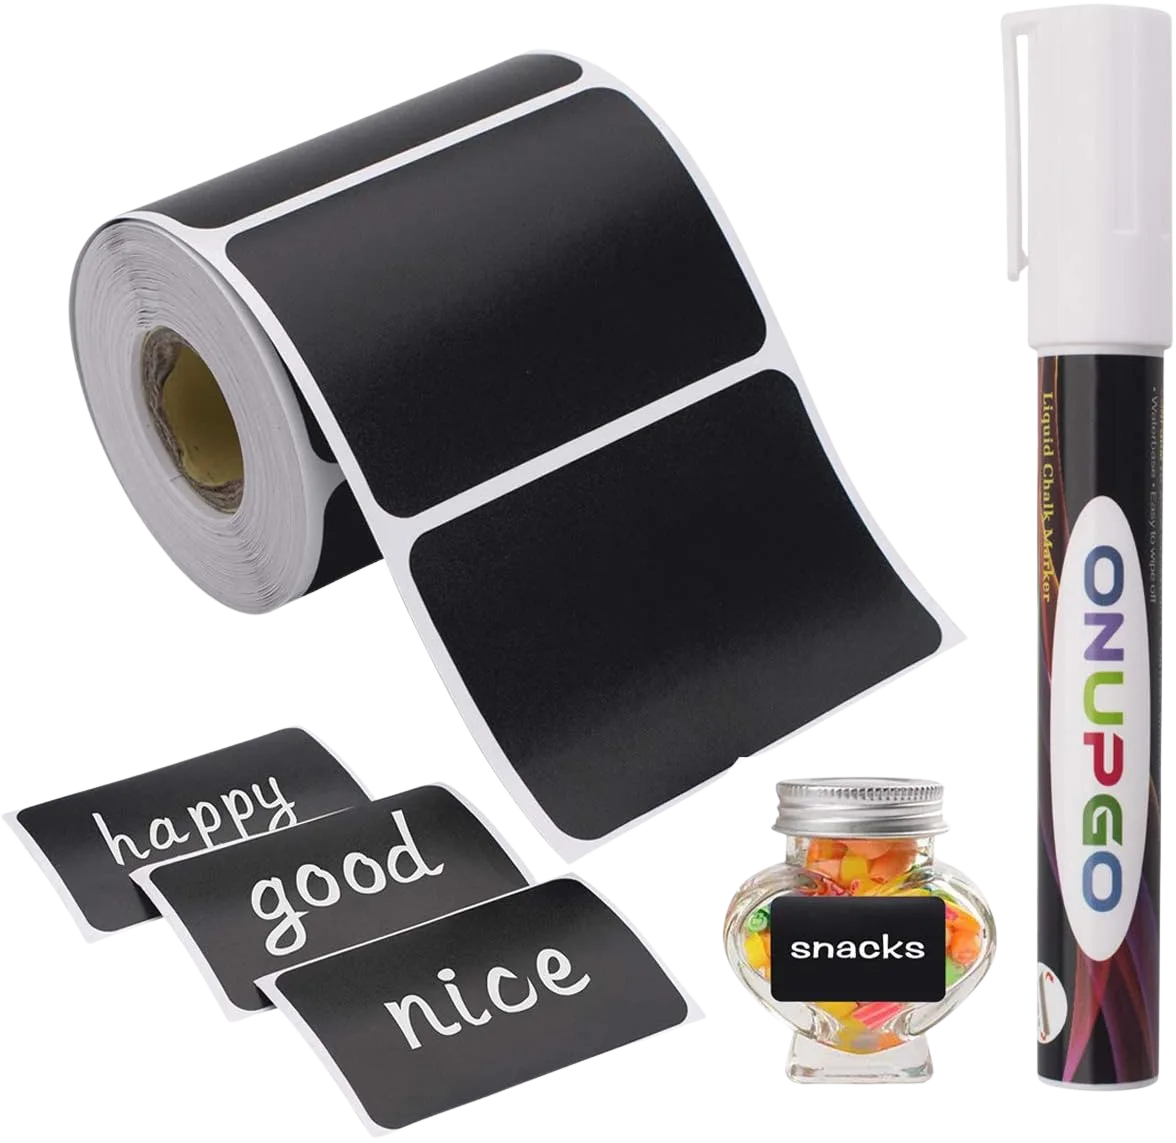
A chalkboard label is only as good as whatever writes on it. Regular chalk smears on a surface that small, so a fine-tip liquid chalk marker like the Chalky Crown 5-pack is what makes a 1.5 inch circle legible instead of a gray smudge. It wipes off with a damp cloth and comes back sharp, which is the entire point of buying rewritable in the first place.
Dark labels in a dark drawer
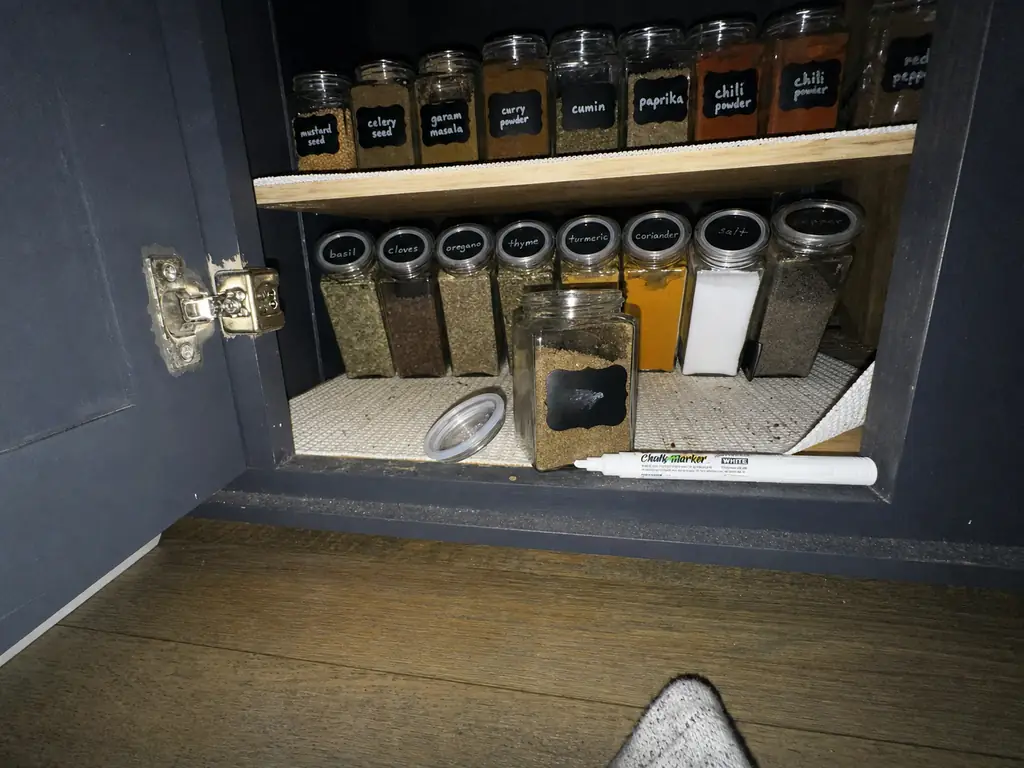
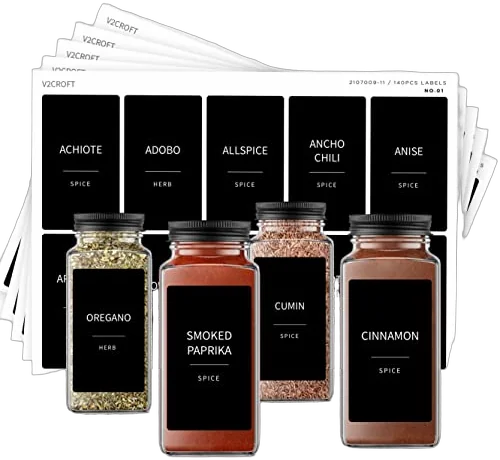
Here’s the part I’d argue with most product pages about. Black labels with white text photograph beautifully, and in an unlit drawer opened at nine at night they’re close to unreadable. You end up tilting jars toward the hallway light to find the oregano, which is precisely the friction labels were supposed to remove.
If your spices live somewhere dim, and in a small kitchen where the whole collection has to fit somewhere tight they usually do, go light background with dark text. It’s less photogenic and considerably more useful.
Style Is a Real Buying Axis, Just Not the First One
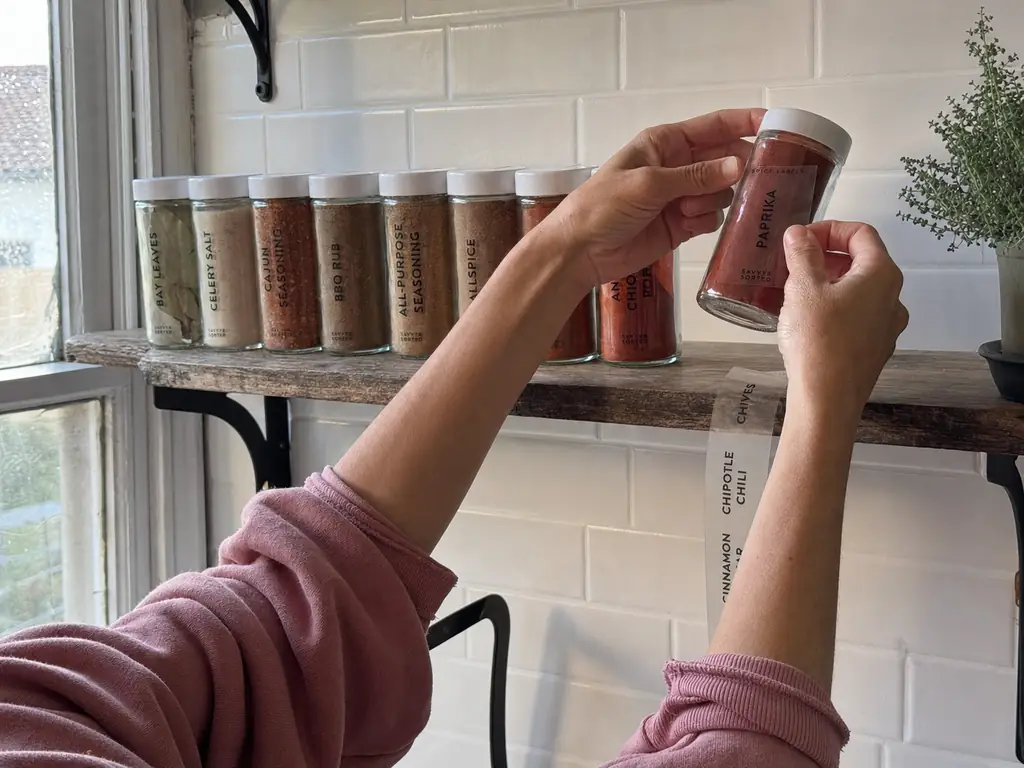
Nobody admits the look is why they’re buying labels, and for most people it’s at least half the reason. That’s completely fine. But the trap is picking style first and finding out afterward that the set is paper, or that it’s rectangular and your jars are round.
Material, then shape, then style. In that order, you get to have the look and keep it.
Farmhouse, minimalist, or invisible
Two style choices are genuinely different decisions rather than font preferences. Farmhouse and rustic treat the label as a visible design element, dark labels with script or serif type that you’re meant to notice. Clear vinyl does the opposite, putting the text directly on the glass so it looks like the jar was printed that way.
Why uniformity beats decoration
The look that actually works isn’t a style, it’s consistency. Same size, same typeface, same position on every jar. That’s what turns a drawer into something you scan instead of read, and it’s doing more work for you than any font choice. A mismatched drawer where every label is individually lovely still makes you stop and look at each one.
Buy one set, not two. Splitting a collection across two label styles because the first pack ran out is the most common way a nice-looking drawer stops looking nice. Count your jars, then buy a set with room to spare for the spices you’ll add next year.
The renter caveat that doesn’t apply here
Most storage advice on this site comes with a renter asterisk about drilling, adhesive on walls, and getting a deposit back. None of that applies to a sticker on a jar you own (the deposit has never once been threatened by a sticker).
The only removability question worth asking is whether the adhesive comes off clean when you want to reuse the jar for something else, and that’s a material decision you already made a few sections ago. If you rent, buy whatever fits your kitchen. This one’s free of consequences.
Conclusion
Wipe the jar with alcohol and press from the center outward. That ten seconds beats every upgrade on this page, and it’s the step that separates labels that last years from labels that last a week.
Buy for the surface you actually look at. Lids if your jars live in a drawer, fronts if they live on a rack. Get that wrong and the material won’t save you.
Match permanence to your cooking. A collection that changes wants rewritable labels; a collection that doesn’t wants vinyl you never think about again.
The three-month check: open the drawer and look at the jar closest to the stove. If that one still looks clean with sharp text, your material choice was right. If it’s the only one lifting at the edge, you’ve learned exactly where the durable labels need to go next time.
Label six jars, not thirty. Live with them for a week and find out whether the names you chose are the names you reach for. Then do the rest.
Frequently Asked Questions
01What is the best way to label spice jars?
Wipe the jar with isopropyl alcohol, then apply a waterproof vinyl label to the surface you actually see, pressing from the center outward. Round labels for lids, rectangular for fronts. Give the adhesive a day before handling.
02What material is best for spice jars?
Glass is the standard for spices because it doesn’t absorb oils or odors and turmeric won’t stain it. It’s also the easiest surface for a label to bond to, since it wipes truly clean.
03Is it better to store spices in glass or plastic?
Glass for anything you cook with regularly; plastic is fine for bulk backstock in a cupboard. Labeling follows that choice, since clear vinyl labels only look right on glass and need contrasting contents behind them.
04What is the best jar to store spices in?
A glass jar with a flat front panel or a flat lid, because flat surfaces take labels without trapping air. Fully rounded bottles and tapered shoulders are where labels bubble at the edges no matter what you buy.
05Can you remove spice jar labels without leaving residue?
Removable adhesive labels peel off clean; permanent vinyl usually needs warm water, heat from a hair dryer, or an oil-based solvent. That’s the practical argument for choosing removable adhesive on any collection that changes.