







In this article
You open the door and three bottles tip over the front edge before your hand gets near the thing you came for. Behind them: cough syrup nobody has touched since the last real cold, a drift of loose bandaids, a tube with no cap.
The fix is almost never a better bin. It’s the order you work in, because buying containers before you know what’s staying is how people buy the wrong size twice. Here is how to organize a medicine cabinet in six steps, about thirty to forty-five minutes for an average cabinet of over-the-counter medication and prescriptions. If you want the decision framework instead, the full medicine cabinet system covers the household-wide version.
Quick Answer
Work in this order. The sequence is what makes the system hold.
- Empty the cabinet completely onto a staging surface
- Wipe the shelves while they are bare
- Purge expired, empty, and unidentifiable items
- Sort the keepers into physical piles by category
- Measure the usable shelf depth before buying anything
- Put everything back in reach order, then label
Empty the Whole Cabinet Before You Decide Anything
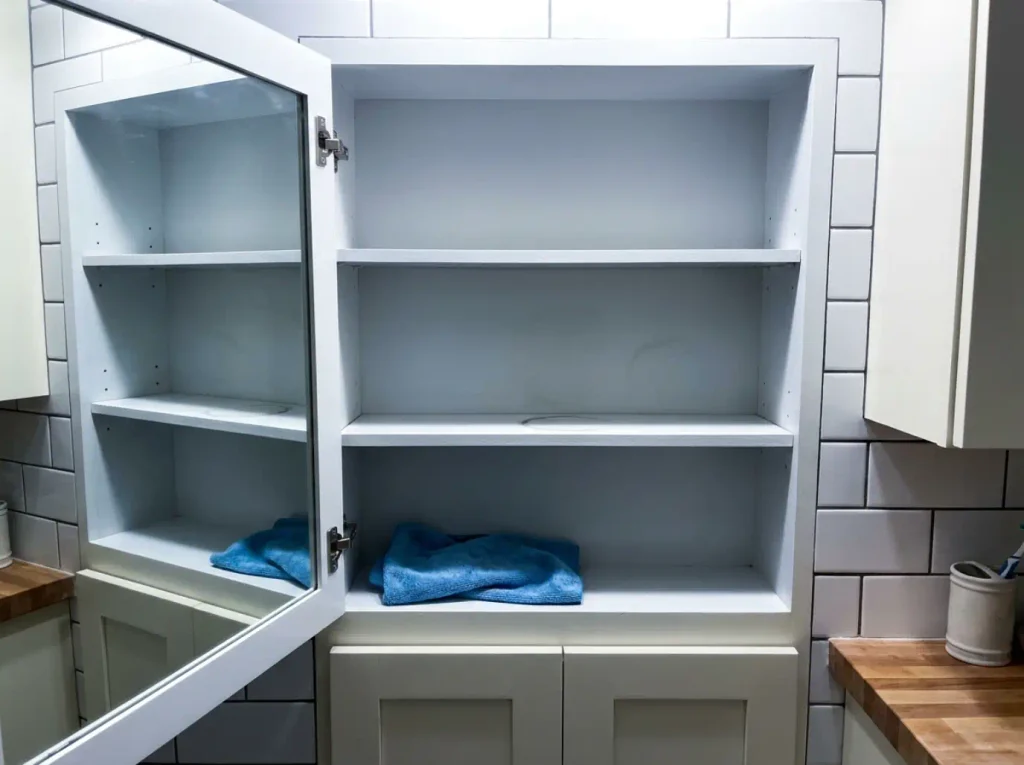
Everyone’s instinct is to declutter in place. Pull out the obvious trash, push the rest around, close the door. It looks better for about a week.
Then it’s back, and the reason is not willpower: you never saw the full inventory, so you only decided about the four things in front. You cannot tell you own three half-used bottles of the same allergy medicine while two sit behind the throat lozenges.
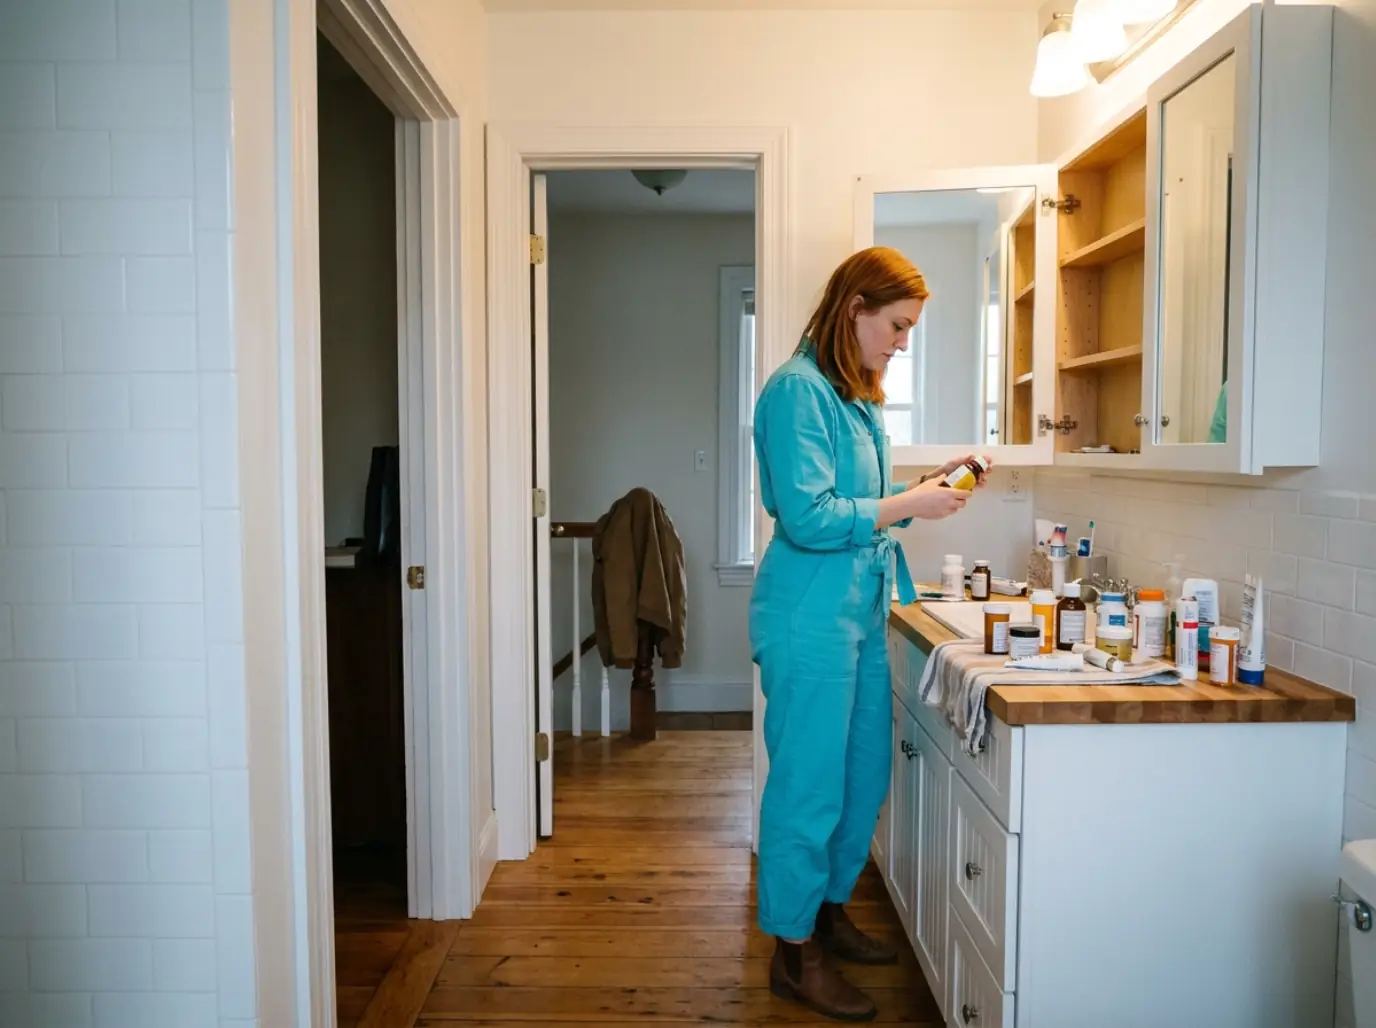
Clear a landing spot first (most bathrooms don’t have one)
Skipping this pushes people back into organizing in place. A typical bathroom has a strip of counter roughly the width of a hand towel, already occupied. Set up the staging surface before you open the mirror cabinet: the closed toilet lid, a bath towel on the floor, a cutting board from the kitchen. Give yourself more room than the cabinet holds, or you will restack to make room, and restacking is how items get put back without being evaluated.
Put a grocery bag on the floor before you start, open, cuffed down at the sides so it stands up on its own. Every second you spend hunting for somewhere to put trash is a second you spend deciding to keep something instead.
Wipe the shelves while they’re empty
Bare shelves take ninety seconds to wipe, and it is the only moment in the next year that job is free. Let them dry before anything goes back, because trapping moisture under a bin in the most humid cabinet in your house is a slow way to ruin a label.
Why “tidy it in place” always reverts
Tidying rearranges. It doesn’t reduce. Same volume, neater configuration, and the first time someone is in a hurry it collapses back into a pile.
There’s a version of this in nearly every organizing thread: the “junk/medicine drawer,” in one r/konmari poster’s words, where bandaids and real medication share space with spare change and rubber bands. That drawer had been tidied plenty of times. What it never had was a sort by category before anything got contained.
Purge Second, and Here Is What to Do With the Bottle You Can’t Identify
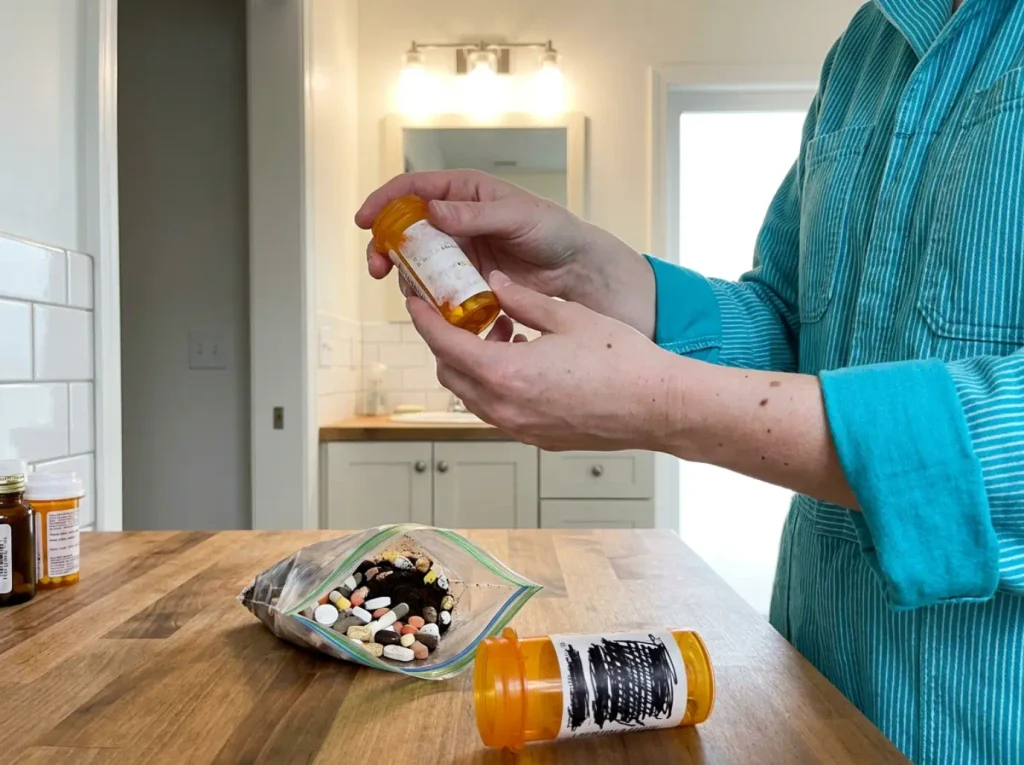
This is where people stall, and it’s rarely the expired medicine that does it. What stops the session cold is the three or four items that produce a genuine “…I don’t know.” Guides assume everything in your cabinet is identifiable. Real cabinets are not.
Work the emptied pile into three groups: expired or empty, unidentifiable, and keepers. Do it before you think about a container. A bin bought for a pile you haven’t purged is sized for a volume that no longer exists.
The unlabeled bottle rule
If you cannot positively identify what something is, it goes in the disposal pile. Not the “I’ll ask someone later” pile, which is just the cabinet again with extra steps.
That covers the label faded past reading, the loose pills in a container that isn’t theirs, the handwritten label on one of those prescription bottles from a year nobody can name. This is the one place in the walkthrough with a hard rule instead of a preference: an unidentified medication cannot be taken safely, so its only function is occupying a shelf position something useful could have.
I’d extend that to anything identifiable but questionable: ointment that has separated, drops gone cloudy, an inhaler from a prescription that ended two winters ago. If you’d hesitate before handing it to someone else in the house, it’s answered the question.
Disposal, done properly
Pharmacy take-back is the first option. A pharmacy or police-station drop box handles it, per the FDA’s guidance on disposing of unused medicine, and the DEA runs two national take-back days a year, in April and October. Many chain pharmacies keep a permanent kiosk near the counter, so a bag of expired medication rides along with an errand you already had.
No take-back point nearby? You don’t have to wait for a collection day. The FDA’s household method for medicine disposal takes two minutes: take the medicine out of its packaging without crushing it, mix it with something unappealing (used coffee grounds, cat litter, or dirt), seal that in a bag, and bin it.
The grounds make the mixture uninteresting to a child or pet going through a garbage can. Scratch out the personal information on the empty label first.
Do the coffee-grounds mixing in the empty bottle itself when the bottle is going in the trash anyway. One container, one lid, nothing to seal separately, and the label you were going to scratch out is already in your hand.
Flushing is the exception. Only medicines named on the FDA’s Flush List should go down the toilet, and only when no take-back option exists. That list is mostly opioids, and the reasoning is narrow: those carry enough risk from a single accidental dose that waiting is the worse option. Everything else uses the trash method above.
Some keepers don’t belong in this cabinet
Surviving the purge and belonging behind the bathroom mirror are two different questions. In that same r/konmari thread, the setup that stood out kept a red toolbox first aid kit elsewhere in the house, on the reasoning that a bathroom is the worst place to look for a bandage in a hurry: the door might be closed, someone might be in the shower.
The purge is also where you find the item that shouldn’t just be stored, it should be locked. A lockable tackle box or tool box you already own does this for free, which is where I’d start.
If nothing fits, the POCHAR Wall Mount Locking Medicine Cabinet Box mounts on the wall near the cabinet rather than inside it. That distinction matters. A shelf three to four inches deep cannot house a locking mechanism, so the answer was never a lockable medicine cabinet.
It does need mounting, so renters should site it where small anchor holes are easy to patch.
Sort Into Categories Before You Buy a Single Container
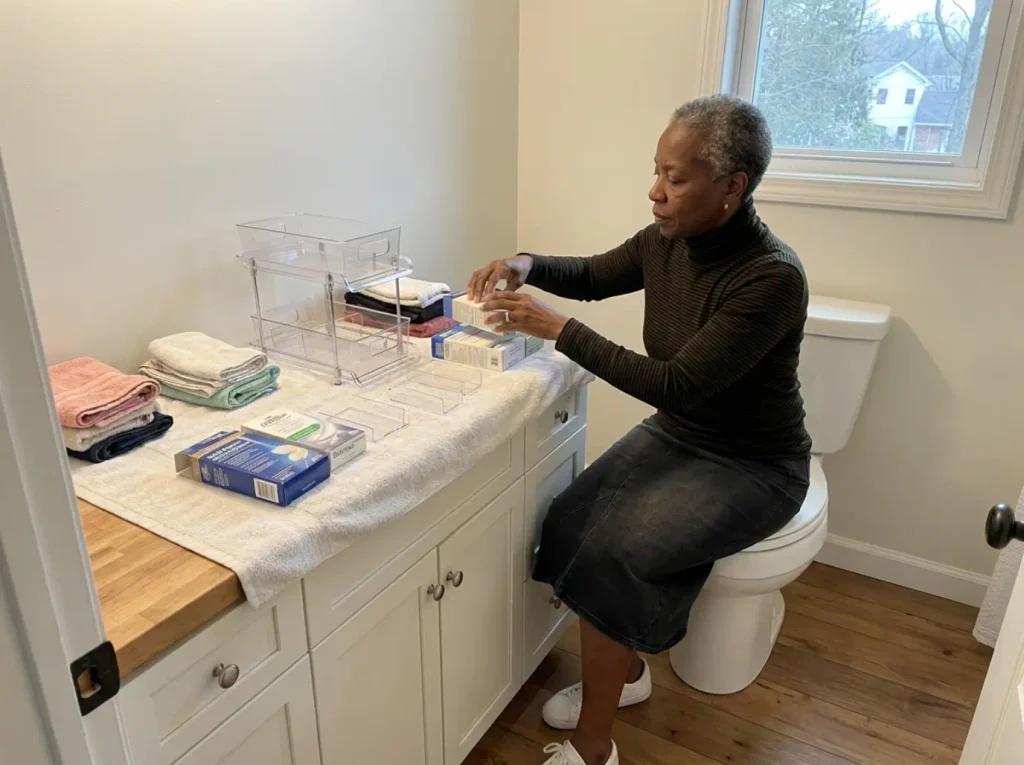
Two sorting systems work in real households, and they are not interchangeable. One organizes around what’s wrong with you, the other around whose it is. Most households need both, and picking one for everything is why shared cabinets fall apart.
Build the piles physically, on your staging surface. They are what you measure and shop against in the next step.
System A: sort by symptom
- Cold and cough medicine
- Allergy medicine
- Pain and fever medicine
- Stomach
- Cuts and scrapes
- Vitamins and supplements
Group like items and the pile tells you what it is.
It maps to how people actually look for things. Nobody walks to the bathroom thinking “I need loratadine,” they think “my eyes are itching.” Keep the names blunt. “Allergy” beats “seasonal wellness” at eleven at night.
System B: sort by person
Household member sorting handles what the symptom piles can’t: anything belonging to exactly one person stays as that person’s pile. The r/konmari sorter running the symptom-based system kept these deliberately outside it, letting each person’s items live wherever they wanted, and that’s the right call. Forcing single-owner items into a shared system makes it harder to read without helping anyone. It’s the same per-person split that keeps a shared shower workable three feet away.
The household-legibility test
Here’s the actual point of this step. The community version is the “MEDIC” moment from that same thread: someone shouts from another room, and a person who did not build your system has to find the right thing under pressure.
If your categories only make sense to you, the system is already broken. It just hasn’t shown you yet. Run the test before you commit: could your partner or a house guest find the antihistamine in under ten seconds without opening more than one bin?
Backstock is its own pile, and it gets missed constantly. The unopened second box of allergy tablets isn’t the same category as the box you’re taking from. It’s inventory. Give it eye-level space and that’s how eye-level space disappears.
Categories shift, which is the honest problem with committing to any container. A new prescription arrives, a kid outgrows children’s medicine dosing. That’s where removable dividers beat molded compartment bins: the HIHEGD 2-Tier Clear Acrylic Bathroom Organizer with Dividers ships with twelve removable dividers across two slide-out tiers, so the same bin re-partitions instead of getting replaced.
Check a repurposed silverware tray first, though. It already has compartments and costs nothing.
Measure the Shelf Before You Buy Anything
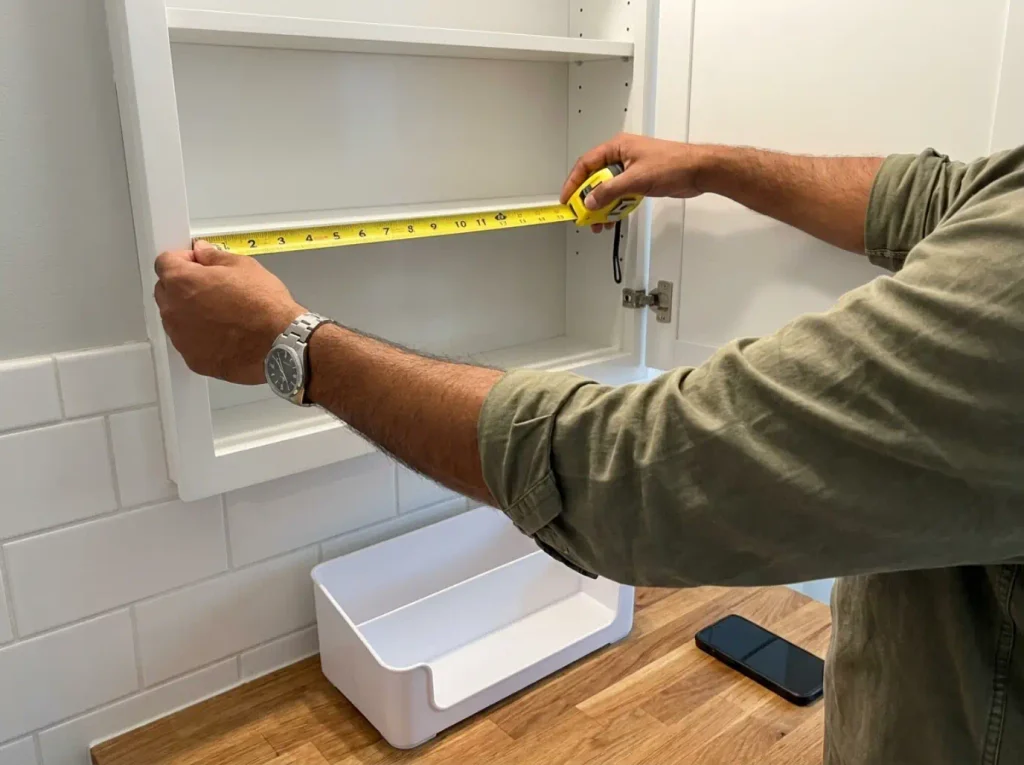
This is the step that costs people money, and it’s a single line in most guides. Half the bins that surface when you search for medicine cabinet organizers are built for kitchen cabinets: they arrive an inch too deep and the mirror door won’t close.
Measure the usable shelf, not the cabinet
These are different numbers, and the gap between them is where the mistakes live. A recessed medicine cabinet, which is what most rentals have, runs roughly 3.5 to 5 inches deep overall.
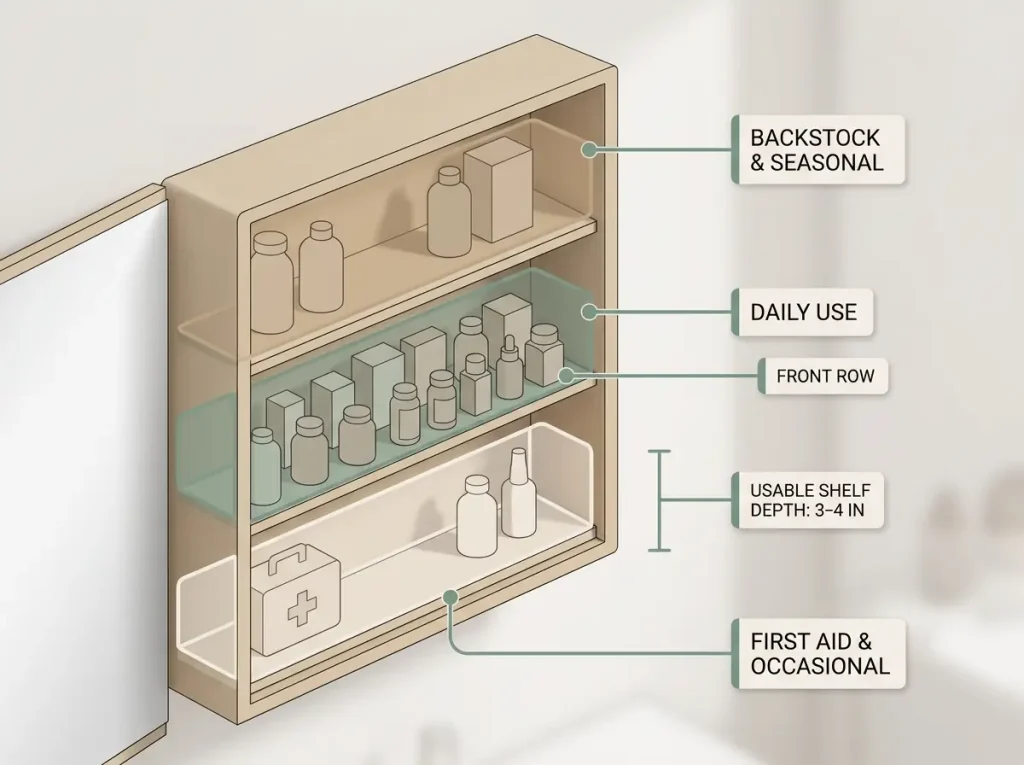
The frame and door swallow part of that, so the usable shelf typically lands at 3 to 4 inches deep. Surface-mounted units can reach 8. Your shelf measurement is the number that matters, and it’s smaller than the one on any spec sheet.
Measure width and the gap between shelves too. Height decides whether a tall bottle stands or lies down. Width decides whether two bins fit side by side.
Type the three numbers into your phone notes as depth by width by height, in that order, with the word “cabinet” in front of them. You will be standing in an aisle or scrolling listings when you need them, and a photo of a tape measure is not a searchable number.
Two ways out of a shallow shelf
Once you have the number, you have two options. Buy something built to that depth, or something that lies flat instead of standing up. Everything else (including most of the clear plastic bins and acrylic bins that dominate the search results) is a bin that keeps the door from closing.
For the first branch, the iDesign 43130 Med+ Plastic High-Rise Bathroom Medicine Cabinet Organizer measures 12 x 3 x 5.25 inches, one of the few organizers sized for a 3-inch shelf rather than the 6-inch-plus depth most listings assume. Check that 12-inch width against your own number — narrow cabinets won’t take it, and neither will one with a center support post.
The second branch sidesteps depth entirely. A flat weekly pill organizer like the Ezy Dose Weekly AM/PM Pill Organizer lies down on the shelf, so depth stops being a constraint, and it separates daily doses from the backstock behind them. The limitation, plainly: it only handles pills.
I used to point people straight at a bin here. Enough shallow-cabinet threads end with the same complaint about the door not shutting that under four inches, the flat-profile option deserves to go first.
Before either purchase, cut a shoebox down to your measured depth or test one of the dollar-store organizers against the shelf. If that budget organizer fits and holds its pile, the bin is optional. That’s the same measure-before-you-buy order that works under the bathroom sink three feet below, and it’s why this step sits here: you now know what you’re storing and what it has to fit inside.
Put It Back in Reach Order, Then Label What Isn’t Obvious

The last step decides whether the system runs on its own or runs on your memory. Reach order does most of that work for free.
Assign the shelves by how often you reach
Daily use goes at the easiest reach: middle shelf, front row, nothing parked in front of it. A flat pill organizer earns that spot because it sits there without eating depth.
Seasonal and occasional items go above or below. Backstock goes furthest from your hand, because inventory does not need a prime position. Give backstock a good spot and it will hold it for a year while the thing you use daily migrates to the counter.
Label the category, not the item
Bottles already say what they are. Nobody needs a label reading “ibuprofen” stuck to a bottle reading “ibuprofen.”
What isn’t obvious is where one bin stops and the next begins. Does the cold medicine bin include the throat lozenges, or do those live with allergy? That’s what a person who didn’t build the system gets wrong every time, so label the boundaries.
Masking tape and a marker does this for free. It just needs redoing, because humidity is what takes labels off a bathroom cabinet: paper curls, ink runs, adhesive lets go after a few months of steam.
Laminated tape is still readable next year. A label maker like the Brother P-Touch PTD220 loaded with Brother TZe-231 laminated label tape handles it, and it’s the tape doing the real work, not the machine. If you already own a label maker, buy the laminated cartridge and skip the rest.
Renter and no-drill options
Command hooks are the renter-friendly answer here: on the inside of the cabinet door, they hold what shouldn’t lie flat. Three of them, straight from the community thread, carrying a first-aid pouch, a hairbrush, and a carabiner of hair ties. No holes, and it buys back a shelf’s worth of space.
Press them onto a clean, dry surface and let them cure the full time on the package. Keep the load light on a mirrored door. A hook letting go at two in the morning is a bad way to learn the gap between rated and actual weight. For the rest, the renter bathroom storage playbook covers the same thinking across the room.
The humidity problem nobody plans for
A bathroom is the most humid storage spot in the house, and the cabinet sits directly above the sink generating most of it. Cardboard softens, bandaid wrappers lose their seal, effervescent tablets fuse into a single disc.
A rechargeable indicating silica packet handles the margins of this. Dry & Dry Rechargeable Silica Gel Packets change color when saturated and go back in a low oven to reset, the only version of a desiccant that survives in a real household: it tells you when to act instead of asking you to remember. It won’t dehumidify the cabinet, so treat it as protection for the things that suffer, not a climate fix. For anything that genuinely can’t take the damp, moisture-resistant containers with a gasket seal do more than any desiccant will.
Closing the Door on a Cabinet That Holds
The order is the method, and it’s what makes this single-session organizing rather than a project that sprawls across a weekend. Empty, purge, sort, measure, contain, put back. Jump straight to buying and you buy twice, and the second purchase is the one that fits.
If you can’t identify it, it goes — the single hard rule in this whole process, and the one that makes everything else in the cabinet safe to grab without thinking. And a system only you can read isn’t finished: someone else in the house has to find the allergy tablets without calling your name.
Open the door again in three months and look at what has drifted into the front row. Forget the before and after photos: that front row is what your household actually uses. If it doesn’t match what you assigned to that spot, move the assignment rather than fighting the habit. The habit wins.
Set a timer for forty minutes and empty the cabinet onto a towel. That’s the whole first step, and it’s the only one that needs a decision from you before you start.
Frequently Asked Questions
01What are common medicine cabinet mistakes?
Buying containers before sorting is the expensive one, because you end up with bins sized for a pile you had not seen yet. The other two: organizing in place instead of emptying the cabinet first, and keeping anything you cannot positively identify.
02How can I effectively organize my medicine cabinet?
Work in a fixed order: empty it completely, purge and dispose of anything expired or unidentifiable, sort what is left into categories, measure the usable shelf depth, then buy containers and put everything back with daily-use items at the easiest reach. The order matters more than the containers do.
03Where do most people keep their medicine cabinet?
Behind the bathroom mirror, which is also the most humid storage spot in the house. That is worth working around rather than fixing: it is why laminated labels outlast paper ones there, and why anything moisture-sensitive does better in a bedroom drawer or a linen closet.
04What should be in every medicine cabinet?
Pain and fever relief, an antihistamine, something for stomach upset, adhesive bandages and antiseptic, plus whatever prescriptions are in current use. Serious first-aid supplies work better in a grab-and-go container elsewhere, since a shared bathroom is a poor place to find a bandage in a hurry.