You mount an adhesive shelf in the bathroom on Saturday. Load it up with shampoo, conditioner, a razor. By Tuesday, it’s on the floor, along with everything that was on it. This is the most common renter bathroom story, and it always has the same root cause: the wrong product on the wrong surface.
I’ve organized enough rental bathrooms to know that the fix is never just “buy a better shelf.” It starts with a tape measure and ends with understanding which products actually work in humid environments and which ones will quietly cost you part of your deposit even though the packaging says “damage-free.”
This guide covers the four measurements to take before ordering anything, zone-by-zone storage that’s genuinely deposit-safe, and the specific reason most “renter-friendly” adhesive products fail in bathrooms.
Quick Answer: The most reliable renter bathroom storage setup combines measurement-first planning with the right product for each zone:
- Measure over-toilet width, under-sink pipe position, shower height, and door swing before buying anything
- Use freestanding shelves (over-toilet units, slim carts) for zero wall contact and zero deposit risk
- Choose tension pole caddies for shower storage instead of suction cups
- Use Command Bath strips (blue adhesive) for anything adhesive in a bathroom, never regular Command strips
- Put felt pads under every rubber foot on freestanding units to prevent floor staining
- Check your tile surface type before buying suction cup products
Before You Buy: The Four Measurements Renters Always Skip
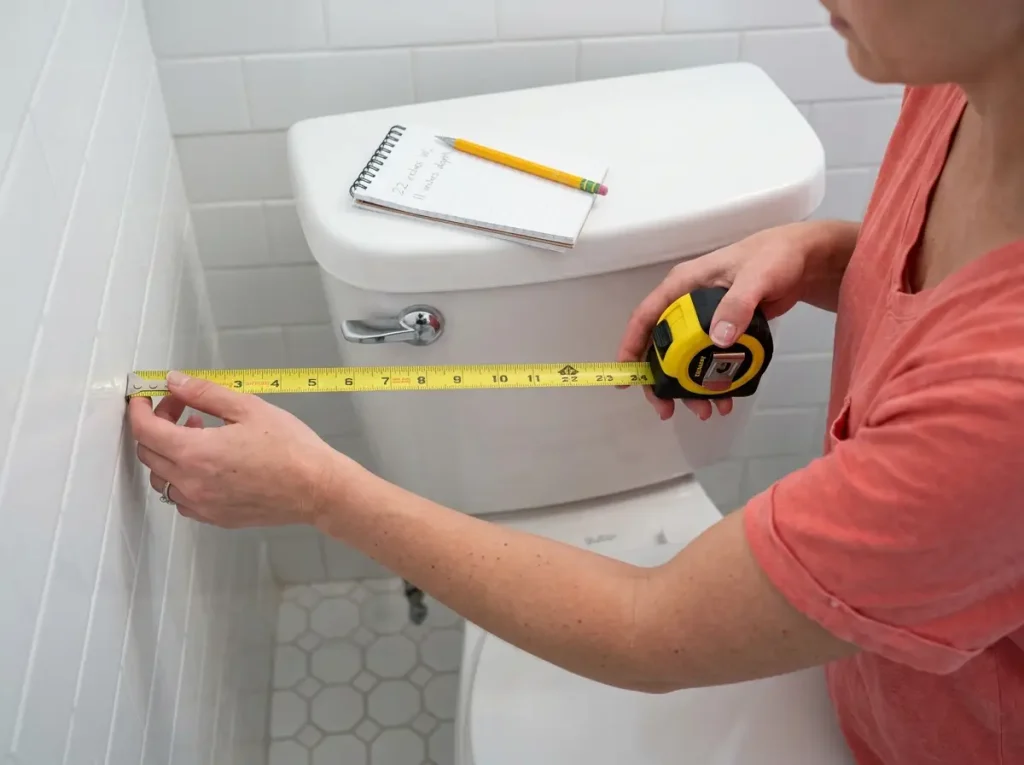
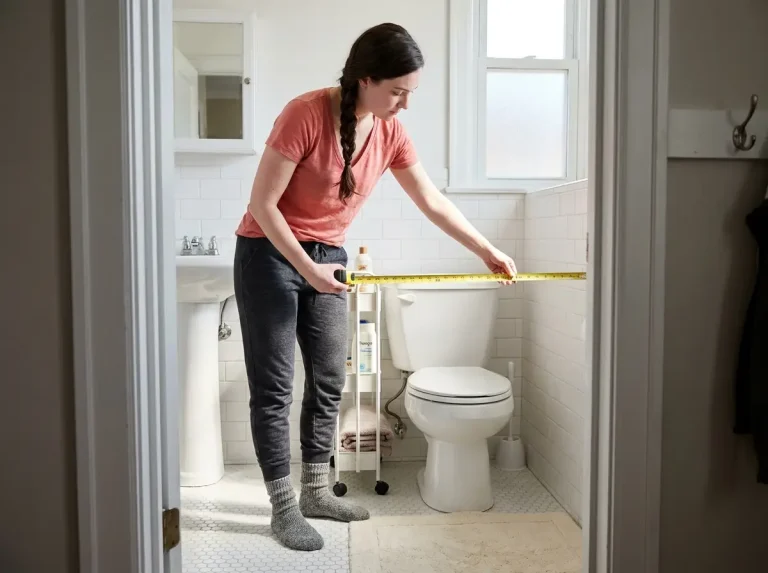
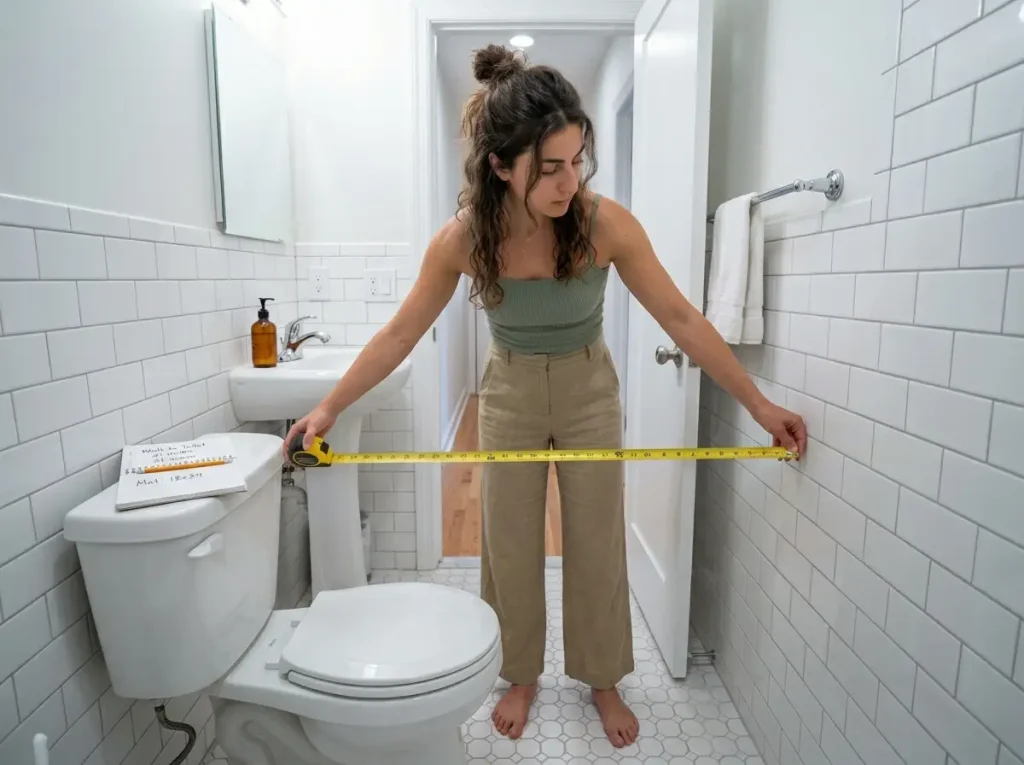
Every bathroom storage return starts the same way: someone ordered first and measured second. The over-toilet shelf that’s 24 inches wide for a wall clearance that’s only 21 inches. The tension pole caddy that doesn’t reach the ceiling. The over-door organizer that blocks the cabinet when the door swings open. One session with a tape measure prevents all of these, and it takes about five minutes.
If you want to see how these measurements fit into the seven-zone small bathroom storage system, that covers the broader framework. For renters, these four numbers come first.
Over-Toilet Space: The Three Numbers That Matter
Grab your tape measure and check three things at toilet level. First, wall-to-wall width. Not the width of the toilet tank, but the full clearance from the left wall to the right wall where a freestanding unit would stand. Most over-toilet shelves are 23–24 inches wide. If your wall-to-wall clearance is under 24 inches, that popular unit won’t fit, and you’ll find out after full assembly when the return window is already closed.
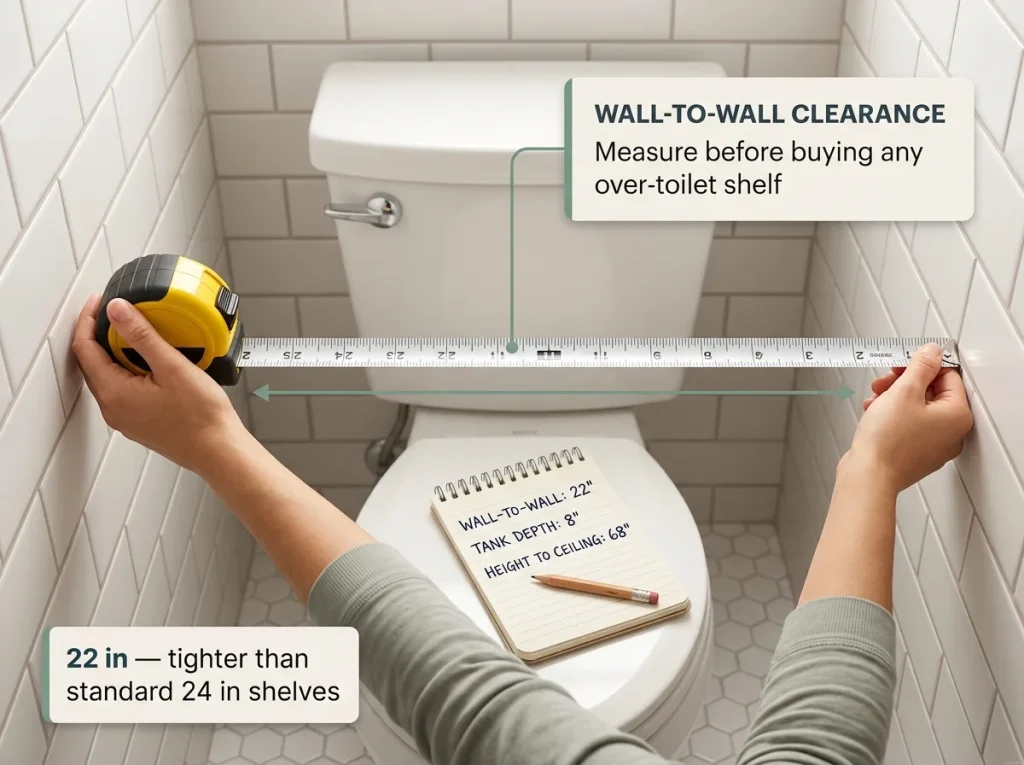
Second, measure the depth from the wall behind the toilet to the front of the tank. Standard toilet tanks sit 7–9 inches from the wall. Your over-toilet unit needs to be deeper than the tank, and 11 inches is the sweet spot that clears most tanks with room to spare. Third, note the height from the toilet tank lid to the ceiling. This determines how many shelves you can fit above the tank before the unit hits the light fixture or makes the space feel cramped.
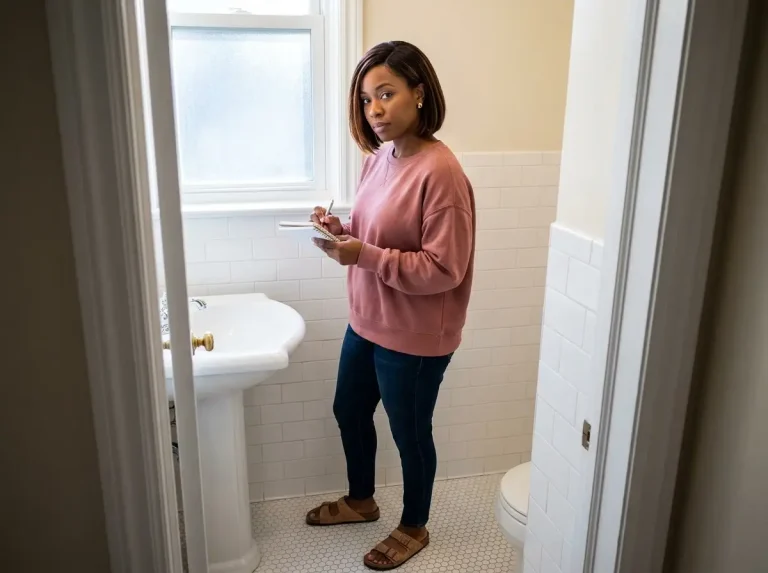
Pro tip: Write these three numbers on your phone before you start browsing. Every product listing shows dimensions. If the unit width is wider than your wall-to-wall measurement, close the tab and move on. You’ll save yourself two hours of assembly and a return that may not be accepted.
Under-Sink and Shower: The Two Other Critical Measurements
Open the vanity doors and measure the interior cabinet width. Standard vanities run 30–36 inches wide, but the P-trap pipe in the center steals 6–8 inches of usable space. Measure left of the pipe and right of the pipe separately. Those two numbers are what you actually have to work with.
For the shower, measure floor to ceiling inside the shower stall. Compare that to the pole range of whatever tension caddy you’re considering. The OXO Good Grips Quick-Extend Aluminum Pole Caddy adjusts from 62 to 108 inches, which covers most standard apartment showers. But you also need at least 6 inches of clearance above the shower head for the pole to tension properly. If your ceiling is lower than the pole’s minimum, the caddy can’t compress enough to hold.
The Door Swing Check
Stand outside your bathroom door. Open it fully. Measure how far it swings into the room. Does it hit the vanity, the toilet, or the wall? An over-door organizer adds 3–4 inches of depth to the door. If the door already barely clears the vanity when open, an organizer will smack the cabinet every time someone walks in.
Also check your door material. Knock on the center panel. If it sounds hollow, you have a hollow-core door, which is standard in most apartments. Hollow-core doors handle about 20 pounds of over-door weight before the frame starts warping. Plan your storage accordingly: lighter items only.
Over-the-Toilet Storage That Won’t Cost You Your Deposit
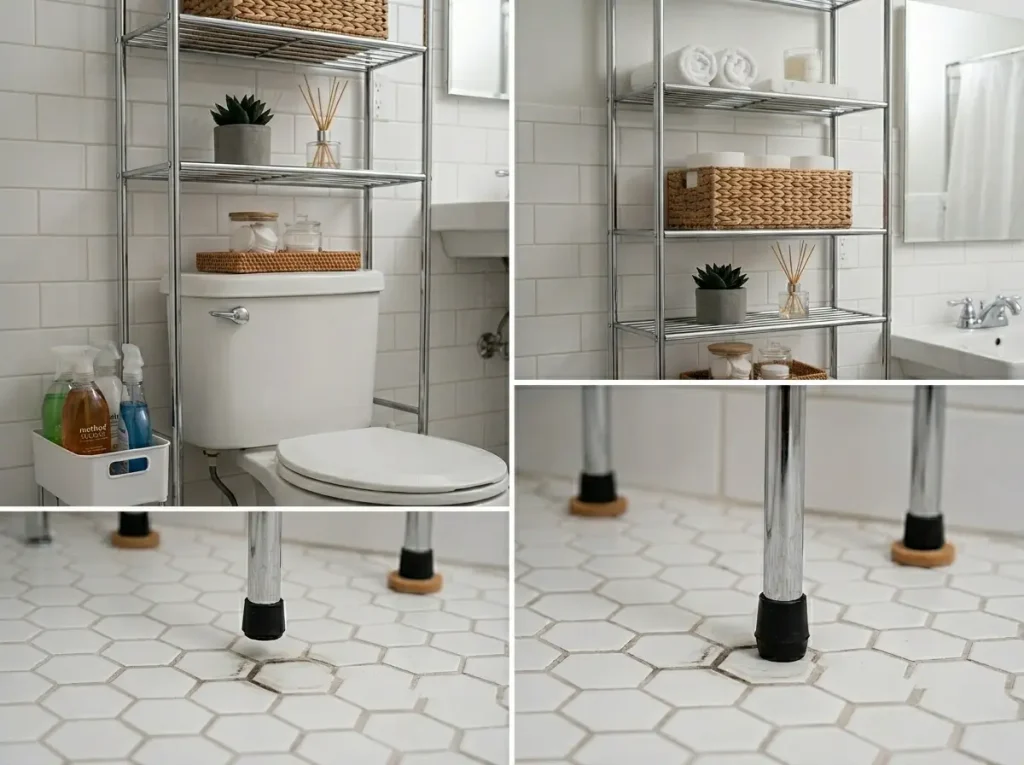
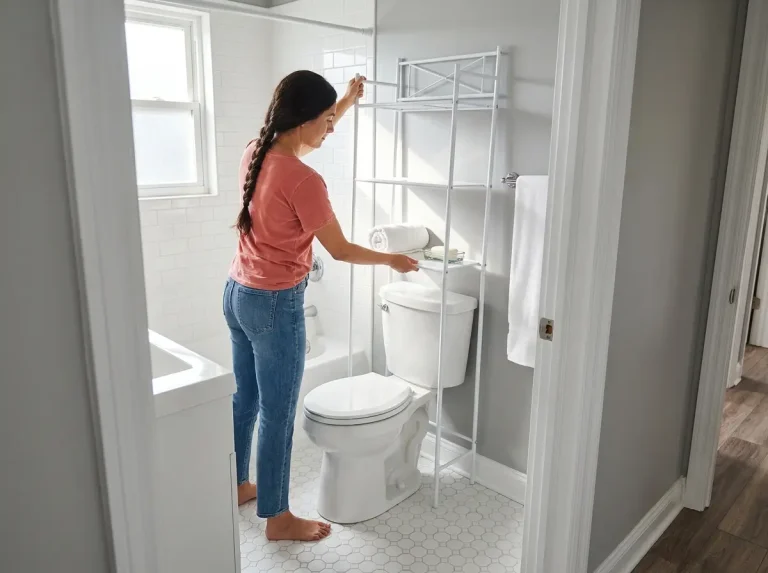
Freestanding over-toilet units are the most common renter bathroom solution for good reason: no drilling, no adhesive, no wall contact. You set it up, use it for a year, disassemble it when you move, and the bathroom looks exactly like it did on move-in day. Except for one problem nobody talks about until the move-out inspection.
Freestanding Shelves: What to Check Before Buying
Width and depth are the two numbers that matter most. The Honey-Can-Do 4-Tier Chrome Over-Toilet Storage Shelf runs 24 inches wide by 68 inches tall by 11 inches deep. The 11-inch depth clears standard toilet tanks, and four tiers give you serious vertical storage in a space that was otherwise dead air. Chrome finishes hold up in bathroom humidity where wood composites can swell and warp within a few months.
Before ordering, confirm your wall-to-wall measurement from the first section is at least 24 inches. If it’s tighter, the Honey-Can-Do 3-Tier (BTH-05079) runs 23 inches wide with three shelves instead of four. Smaller footprint, fewer shelves, but it fits spaces where the 4-tier can’t. If you’ve tested six different over-toilet configurations, you know that the fit check matters more than the shelf count.
Check whether the unit has an adjustable bottom bar. An adjustable bar accommodates different toilet heights, and standard and comfort-height tanks sit at different levels. A fixed bottom bar that works for one may not clear the other. Better fit means less wobble. Wobble becomes a real problem once you load up four shelves with toiletries, towels, and a plant.
The Rubber Foot Problem and the Felt Pad Fix
Here’s the deposit risk nobody warns you about: the rubber feet on your “completely safe” freestanding shelf.
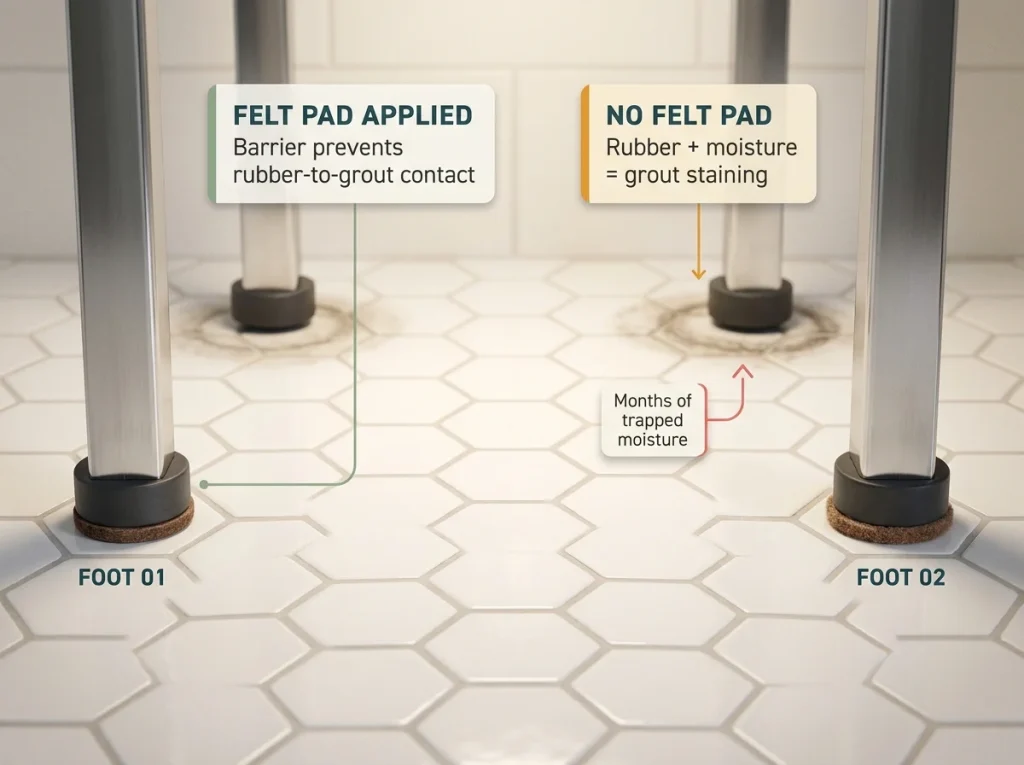
After six months of bathroom humidity, moisture gets trapped between the rubber foot and the tile. The rubber compound reacts with the moisture and the grout, leaving dark discoloration rings at each foot. Four feet, four marks. You discover them during the move-out walkthrough, and the landlord calls it “surface damage.” One renter put it plainly: the foot marks counted as damage on a shelf they thought was completely safe.
The fix costs almost nothing and takes two minutes: stick-on felt pads under every rubber foot before you place the unit for the first time. Not after a month, not when you notice staining. Before first use. The felt creates a barrier between the rubber and the tile surface. If your unit is already in place, lift each leg one at a time, clean the spot with a damp cloth, let it dry completely, then apply the pad.
Pro tip: Use the thick furniture felt pads (1-inch round works for most shelf feet), not the thin craft felt. The thick ones create enough air gap to prevent moisture from pooling between the pad and the tile.
Toilet Tank Organizers as a Free Second Zone
The top of the toilet tank is a shelf that already exists. A wicker basket or a ceramic tray on the tank lid adds organized storage at zero cost, zero modification, and zero deposit risk. The tank lid is ceramic and handles 10–15 pounds without issue.
Keep this zone simple: rolled hand towels, a spare roll of toilet paper, a small plant or candle. Items that look intentional, not items that migrated there because the counter ran out of room.
Under-Sink Organization Built Around the Pipe
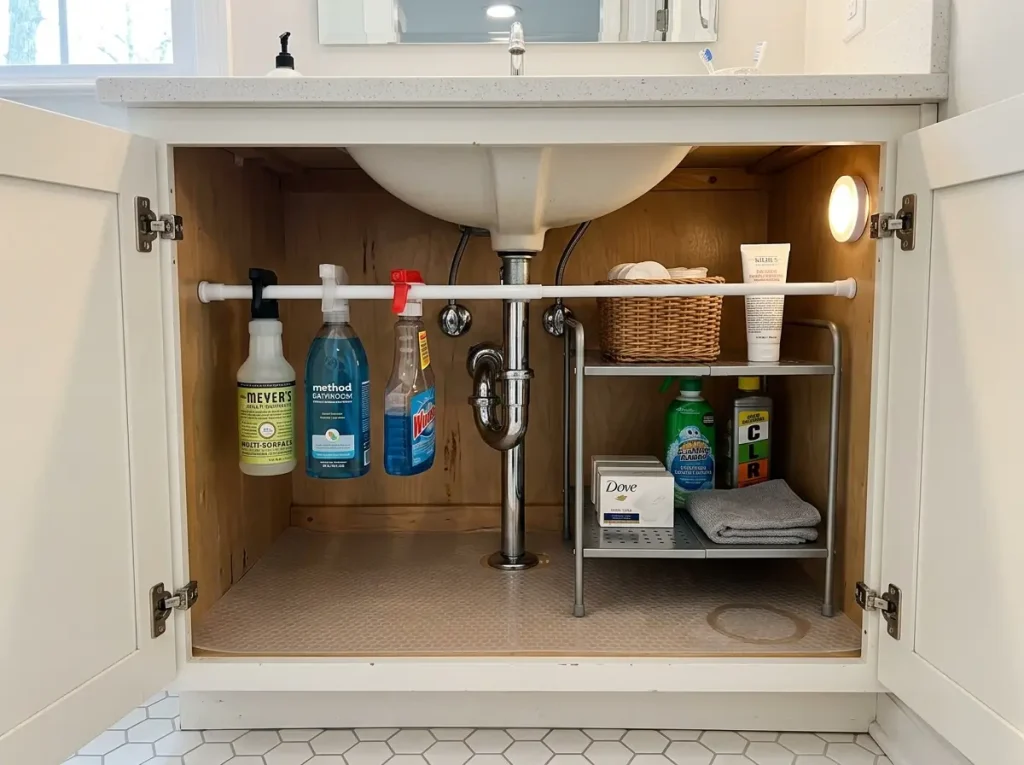
The cabinet under your bathroom sink is probably a mess right now. Not because you lack organizational skills, but because the space is designed around a pipe that cuts the cabinet in half and makes every standard organizer useless. Stackable bins can’t span the P-trap. Turntables hit the pipe mid-rotation. Fixed-width caddies are too wide for either side.
Stop fighting the pipe. Organize around it.
The Pipe-Zone Framework
Open both cabinet doors and look at the P-trap in the center. You have two usable sections: left of the pipe and right of the pipe. In a standard 30–36 inch vanity, that gives you roughly 12–15 inches on each side. Measure both separately.
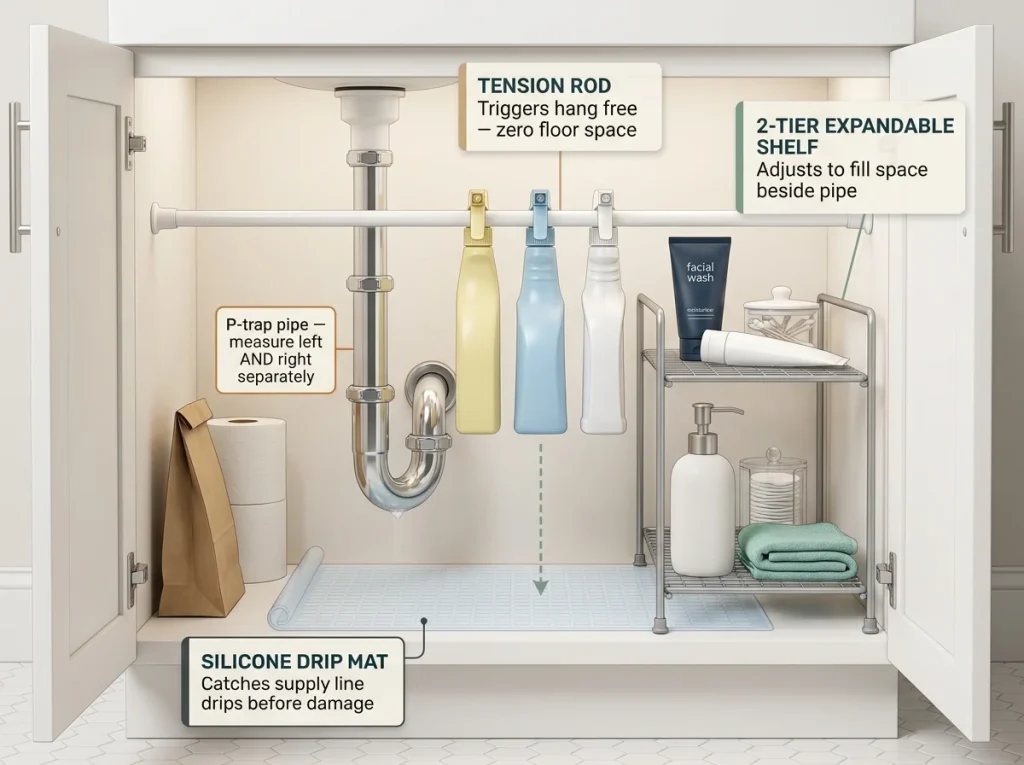
Assign each side a role based on access. The side you can reach without crouching gets daily-use items: face wash, hand soap refill, hair products you grab every morning. The far side holds backstock like extra toilet paper, bulk refills, and cleaning supplies you reach for once a week. If the pipe runs high in your cabinet, the floor underneath is the best real estate in the cabinet. If it runs low, the space above the pipe curve is where your organizer tiers go.
The SimpleHouseware Under-Sink 2-Tier Expandable Shelf Organizer adjusts from 15.75 to 25 inches wide and has four shelf height settings. That adjustability is the reason it works where fixed-width bins don’t. The shelves sit at different heights to straddle the pipe curve, and each tier holds at least 22 pounds, which is more than enough for bathroom supplies.
Expandable Organizers vs. Stackable Bins Under the Sink
Stackable bins look logical. But the P-trap creates an uneven layout with a pipe running through the center. A fixed-footprint bin either fits one side and wastes the other, or spans the full width and collides with the pipe.
Expandable organizers solve this because they adjust to whatever width you have available. The height-adjustable shelves let you position one tier above the pipe curve and one below. You end up using the full cabinet volume instead of the flat floor space on one side.
I wasted three stackable bin sets before figuring this out. They couldn’t span the pipe. The expandable shelf with adjustable heights was the first one that actually worked. If you don’t have a vanity cabinet at all, the approach shifts entirely. Check the guide on building storage around a pedestal sink for that scenario.
Tension Rod and Drip Mat Add-Ons
A tension rod stretched across the cabinet interior turns vertical space into usable space. Hang spray bottles from their trigger handles. They dangle freely, taking up zero floor space and leaving room for the expandable organizer below. This costs nearly nothing if you have a spare tension rod.
Measure your cabinet opening width first. The rod needs to extend at least 2 inches past the cabinet interior on each side to tension properly. Most bathroom vanity cabinets are 28–34 inches wide, and a standard adjustable tension rod covers that range easily.
Finish the setup with a silicone drip mat on the cabinet floor. Supply line connections can weep small drips over time. The mat catches them before they damage the cabinet bottom. It’s a deposit protection layer that also makes monthly cleanup simpler.
Shower Storage That Stays Put
A suction cup caddy sounds like the perfect renter solution: no drilling, no adhesive, just press and done. The problem is your tile. Most apartment shower tile is textured or has grout lines, and suction cups need a flat, smooth, non-porous surface to create a seal. If your caddy keeps falling, it’s not defective. It’s a tile mismatch.
Tension Pole Caddies — Setup for Rental Showers
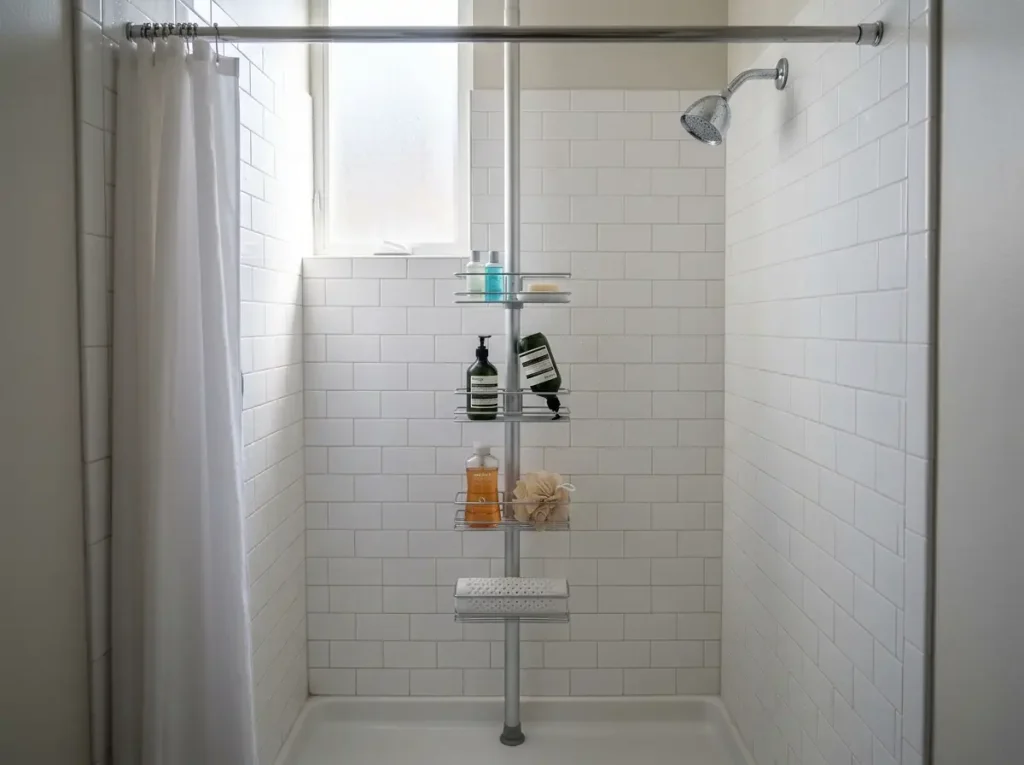
Tension poles are the most reliable shower storage option for renters because they work regardless of tile type. The pole compresses between your shower floor and ceiling. No wall contact, no adhesive, no surface compatibility questions.
The OXO Good Grips Quick-Extend Aluminum Pole Caddy adjusts from 62 to 108 inches with four adjustable shelves. The rust-proof anodized aluminum is the detail that matters most here. Chrome-plated steel alternatives look identical in product photos but corrode within months in a shower’s daily steam cycle. No tools required to install.
To set up: extend the pole to your measured floor-to-ceiling height plus 1–2 inches of compression. Stand it vertical, push the top pad against the ceiling, and let the tension hold. Confirm you have at least 6 inches of clearance between the pole top and your ceiling, because any less and the pole can’t compress enough to stay stable.
If you want to see how shower storage connects to the zone-by-zone approach to small bathroom storage, that covers the broader framework.
Suction Cups — Know Your Tile Before You Buy
Suction cups create a low-pressure seal between the cup and the wall. Any gap in that seal, whether from a grout line, a textured ridge, or a porous stone finish, breaks the pressure differential and the cup releases. This isn’t a quality issue. It’s physics.
Run this test before buying any suction cup product: press a suction cup flat against your shower tile. Release it. Count to 30. If it holds with no air leaking in, suction cups will work on your tile. If it slips, falls, or you hear air entering the seal, your tile won’t support suction products. Skip them entirely.
Smooth, glazed ceramic subway tile (the flat, shiny kind) usually works. Textured stone-look tile, matte-finish tile, and any surface with visible grain or ridges usually doesn’t.
Adhesive Corner Caddies — The Command Bath Distinction
If you’re mounting anything adhesive in a shower or elsewhere in the bathroom, use Command Bath strips. They have a blue adhesive strip on the back. Standard Command strips (red adhesive strip) are not rated for humidity. They soften in shower steam and release, usually at night when the temperature drops and the weakened adhesive shifts under the weight of whatever’s hanging from it.
Prep protocol: wipe the tile surface with rubbing alcohol to remove soap film and oils. Press the strip firmly for 30 seconds. Wait one full hour before loading any weight. Skip the one-hour cure and the adhesive hasn’t bonded properly. The shelf holds for a day, then comes down the next night.
Weight limits matter more than you’d expect. A large Command Bath strip pair holds 5 pounds max. A full bottle of shampoo weighs about 1.5 pounds. Two full bottles plus a caddy can blow past that limit quickly. Load lighter than you think you need to.
Counter and Door Storage for the Two Zones Most Renters Ignore
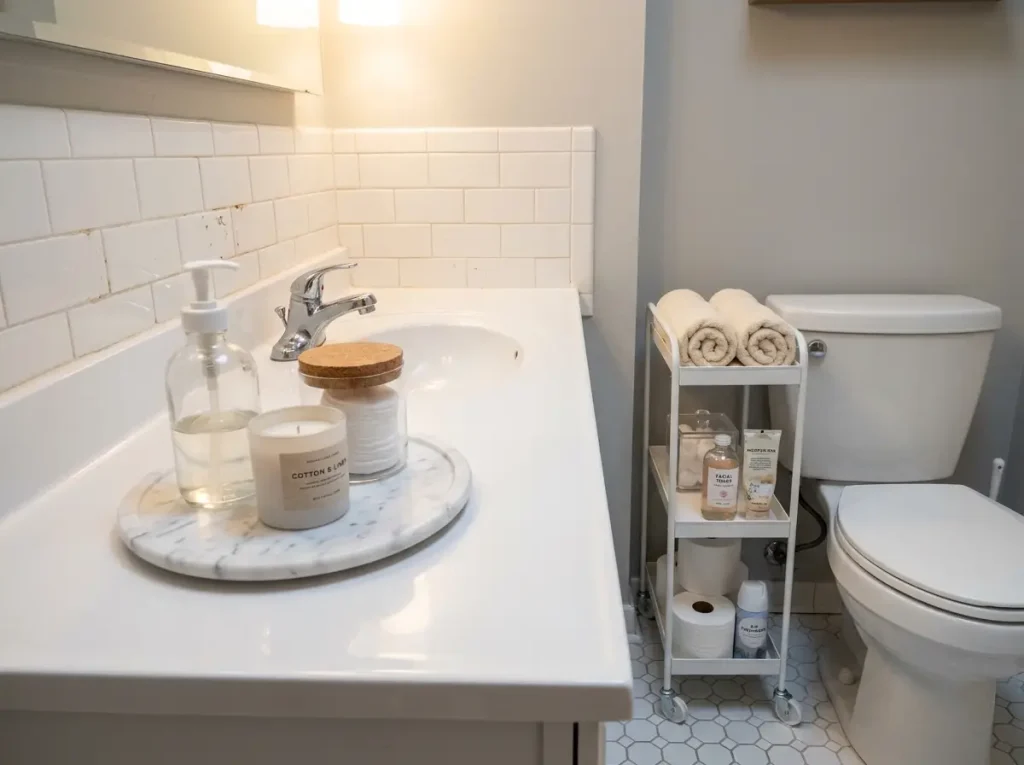
Your bathroom counter has no boundary on what can sit on it. That’s why it turns into a dumping ground: toothpaste, hair ties, three different moisturizers, a razor, last week’s contact lens case. The back of your bathroom door has the opposite problem, dead space that sits completely unused. Both zones are fixable without touching a wall.
The One-Tray Counter Rule
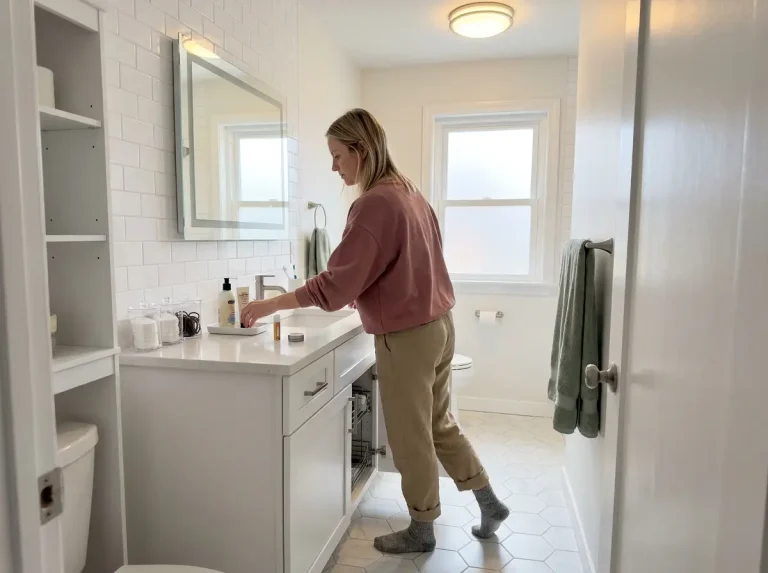
One small tray defines your counter territory. A round or rectangular tray, roughly 8–10 inches across, holds your daily essentials: soap dispenser, one skincare item, maybe a candle. Everything else goes in the under-sink organizer, the over-toilet shelf, or the shower caddy.
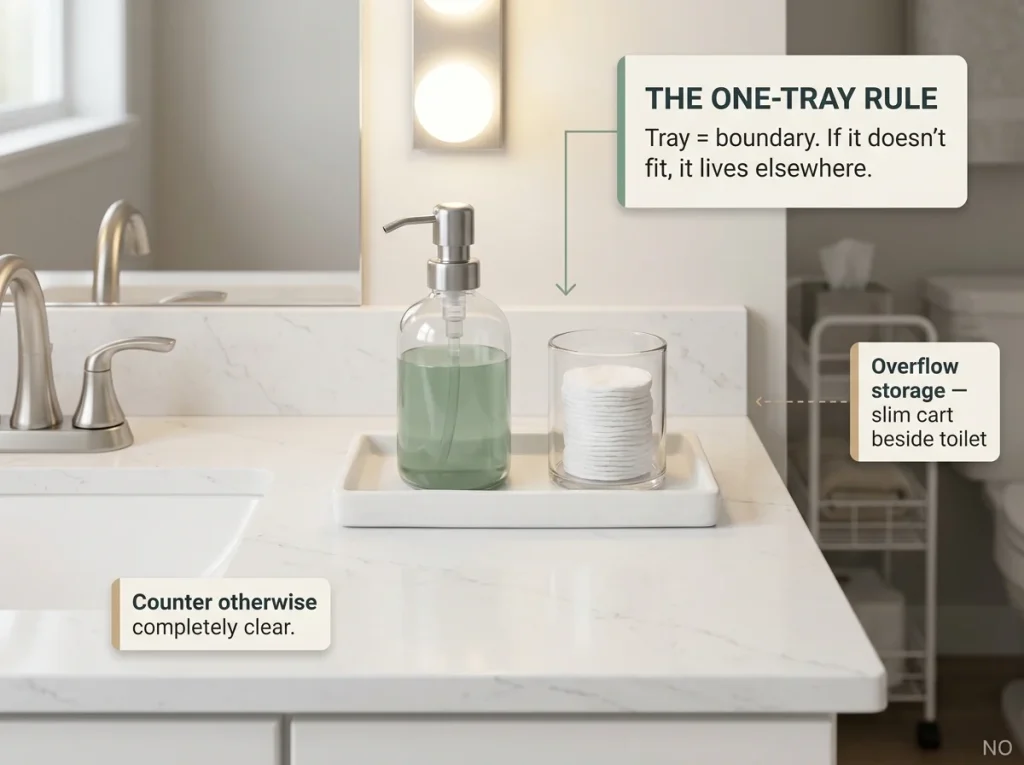
The tray works because it creates a physical boundary. Without it, items spread to fill every inch of available counter. With it, the tray is the container: if something doesn’t fit in the tray, it lives somewhere else. Use ceramic, acrylic, or stone trays in the bathroom. Untreated wood trays warp in bathroom humidity within a few months.
For a deeper comparison of organizers matched to each zone, check out a full guide to bathroom organizers by zone.
Over-Door Organizers — Fitting Your Specific Door
An over-door organizer hangs from the top of your bathroom door and adds a dozen or more storage slots in zero floor space. Standard over-door hooks fit door frames 1.5–2 inches thick. Measure your door frame thickness before ordering. A hook designed for a 1.5-inch frame will wobble on a 2-inch frame, and vice versa.
Refer back to your door swing measurement from the first section. If the door already clears the vanity by less than 4 inches when open, an over-door organizer will likely hit the cabinet. In that case, use the door for a towel hook instead and move your storage to the toilet-side gap.
Keep the total weight under 20 pounds on a hollow-core door. Stock it with lighter items: toiletry bottles, hair tools, cleaning spray. If you hear the frame creaking when the door opens, you’re over the limit.
The Slim Cart for the Toilet-Side Gap
The 6–12 inch gap between your toilet and the adjacent wall or vanity is dead space in most rental bathrooms. One renter had a 7-inch gap sitting unused for three years before a slim cart turned it into more storage than the shelf they’d had on the wall.
The mDesign Slim Slide-Out Rolling Storage Cart runs roughly 6 inches wide and fits the standard toilet-side clearance. Rolling wheels let you pull it out for cleaning without disassembling anything. Zero wall contact means zero deposit risk.
Before ordering, measure your gap width at the floor, not at toilet-tank height where the tank may be narrower than the base. The usable range for a slim cart is 6–8 inches. Below 6, even a slim cart won’t fit. Above 8, you have room for a wider freestanding shelf instead.
Pro tip: Rolling carts need a flat floor to roll smoothly. If your bathroom has highly textured tile with deep grout lines, the wheels will catch. Test by sliding a flat box across the floor in that gap. If it catches, the cart will too.
Why “Renter-Friendly” Products Fail in Bathrooms
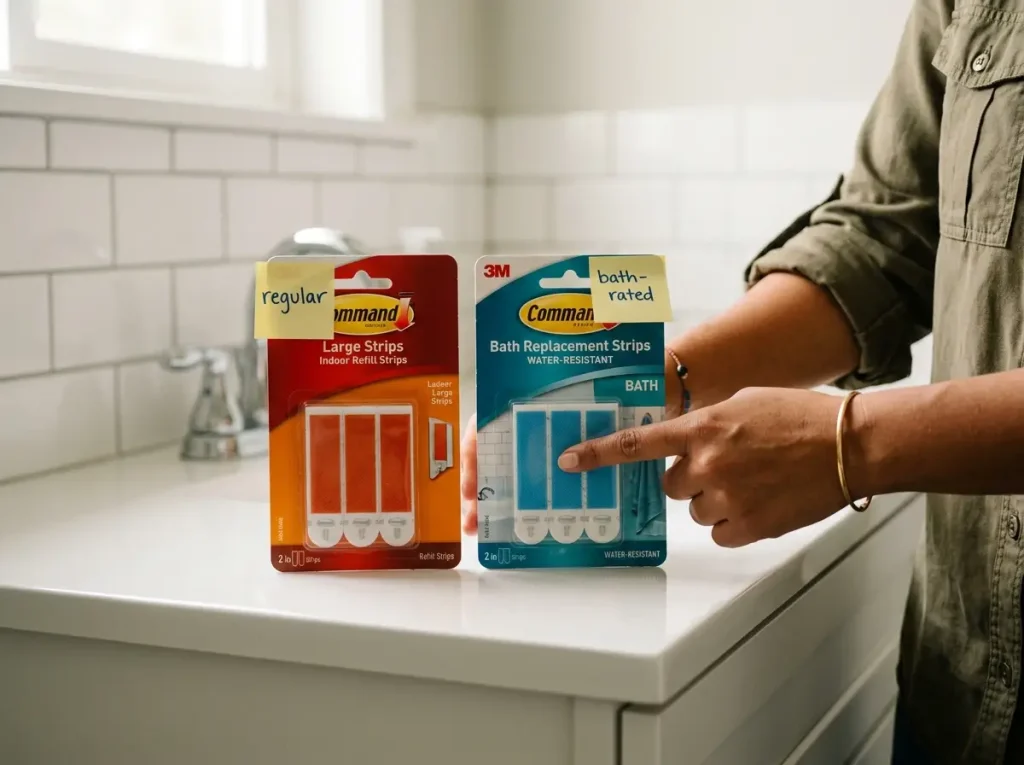
Every product in this article is marketed as renter-friendly. But “renter-friendly” on the packaging and “deposit-safe after twelve months of bathroom humidity” are two different claims. This section covers the mechanics behind the failures that actually cost renters money at move-out.
Why Adhesive Products Fall (The Humidity Chemistry)
The instructions on Command strips say “press firmly for 30 seconds.” What they don’t specify prominently enough is which adhesive formulation you need for a bathroom.
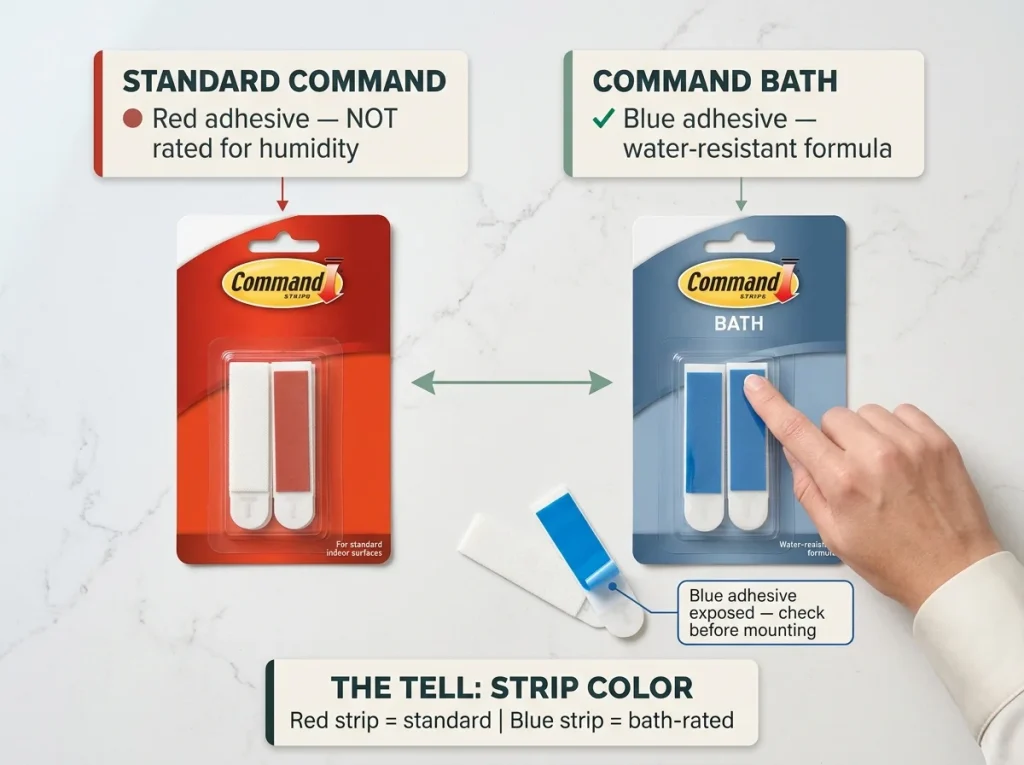
Standard Command strips use a red adhesive formulated for normal indoor environments: bedrooms, living rooms, kitchens. Command Bath strips use a blue adhesive with a water-resistant formulation rated for 15°F–125°F. The strip color is the tell, and most renters don’t know it exists until after the first shelf hits the floor.
Here’s the failure sequence: you take a long hot shower. Steam creates a warm, humid microclimate on the wall surface. The tile heats up, the air saturates. Standard adhesive softens in that environment. The bond weakens gradually, holding for days or weeks while silently degrading. Then the temperature drops at night. The softened adhesive shifts under the weight of whatever’s hanging from it. The shelf comes down at 2 AM, and the shampoo bottle that lands in the tub wakes up the entire apartment.
The Command Bath Large Replacement Strips hold up to 5 pounds per pair with the water-resistant blue adhesive. Use them for any adhesive mount in a bathroom, not just the shower but anywhere humidity from hot water creates that microclimate. Prep protocol matters every time: rubbing alcohol wipe, 30-second press, one-hour cure. Check the weight limits on 3M’s official Command weight limit guide and load conservatively. A full shampoo bottle weighs about 1.5 pounds. A loaded caddy with three or four bottles adds up faster than most people expect.
Surface caveat: Command Bath strips still require smooth, non-porous surfaces. Glossy tile works. Smooth painted walls in satin or semi-gloss finish work. Flat or eggshell paint finishes do not. The adhesive bonds to the paint layer itself, and when you pull the removal tab, the paint comes with it, leaving a visible bare patch on the drywall. In bathrooms, stick to tile surfaces for adhesive mounting. If your walls are flat-finish paint, use freestanding solutions instead.
Why Suction Cups Fail on Apartment Tile
A suction cup works by compressing against a surface to expel air and create a low-pressure seal. That seal requires continuous flat contact across the entire cup diameter. No gaps, no texture, no interruptions.
A single grout line running under the cup edge breaks the seal. A textured tile surface prevents the cup from ever making full contact. A porous stone tile allows air to seep through the surface itself, slowly equalizing the pressure. In all three cases, the suction weakens over hours or days, and the caddy falls, usually loaded with heavy, wet bottles that shatter on the shower floor.
This isn’t a product quality problem. The suction cup is doing exactly what it’s designed to do. Apartment developers use textured tile because it’s cheaper and hides imperfections. That same texture makes suction cups unreliable. If your tile passed the 30-second test from earlier, suction products can work for you. If it failed, you now understand why, and you know to use a tension pole or Command Bath instead.
The Four Deposit Risks Nobody Mentions
Most “deposit-safe” articles address one risk: drilling holes. Here are the four that actually cost renters money at move-out.
Holes from drilling. The obvious one. Screw holes in tile or drywall are visible and chargeable. Every renter already knows about this.
Rubber feet staining tile grout. The hidden one. Freestanding shelves sit on rubber feet that trap moisture against the tile. Over months, the rubber compound reacts with the moisture and discolors the grout in a dark ring around each foot. Four feet, four marks. Fix: felt pads under every rubber foot before first use, not after you notice staining.
Adhesive pulling paint off drywall. This catches renters who follow the instructions perfectly. Command strips are designed to remove cleanly from the right surfaces. Flat and eggshell paint finishes are the wrong surfaces. The adhesive bonds to the paint layer. When you pull the tab, the paint comes with it, leaving a visible patch of bare drywall. Fix: in bathrooms, use Command Bath on tile surfaces only. Never on painted drywall.
Adhesive residue buildup on tile. Even bath-rated adhesive leaves a thin residue layer when removed. If you leave strips in place for years without replacing them, the residue bonds with bathroom grime and becomes a permanent discoloration. Fix: remove and replace Command Bath strips every 6–12 months. Clean the old spot with a 3M adhesive remover or rubbing alcohol before applying the new strip.
Each of these has a specific, one-sentence fix. But you have to know about them before move-in, not at move-out. If you apply the no-drill approach to closet storage, the same deposit-protection logic applies room by room: felt pads on feet, adhesive on tile only, and a regular replacement schedule.
Conclusion
Three things determine whether your rental bathroom storage survives the lease and whether you get your full deposit back.
First, measure four spaces before ordering anything: over-toilet width, under-sink pipe position, shower floor-to-ceiling height, and door swing clearance. These numbers eliminate wrong-size purchases before they happen.
Second, use Command Bath (blue adhesive strip) for anything mounted with adhesive in a bathroom. Not regular Command. The adhesive chemistry is different, the humidity resistance is different, and this one product swap prevents the most common renter bathroom failure.
Third, protect surfaces from the day you set up: felt pads under every rubber foot, Command Bath on tile only (not on painted drywall), and a 6-month schedule for replacing adhesive strips before residue becomes permanent.
Three-month check: At the three-month mark, press every Command Bath strip firmly to re-seat the adhesive. Check under rubber feet for moisture buildup. Wipe the drip mat under the sink. These three checks take five minutes and prevent the slow-building problems that surface at move-out.
Start with the tape measure. Take the four measurements. Everything that follows, the right shelf, the right caddy, the right cart, becomes a much simpler decision once you have the numbers.
Q1 Can I put shelves in a rental bathroom without losing my deposit?
Yes. Freestanding shelves like over-toilet units, ladder shelves, and slim rolling carts create zero deposit risk because they make no wall contact. Adhesive shelves work on smooth glossy tile with Command Bath strips, but avoid adhesive on painted drywall. Put felt pads under any rubber feet to prevent floor staining.
Q2 What bathroom storage works best when you cannot drill into walls?
A freestanding over-toilet shelf, a tension pole shower caddy, and an expandable under-sink organizer cover the three main zones without a single hole. Add an over-door organizer on the bathroom door for extra slots. Zero drilling, zero adhesive required for this full setup.
Q3 Do Command strips work in a bathroom?
Standard Command strips with red adhesive do not hold reliably in bathroom humidity. Shower steam softens the bond over days or weeks. Command Bath strips with blue adhesive are water-resistant and rated for bathroom environments. Same brand, different product. Check the strip color before assuming your mount is safe.
Q4 What is the best over-toilet storage for a rental apartment?
A freestanding chrome or bamboo over-toilet shelf requires no drilling, no adhesive, and no permanent modification. Measure your wall-to-wall width at toilet level first, since most units are 23–24 inches wide. Apply felt pads to every rubber foot before first use to prevent tile grout staining.
Q5 How do you organize a rental bathroom with no cabinets?
Build vertical storage without touching the walls: a freestanding ladder shelf that leans, a slim rolling cart in the toilet-side gap, and an over-door organizer on the bathroom door. These three pieces together create significant storage from zero permanent modification.
Disclaimer: ClutterlessNest is a participant in the Amazon Services LLC Associates Program. As an Amazon Associate we earn from qualifying purchases. This article may contain affiliate links — if you buy through them, we may earn a small commission at no extra cost to you. We only recommend products we have tested or genuinely believe in.