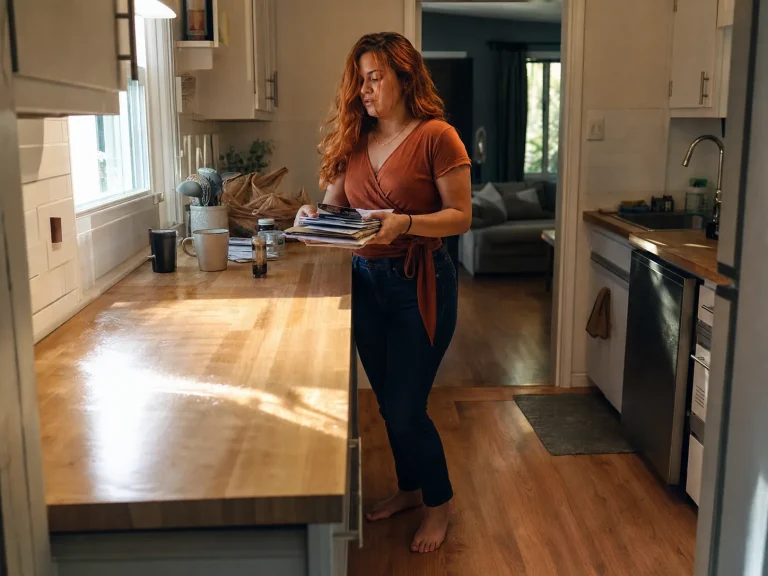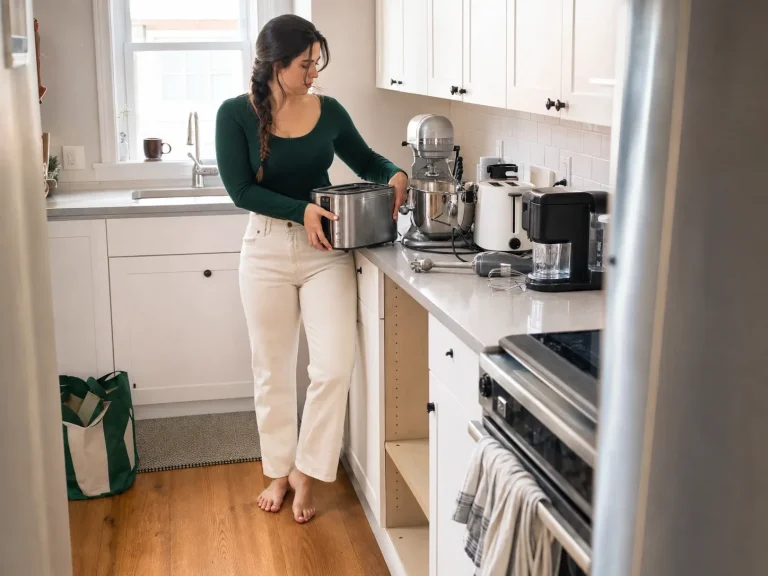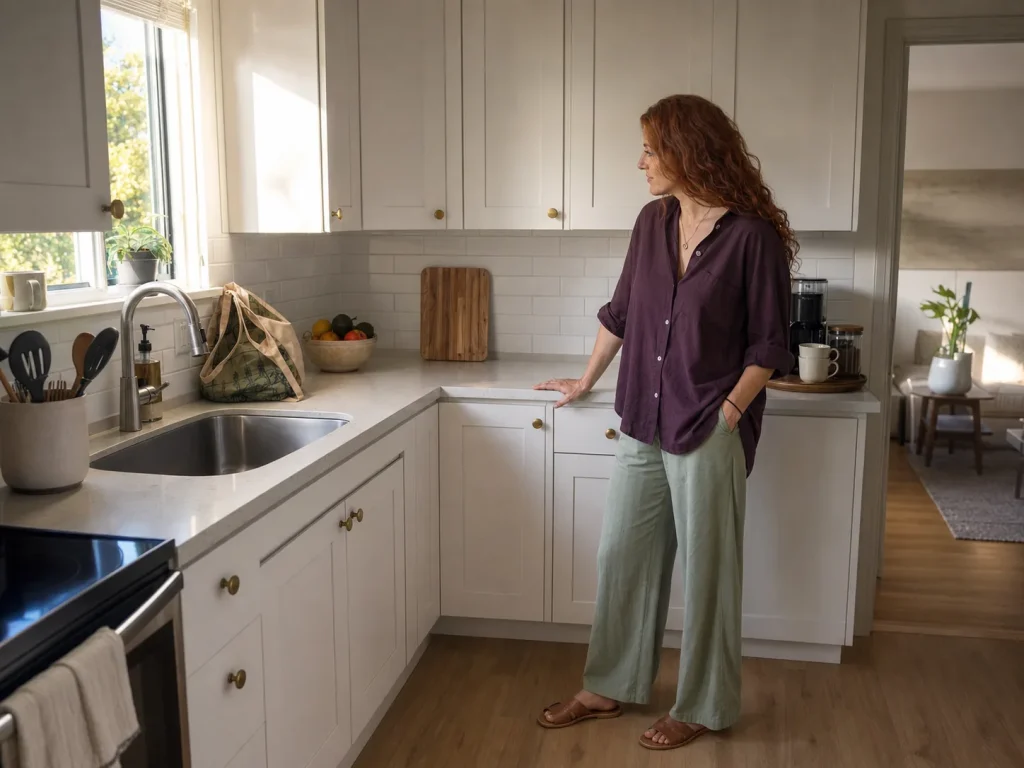
You cleared the whole counter on Saturday. Wiped it down, felt great about it. By Wednesday the mail is back, the toaster never left, and three coffee mugs are staking a claim next to the sink. The prep space you fought for is gone again, and you’re chopping vegetables on a cutting board balanced over the one clear square you have left.
Here’s the part nobody tells you: your counter didn’t get cluttered because you’re messy. It got cluttered because most of the things sitting on it don’t have a home that’s smaller than the counter itself. That’s the real problem with kitchen counter organization, and it’s why the weekend reset never sticks. This guide walks the whole system in order: measure how much counter you actually need clear, do one honest decluttering pass, zone what stays by how you cook, move storage up the wall, hide the appliances that quietly eat your prep space, and build a nightly reset that survives the other people in your house.
Quick Answer
Kitchen counters stay clear when you organize in this order, not when you buy more bins:
- Measure your clutter budget before buying anything
- Do one decluttering pass and relocate non-daily items
- Zone what stays by how you actually cook
- Take storage vertical to free the surface
- Hide the appliances that eat prep space
- Run a 2-minute nightly reset so it lasts
Why Your Kitchen Counters Never Stay Clear
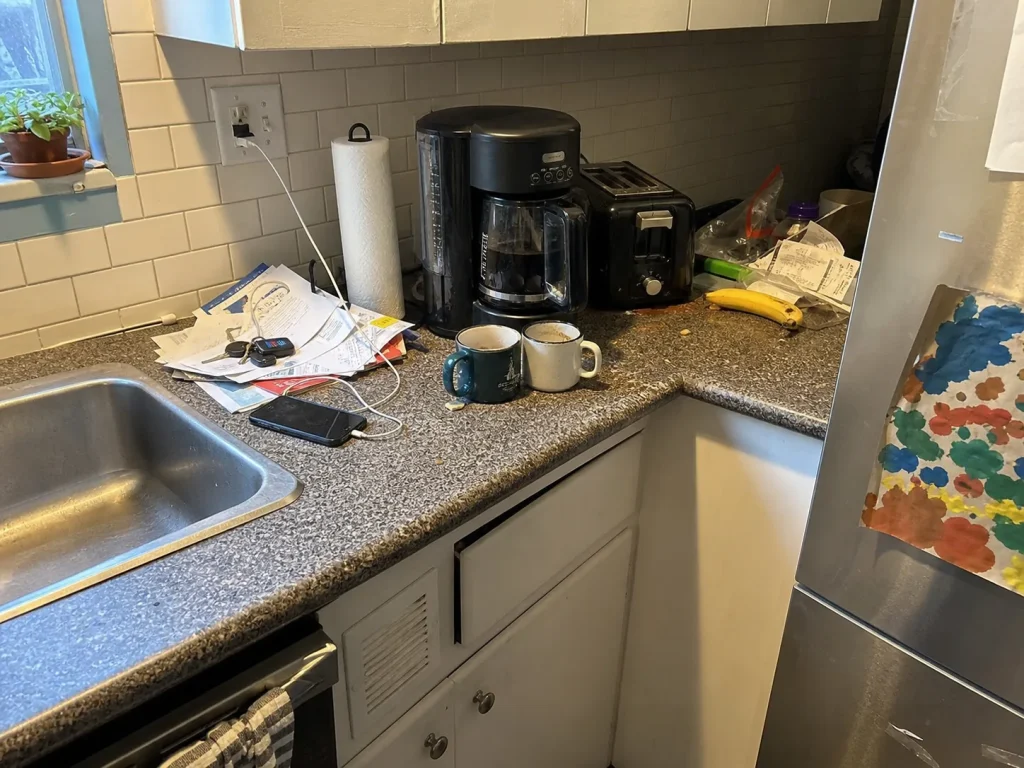
Before you buy a single organizer, you need to understand the mechanism. Because if you don’t fix the reason counters clutter, you’ll just be rearranging the same pile into a tidier pile every weekend for the rest of your life.
The “nearest flat surface” default
Every item in your kitchen wants a home. When something doesn’t have one, it lands on the closest open surface available. And the counter is the biggest, most accessible flat surface in the entire room. It’s the path of least resistance for the mail, the keys, the receipt from the grocery store, the thing you’ll “deal with later.” Ask anyone who has organized a small kitchen and they land on the same line: everything without a designated spot defaults to the counter. It isn’t a willpower problem. It’s a physics problem, and it’s the same reason minimalist systems quietly revert by month three once the flat surfaces reappear.
Why daily-use appliances never get put away
Then there’s the appliance stalemate. You use the coffee maker every single morning, so putting it away in a cabinet feels absurd. You’d just pull it back out in eighteen hours. So it stays. Same with the toaster. Same with the electric kettle. The trouble is that “used daily” quietly became “lives on the counter permanently,” and now two or three appliances own a chunk of your prep footprint that should be empty between uses. The appliance was never the enemy. The missing “off” location was.
“Counter drift,” the slow daily creep
The counter rarely gets buried in one dramatic event. It happens by drift. A little mail on Monday, a phone charger on Tuesday, a bag of bread on Wednesday. Each item feels harmless on its own, and each one nudges the working space a little smaller. By the weekend you’ve lost the surface again and you can’t point to the moment it happened. That slow creep is why the “after” photo is useless on its own. The photo captures a single clean minute. Daily life is what you actually have to organize for.
Before you organize, watch your own counter for two days without touching it. The three or four items that reappear fastest after you clear them are the ones that genuinely need a home nearby. Everything else is just drift, and drift belongs in a cabinet.
Measure Your Counter’s Clutter Budget First
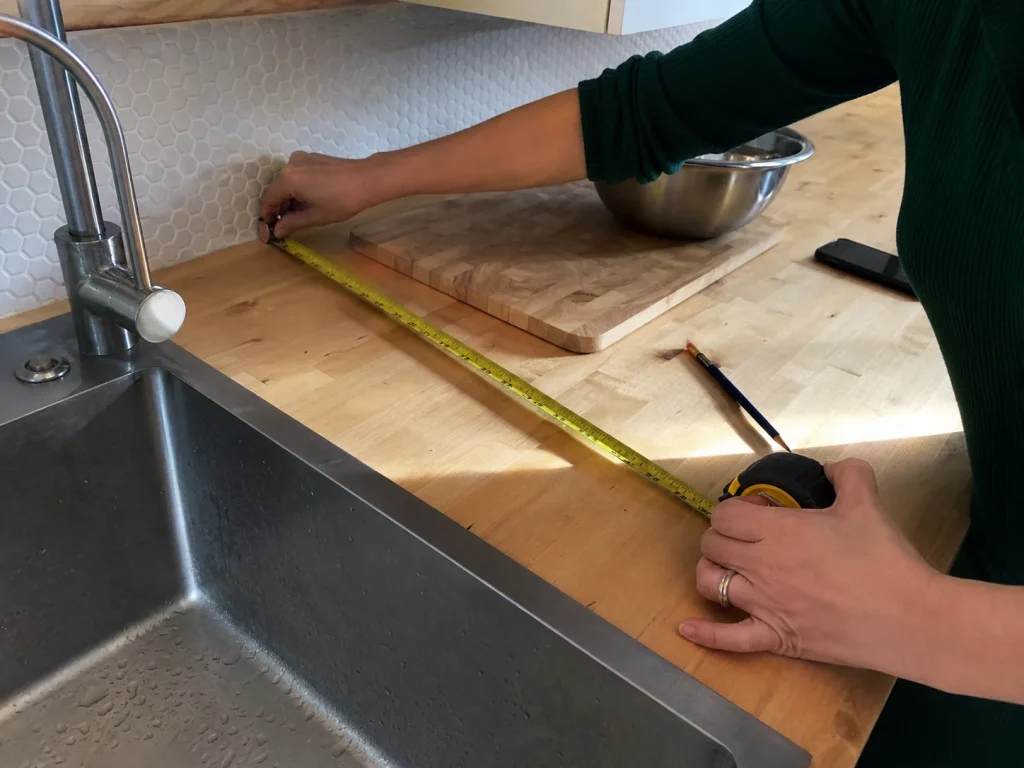
This is the step every other guide skips, and it’s the one that changes everything. Everyone tells you to “keep your counters clear.” Nobody tells you how much clear, or how to know when you’ve actually succeeded. So you end up guessing, and a guess is impossible to maintain. You need a number.
The prep zone you can’t give up
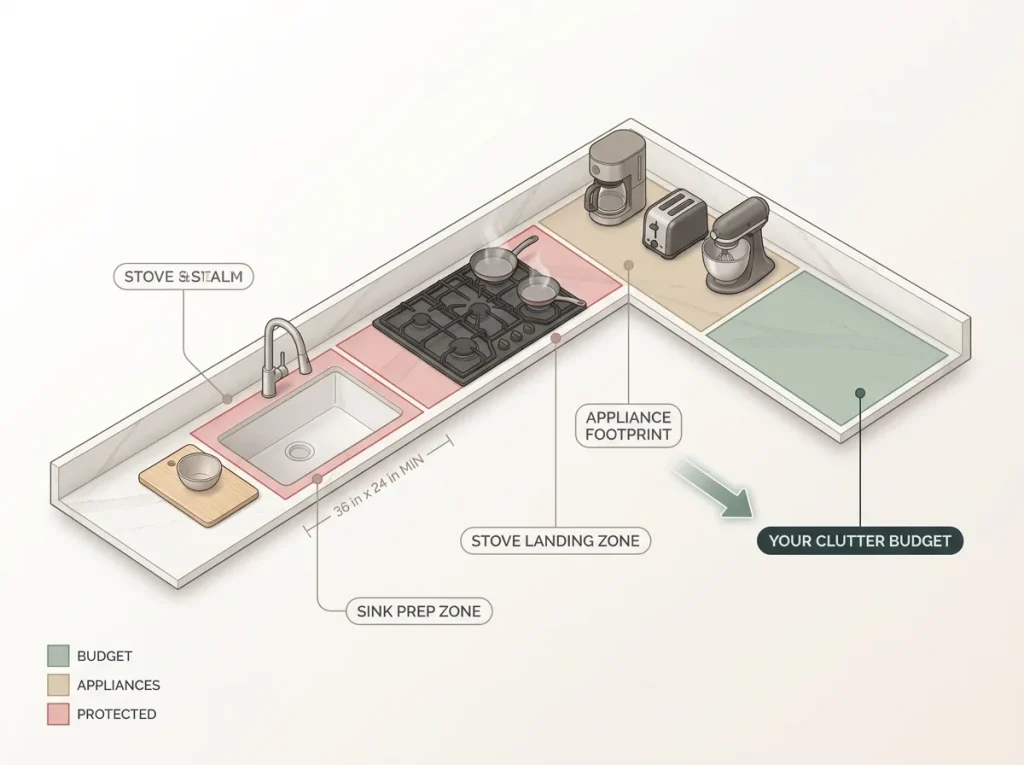
Start with the space you refuse to lose: the working counter next to your sink. The National Kitchen and Bath Association sets a useful floor here. Their guidelines call for a minimum of roughly 36 inches wide by 24 inches deep of continuous clear countertop beside the sink, which is about the space you need to set a cutting board and a mixing bowl down side by side without shoving something out of the way. If you can’t do that right now, your prep zone is already too small, and that’s the first thing you’re organizing to get back. You can check the full clearance figures in the National Kitchen and Bath Association’s clearance guidelines.
The landing space around the stove
The second protected zone is next to your cooktop. The same guidelines call for roughly 12 inches of clear counter on both sides of a cooktop, and closer to 15 on both sides of a range. This isn’t storage space you’re being stingy about. It’s the spot where a hot pan lands the second it comes off the burner. Fill it with a stand mixer or a stack of mail and you’ve turned a routine dinner into a scramble for somewhere safe to set a smoking skillet. Treat it as a permanent no-parking zone.
The clutter-budget formula
Now the math, and it’s genuinely simple. Measure your total counter run end to end. Subtract your fixed zones: the sink prep space, the stove landing space, and the footprint of the appliances you truly use every day. Whatever length is left over is your clutter budget. That’s the space available for everything else, and here’s the rule that makes it work: when the budget is spent, something has to leave before something new can land. A counter without a budget is a counter that refills, because there’s no ceiling telling you to stop.
Take a photo of your counter with your phone, then mark the three fixed zones on the image with your finger. Seeing how little “budget” is actually left over is usually the moment people finally agree to move the bread box.
Do this with an actual tape measure, not your eyes. The size of your budget decides your whole strategy: a generous counter might only need a decluttering pass, while a tight galley kitchen will need real vertical storage to survive. Either way, measure the space before you buy the bin, not after, or you’ll be making a return trip.
Do One Decluttering Pass Before You Organize Anything
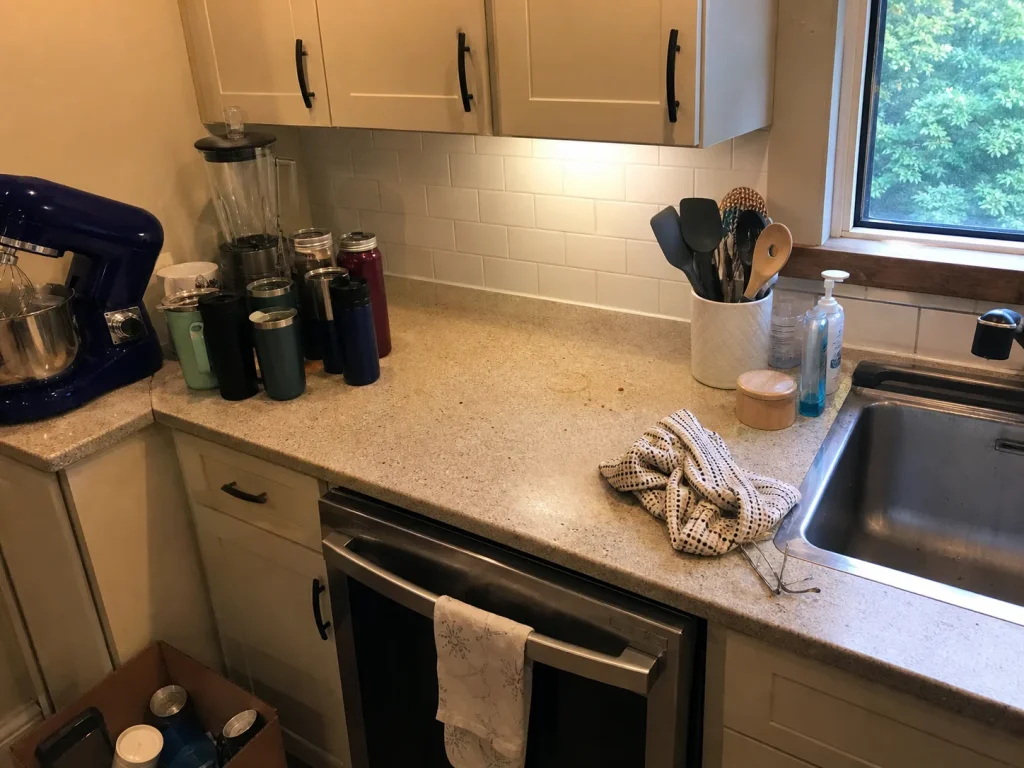
Here’s the move most people skip because it isn’t fun and it doesn’t involve buying anything: clearing has to come before containing. No countertop organizer on earth fixes a counter that’s holding too much. If you skip straight to bins, you’re just giving the clutter a nicer container to live in.
Pull everything off, sort by frequency
Take everything off the counter. All of it. Then sort into three rough groups: used daily, used weekly, used rarely. Only the daily group has earned a spot on the surface. The stand mixer you pull out twice a month does not get to occupy prime prep-zone real estate for the twenty-eight days it sits idle. This sounds obvious, and yet the weekend-project counter always reverts for exactly this reason: people rearrange the pile instead of removing from it. A neater pile is still a pile.
The one-in-one-out rule for the counter
Once the surface is set, protect it with a single rule: nothing new lands without something leaving. This is the one-in-one-out rule aimed straight at your counter, and it’s what keeps the clutter budget from the last section honest. It’s also the habit that makes the nightly reset at the end of this guide take two minutes instead of twenty. Without it, the budget is just a number you blew past three days ago.
Relocate, don’t store
The mental shift that solves most counter problems is this: the counter is prep space, not storage. Almost everything you just sorted into “weekly” or “rarely” belongs behind a cabinet door, not on the open surface. That’s where the real fix happens, so it’s worth taking the time to give those relocated items a real home in your cabinets rather than shuffling them to a different corner of the same counter. I’ll be honest, I used to tell people to just “consolidate” counter clutter into a nice tray and call it done. After enough reverting-counter stories in organizing threads, I switched to relocation first, tray second. Consolidating what shouldn’t be there at all only delays the drift.
Zone the Counter by How You Actually Cook
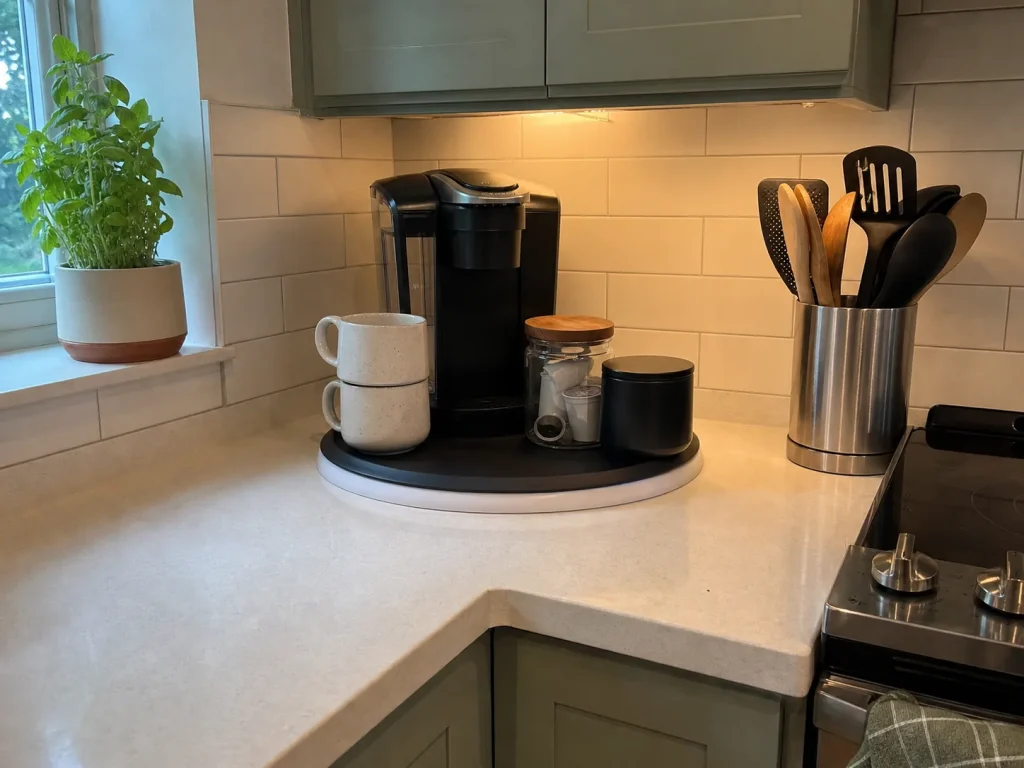
Ten loose items scattered across a counter read as clutter. The exact same ten items grouped into two or three defined zones read as a functioning kitchen. Nothing about the objects changed. The grouping did. Zoning works because it turns a scatter of individual things into a small number of single units you can see, use, and wipe around.
Build a coffee or tea station
The easiest zone to build is the one you visit first every morning. Group the machine, the mugs, and the condiments into one contained spot instead of letting them spread down the counter. A corner is ideal, because a corner is dead counter space until you make the back of it reachable. A turntable does exactly that. Set your coffee gear on one and you spin to the sugar instead of reaching past three things to dig for it.
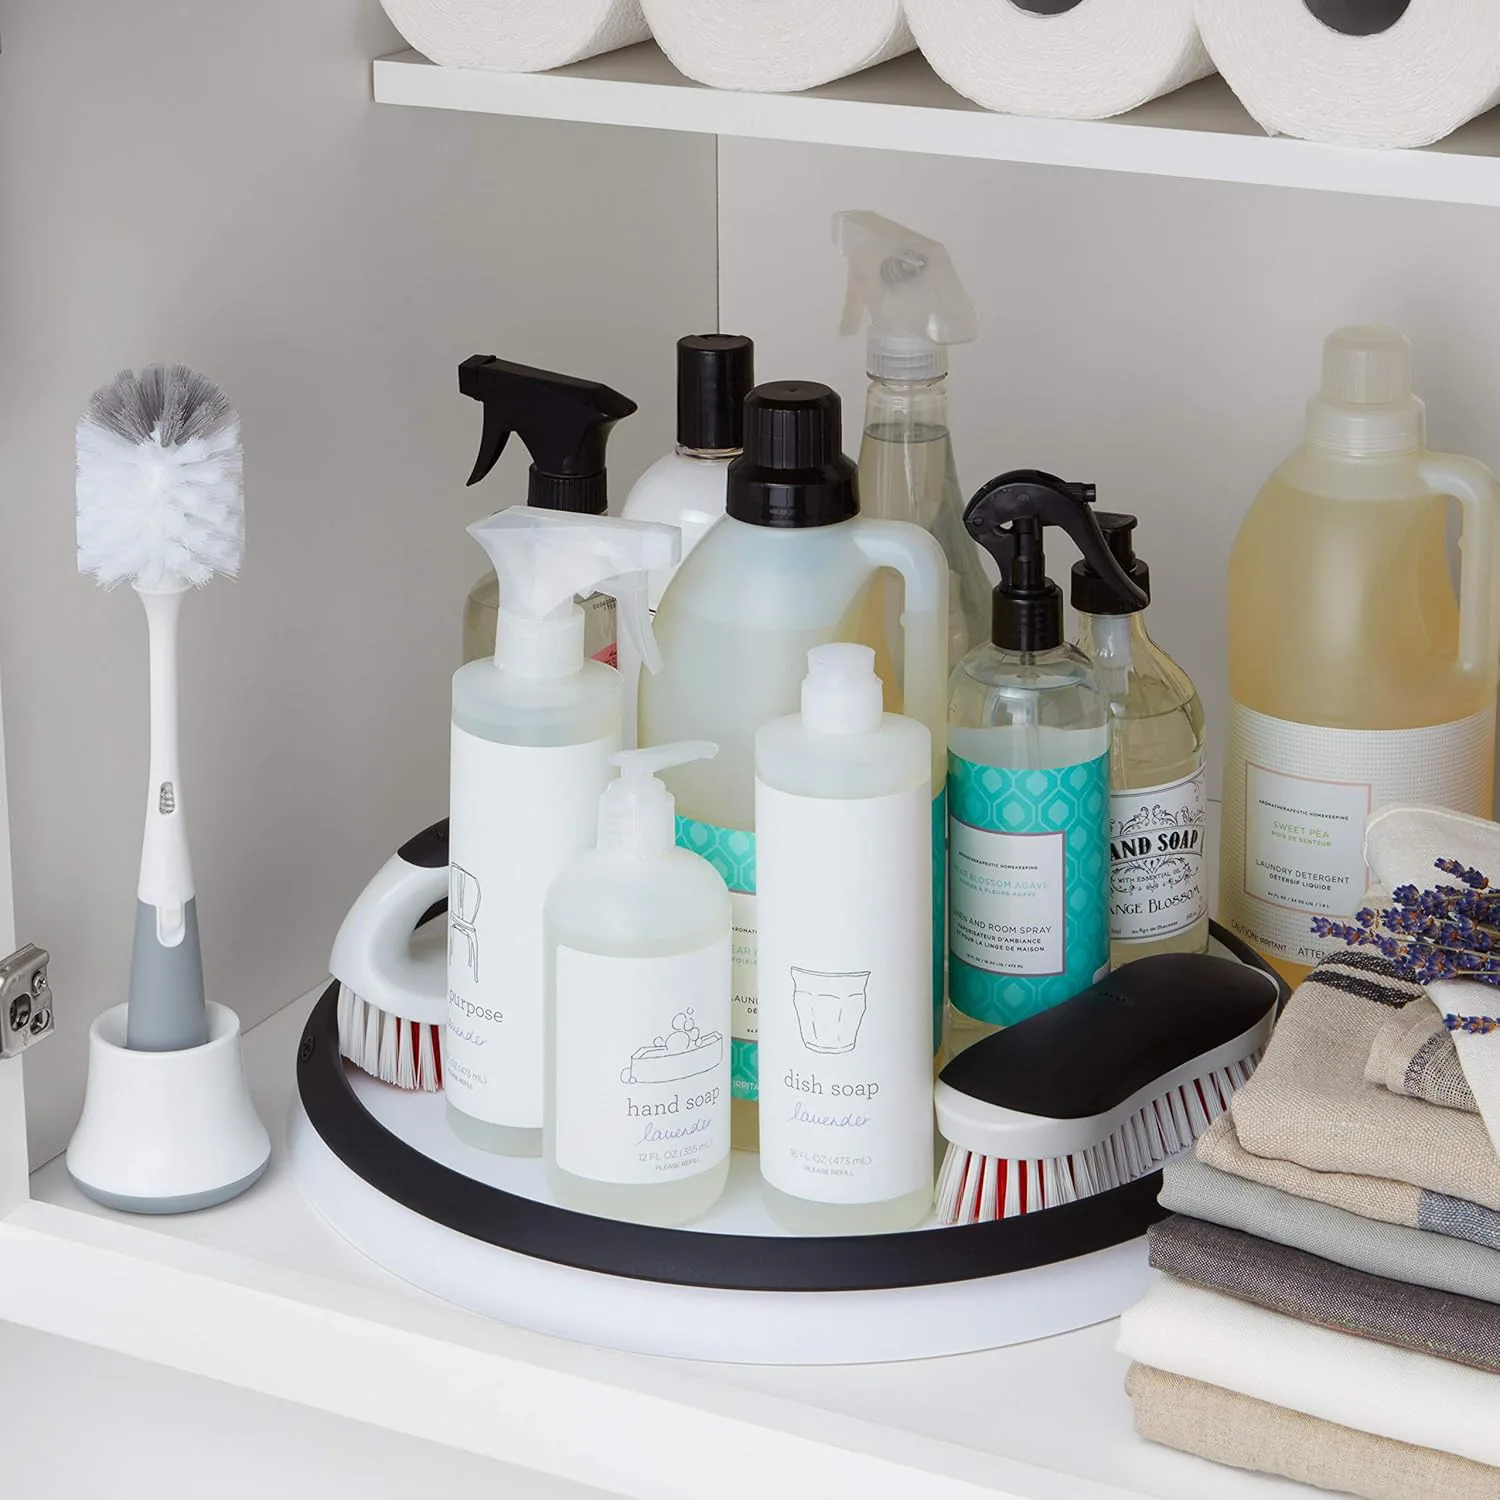
If a corner isn’t the issue, a single tray under the coffee gear does most of the same work for even less. Organizing threads bring this up constantly: a tray is the cheapest fix with the biggest visual payoff, because it converts “loose stuff” into “one thing to lift” when you wipe the counter. Group first, then decide whether you even need to buy the turntable trick that rescues a deep pantry shelf too.
Protect the prep zone
The prep zone next to your sink stays productive only if you defend it. Keep the everyday utensils here, and nothing else. A weighted crock holds the spatulas, the wooden spoons, and the tongs upright in a single plate-sized footprint, which is far better than a drawer you have to open with wet hands or a pile that spreads across the counter. Before you buy one, though, check your cabinets: a clean glass jar or a wide mug you already own does this job for free. If you’d rather have a dedicated one that won’t tip when you pull a utensil out, the Oggi Stainless Steel Utensil Holder 5 Inch has a weighted base that stays put, and its narrow 5-inch diameter keeps it from becoming a catch-all for things that aren’t utensils.
The mail-and-charging drop zone
The last zone is for the stuff that causes counter drift in the first place: mail, keys, chargers, the odds and ends that come in from outside. Give them a single defined landing spot, ideally at the edge of the counter farthest from your prep zone, or better yet off the counter entirely on a small wall shelf. If incoming clutter has nowhere official to go, it goes straight back onto your working surface. A drop zone is the fence that keeps drift from colonizing the space you just cleared.
Take Storage Vertical to Free the Surface
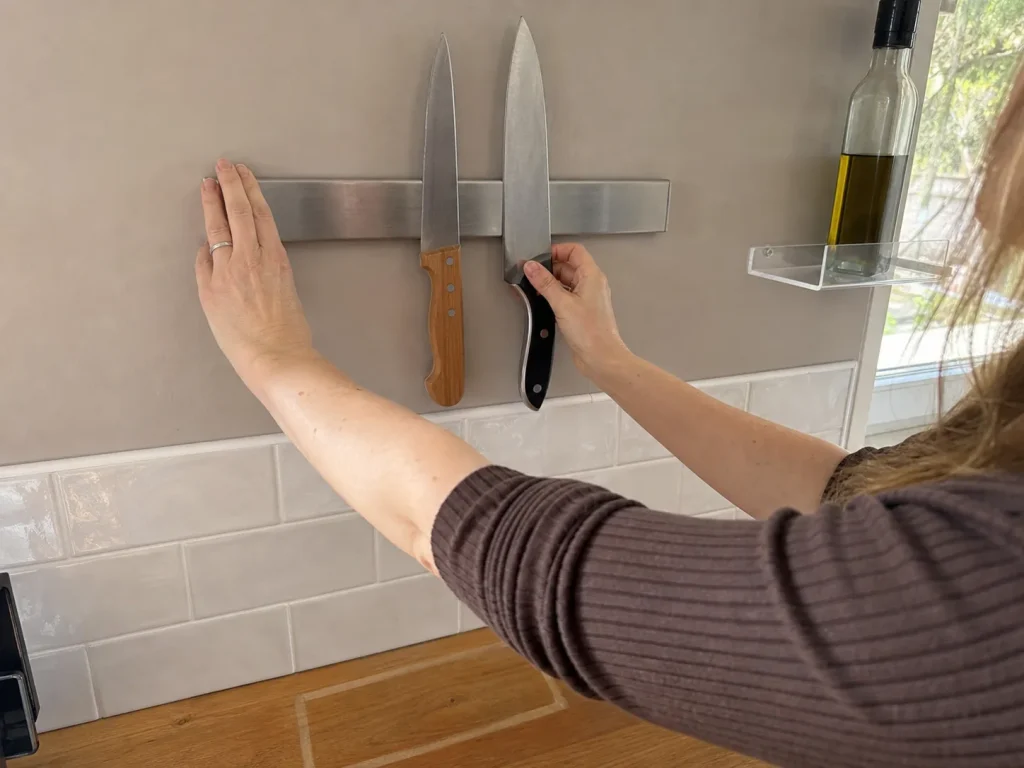
Your counter is crowded partly because storage and prep are fighting over the same flat plane. The fix is to stop competing horizontally and start going up. Every item you can move onto the wall or the underside of a cabinet is footprint you hand straight back to the prep zone.
Get the knife block off the counter
A knife block looks compact, but it quietly occupies a real chunk of prep-zone real estate, and it always seems to sit exactly where you want to chop. Moving your knives to a wall-mounted magnetic strip reclaims that footprint and keeps the blades in easy reach. The Ninonly 12 Inch Magnetic Knife Strip comes in brushed stainless and offers a no-drill mounting option, so renters can get the block off the counter without committing to a drilled install or a patched hole at move-out. One caveat: a magnetic strip wants a fairly flat wall to sit flush, so a heavily textured backsplash can make mounting fussier than the listing suggests.
A small wall shelf for the everyday few
You don’t need a wall of shelving. You need one small ledge for the three or four things that live on the counter only because they had nowhere else to go: the daily olive oil, a couple of spice jars, the salt cellar. A budget-friendly, no-drill acrylic shelf handles this without tools. The 2-Pack No-Drill Acrylic Wall Shelves mount with adhesive and stay visually quiet because they’re clear, which matters when you’re adding something to a wall you look at every day. Keep what you put on them light, and think of them as the modern stand-in for a drilled floating shelf.
Renter workaround, hooks and under-cabinet dead space
If you’re renting and want the cheapest possible version of all this, start with hooks before you buy a shelf. The Command Large Wire Hooks hold up to 5 pounds each with no drilling, which is enough for a utensil crock, a mug, or a small hanging basket, though not a loaded fruit bowl. One important detail people learn the hard way: Command strips and similar adhesive mounts are only as good as the prep. As property managers point out, adhesive strips need the wall prepped and given time to cure before they’ll hold real weight, so wipe the spot with rubbing alcohol and wait the hour before you load them.
The highest-leverage renter move, though, isn’t the wall at all. It’s the underside of your upper cabinets. That’s dead space you already have, it costs you zero wall real estate, and it’s invisible when it’s not in use. Under-cabinet adhesive hooks or a slim rack tucked beneath the cabinet turn a surface you never think about into genuine storage. If this is your situation, it’s worth stealing a few more no-drill vertical storage moves for a rental, and checking how to gauge a no-drill shelf’s real weight limit before you trust it with anything breakable.
Hide the Appliances That Eat Prep Space
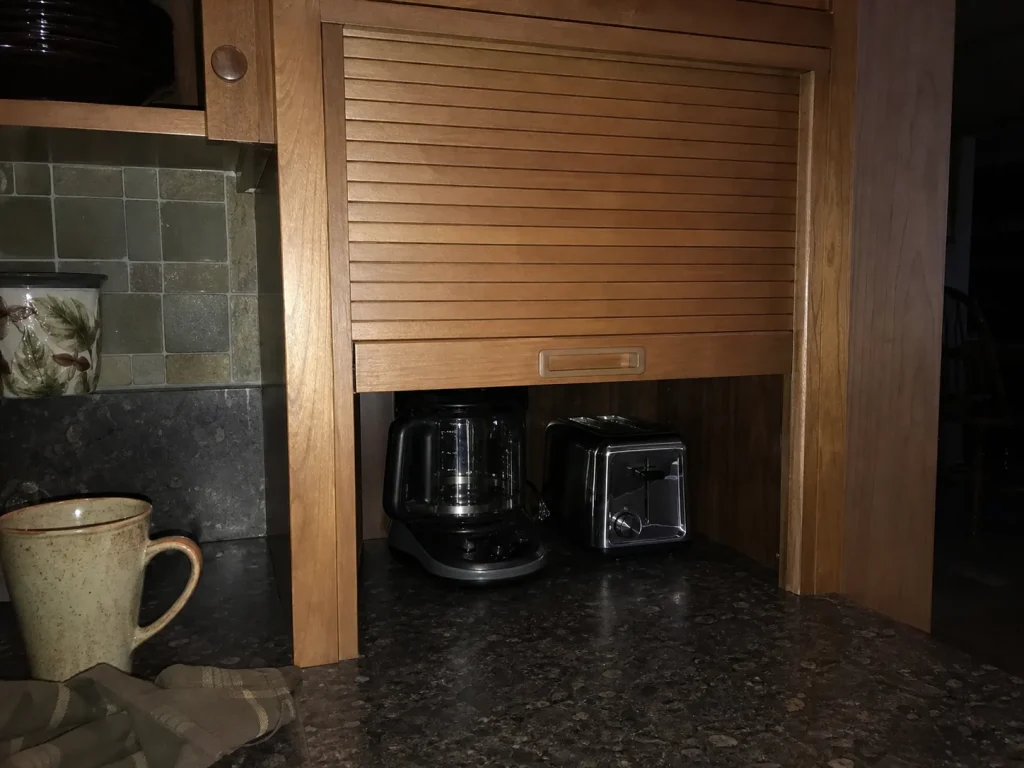
If one thing on your counter is stealing the most space, it’s almost certainly your daily small appliances. The coffee maker, the toaster, the air fryer, the stand mixer that never made it back to the cabinet. The problem was never the appliance. It’s that it has no “off” location. Give it one and the prep zone comes back for free.
The free version, an empty cabinet as an appliance garage
Start with the option that costs nothing. Look for an empty or half-empty cabinet shelf near an outlet, and make that your appliance’s home base. Slide the toaster in after breakfast, pull it out tomorrow. Yes, it’s one extra motion, but it’s the motion that keeps a permanent hole in your prep space from opening up. Before you turn a cabinet into a garage, it’s worth taking a few minutes to organize the cabinet before you turn it into an appliance garage, so the appliance actually fits and isn’t fighting a jumble of pots.
The retrofit, a tambour door that hides a counter nook
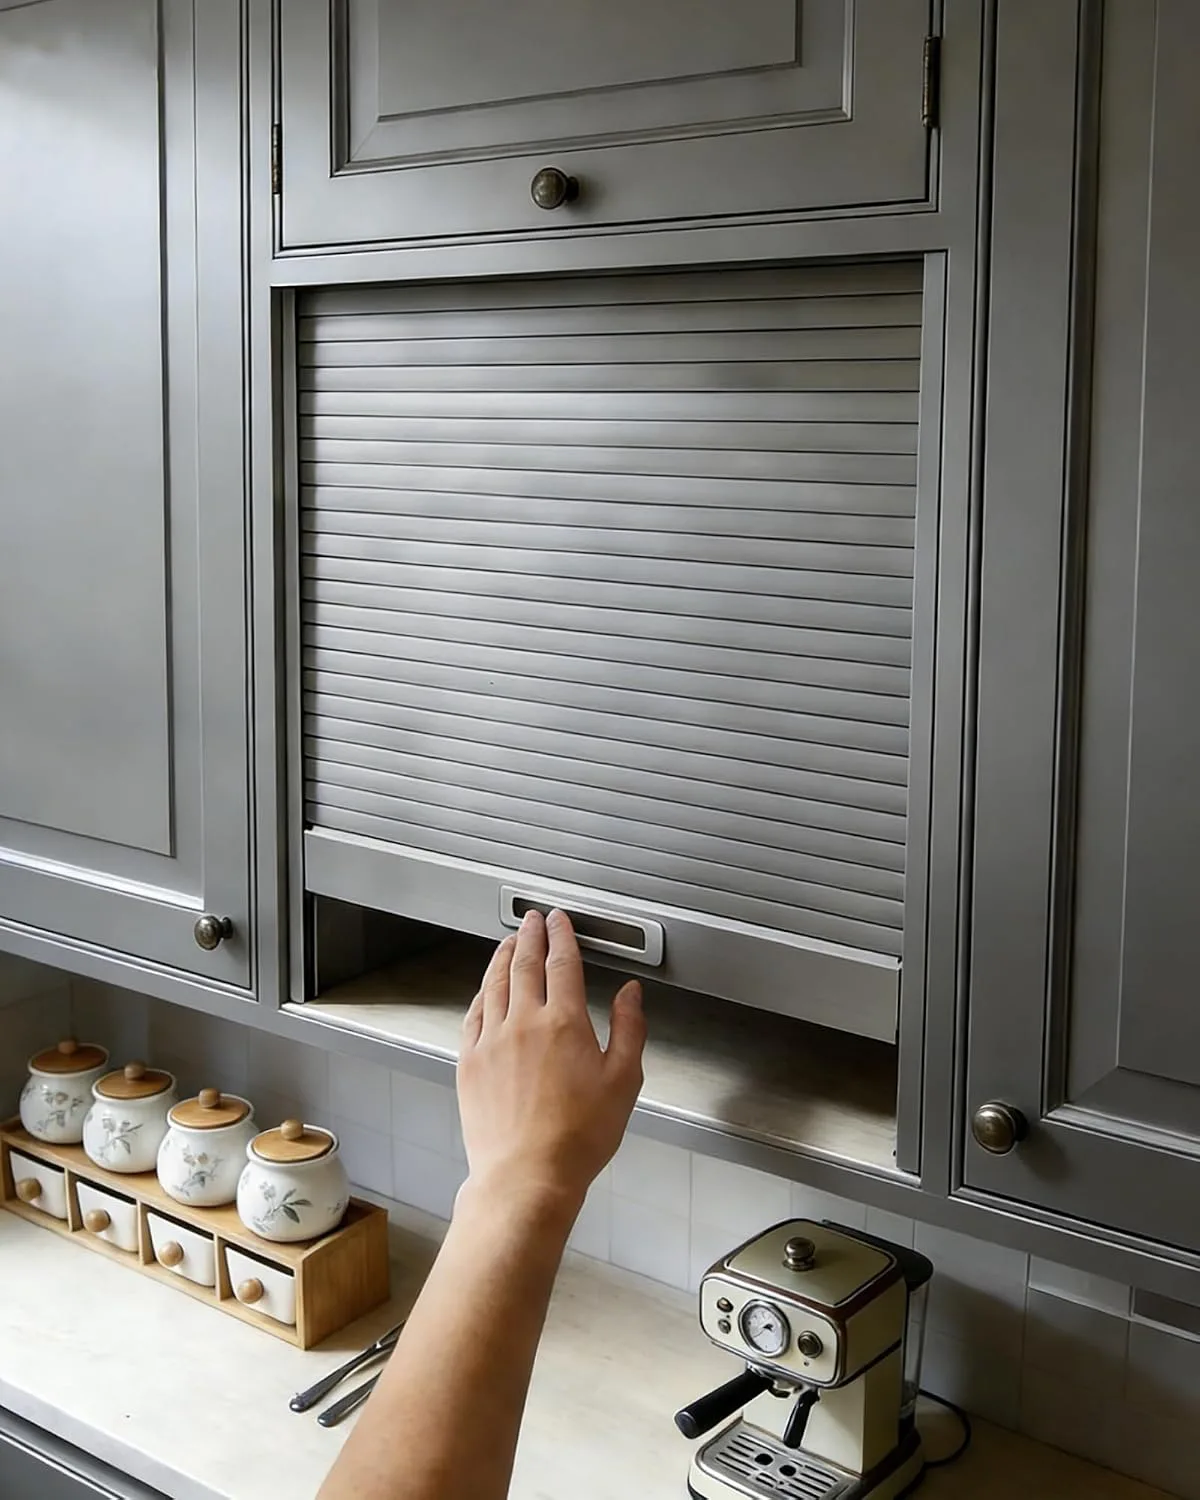
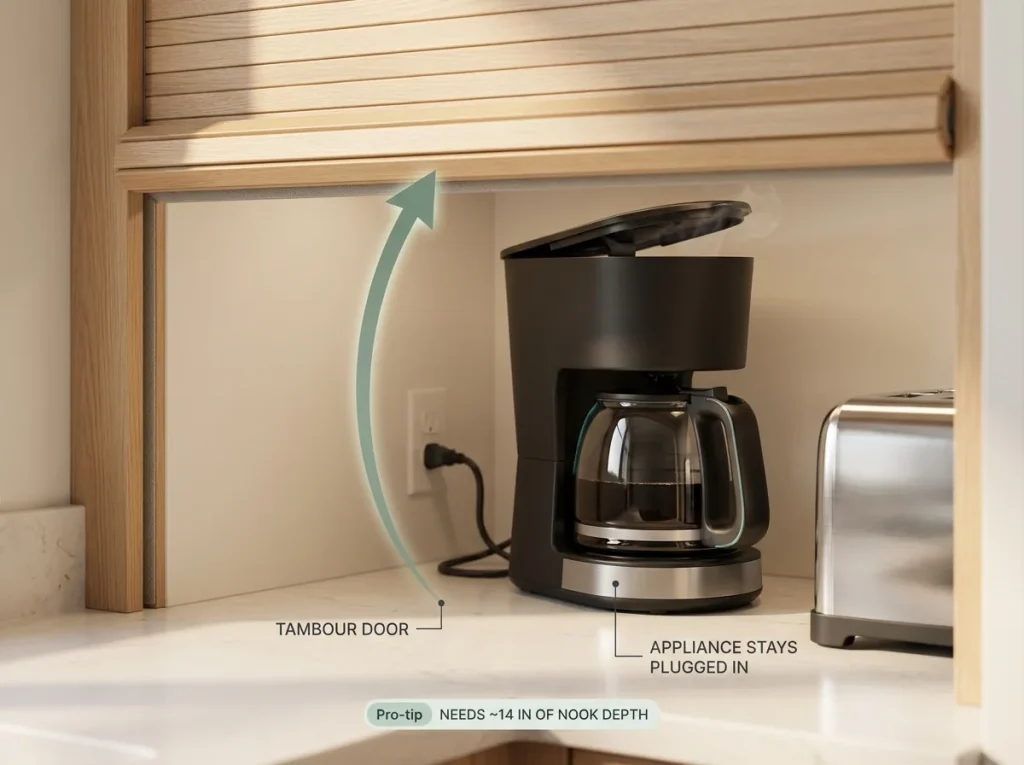
When you don’t have a spare cabinet but you do have a back-of-counter corner, a roll-up tambour door turns that nook into a hidden garage without rebuilding your cabinets. You tuck the coffee maker and toaster into the recess, roll the door down, and the appliances vanish while staying plugged in and ready. It’s a real upgrade for a permanent counter station, with one honest caveat: it’s a semi-permanent install, so it’s an owner move rather than a renter one, and worth a conversation with your landlord if you’re not sure.
Swap the footprint, not just the spot
Sometimes the answer isn’t hiding the appliance, it’s shrinking it. A standard drip coffee maker is a wide machine, and swapping it for a narrow single-serve pod model can reclaim several inches of linear counter without you organizing anything at all. The same logic applies to a “compact” toaster oven, but with a warning: measure the clearance zone, not just the box. Manufacturers call for a few inches of clearance on each side and roughly a foot above for ventilation, so the real footprint is bigger than the appliance itself. It’s worth checking the manufacturer clearance specs for countertop appliances before you assume a smaller model actually saves you space.
Only two appliances actually earn a permanent counter spot in most kitchens: the one you use every single day and the one that’s too heavy to lift in and out. Everything else can live in a cabinet and come out when you need it. Be ruthless about that list.
Build a Reset That Survives a Shared Kitchen
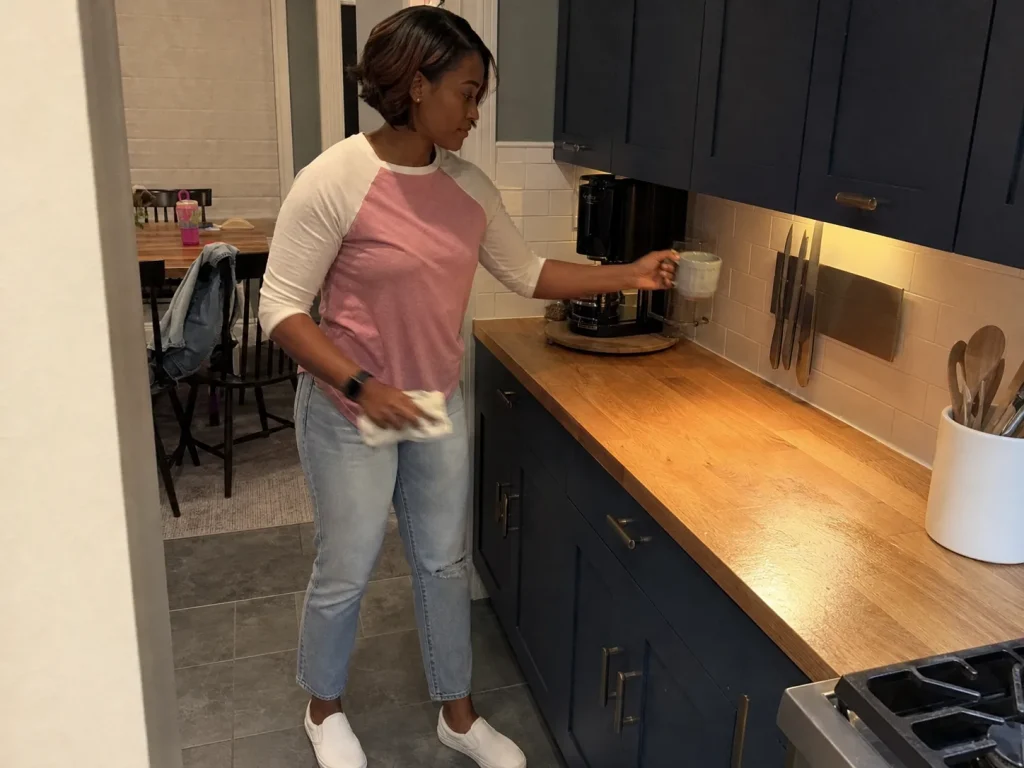
Every “keep your counters clear” tip quietly assumes you live alone, cook calmly, and never get tired. Real kitchens have partners who set the mail down wherever, kids who never put anything back, and Wednesdays where you’re too wiped to care. A system that only works when everyone behaves perfectly isn’t a system. It’s a fantasy. Build for the actual house.
The 2-minute nightly reset
The whole payoff of the last five sections is this: because every item now has a zone to return to, putting the counter back takes about two minutes. Before bed, you walk the surface and send each out-of-place thing home. The mug to the coffee station, the mail to the drop zone, the spatula to the crock. The counter starts every morning clear, which means it never accumulates enough drift to feel overwhelming. The reset is short only because the homes already exist. Skip the earlier work and this step turns into a twenty-minute dread instead.
Make the system survive other people
Here’s the honest part. Your system will get used by people who didn’t design it, and they will put things in the wrong place. So build assuming that, instead of hoping otherwise. The single biggest predictor of whether a shared-kitchen system survives is whether it’s obvious. A visible utensil crock and a clearly defined mail spot beat an elegant system that only makes sense inside your head. If your partner has to guess where something goes, it lands on the counter. I’ll admit I resisted this one for a long time, because I wanted the tidy version. Shared kitchens taught me the obvious version wins every time.
The three-month reality check
Give it three months and one zone will be overflowing while the others hold steady. That’s not failure, and it’s not your family being hopeless. It’s data. The overflowing zone is either undersized or in the wrong spot, so re-tune that one thing rather than blaming the household or scrapping the whole setup. This same weekly-reset logic is what keeps a pantry working after the first week too, and if it makes you feel any better, counter drift shows up on the bathroom counter too. The mechanism is universal. So is the fix.
Conclusion
Clear counters aren’t about discipline or matching containers. They come down to three things. Every item needs a home that’s smaller than the counter, or it defaults back to the surface. You have to measure your clutter budget before you buy anything, because a system without a ceiling always refills. And the nightly reset, not the products, is what makes any of it last.
In three months, check which single zone keeps overflowing and re-tune just that one. A counter that drifts isn’t a failure of willpower. It’s a sizing problem with a fix.
Start with the prep zone next to your sink. Clear it, protect it, and let everything else follow from there.
Frequently Asked Questions
01How do I keep my kitchen counters clutter-free permanently?
Permanent-clear counters come from giving every item a home smaller than the counter, then running a two-minute nightly reset. Products help, but the reset is what makes it last. Without it, counter drift refills the surface within days.
02How much of my kitchen counter should I keep clear?
Protect at least the NKBA prep-zone minimum, roughly 36 inches wide by 24 inches deep of continuous clear space beside the sink, plus clear landing space on both sides of the stove. Everything past those fixed zones is your clutter budget.
03What should you not keep on your kitchen counter?
Anything you don’t use daily: the stand mixer used twice a month, small appliances that have an available off location, and mail or chargers that belong in a defined drop zone. If it isn’t earning daily prep-zone space, relocate it.
04How do I organize a small kitchen with almost no counter space?
Go vertical and hide the daily appliances. A magnetic knife strip, under-cabinet hooks, and an appliance garage reclaim the surface a small kitchen can’t spare. Measure your clutter budget first so you know exactly how much you need to move off the counter.
05What’s the best way to store small appliances on the counter?
Give the daily ones an off location. An empty cabinet shelf near an outlet is the free version, and a tambour-door appliance garage hides them at the back of the counter. Swapping a wide appliance for a narrower model reclaims inches nothing else can.
Disclaimer: ClutterlessNest is a participant in the Amazon Services LLC Associates Program. As an Amazon Associate we earn from qualifying purchases. This article may contain affiliate links — if you buy through them, we may earn a small commission at no extra cost to you. We only recommend products we have tested or genuinely believe in.