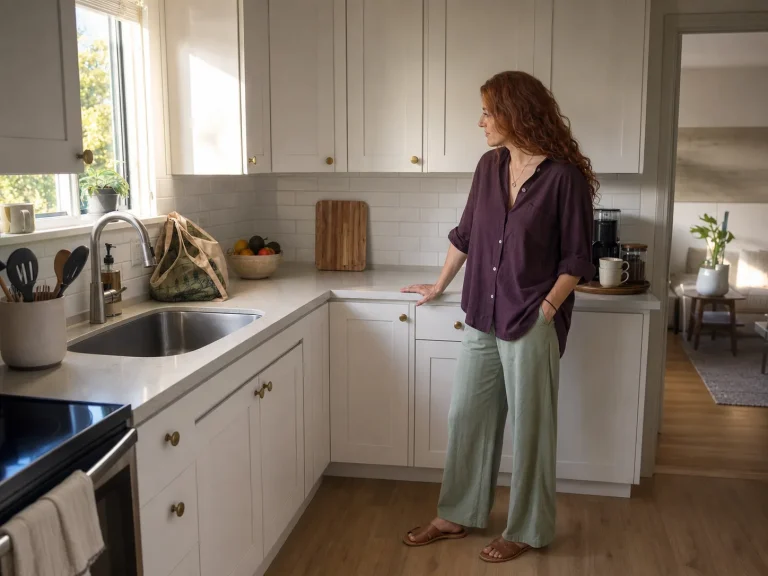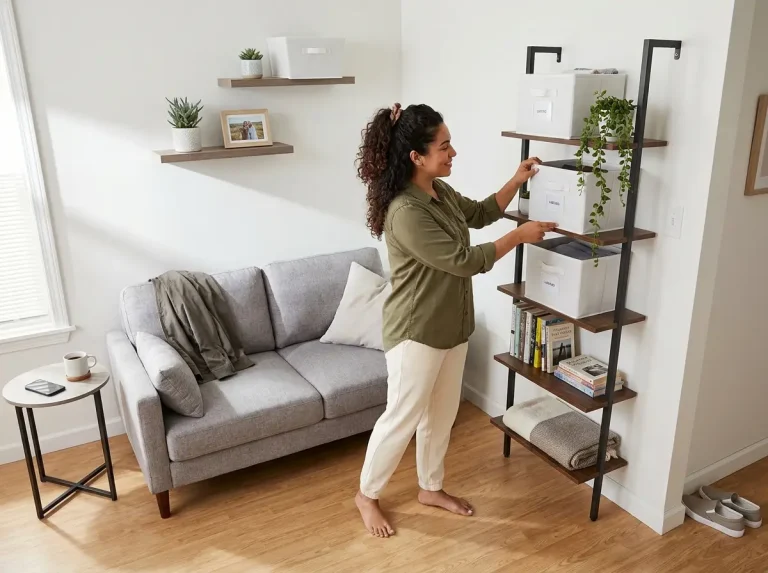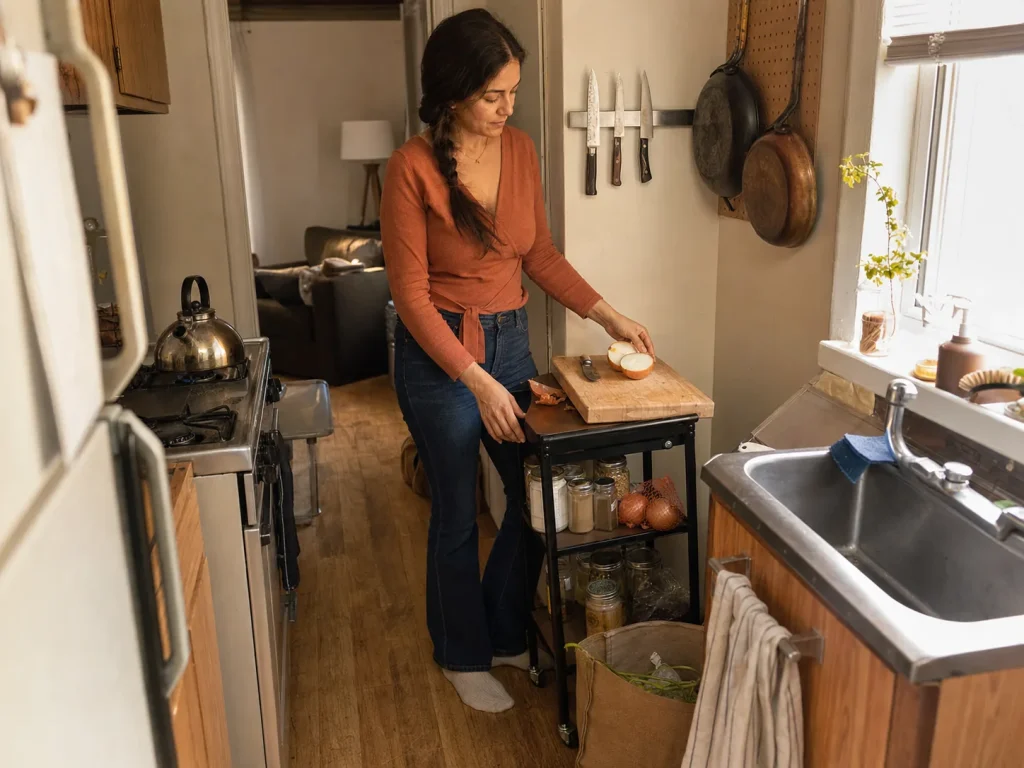
The mail lands on the stove. The dish rack takes the edge of the sink. The grocery bags stack on top of the microwave. If you’re trying to organize a kitchen with no counter space, you already know this pattern, and you probably blame yourself for it. You shouldn’t. The reason a no-counter kitchen fills back up within days isn’t discipline. It’s that the kitchen is missing the one surface every standard kitchen is built around, so everything you carry in has nowhere neutral to land. Fix that first, and the piles stop rebuilding. Here’s how to diagnose the pile-up, measure before you buy a thing, build a substitute prep surface, and keep it from creeping back.
Quick Answer
To organize a kitchen with no counter space, build a movable prep surface and push everything else onto walls, doors, and drawers:
- Measure your aisle and cabinet depth before buying anything.
- Add a slim rolling cart as a movable counter.
- Cover the sink with an over-sink board for prep.
- Move knives, pots, and tools up onto the walls.
- Store wraps, utensils, and appliances inside cabinets and doors.
- Reset the cart top and sink board to empty every night.
Why a No-Counter Kitchen Clutters Immediately
Every Flat Surface Becomes the Counter
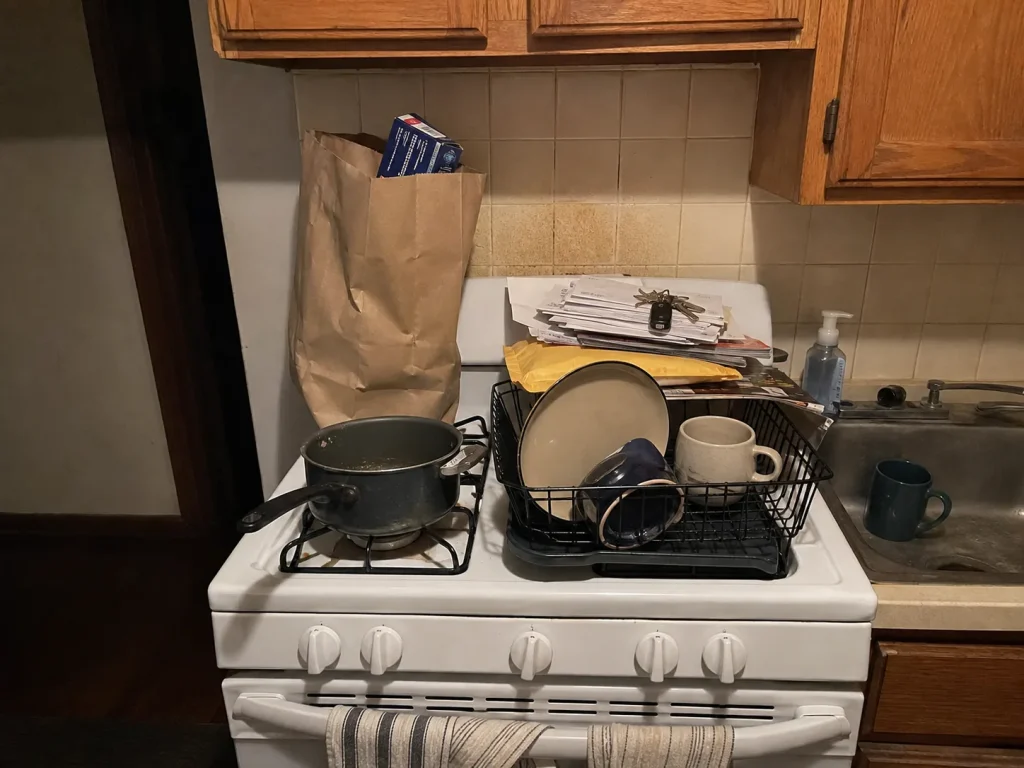
Watch where things land in your kitchen for one day. The stovetop collects mail. The top of the microwave holds the fruit bowl and two travel mugs. The lip of the sink becomes a drying rack. None of this is random. When there’s no counter, your brain still needs a place to set things down, so it drafts the nearest flat surface into service (usually the stove, which is the worst possible choice). The problem is that those surfaces have other jobs, so the pile is always in the way, and you’re always moving it to cook.
Competitors skip straight to “add a shelf” without explaining this, which is why their tips never quite stick. You can’t solve a landing-zone problem with more storage. Storage holds things you’re putting away. A landing zone catches things in transit, and that’s the exact function a no-counter kitchen lost.
You’re Not Missing Some Counter. You’re Missing All of It.
Here’s the part that reframes everything. A standard kitchen isn’t built with a little counter as a bonus. The National Kitchen & Bath Association’s planning guidelines call for at least 36 inches of continuous prep space next to the sink, and their full countertop recommendation totals roughly 158 inches of frontage once you add up the landing, prep, and storage zones. That’s the standard your kitchen is being measured against every time you try to cook in it.
So a counter-less kitchen isn’t short on counter. It’s missing nearly the entire allotment the standard assumes you have. That gap is the actual mechanism behind the clutter: 158 inches of expected surface, and you’ve got the top of the toaster. Once you see it as a missing zone rather than a tidiness failure, the fix becomes obvious. You have to manufacture a flat surface somewhere to stand in for the 36 inches the sink is supposed to have beside it.
Before you buy anything, spend a day noticing where things pile up. Those spots aren’t the problem. They’re your kitchen telling you exactly where it wants a real surface. Put your substitute counter where the clutter already gathers, and people will actually use it.
The Week-One Collapse
There’s a failure that shows up constantly in small-kitchen threads, and it’s worth naming before you build anything. Someone adds a “temporary” surface, a board over the sink or a cart shoved in a corner, and it works beautifully for about a week. Then it stops working, not because the idea was wrong, but because nobody ever reset it. The board stays down. The cart top fills with mail. Give it two weeks and your new prep surface is just another pile at a different height. The system in this article is built to beat that specific collapse, which is why the last step matters as much as the first.
Measure First, Then Give Yourself a Movable Counter
The Measurement That Saves You a Return
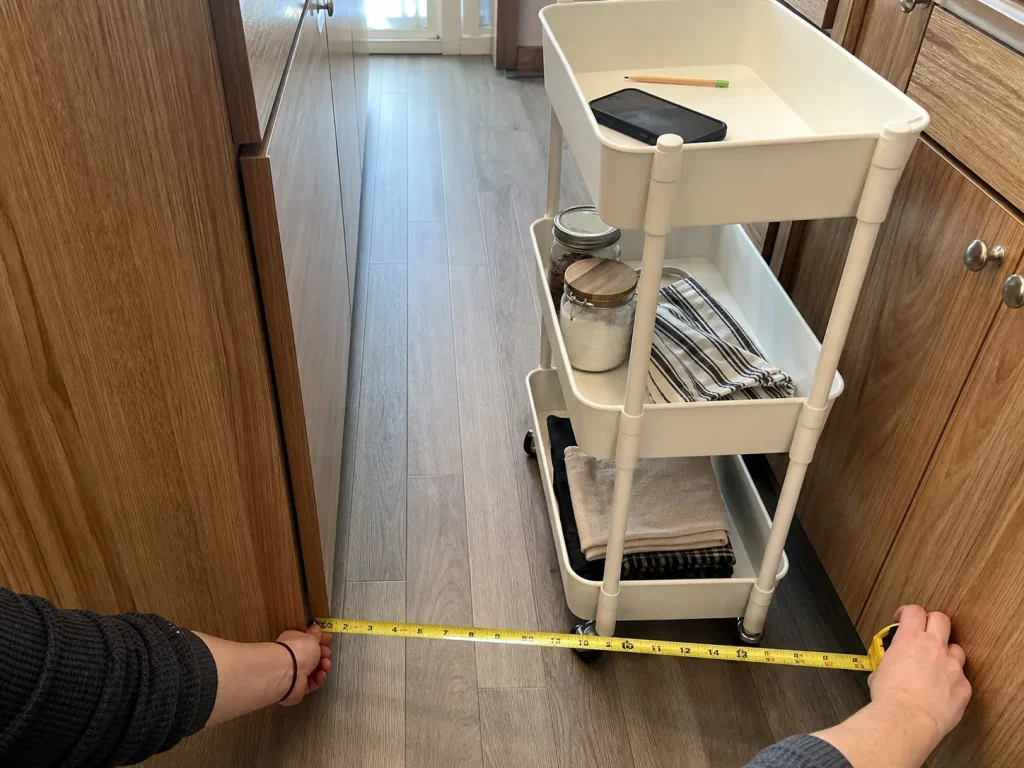
The most common no-counter mistake is buying a cart that’s too deep. It shows up, it’s lovely, and it blocks the walkway so badly you shove it against a wall where it can’t roll anywhere useful. Now it’s a shelf, not a counter, and you’ve lost the whole point.
Two numbers keep you from that. A galley walkway wants 36 inches of clearance at the absolute minimum, and 42 inches if one person is cooking comfortably. Standard cabinets are 24 to 25 inches deep. So before you buy, measure your aisle and keep the cart’s depth under your aisle width minus 42 inches. If your aisle is 48 inches, a cart up to about 6 inches deep still leaves room to move. That’s a real number you can shop with, instead of the vague “measure your space first” that every other guide hands you.
Why a Rolling Cart Beats a Fixed Shelf
A fixed shelf gives you storage in one spot. A rolling cart gives you a mobile prep station (a surface that actually follows the work). Roll it to the sink to catch prep scraps, push it to the stove to stage ingredients, then park it out of the aisle when you’re done. One surface doing three jobs is exactly what a small kitchen needs, and it’s the same logic behind furniture that pulls double duty in a small apartment.
A bar cart gets suggested for this all the time. And it works, right up until the open sides let your prep slide off the first time you roll it over a threshold.
Before you buy one, though, check what you already own. A repurposed office or utility cart is the “I didn’t spend a dime” version people mention again and again, and it works fine if the top tier is flat and sturdy enough to chop on. If you don’t have one, a genuinely slim cart is the pick that fits a real galley kitchen.
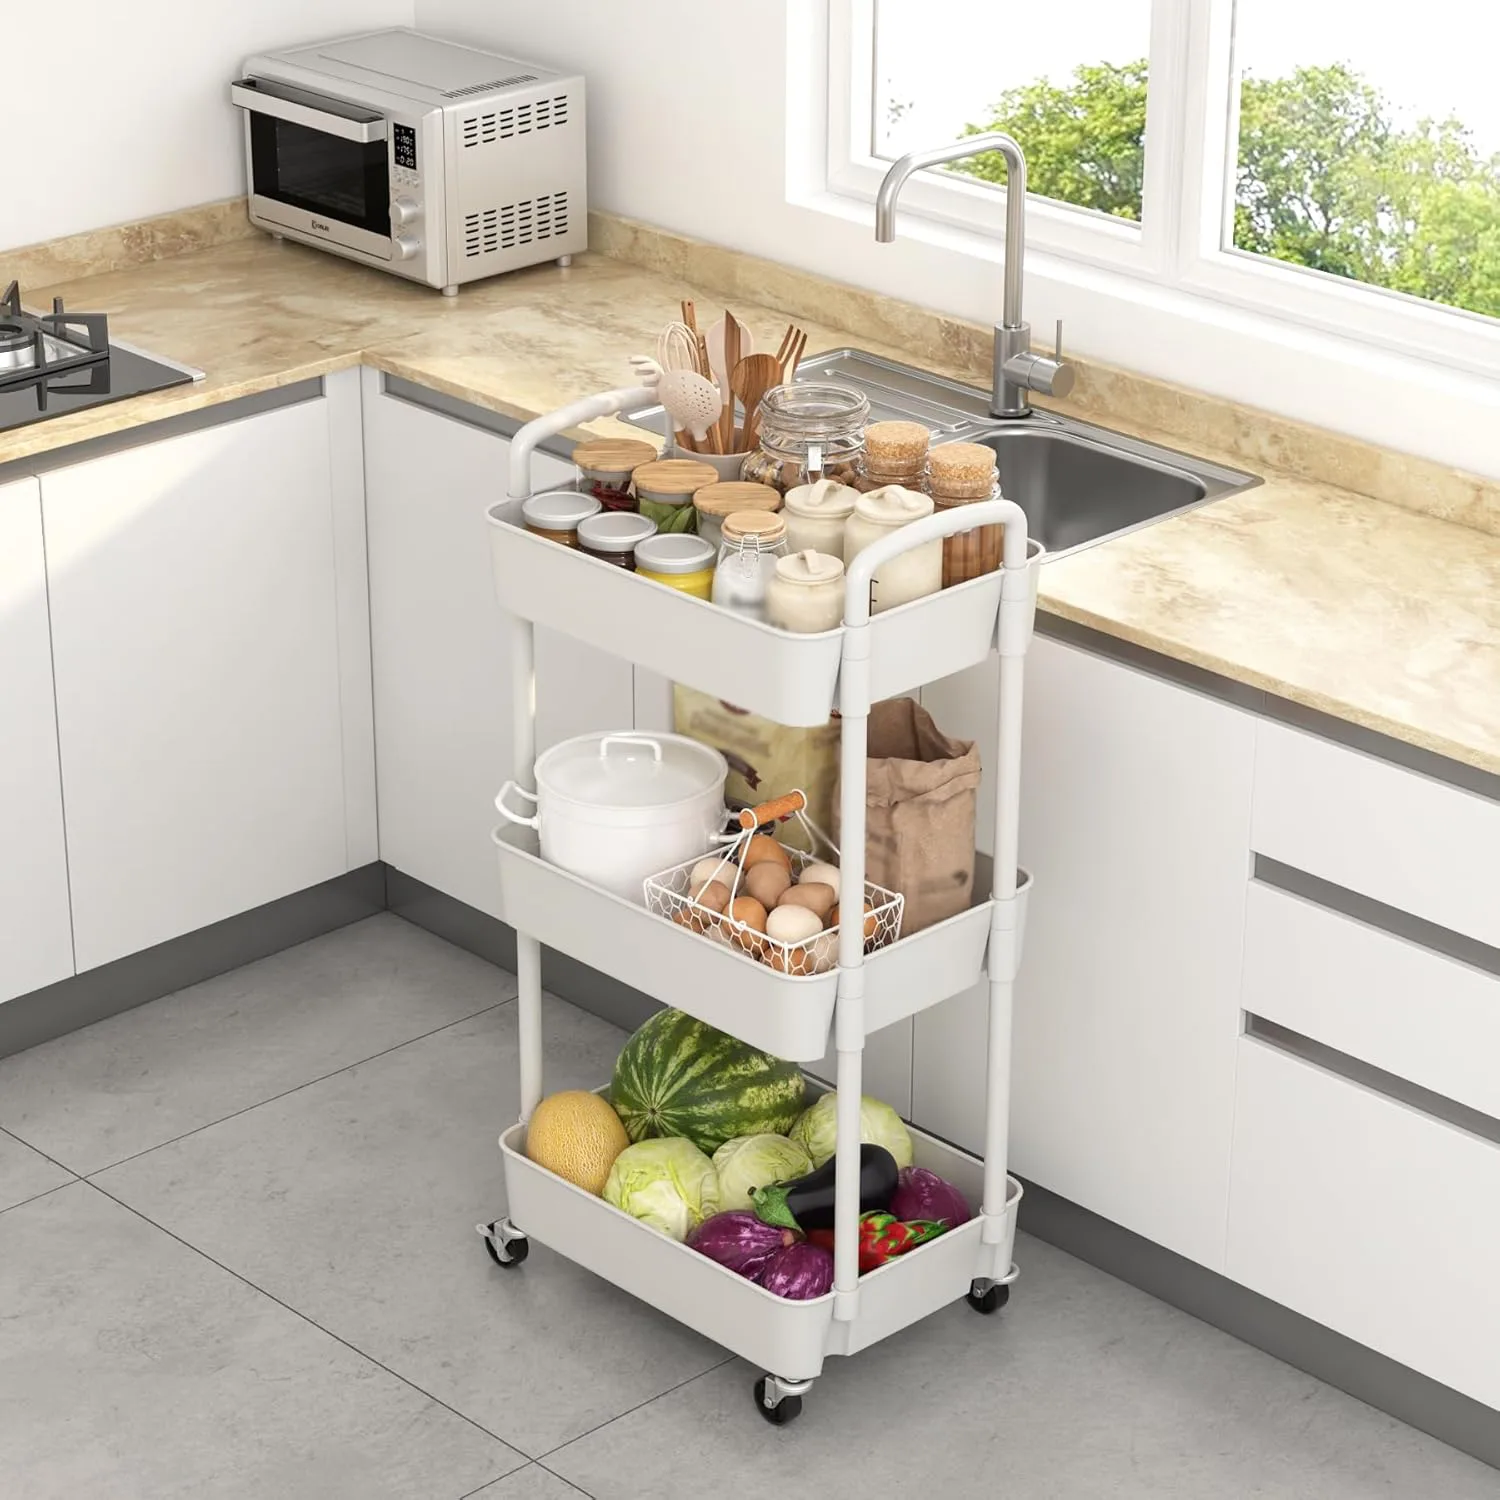
If you want metal over plastic, an IKEA RÅSKOG-style cart has a similar footprint and takes more weight, for a bit more money. Either way, the cart is the anchor of the whole system.
Turn the Sink Into a Second Workspace
The Free Version First
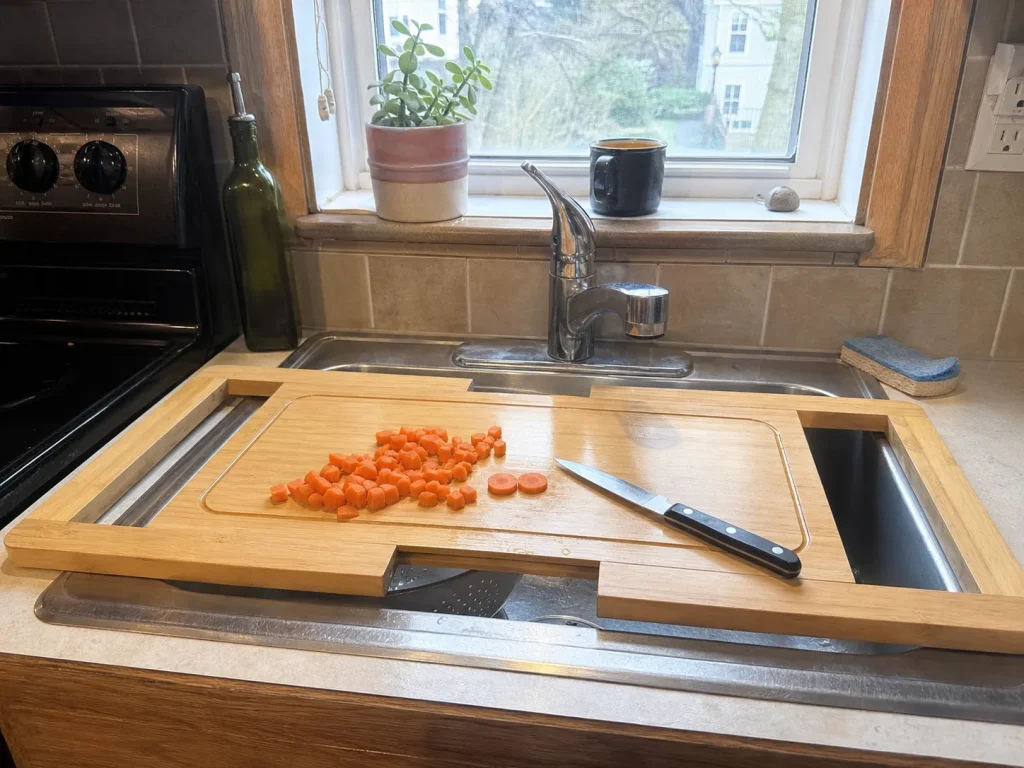
Your sink is a large flat opening with the lid missing. Cover it and you get back almost exactly the 36 inches of prep space the kitchen was supposed to have beside it. The zero-cost version is the one to try first: a flat wood cutting board you already own, sized to sit on the sink’s outer lip. If it spans the basin without sliding, you’ve just added a prep surface for free, and that’s the anti-sell answer half of these threads land on before anyone buys a thing.
The catch is stability. A board that only catches one edge will tip when you press down to chop, and a board that’s too small drops into the basin. If what you own doesn’t sit flush, that’s when a purpose-built board earns its place.
When to Upgrade to a Real Over-Sink Board
An over-sink cutting board made for the job spans the full basin and locks the surface in place. The SwallowLiving Expandable Over-the-Sink Cutting Board extends from 24 to almost 34 inches, so expanded it lands right around that 36-inch prep zone target, and the juice groove catches liquid so it doesn’t run onto the floor. Prep over the sink and the scraps go straight down or into a bowl in the basin, which means less mess migrating to other surfaces.
One honest limitation: while the board is down, you’ve lost the sink. This is a prep-then-lift surface, not a permanent counter, which is exactly why it needs the reset habit at the end of this article. Use it, then clear it, or you’re back to a covered sink full of drying dishes.
Pair the over-sink board with the rolling cart parked right beside it. Chop on the board, slide finished ingredients onto the cart top, then roll the cart to the stove. You’ve just built a two-station prep line in a kitchen that technically has no counter.
Move Storage Up the Walls
Match the Mount to the Wall
In a no-counter kitchen, your walls are the only real estate you aren’t using. But this is where renters get burned, so read the wall before you commit to any wall-mounted storage. A loaded rack that lets go at 2 a.m. is a genuinely common story, and it almost always traces back to the wrong mount on the wrong wall.
Here’s the split nobody spells out. On solid drywall with a stud behind it, a heavy load is fine, and IKEA rates its own pegboard for 16-pound Command Strips on that kind of surface. A hollow-core cabinet door or a thin partition wall is a different animal, topping out around 3 pounds of recommended adhesive load. That’s the gap between “any surface” and “a real wall,” and it decides whether your knife rack holds or falls.
Adhesive strips need about an hour to cure before you load them, and they hold far better if you mount the night before instead of the same afternoon. Hang your rail or shelf in the evening, let it set overnight, and load it in the morning. The bond fails when people load it right away.
What Goes on the Wall (and What Doesn’t)
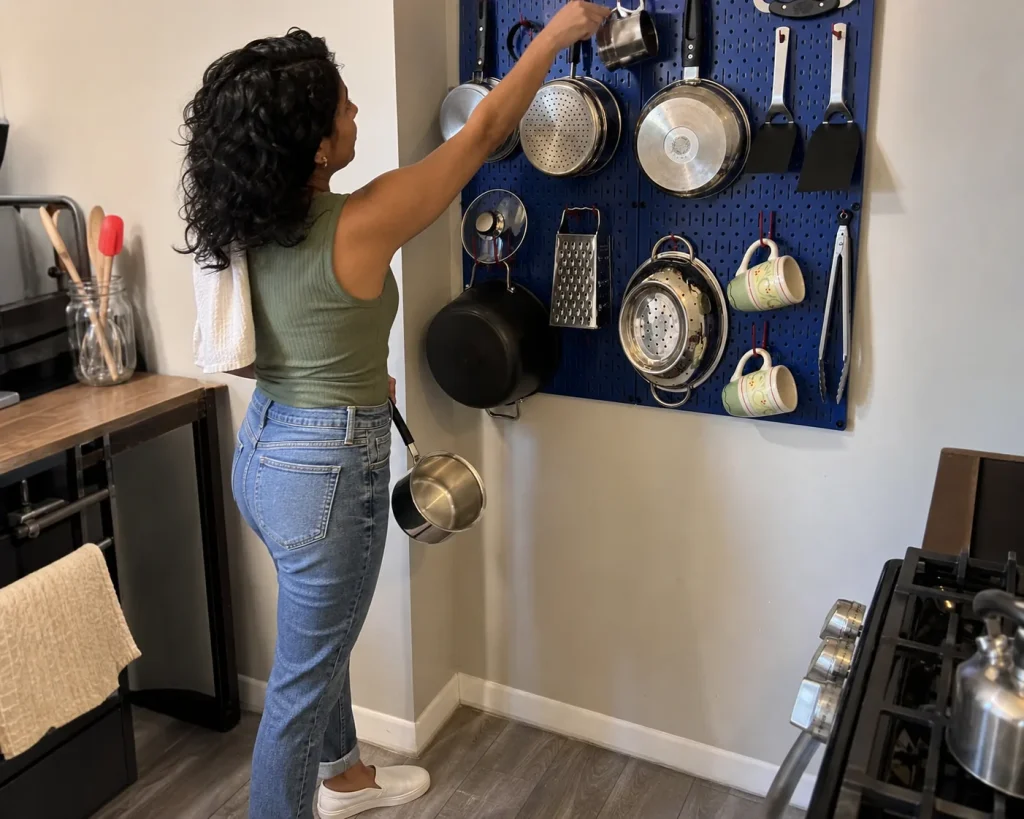
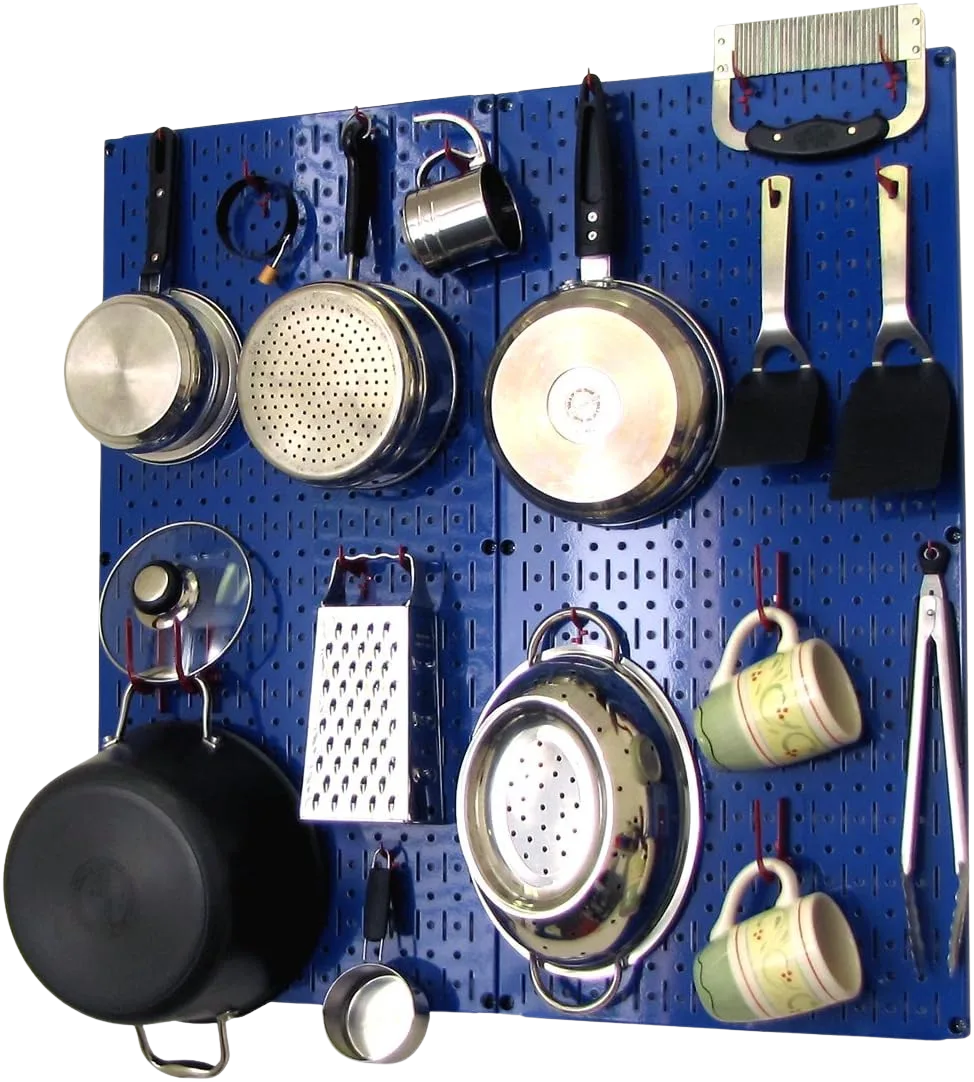
Start with the heavy hitter if you have a free end wall. A full kitchen pegboard rated for pots and pans clears the most bulk off your surfaces at once. I used to point people straight to lightweight craft pegboards for this, but after enough “the hooks bent under my saucepan” stories, I switched to recommending a purpose-built kitchen board for anyone hanging real cookware.
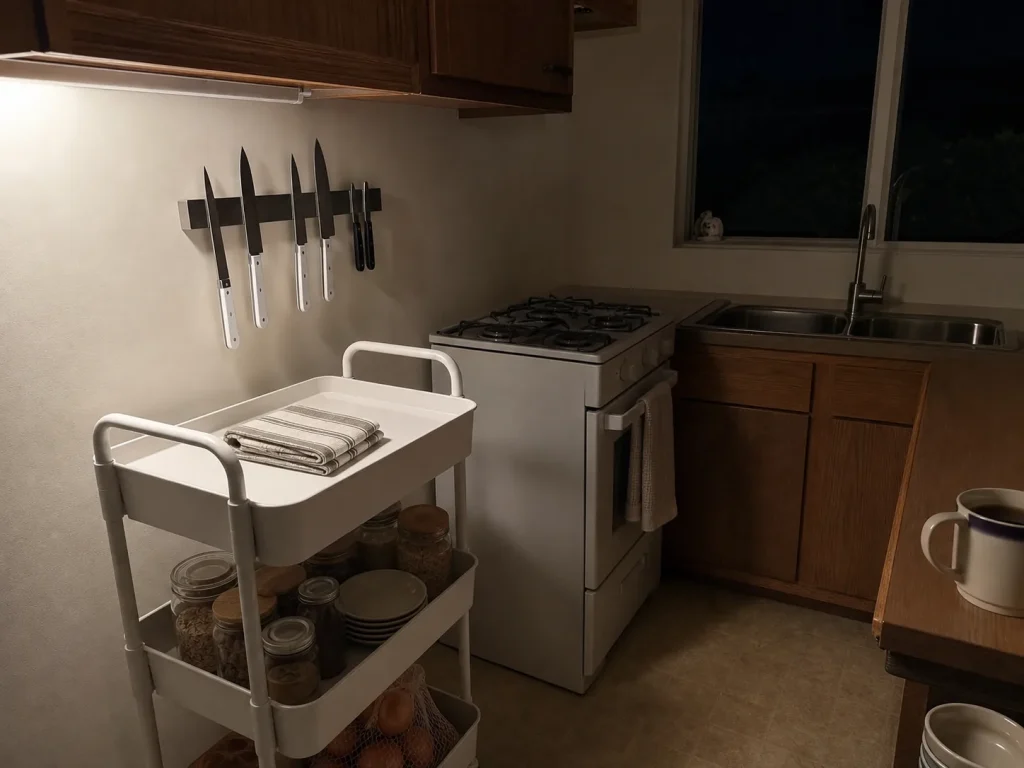
Knives come next, and they never need to touch a surface. A Ninonly 12-inch Magnetic Knife Strip holds your blades on the wall and retires the counter-hogging knife block for good. It’s a low-cost item that punches above its size in a tiny kitchen.
For renters who can’t anchor anything, keep it light. A set of no-drill acrylic wall shelves mounts with adhesive and holds spices, a mug, or a small plant, the kind of light load that respects the 3-pound reality of most rental walls. Just don’t ask them to hold your cast iron. If you want the full breakdown of the no-drill weight limits that keep a wall system from failing, that’s a rabbit hole worth going down before you drill, and it pairs with the no-drill kitchen fixes that won’t cost your deposit.
Claim the Cabinet Doors, Drawers, and Dead Corners
Cabinet Doors Are Free Vertical Storage
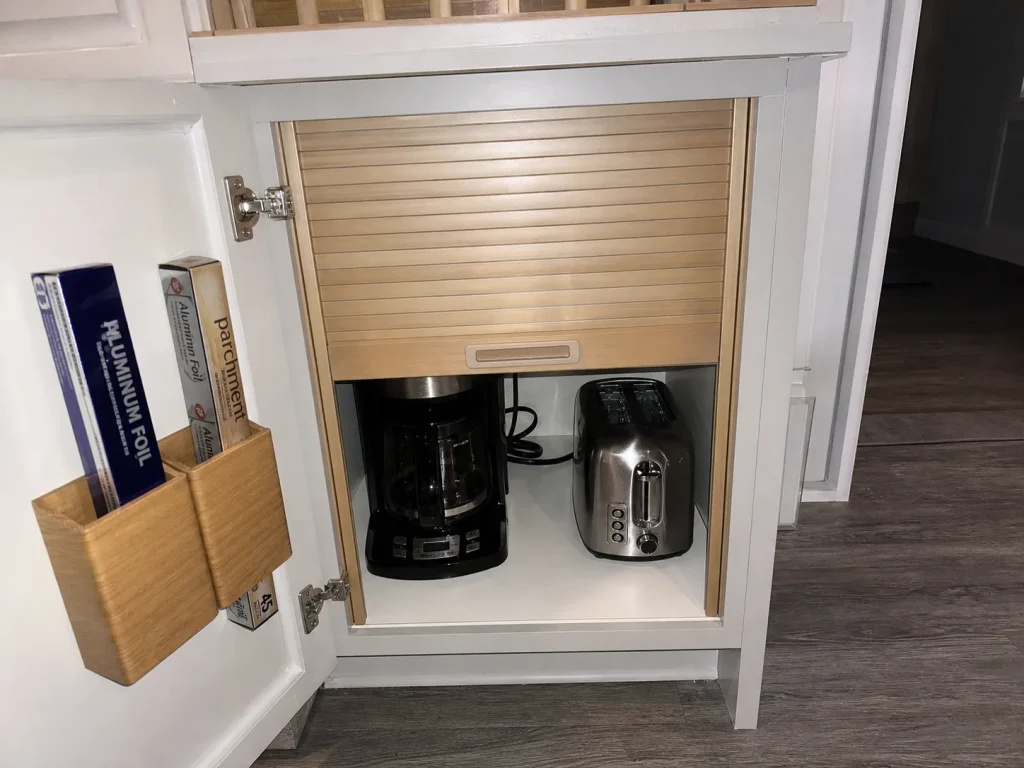
Everything that ends up on a counter is homeless. The way you declutter a counter for good is to give each homeless item an actual address, and cabinet door storage offers the most overlooked addresses in the kitchen. Foil, parchment, and plastic wrap are the worst offenders, sliding around loose until they surrender to a flat surface. A madesmart Over-Door Organizer hooks over a cabinet door with no drilling and stands those rolls upright and out of sight. It’s renter-safe and one of the cheapest ways to reclaim a surface.
Drawers Absorb the Utensil Sprawl
Utensils and gadgets sprawl because they have no fixed spots, so they drift to whatever surface is nearest. Dividers fix that, but only if every gadget gets a defined lane, because a “miscellaneous” section will eat the whole drawer inside a week. Before you buy, a repurposed cutlery tray you already own does the job for free. If your drawers are awkward widths, SpaceAid Bamboo Drawer Dividers adjust from 17 to 22 inches to fit standard US drawers, and the inserts keep small tools from sliding into one jumbled heap.
Give Daily Appliances a Garage
Small appliance storage is the biggest single land-grab on a missing counter, so be ruthless about which ones earn a spot. The rule professional organizers repeat is a good one: professional organizers with NAPO recommend starting by asking how often you actually use each appliance before deciding what earns a spot. Daily-use only, usually a coffee maker or kettle. Everything else goes off-surface.
Then hide even the daily ones. A Usknxiu Sliding Tambour Door Cabinet Kit turns an open shelf or cabinet top into a closed appliance garage, so the toaster gets a real home instead of defaulting to the stovetop. If installing a tambour kit feels like too much, a reused curtain across a shelf or simply leaving the cabinet door as-is costs nothing and gets the appliance out of sight. And while you’re in the cabinets, corners are dead space worth reclaiming too, which is the real fix for corner-cabinet dead space and part of building a cabinet system that actually stays neat.
Keep It From Creeping Back
The Nightly Reset
Every substitute surface in this article fails for the same single reason: nobody resets it. The board stays down, the cart top fills, and in a week you’re staring at the stovetop pile you started with. The whole maintenance system is one habit. At the end of the day, the cart top and the sink board go back to empty. Not tidy. Empty. Empty is the default state you return them to, the way you’d wipe down a real counter.
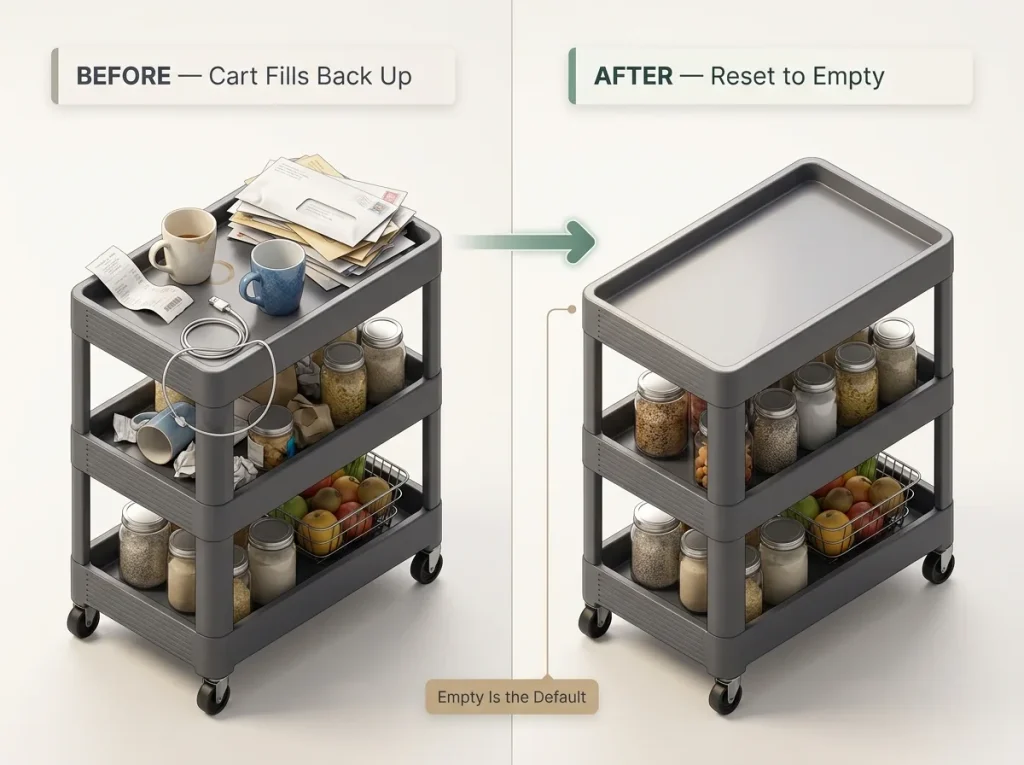
This is the step competitors skip entirely, and it’s why their setups look great in the photo and fail by month’s end. A movable counter only stays a counter if it resets to zero. The moment it holds things overnight, it has quietly become permanent storage, and you’re counter-less again with extra steps. And since there’s no surface to absorb overflow, a one-in-one-out rule at the door earns its keep here: anything new needs a home before it comes in, or it lands on the stove by default.
When You Share the Kitchen
The reset breaks fastest in a shared kitchen, and always on the same fault line: everyone assumes someone else will clear the surface. Your roommate preps on the sink board and leaves it. You add your mail to the cart top. Neither of you is wrong, exactly, and that’s the problem. The fix is to name who resets what, out loud, once. Whoever used the surface last clears it before bed. It sounds almost too small to matter, until you realize the entire system lives or dies on it. This is the same no-fixed-storage problem people wrestle with in a bathroom with no cabinets, and the same discipline solves both.
Conclusion
A no-counter kitchen clutters because it’s missing its landing zone, not because you’re doing anything wrong, so your first move is to build a substitute surface with a rolling cart and an over-sink board. Measure your aisle before you buy either one, so it actually fits and rolls. And remember that the whole system holds only if that surface resets to empty every night.
In three months, take a hard look at what’s permanently living on the cart top or sink board. Anything that never moves has quietly turned back into clutter, just at a nicer height. Give it a real home in a cabinet or a drawer, or let it go.
Start with one surface. Pick the sink or the cart, get it resetting to empty every night, and let that habit lock in. Then add the walls.
Frequently Asked Questions
01What can I use instead of counter space in a small kitchen?
A slim rolling cart and an over-the-sink cutting board are the two best stand-ins. The cart gives you a movable prep surface and the board turns the sink into a chopping zone. Both roll away or lift off when you’re done, so you keep the little space you have.
02How do I store appliances if I have no counter space?
Keep out only what you use daily, usually a coffee maker or kettle, and store everything else off the surface, ideally behind a cabinet or a tambour appliance-garage door. Daily-use-only is the rule professional organizers repeat for tight kitchens.
03How do you make more prep space in a kitchen with no counters?
Manufacture a flat zone. An over-sink board expands to nearly the 36 inches of prep space a standard kitchen has beside the sink, and a rolling cart top adds a second movable surface. Measure your aisle first so the cart actually fits and rolls.
04Can I organize a no-counter kitchen without drilling?
Yes. A rolling cart, an over-sink board, adhesive acrylic shelves, and over-door organizers need zero holes. Save any drilling for a heavy pegboard, which needs a stud, and keep adhesive-mounted shelves to light loads on rental walls.
05Why does my kitchen get cluttered again so fast?
With no counter, every flat surface becomes the counter, and any temporary surface you add fills up because it never resets. Set a nightly reset that returns the cart top and sink board to empty, and the clutter stops rebuilding itself.
Disclaimer: ClutterlessNest is a participant in the Amazon Services LLC Associates Program. As an Amazon Associate we earn from qualifying purchases. This article may contain affiliate links — if you buy through them, we may earn a small commission at no extra cost to you. We only recommend products we have tested or genuinely believe in.