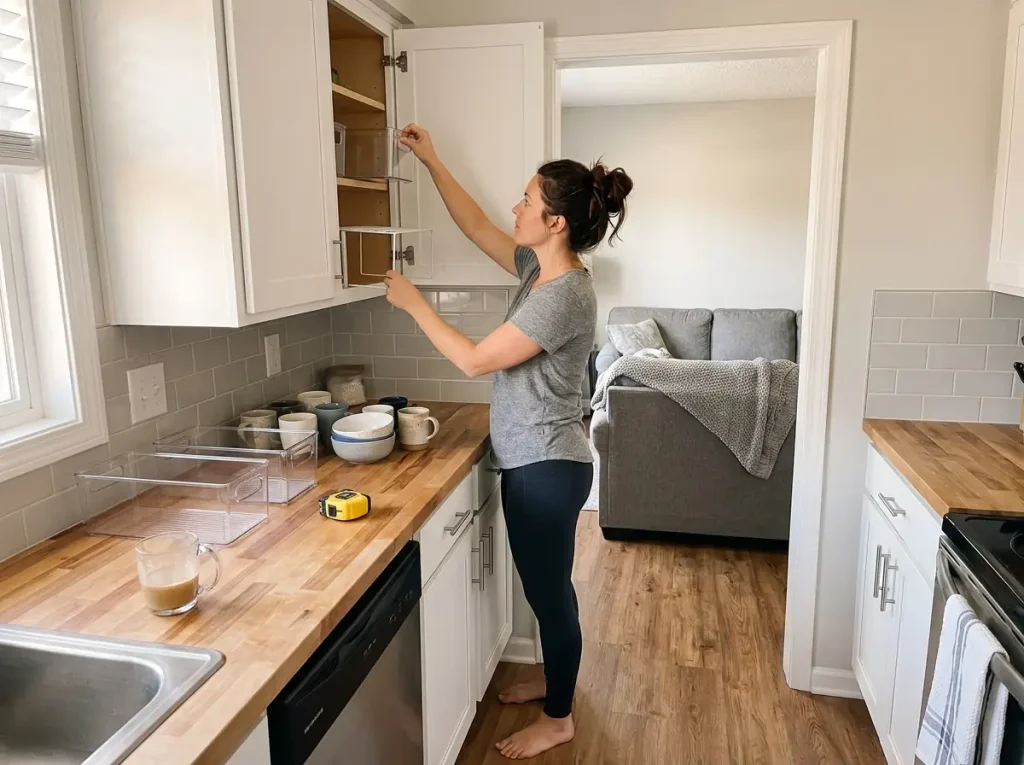
You open the upper cabinet and three things shift. A bowl slides forward, a travel mug tips against the spice jar behind it, and you do what you always do — push everything back, close the door fast, and pretend it’s fine. The problem isn’t that you’re bad at organizing. The problem is that most kitchen cabinet systems are designed for the “after” photo, not for a Tuesday night when you’re unloading groceries one-handed. After organizing dozens of kitchens with real constraints — rentals, weird shelf spacing, zero budget — I built a zone-by-zone approach that accounts for how cabinets actually get used. Here’s how to set yours up so they still make sense three months from now.
Quick Answer: To organize kitchen cabinets that stay neat:
- Empty one cabinet at a time and measure shelf depth (12″ upper, 24″ lower)
- Group items by use zone — cooking near the stove, baking together, daily dishes at eye level
- Add shelf risers and under-shelf baskets to double usable space in uppers
- Store pans vertically and use pull-outs in deep lower cabinets
- Use cabinet door backs for wraps, lids, and small tools
- Run a 10-minute weekly reset to catch drift before it becomes chaos
Why Kitchen Cabinets Get Messy Again
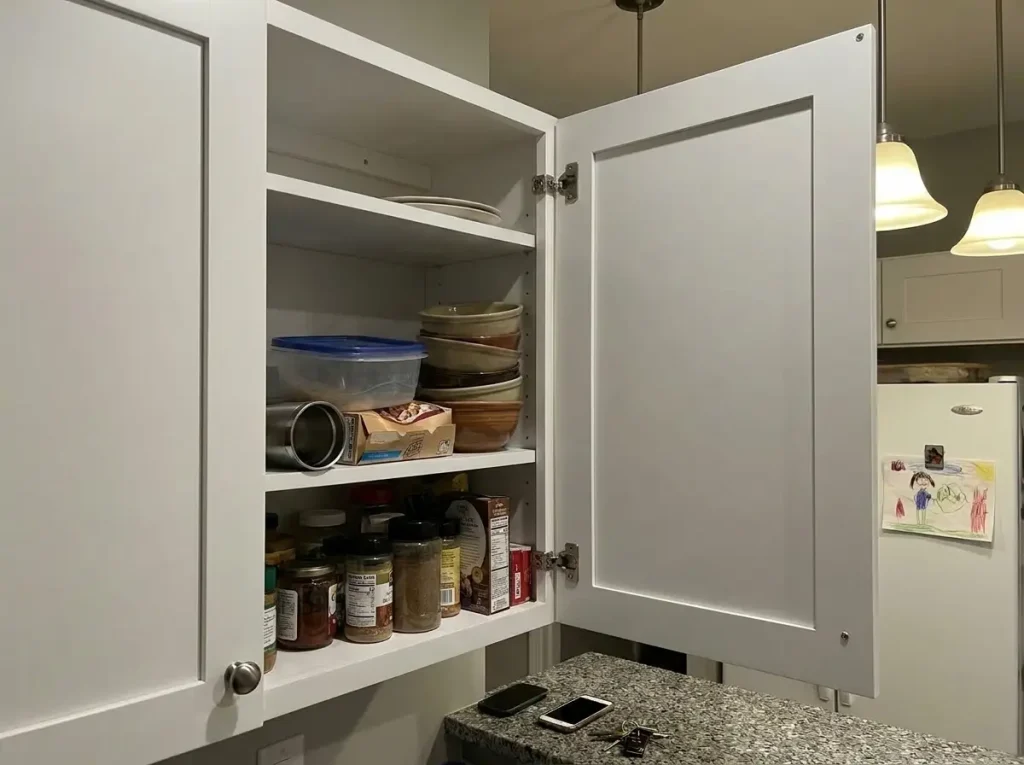
Every kitchen cabinet reorg follows the same arc. You spend a Saturday pulling everything out, wiping down shelves, and putting things back in neat rows. It looks great. Two weeks later, you’re back to shoving the colander behind the mixing bowls because nothing has a fixed home.
The Stacking Problem
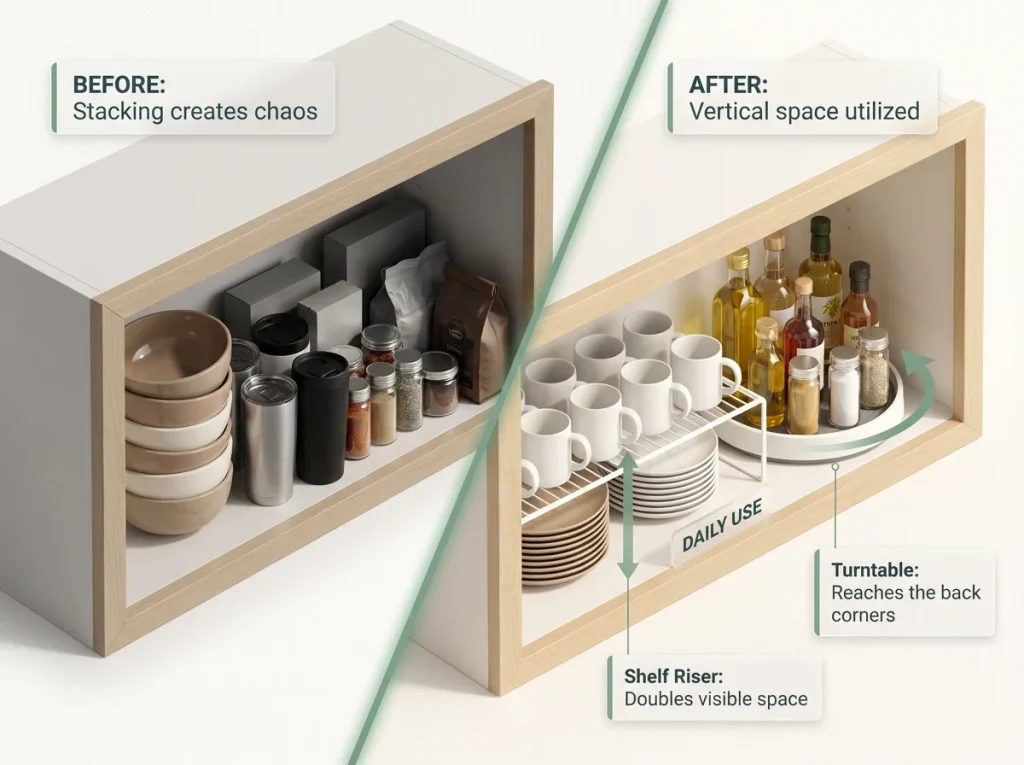
The default kitchen cabinet move is stacking — plates on plates, bowls on bowls, pans on pans. Stacking works for identical items. It fails the second you mix sizes. A 10-inch skillet under an 8-inch sauté pan under a 12-inch Dutch oven means you need to lift two heavy things to reach the one you actually want. You stop doing it. Everything ends up wherever it lands.
The same thing happens with food storage containers. You stack them by size, but lids go somewhere else, and within a week you’re rummaging through a cabinet full of mismatched plastic wondering where the lid to the medium container went. It’s the single most common kitchen cabinet complaint, and it has a structural fix — but stacking isn’t it.
Missing Zones
Your kitchen came with cabinets in fixed positions. Nobody asked you where you cook, where you prep, or where you eat breakfast. So your coffee mugs might be four feet from the coffee maker, and your baking supplies might be split across three different cabinets because that’s where things fit when you first unpacked.
Zone logic fixes this. Group items by how you use them, not by what they are. Cooking oils, spatulas, and pans go near the stove. Baking flour, measuring cups, and mixing bowls go together. Daily drinking glasses go in the cabinet closest to where you fill them. This one change — reorganizing by activity instead of category — is what keeps the system from reverting. When someone else in the house can guess where something goes without asking you, the system survives.
What “Organized” Actually Means Long-Term
An organized cabinet isn’t one where everything is perfectly aligned. It’s one where every item has a spot that makes sense to everyone who uses the kitchen, and where returning things to that spot takes less effort than leaving them out. If your system requires careful placement and matching lids to specific containers every time, it will fail. Build for speed, not for Instagram.
Measure Before You Buy Anything
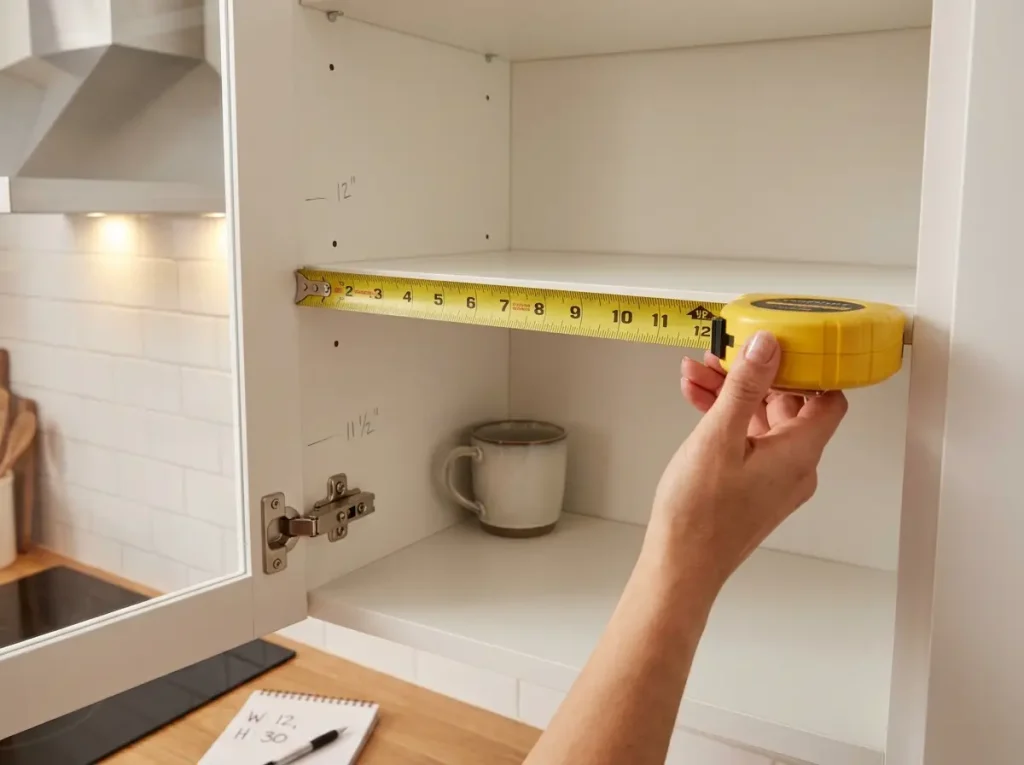
The most common organizing mistake is buying products first and measuring second. That expandable shelf riser you found on Amazon? It might not fit your cabinet. Those clear bins that looked perfect in the review photos? They might stick out past the door frame and prevent the cabinet from closing.
Upper vs. Lower Cabinet Depths
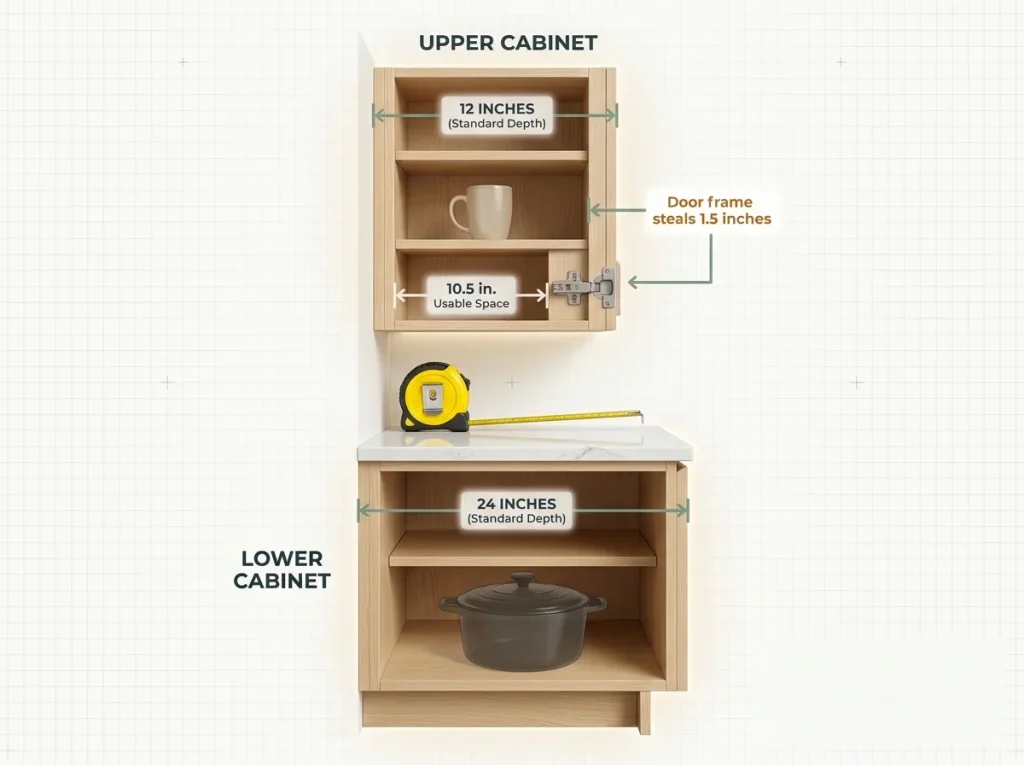
Standard upper cabinets (wall cabinets) are 12 inches deep. Standard base cabinets (lower cabinets) are 24 inches deep. This matters because a product designed for a 24-inch base cabinet will overwhelm a 12-inch upper shelf. And a product designed for a 12-inch upper won’t use half the depth in a lower cabinet.
Cabinet widths vary more — standard base cabinets come in widths from 12 to 48 inches in 3-inch increments. Upper cabinets typically run 12 to 36 inches wide. Write down the width, depth, and height between shelves for every cabinet you plan to organize. You’ll need these numbers before you open a single Amazon tab.
Pro tip: Measure the space between the front edge of the shelf and the inside of the closed door. In many cabinets, the door frame or hinge steals 1–2 inches of usable depth. A “12-inch” shelf might only give you 10.5 usable inches once the door closes.
How to Measure Usable Space
Grab a tape measure. For each cabinet, record three numbers: the width between inner walls, the depth from back wall to door frame (not to shelf edge — to where the door actually closes), and the height between each shelf. If your shelves are adjustable, note the peg hole spacing so you know how much you can shift them.
These three numbers tell you exactly what fits. A 9-inch turntable fits a 12-inch upper shelf with room to spare. A 12-inch turntable does not — it’ll hit the door frame. This is the kind of detail that turns a returned product into a permanent fix. The National Kitchen & Bath Association kitchen guidelines provide standard cabinet dimensions if you want to compare yours against the baseline.
Upper Cabinet Organization (The 12-Inch Shelf)
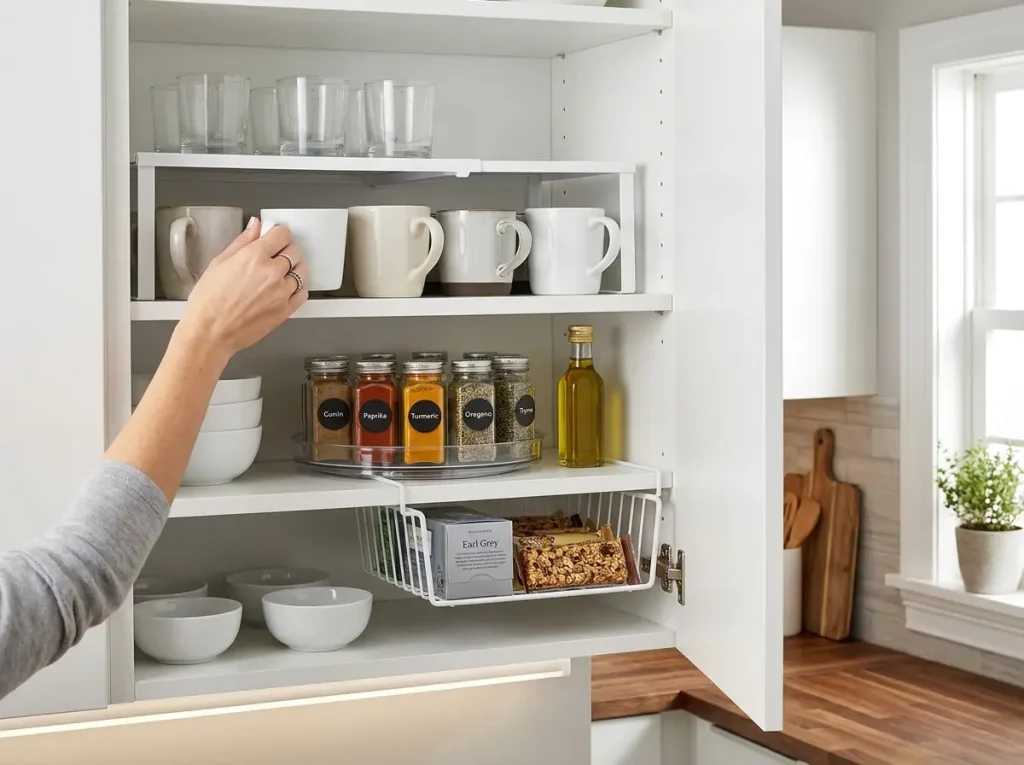
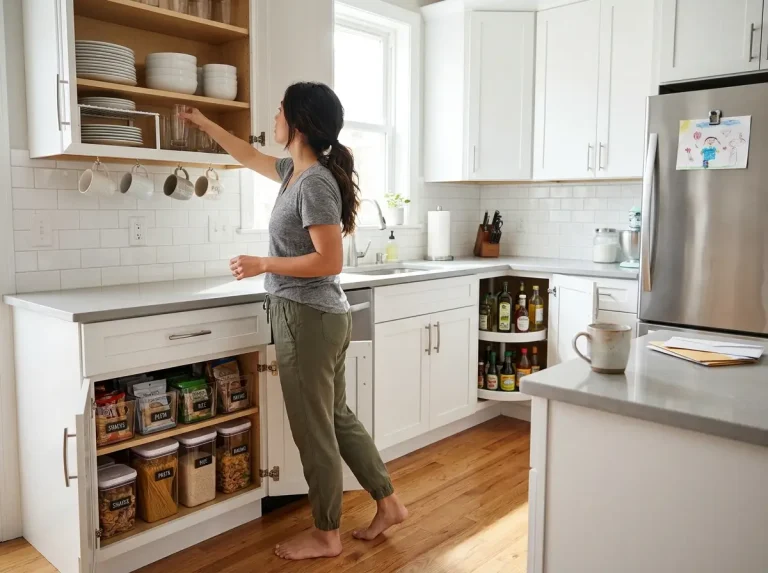
Upper cabinets are where most people lose the most usable space. The shelves are shallow (12 inches), the vertical gaps between shelves are usually too tall for what’s stored on them, and everything gets shoved to the back where you can’t see it. Three products fix this — and they all work in rentals.
Shelf Risers for Doubled Front Access
A shelf riser sits on your existing shelf and creates a second tier behind the front row of items. Instead of stacking mugs on mugs (and chipping them), you put short items in front and taller items on the riser behind them. Everything stays visible. Nothing gets buried.
The SimpleHouseware Expandable Shelf Rack (~$14–18) adjusts from about 15.5 to 25 inches wide, so it fits most standard upper cabinets without modification. It’s 10 inches deep, which means it fits a 12-inch shelf with a couple inches of clearance in front. If you don’t want to spend anything, two small cutting boards propped on their sides can improvise a riser for free — it’s less stable but works in a pinch.
Under-Shelf Baskets for a Hidden Second Layer
The vertical gap between shelves in most upper cabinets is 10–14 inches. If you’re storing mugs or glasses that are 5 inches tall, you’re wasting 5–9 inches of vertical space above them. An under-shelf wire basket clips onto the shelf above and hangs below it, creating a hidden drawer you can pull out.
The Under-Shelf Wire Basket (~$8–12, 16″ x 10″ x 4.5″) slides in and out without tools and fits standard 12-inch cabinet shelves. Use it for tea bags, snack bars, spice packets — flat items you’d otherwise lose behind taller items. One per cabinet is enough; two starts to crowd the shelf below.
Pro tip: Before buying an under-shelf basket, check the gap between the shelf and the tallest item stored below it. The basket hangs down about 4.5 inches. If you only have 6 inches of clearance, the basket will press against whatever’s on the lower shelf and the whole thing becomes annoying to use.
Turntables for Bottles and Spices
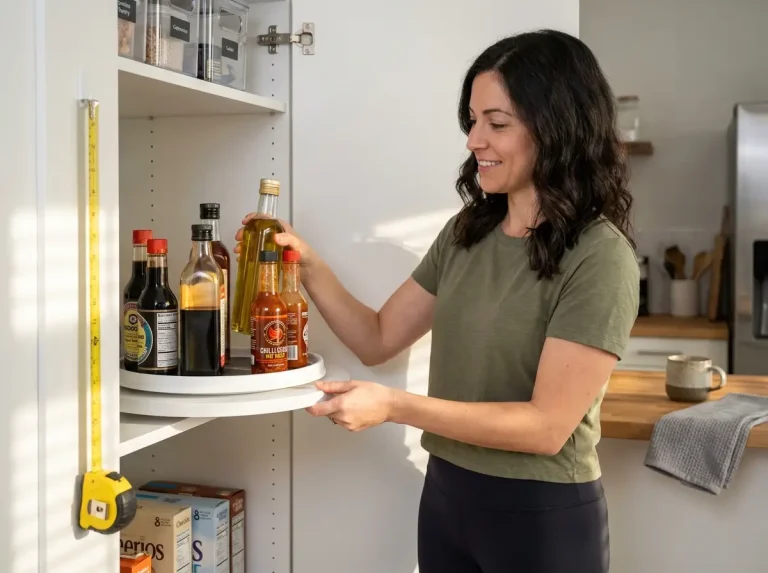
Corner shelves and deep upper cabinets have dead zones — the back third where bottles, oils, and spice jars disappear. A turntable puts everything within reach with a spin. The key is sizing: a turntable that’s too big for the shelf hits the door frame, and one that’s too small wastes space.
The Copco Non-Skid Turntable 9-inch (~$8–10) fits standard 12-inch upper shelves with room to spare on each side. The non-skid base keeps bottles from sliding off, which is the main failure point with cheap turntables. If you want the full breakdown on turntable sizing and which diameters work for which shelf depths, the lazy susan pantry organization guide covers the math in detail.
Lower Cabinet Organization (The Deep 24-Inch Space)
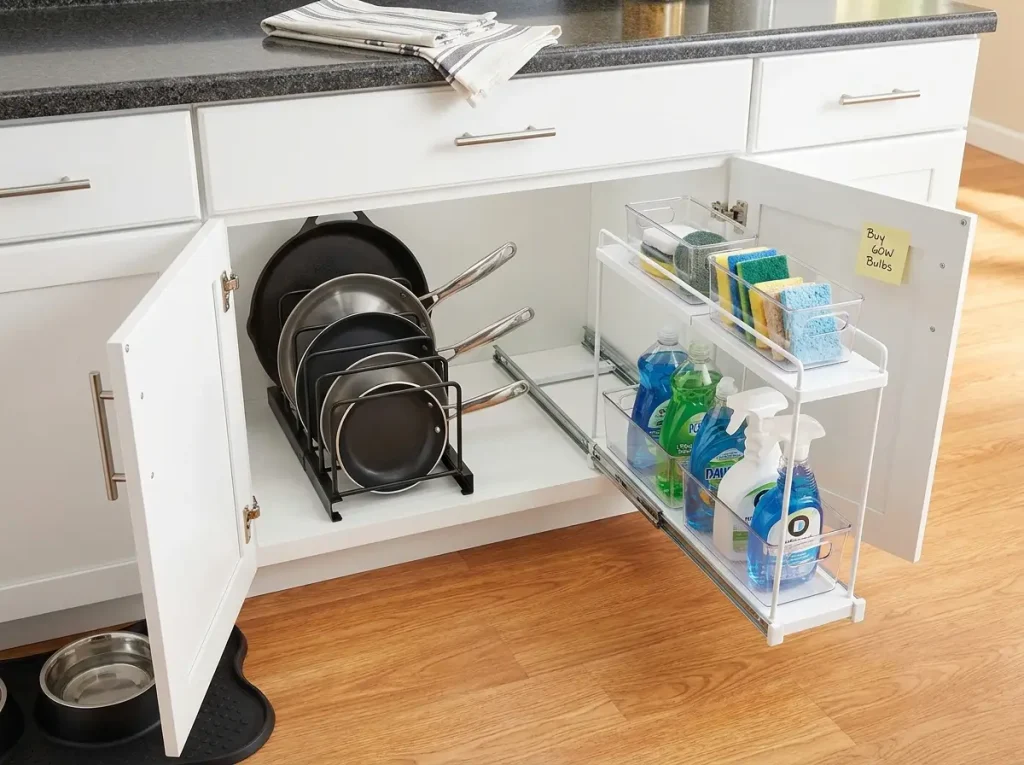
Base cabinets have the opposite problem from uppers. They’re deep — 24 inches — which means everything migrates to the back. You end up with a front row of things you use daily and a back row of things you forgot you owned. The fix is making the back accessible, not just hoping you’ll reach in there.
Pull-Out Organizers (Renter-Friendly Options)
A pull-out shelf or drawer that slides forward on rails is the single best upgrade for a deep base cabinet. The catch: most pull-out systems require drilling into the cabinet frame. If you own the place, a mounted pull-out like the Rev-A-Shelf ($80–100) is worth every dollar.
If you’re renting, the Adhesive Pull-Out Cabinet Organizer (~$15–25, expandable 12–20″ wide) mounts with heavy-duty adhesive strips instead of screws. It holds up to about 20 pounds and slides smoothly on standard cabinet surfaces. Not as sturdy as a bolted unit, but it handles cleaning supplies, small appliances, and food storage containers without sagging. Peel it off when you move. No deposit lost.
Pro tip: Before attaching any adhesive organizer, wipe the cabinet surface with rubbing alcohol and let it dry completely. Adhesive fails on dusty or greasy surfaces — and the inside of a kitchen cabinet under the sink is always slightly greasy. Thirty seconds of prep prevents the whole thing from detaching in a month.
Vertical Pan and Lid Storage
Stacking pans is the reason you hear that crash every time you open the lower cabinet. Pans aren’t designed to nest neatly — handles stick out at different angles, lids don’t stay put, and the cast iron at the bottom weighs everything down.
The SimpleHouseware Adjustable Pan Organizer Rack (~$15–18, 12.5″ x 9″ x 11.5″) holds pans vertically like files in a cabinet. Each pan gets its own slot, you pull out the one you need without disturbing the rest, and lids can stand in their own slot or on the end. The adjustable dividers accommodate different pan widths. A tension rod installed vertically inside the cabinet does a simpler version of this for about $3 — it won’t hold heavy cast iron, but it keeps lighter skillets and baking sheets upright.
Under-Sink Fixes
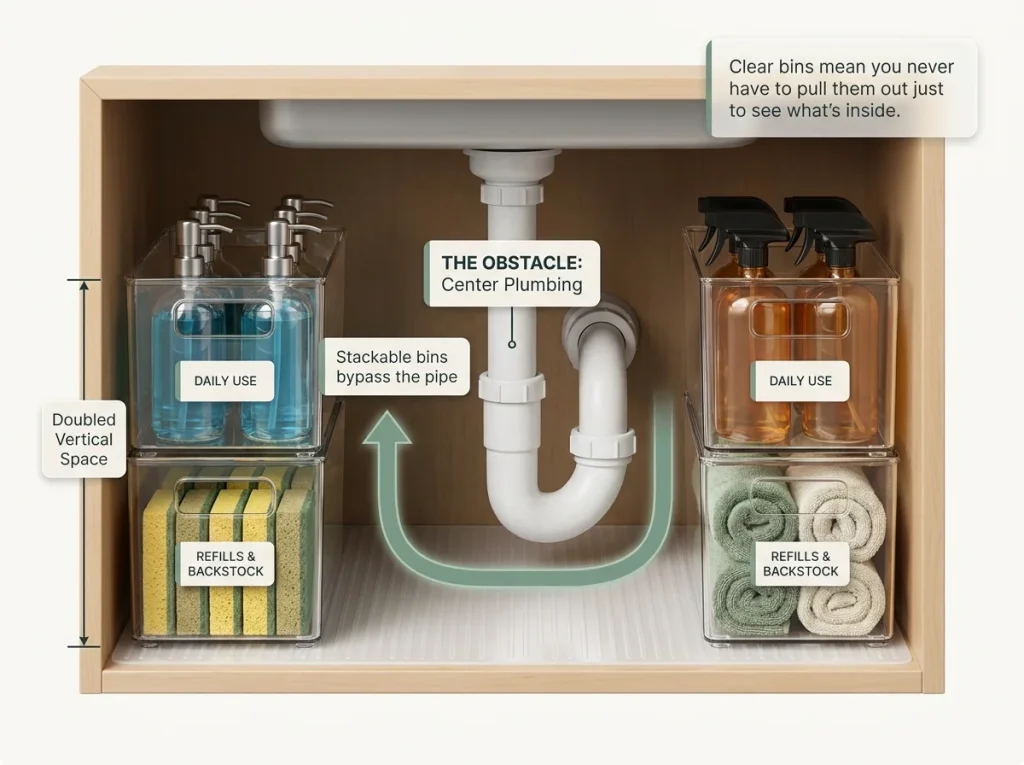
The cabinet under the kitchen sink is the worst-designed storage space in the house. It’s deep, dark, has plumbing in the middle, and everything slides around on the cabinet floor every time the door opens. The pipe steals the center of the space, leaving two awkward zones on either side.
The mDesign Stackable Plastic Storage Bins (~$22 for a 4-pack, 10″ x 6″ x 5″ each) fit around standard kitchen sink plumbing. Stack two on each side of the pipe and you’ve doubled your usable space for $22 total. Clear plastic means you see what’s inside without pulling bins out. If you have zero budget, repurposed shoe boxes work — they just don’t stack as cleanly and they’ll absorb moisture over time. For more on how to use stackable bins effectively in tight kitchen spaces, the small pantry organization guide covers the same stacking logic for narrow shelves.
Cabinet Door Space You’re Ignoring
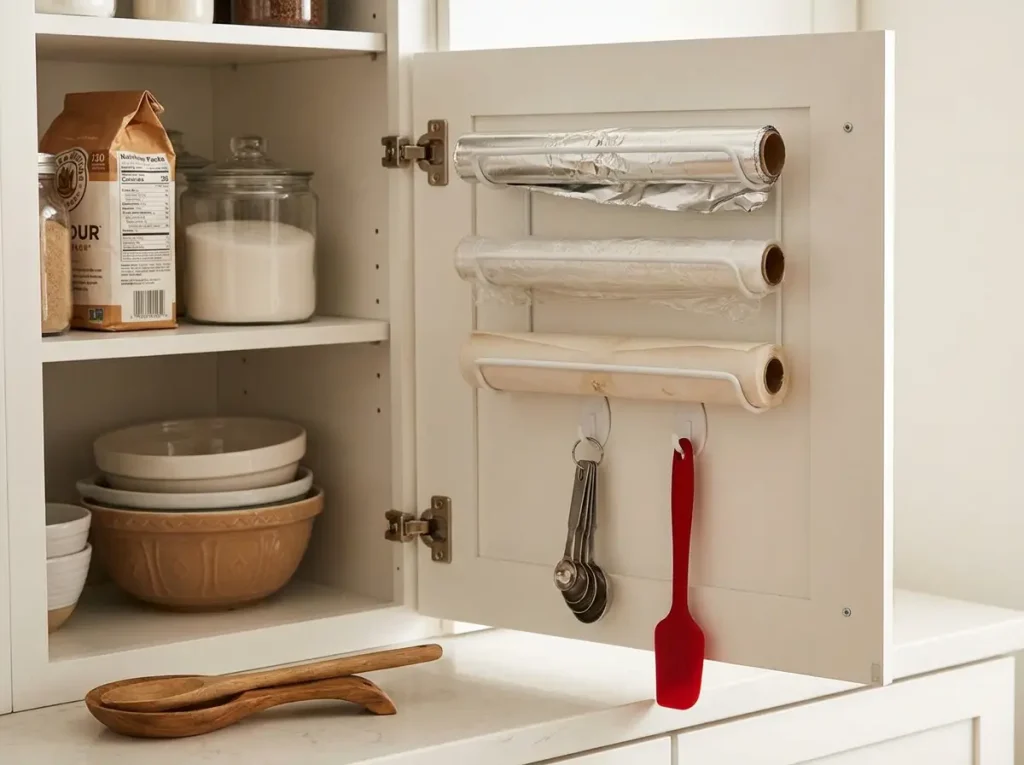
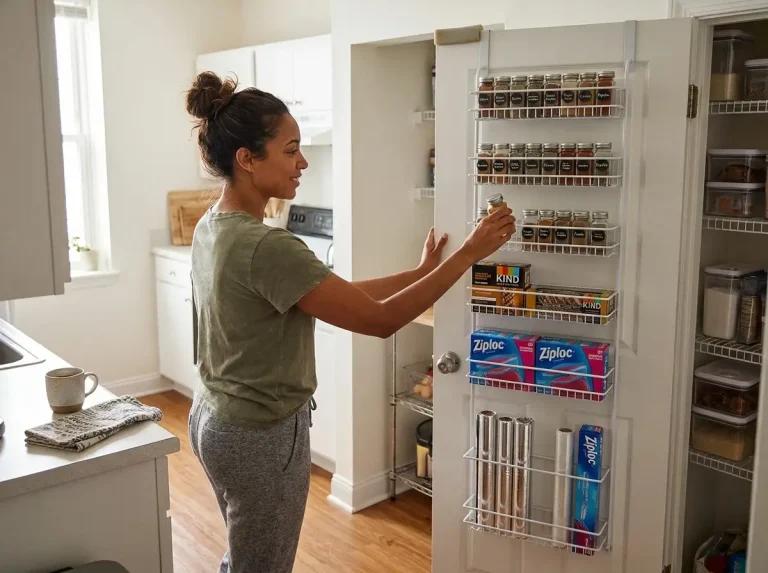
The inside of every cabinet door is dead space. It’s flat, it’s the right height for shallow items, and you look at it every time you open the cabinet. Most people never mount anything there because they assume it requires drilling — it doesn’t.
What to Mount (and What’s Too Heavy)
Cabinet doors can handle about 3–5 pounds of mounted weight before the hinges start to strain. That’s enough for wrap organizers, spice clips, measuring spoon hooks, and lid holders. It is not enough for heavy jars, canned goods, or full spice racks. If you load the door too heavily, it won’t close flush and the hinge screws will loosen over time.
Command hooks and adhesive-mount organizers work for lightweight items. For anything heavier, small screws into the door panel are more reliable — but only if you own the place or your landlord won’t inspect inside cabinets (check first).
Best Items for Door Storage
Foil, plastic wrap, and parchment paper rolls are the ideal door-mount items — they’re used constantly, they’re lightweight, and they take up prime shelf space when stored flat. A SimpleHouseware Wall/Door Mount Kitchen Wrap Organizer holds three rolls vertically on the door and frees up an entire shelf row.
Measuring spoons, a kitchen timer, and small tools (vegetable peeler, can opener) also work well on door-mounted hooks. If you have a dedicated baking cabinet, mount your most-used tools on the door so they’re at hand the second you open it. The pantry door organizer ideas guide covers weight limits by door type and material if you want to push this further.
The Weekly Reset That Keeps It Working
Here’s the part no kitchen organization article tells you: any system degrades. People put things back in the wrong spot. New items arrive without a home. One “I’ll deal with it later” turns into five. In three months, you’re back where you started — not because the system was bad, but because nobody maintained it.
The 10-Minute Sunday Cabinet Check
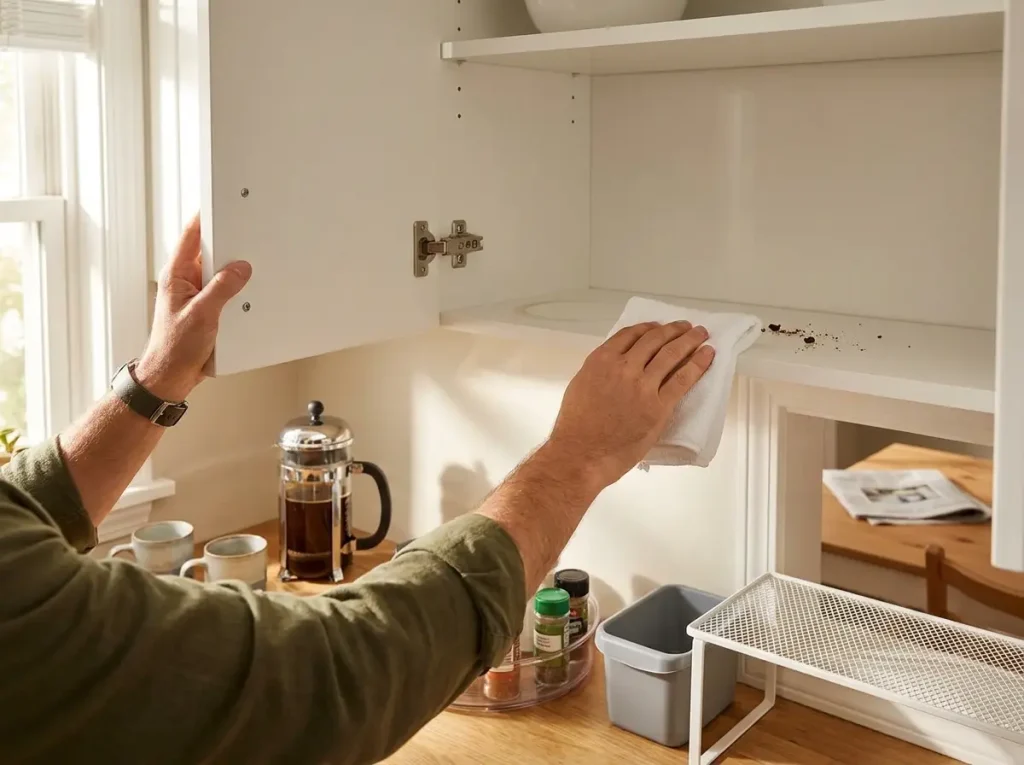
Pick one day a week — Sunday evening works for most households because groceries have been put away and the kitchen is about to be reset for the week. Open every cabinet. Spend 10 minutes total on this:
- Pull forward anything that migrated to the back of a shelf
- Return any item that ended up in the wrong zone
- Wipe one shelf (rotate which shelf each week — you’ll hit every shelf in a month)
- Toss or relocate anything that appeared in a cabinet and doesn’t belong there
That’s it. This routine works because it catches small drift before it compounds. A pan in the wrong cabinet on Tuesday is fine. Five misplaced items by the end of the month is how you get the avalanche cabinet back. The same 10-minute reset principle applies to pantries — the pantry organization guide explains the weekly reset in more detail with a full checklist.
Seasonal Swap (What to Rotate Quarterly)
Every three months, spend 20 minutes doing a deeper pass. Move seasonal items to less accessible cabinets: holiday baking supplies go high and back in January, barbecue tools come forward in May. Check expiration dates on spices and baking staples. Look at which shelf risers or bins aren’t being used — remove them if they’re just taking up space. The sign of a working system isn’t that it looks perfect. It’s that the 10-minute weekly check is enough to keep it functional.
Conclusion
Three things make the difference between a kitchen cabinet system that lasts and one that reverts in two weeks. First, measure your cabinets before buying anything — 12-inch uppers and 24-inch lowers need different solutions, and a product that doesn’t fit your shelf will end up in the donate pile. Second, organize by use zones, not by item type — group things by activity (cooking, baking, daily dishes) so putting items back requires zero thinking. Third, build in a weekly reset — ten minutes on a Sunday catches the drift before it turns into chaos.
Three-Month Check: revisit your zones after 90 days. You’ll notice which zones held and which ones reverted — that tells you where the system needs adjusting, not replacing.
Start with the one cabinet that drives you crazy every morning. Get it right. Live with it for a week. Then do the next one.
Q1 How do I organize kitchen cabinets in a rental without drilling?
Use adhesive-mount pull-outs, shelf risers that sit on existing shelves, under-shelf baskets that clip on, and Command hooks on door interiors. None of these require holes. The adhesive pull-out organizers hold up to 20 pounds and peel off cleanly when you move.
Q2 What is the best way to organize pots and pans in a cabinet?
Store them vertically using an adjustable pan organizer rack instead of stacking. Each pan sits in its own slot, so you pull one out without moving the others. Lids stand in a separate slot or at the end of the rack.
Q3 How often should I reorganize my kitchen cabinets?
A full reorganization shouldn’t be necessary more than once or twice a year if you run a 10-minute weekly reset. The weekly check catches items that drifted to wrong zones and prevents the gradual buildup that forces a total redo.
Q4 What should I put in upper cabinets vs. lower cabinets?
Store lightweight daily-use items in upper cabinets — glasses, mugs, plates, spices, and small bowls. Store heavy or bulky items in lower cabinets — pots, pans, small appliances, and cleaning supplies. This follows both ergonomic sense and safety logic, since heavy items stored high are a falling hazard.
Q5 How do I organize kitchen cabinets on a budget?
Start with what costs nothing: group items by zone, remove duplicates, and use items you already own (shoe boxes as under-sink bins, a magazine holder for wrap storage). A shelf riser (~$14) and under-shelf basket (~$8) handle most upper cabinet problems for under $25 total.
Disclaimer: ClutterlessNest is a participant in the Amazon Services LLC Associates Program. As an Amazon Associate we earn from qualifying purchases. This article may contain affiliate links — if you buy through them, we may earn a small commission at no extra cost to you. We only recommend products we have tested or genuinely believe in.