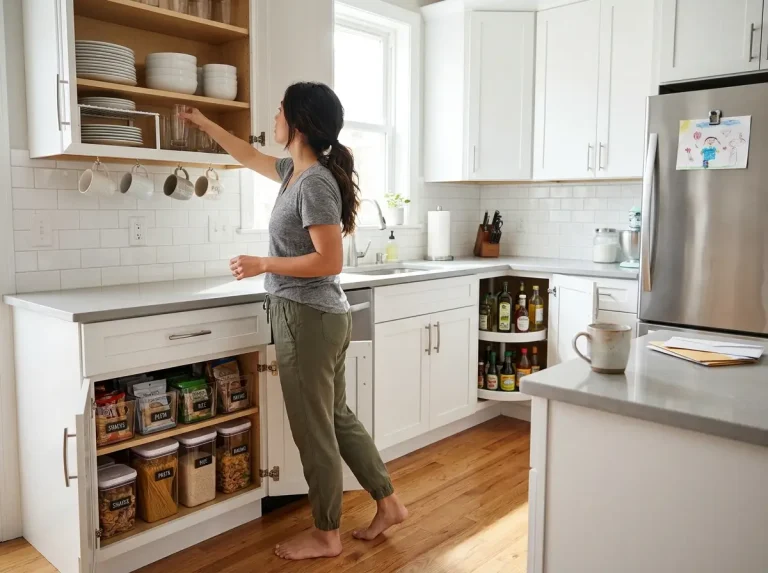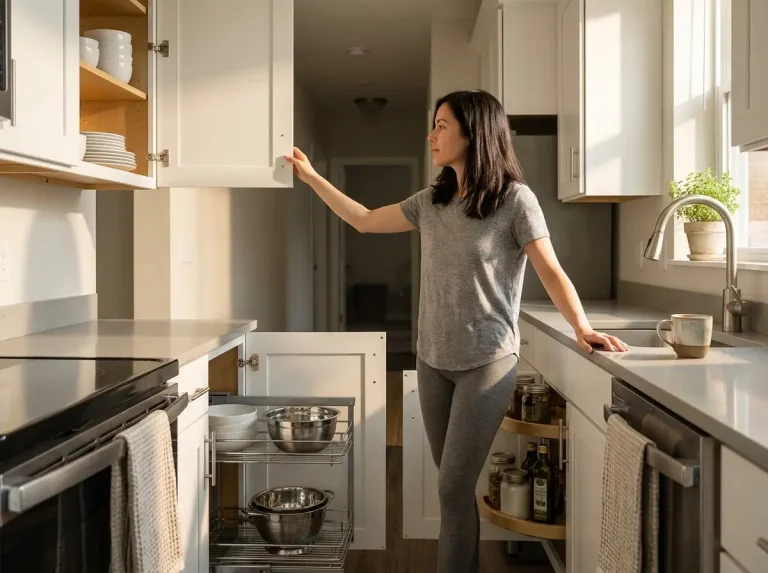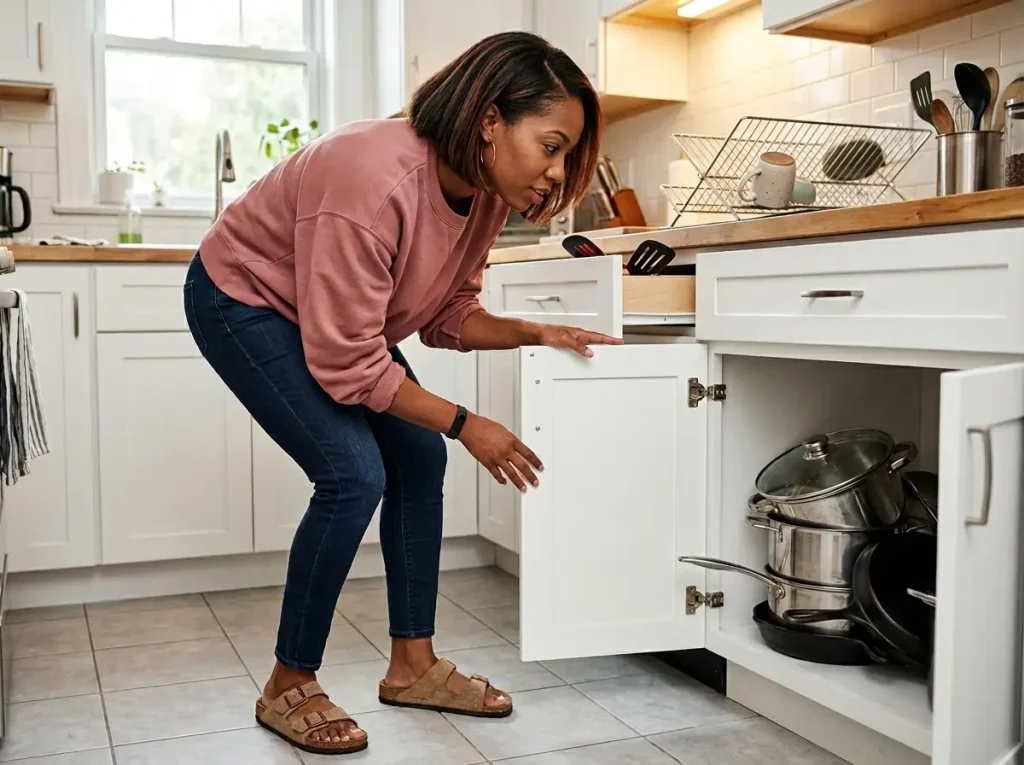
You open the cabinet for the sauté pan. It’s buried under the stockpot, two lids, and a cast iron skillet that weighs more than your toddler. You lift everything out, bang it on the counter, grab the pan, shove everything back in, and close the door before something falls — tomorrow night, you do the exact same thing. I’ve reorganized enough kitchens to know this isn’t a willpower problem — the system was designed for the “after photo” moment on a calm Sunday, not for Tuesday at 6:30 PM when dinner is already late. This article covers why your pots and pans organization keeps collapsing, how to match storage to what your pans are actually made of, and what holds up past the first week.
Quick Answer: Here’s what keeps a pots and pans system working long-term:
- Put your most-used pan where you can grab it without moving anything else
- Measure your cabinet opening before buying any organizer (21″ wide minimum)
- Store pans vertically — a rack uses the cabinet height you’re wasting
- Match storage method to pan material — non-stick needs pads or vertical slots
- Store lids separately with a tension rod or adjustable organizer
- Skip wall racks if you rent — use a freestanding shelf or cabinet-only system
Why Your Pots and Pans Organization Collapses Every Time
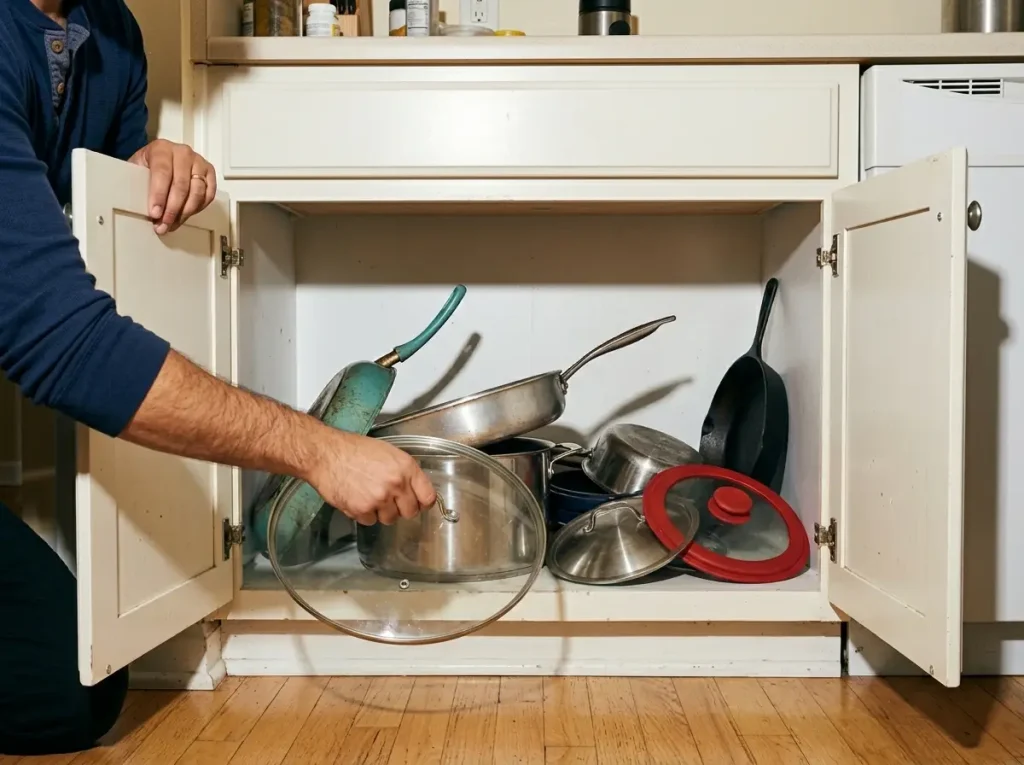
Every organizing article shows you the method. Stack neatly. Use a rack. Put lids somewhere. None of them explain why the system you set up three weeks ago already looks like a garage sale inside the cabinet.
The answer is access friction. Any cookware storage system that requires you to move two or more items to reach the pan you cook with most will be abandoned within a month. Not because you’re lazy — because at 6:30 PM with dinner on the clock, you are not going to carefully remove three pans to reach the fourth.
You’re going to grab and go. And that single grab-and-go moment undoes the entire system.
The pan you cook with most is always buried deepest
Think about which pan you reach for four or five nights a week. For most people, it’s a 10- or 12-inch sauté pan or skillet. Now think about where that pan is right now. In most kitchens, it’s at the bottom of a stack or wedged behind the stockpot — because it’s one of the bigger everyday pans, it ends up underneath everything smaller that got placed on top.
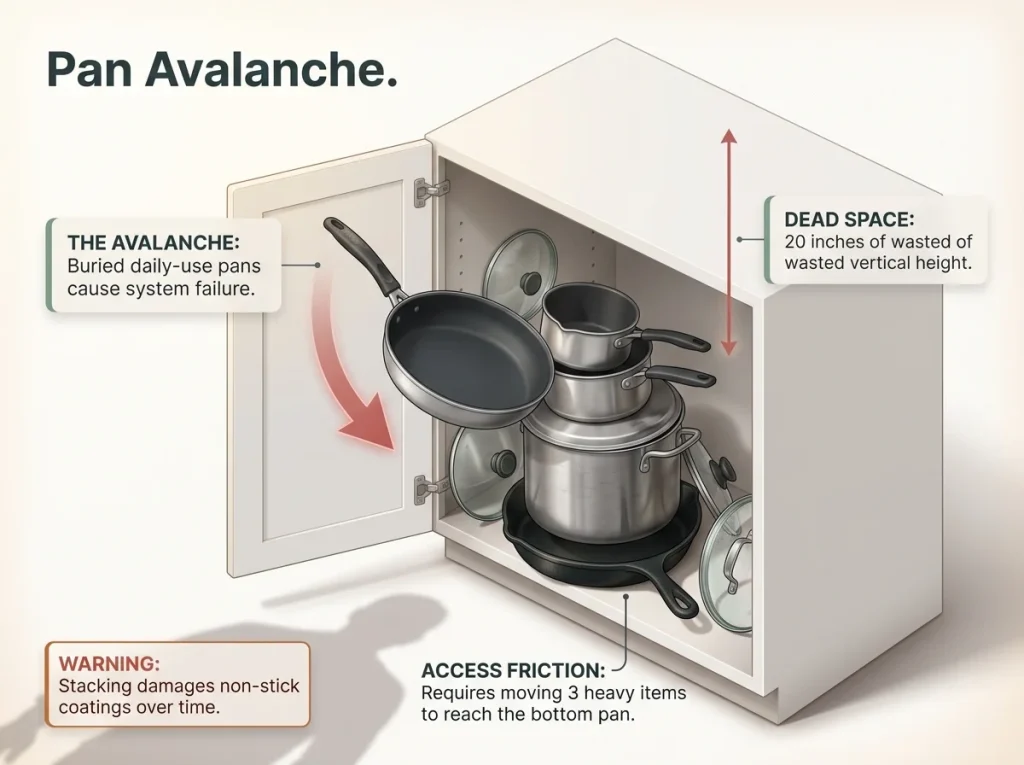
That’s the root of the problem. The pan you need most requires the most effort to reach. Every organizing system that doesn’t put your daily-use pan in a zero-effort position — front, top, no lifting — is built to fail. It doesn’t matter how neat the rest of the cabinet looks.
If the Tuesday-night pan takes more than one motion to grab, the system collapses within weeks. You’ll know it’s happening when you stop putting pans back in their “correct” spots and start shoving them wherever they fit. That’s not failure of discipline — it’s failure of design.
Measure before you touch anything
Before you rearrange a single pan, measure your cabinet. Most base cabinets are 24 inches deep on the exterior, with about 23 inches of usable interior depth. The interior height in a standard base cabinet gives you roughly 30 inches of vertical space — three times the height of a single pan, and most people are using almost none of it.
These dimensions aren’t random — the National Kitchen and Bath Association’s planning guidelines call for functional storage devices in every kitchen cabinet zone. If professional kitchen designers treat cookware storage as a baseline standard, your pans should have a real plan too.
The measurement that matters most is your cabinet opening width. Most vertical pan organizers need a minimum of 21 inches to fit. If your opening is narrower, you’re limited to stacking solutions and lid-only organizers. Check the height clearance too — you need at least 17 inches for most pan racks to sit comfortably without blocking the shelf above.
Pro tip: Measure the opening width at the narrowest point, not the widest. Cabinet doors, hinges, and shelf lips can shrink the usable opening by an inch or two — and that’s the difference between a rack that slides in and one that sits on the kitchen floor because it doesn’t fit.
The 15-minute cookware edit
Here’s what nobody says in organizing content: you probably own too many pans. Pull everything out of the cabinet and put it on the counter. Every pot, every pan, every lid, every random steamer basket you forgot about.
Now count how many you’ve actually cooked with in the last three months. Most people discover they use three or four pans regularly and own eight to ten.
The dutch oven from your wedding registry that you’ve used twice? The small saucepan with the wobbly handle? Those are taking prime cabinet space from the pans you cook with every week.
If you haven’t cooked with it in three months, it belongs in a donation box. This is the step that makes every other solution in this article work — less cookware means less competition for the front of the cabinet. And if you’re working through a full kitchen cabinet organization system, the cookware edit should happen first. There’s no point buying organizers for 12 pans when you’ll thin them down to 6.
How to Organize Pots and Pans Inside a Lower Cabinet
The lower cabinet is where most pots and pans live, and the default setup — flat stacking on a shelf — wastes most of the space you have. You’re using the bottom six inches of a 30-inch tall interior. That’s like parking one car in a three-car garage and calling it full.
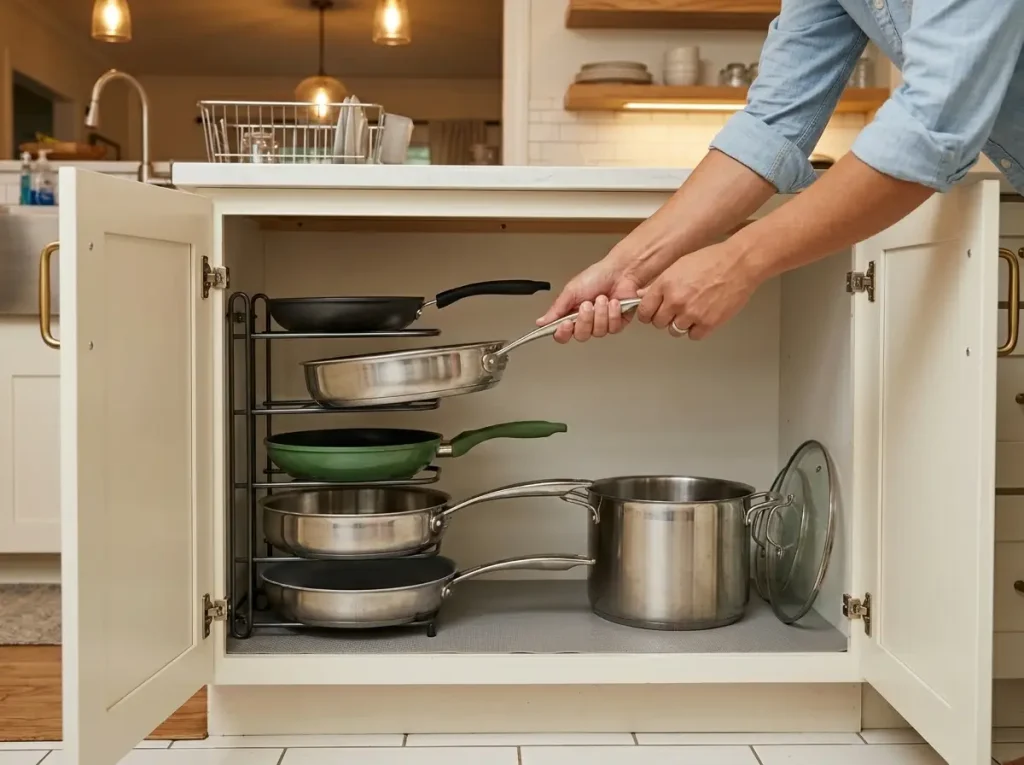
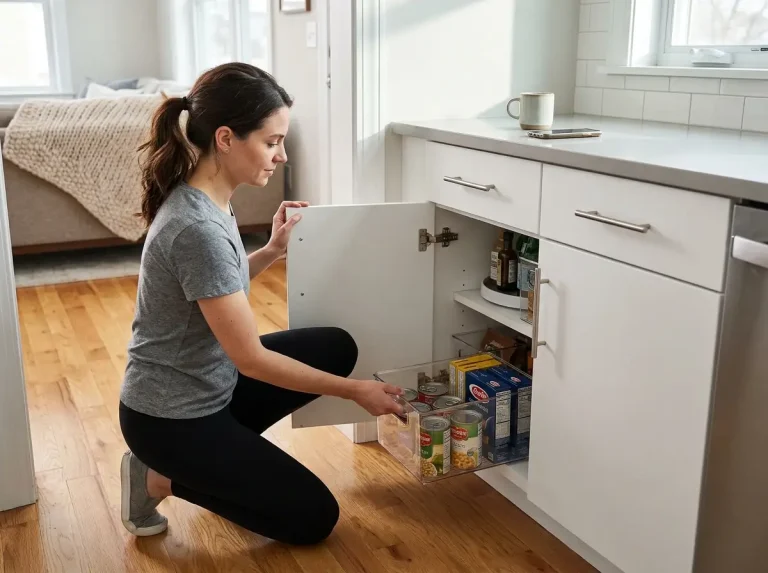
Vertical pan storage changes the math. A 5-tier rack stores five pans in the same footprint that a flat stack of three uses, and every pan is individually accessible. No lifting, no rearranging, no pan avalanche when you pull one out.
Vertical pan racks — how to choose the right size for your cabinet
The right rack depends on two numbers: your cabinet opening width and your interior height clearance. Most vertical pan organizers need at least 21 inches of width and 17 inches of height. If your cabinet clears both, you have real options.
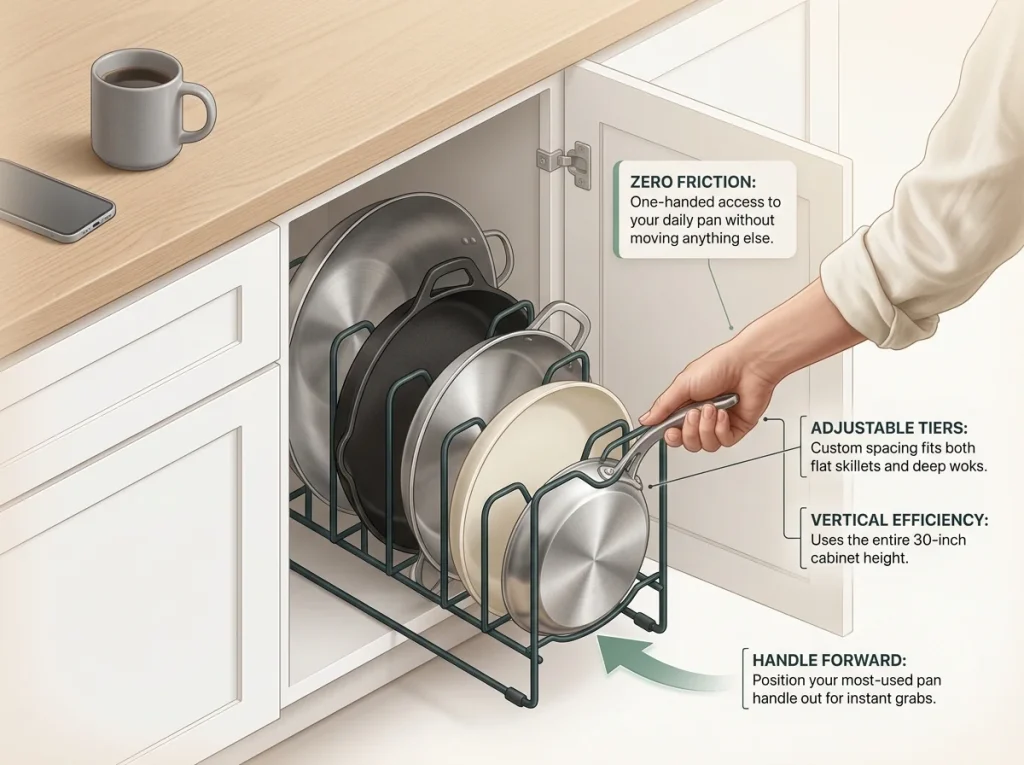
The detail that makes the biggest difference: adjustable tier spacing. Fixed-tier racks assume all your pans are the same diameter. They’re not. An 8-inch egg pan and a 12-inch sauté pan need very different slot widths, and a fixed rack wastes half its slots when your pans don’t match.
The SimpleHouseware Adjustable Pan Organizer Rack is 12.5 by 9 by 11.5 inches and fits cabinets 21 inches or wider with 17 inches of height clearance — the adjustable tiers handle pans from 8 to 12 inches in diameter. If your cabinet is tighter than that, a single tension rod stretched vertically inside the cabinet gives you a lean-to option where pans rest against the rod sorted by size. It’s less stable and holds fewer pans, but it costs almost nothing.
When you have to stack — the right order and how to protect your pans
Not every kitchen has room for a vertical rack. If stacking is your only option, the order matters. Heaviest pan on the bottom, least-used next, and your daily-use pan always on top. The pan you grab every night should never require lifting anything else to reach.
Between every pan, place a protector pad. This isn’t optional for non-stick or ceramic-coated cookware — metal-on-coating contact creates the circular scratch patterns that degrade non-stick surfaces over months of daily stacking. Paper plates between pans work in a pinch, especially for cast iron, but they break down in humid kitchens. More on protector pads in the next section.
Making a 24-inch deep cabinet work without losing half of it
A 24-inch deep cabinet is a gift and a trap. The front 12 inches are easy to reach. The back 12 inches become a black hole where the turkey roasting pan goes to live permanently, blocking everything behind it.
The fix is a front-to-back zone system: daily pans in the front 12 inches, occasional-use pieces (stockpot, roasting pan, dutch oven) in the back. Never let a pan you use twice a year block the one you use four nights a week. If your deep cabinet is the main storage problem, the 24-inch deep cabinet front-to-back zone fix covers this specific constraint in full depth.
Pro tip: Put your daily pan in the front slot of the vertical rack with its handle pointing toward you. You should be able to grab it with one hand while holding a spatula in the other. If you can’t, move it forward until you can.
Match Your Storage Method to Your Pan Material
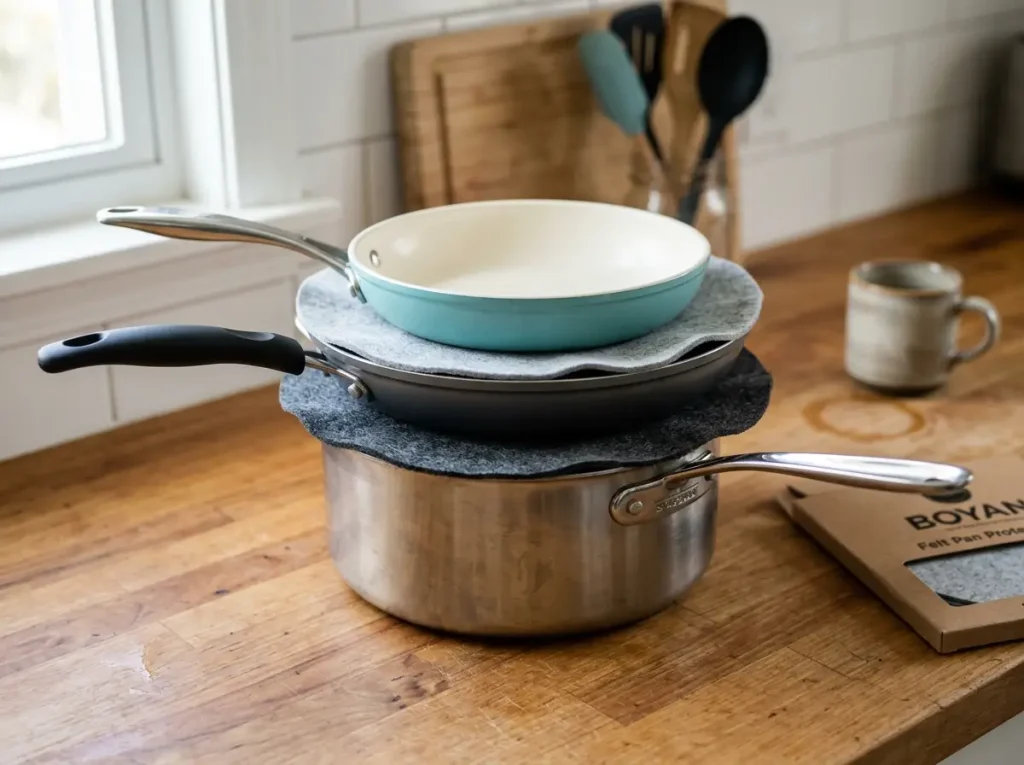
Most organizing advice treats all pans the same. A cast iron skillet and a non-stick egg pan have almost nothing in common when it comes to storage requirements. Getting this wrong doesn’t just make the cabinet messy — it shortens the life of your cookware.
Non-stick and ceramic-coated pans — vertical or padded only
Non-stick pans with PTFE coating are the most vulnerable to storage damage. When you stack a stainless pan on top of a non-stick surface, the metal creates micro-scratches with every vibration — every time you open the cabinet door, pull out an adjacent pan, or even let the stack settle from temperature changes. Those scratches don’t appear overnight. They build gradually over weeks, and by the time the coating looks visibly worn, it’s been degrading for months.
Damaged PTFE releases microparticles into food during cooking. This isn’t cosmetic — it’s a documented health concern.
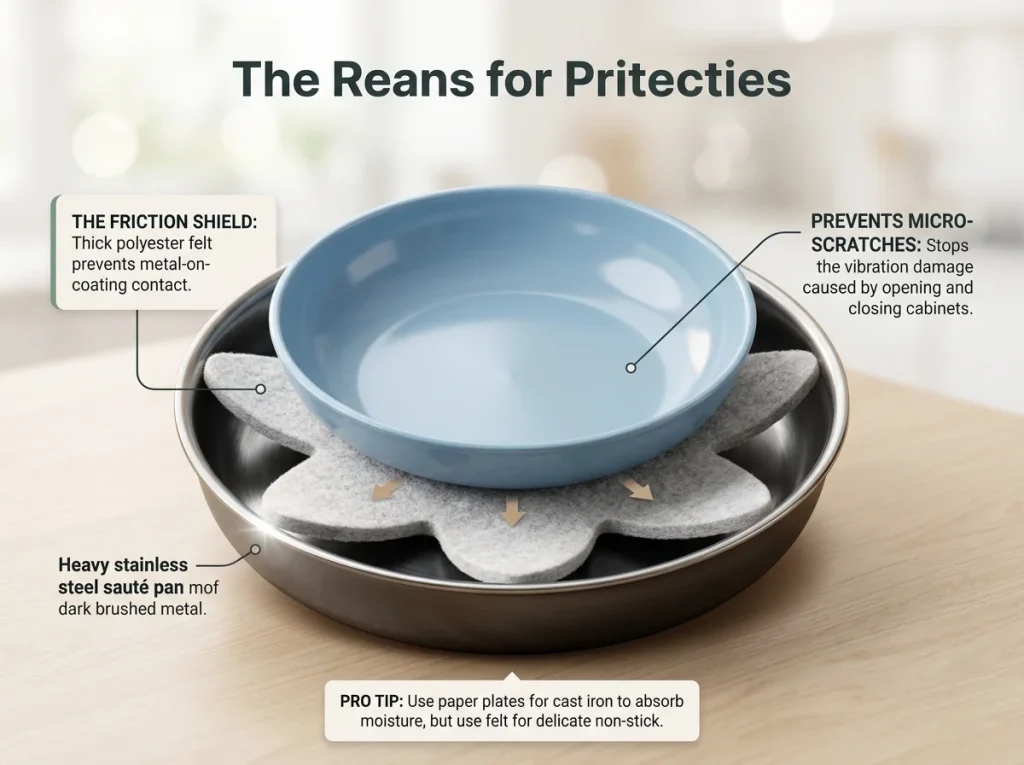
Vertical storage is the best answer for any coated pan. If vertical isn’t possible, felt pan protectors between every layer are the minimum protection — not a nice-to-have. The BOYAN Felt Pan Protectors come in a set of 12 across three sizes (8, 10, and 12 inches), which covers most cookware collections with spares for the pans that need double padding.
They’re made of polyester felt and machine washable, unlike paper plates that degrade and tear after a few weeks. Ceramic-coated pans need the same treatment — the glaze chips under impact and sustained weight from stacking.
Cast iron — the heavy exception to most storage rules
Cast iron changes the math on everything. A single 10-inch Lodge skillet weighs 8 to 12 pounds. That weight rules out wall-mounted pot rails — most hooks are rated for 2 to 3 pounds each.
A six-hook rail maxes out at around 18 pounds total, and that limit is only safe if the rail is anchored into wall studs. One cast iron skillet plus a lid and you’re already near the breaking point.
Store cast iron flat in a lower cabinet, ideally on the bottom position in any stack. Never stack it directly on non-stick or ceramic — the weight alone damages the coating underneath over weeks. Paper plates between cast iron and whatever sits below work well because they absorb moisture, which matters for cast iron’s seasoning layer. Felt pads work too, but paper has the edge for moisture management.
One more thing: leave the lid slightly ajar or store it separately. Sealing a cast iron pan with its lid on traps moisture inside, and trapped moisture on cast iron means rust. You’ll find orange spots on the cooking surface within a couple of weeks if the lid is sealed tight in a warm kitchen cabinet.
Stainless steel and everything else
Stainless steel is the forgiving one. It can stack, nest, and sit under heavy pans without functional damage. Light scratches don’t affect cooking performance or safety — they’re purely cosmetic. That said, stainless still benefits from the frequency-first principle: if it’s your daily pan, it goes on top of the stack or in the front slot of the rack regardless of material.
Felt pads extend the appearance of stainless if you care about keeping them looking new, but they’re not structurally necessary the way they are for coated pans.
Fixing the Lid Problem Before It Becomes a Lid Graveyard
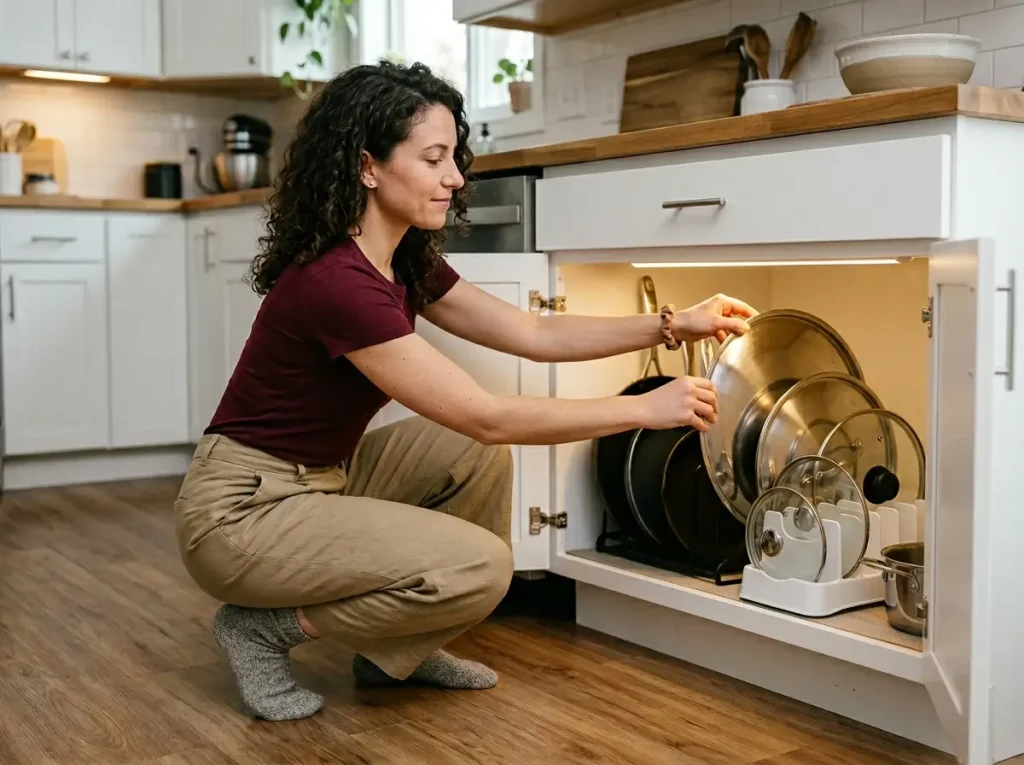
You organized the pans. The pans fit in the rack. And now you have six lids with nowhere to go. This is where most cookware organization projects actually fall apart — not the pans, the lids.
Store lids separately — always (and why it matters)
The instinct is to keep each lid with its matching pot. This creates two problems at once. First, a pan with its lid sitting on top can’t go in a vertical rack — the lid slides off or prevents the pan from fitting in the slot. You just made your vertical organizer useless for every pan that has a lid.
Second, lids nested on pots turn every retrieval into a two-step process: lift lid, grab pan, set lid… somewhere. That “somewhere” becomes the counter, and then the counter becomes the lid graveyard.
Separate lid storage sounds like more work. It’s actually less. When every lid stands in its own slot, you grab the pan from the rack with one hand and the lid from its organizer with the other. Two actions, no rearranging, no avalanche. The system holds because both steps are frictionless.
The tension rod fix (free, works in 5 minutes)
Before spending anything on a lid rack, try this: a tension rod from the dollar store, placed horizontally inside your lower cabinet at a low height. Lids lean against it vertically, sorted by size, largest in the back.
This works better than most purpose-built lid racks for mixed lid collections because there are no fixed slots. You have six lids in four different sizes? They all lean against the rod at whatever spacing they need. No empty slots, no lids that don’t fit, no wasted space. It fits any cabinet opening between 12 and 24 inches wide, takes five minutes to set up, and costs almost nothing.
Pro tip: Place the tension rod about 3 inches from the back wall of the cabinet. Lids lean forward at a slight angle, which keeps them stable and visible from the front. If the rod slips, two small adhesive bumpers where it meets the cabinet side walls solve it permanently.
Adjustable lid racks vs fixed-slot racks — which one you actually need
Fixed-slot lid racks are what you’ll find on most “best organizers” lists. They work fine if your lids are all the same size — a matched cookware set with uniform diameters. Most home kitchens don’t have that. They have accumulated lids from different cookware purchases over the years, ranging from 8 to 12 inches in diameter.
A fixed-slot rack designed for a uniform set leaves you with two slots too narrow and two slots too wide. You end up using three out of five slots. That’s not organization — that’s paying for empty space.
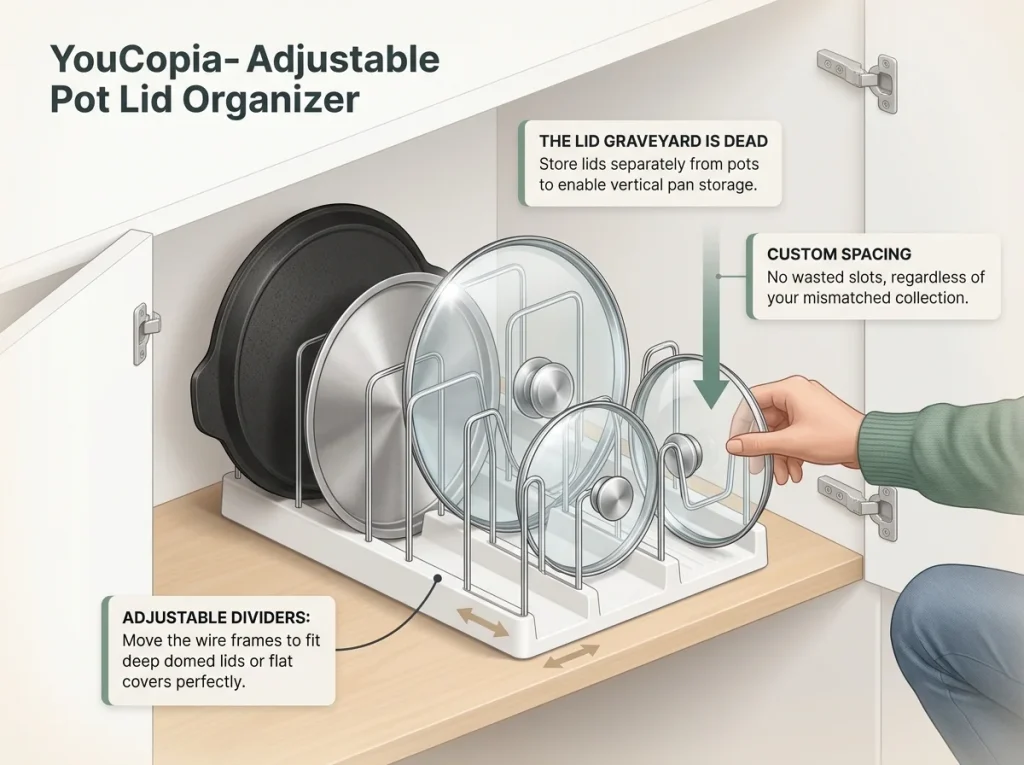
The tension rod is the free fix. If you want something more stable, the YouCopia StoraLid Pot Lid Organizer solves the mixed-collection problem with adjustable slot spacing that expands from 8 to 22 inches wide. You move the dividers to match your actual lid sizes — three lids, five lids, mixed diameters, it all fits without wasted slots.
It stands in a drawer, on a low cabinet shelf, or inside the lower cabinet next to your pan rack. For a broader look at cabinet-specific organizers for every zone in your kitchen, the sibling guide covers options beyond just lids and pans.
How to Organize Pots and Pans When You Can’t Drill — Renter Solutions
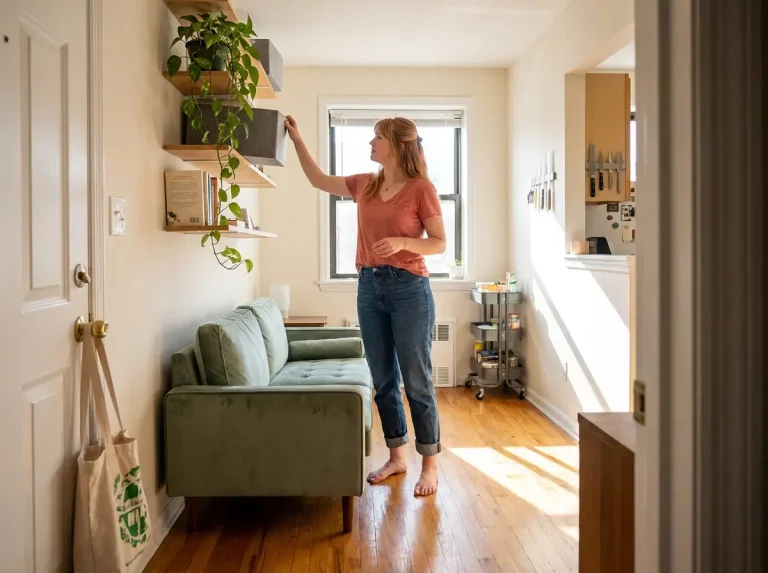
Every pot rack article eventually recommends a ceiling rack or a wall-mounted rail. If you rent, neither one is an option. That’s not a limitation of your effort — it’s a limitation of your lease.
The broader challenge of small apartment kitchen organization goes well beyond cookware, but pots and pans are the heaviest and bulkiest things in most rental kitchens. Getting them sorted first frees up cabinet space for everything else.
Why wall and ceiling pot racks don’t work for renters
Ceiling pot racks require lag bolts drilled into ceiling joists. Joists are spaced 16 to 24 inches apart, and you need a stud finder to locate them accurately. The installation creates holes your landlord will charge you for.
A full set of pots and pans weighs 20 to 40 pounds — a drywall-only installation with no joist anchoring will pull out under that load. That’s not a cosmetic failure. That’s 30 pounds of cookware hitting your floor.
Wall rails have the same problem at a smaller scale. Stud anchoring is required for any load over 10 pounds, and stud locations in rental apartments are unpredictable. Drywall anchors alone will fail with real cookware weight — and you’ll end up with wall holes plus a pile of pans on the floor.
Command hooks are rated at 4 pounds per hook. Fine for hanging a single lightweight pan as a display piece. A full cookware solution for six pots and pans? Not even close. A set of six pot lids alone weighs 6 to 10 pounds. Two Command hooks won’t hold that.
Freestanding floor racks — the real alternative
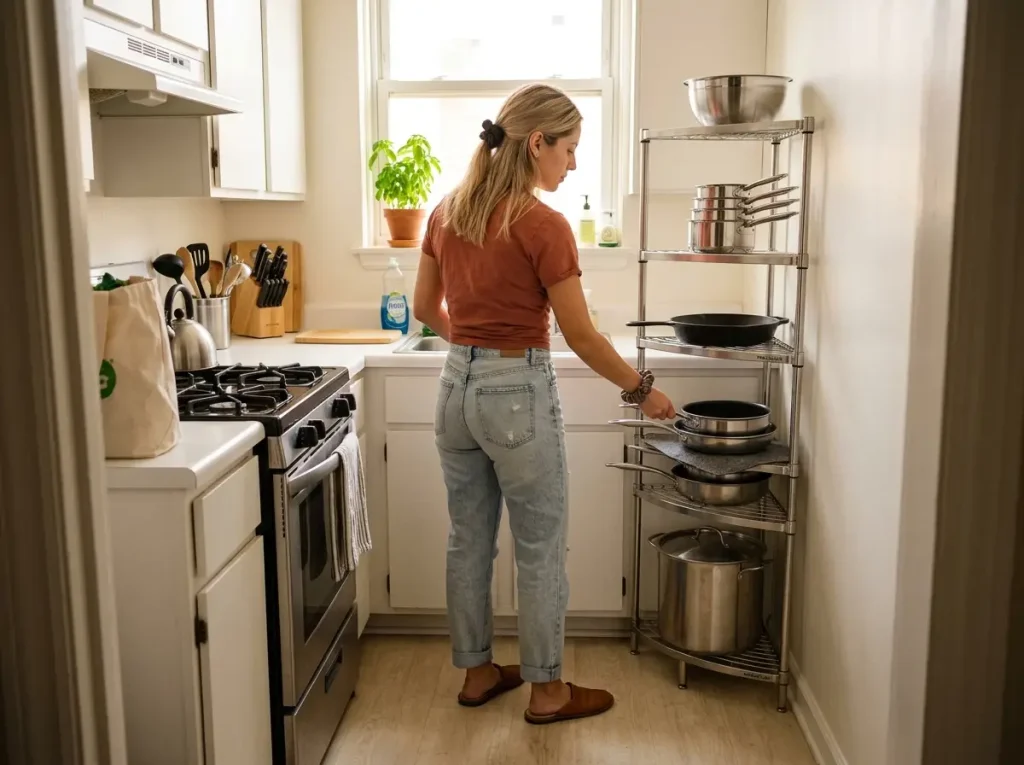
The actual renter answer is a rack that touches no walls and no ceiling. A freestanding corner shelf rack sits on the floor in the kitchen corner — the dead space where two counters meet that nothing else uses — and holds a full cookware set without a single drill hole.
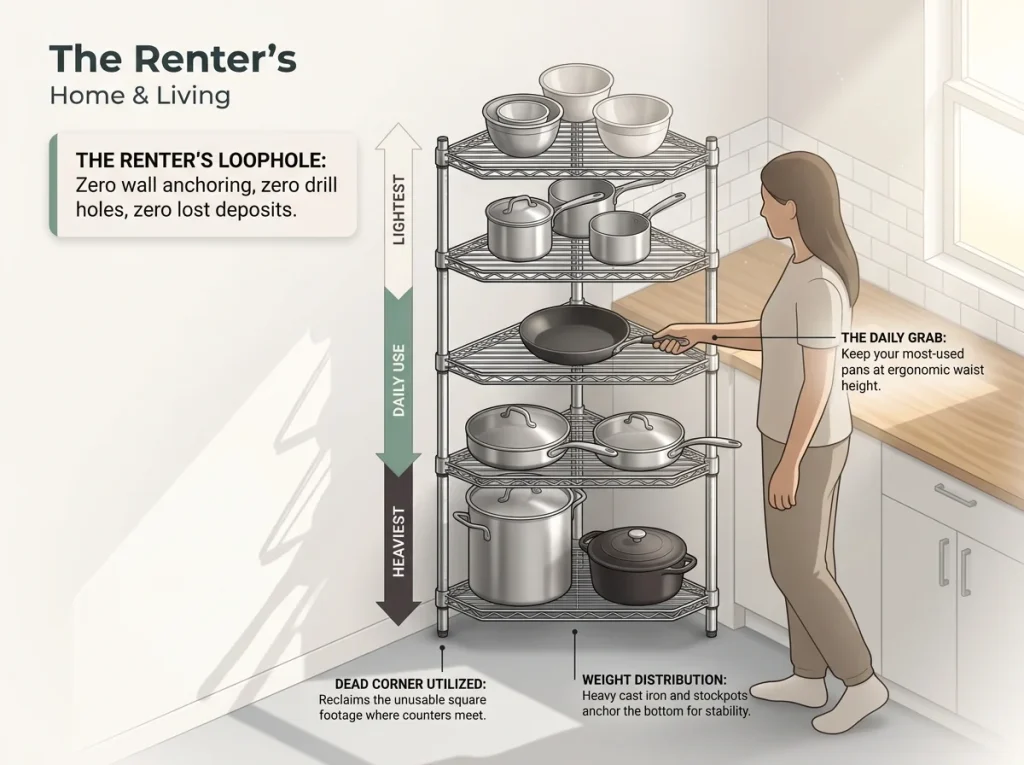
The MAGCOLOR 5-Tier Kitchen Corner Shelf Rack is roughly 17 by 17 by 50 inches, stainless steel, and holds a full set of pots and pans across five tiers. Stockpot on the bottom, sauté pans in the middle, smaller saucepans and mixing bowls on top. No wall contact required, and the whole thing moves with you when you change apartments.
The honest trade-off: it takes up floor space. In a narrow galley kitchen, that matters. But if you have a dead corner that’s currently holding a grocery bag and some dust, this rack uses it better than anything else will. For related solutions about corner cabinet storage that doesn’t require modification, the corner solutions article covers additional options for that same dead-space problem.
The complete no-drill cabinet system
If floor space isn’t available either, the entire cookware system can live inside your existing cabinets with zero drilling, zero wall contact, zero lease violations.
A vertical pan organizer inside the lower cabinet handles the pans — no tools, no mounting, it just sits in the cabinet. Felt pads between any stacked pieces protect the coatings. A tension rod or adjustable lid organizer handles the lids. Everything stays inside the cabinetry that’s already there.
Total cost for the full cabinet-only approach is a fraction of what a mounted ceiling rack system runs, and you take nothing with you that isn’t yours when you move. The system also works in any apartment regardless of wall material, ceiling height, or landlord restrictions — because it never touches any of those things.
Pro tip: If you go the cabinet-only route, put your most-used pan in the front-left slot of the vertical rack (assuming your cabinet door opens from right to left). That spot gets the fastest access because it’s closest to your hand when you open the door. Match the slot position to your dominant hand.
Conclusion
Three things keep a pots and pans system working past the first week:
- Your daily pan — the one you cook with four or five times a week — gets the zero-friction position. Front of the rack, top of the stack, no lifting required. If that pan isn’t instantly accessible, the rest of the system doesn’t matter.
- Storage method follows pan material. Vertical or padded for non-stick and ceramic. Felt pads or paper plates for cast iron. Free-stack for stainless. Using the wrong method doesn’t just make the cabinet messy — it shortens the life of your cookware.
- Lids go separate. Always. Stand them vertically with a tension rod or an adjustable organizer, and the lid graveyard disappears.
Three-Month Check: In three months, open every cabinet where you store cookware and notice which pans drifted back to flat stacks or ended up shoved in the back. Those are the ones you need to move to the front of your vertical rack — or protect with felt pads if stacking is the only option.
Start with the 15-minute cookware edit. Pull everything out, keep only what you cook with regularly, then pick the storage system that fits what’s left. Buying a pan organizer for 12 pans you’ll thin down to 6 is wasted money and wasted space.
Q1 What is the best way to organize pots and pans in a small kitchen?
A vertical pan organizer inside your lower cabinet gives the best return on space — it fits a standard base cabinet 21 inches or wider and stores four to six pans in the same footprint a flat stack of three occupies. Pair it with a tension rod for lid storage and you solve both problems without extra furniture.
Q2 Is it better to hang pots and pans or keep them in a cabinet?
For renters, hanging is rarely practical — ceiling racks need lag bolts into joists, and wall rails need stud anchoring for any set over 10 pounds. For homeowners with the right wall space, a mounted rail keeps pans visible and accessible. For most kitchens, a vertical organizer inside a lower cabinet is more practical and just as fast.
Q3 How do you organize pot lids without a rack?
A tension rod placed horizontally inside your lower cabinet works better than most purpose-built lid racks for mixed collections. Lids lean against it vertically, sorted by size, and there are no fixed slots to limit what fits. It works in any cabinet opening between 12 and 24 inches wide.
Q4 Should you store cast iron pans differently than non-stick?
Yes. Cast iron weighs 8 to 12 pounds per piece and should never sit directly on non-stick or ceramic-coated pans — the weight damages the coating over time. Cast iron also needs airflow, so skip storing it with the lid sealed on. Paper plates between cast iron and whatever sits below are the free fix.
Q5 How do you organize pots and pans when you have too many?
Start with a 15-minute cookware edit — pull everything out and keep only what you’ve cooked with in the last three months. Most people discover they regularly use three to four pans but own eight to ten. The pans you haven’t touched belong in a donation box, not in a cabinet blocking the ones you use weekly.
Disclaimer: ClutterlessNest is a participant in the Amazon Services LLC Associates Program. As an Amazon Associate we earn from qualifying purchases. This article may contain affiliate links — if you buy through them, we may earn a small commission at no extra cost to you. We only recommend products we have tested or genuinely believe in.