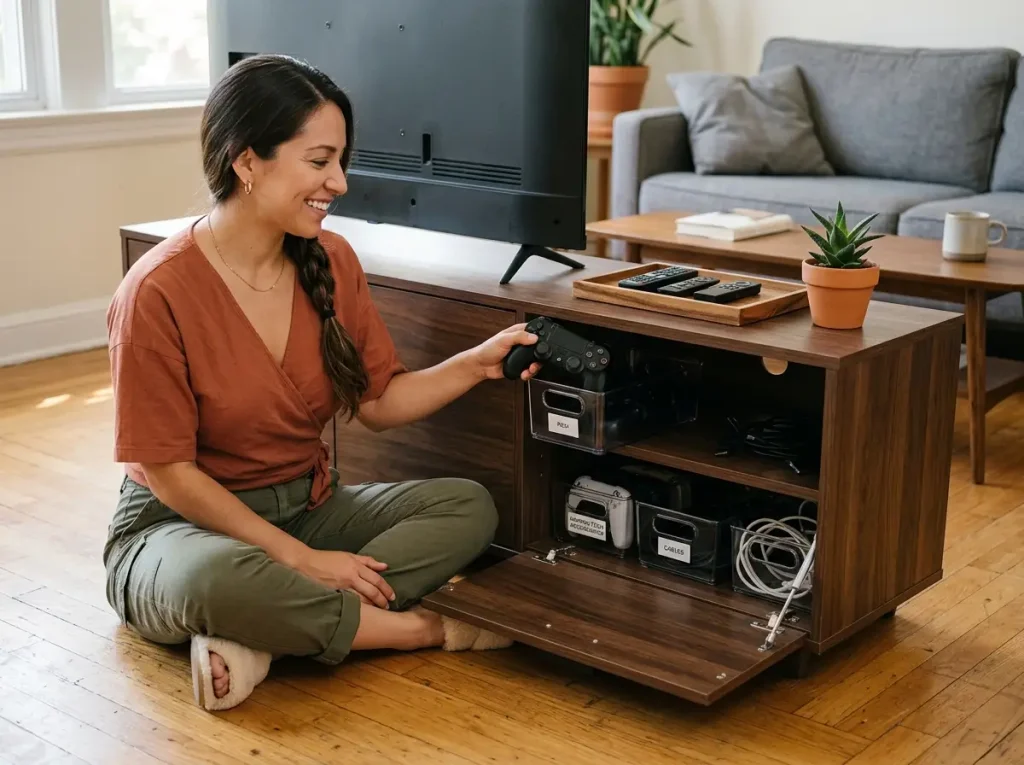
You organized your media console. Bins in the cubbies, cables bundled, controllers lined up. Six weeks later the surface is buried under chargers, loose batteries, and a streaming stick that arrived with no home. The system didn’t fail — it was missing two things nobody talks about: ventilation clearance for your electronics and a protocol for new devices that show up after setup day. What follows fixes both problems and gives you a monthly reset that keeps the console from reverting.
Quick Answer: A media console that stays organized needs more than bins:
- Check AV receiver and gaming console clearance before organizing anything — closed cubbies trap heat
- Zone shelves by how often you use each device, not by category
- Measure shelf depth before buying bins — most media console shelves are 12–16 inches, not the 20+ inches that pantry bins expect
- Use one tray on the surface to create a visual boundary that stops clutter drift
- Set up an intake zone for new devices so they don’t land on the surface
- Run a 10-minute monthly audit to catch dead cords and zone drift before the mess returns
Why Your Media Console Keeps Getting Messy (It’s Not You)
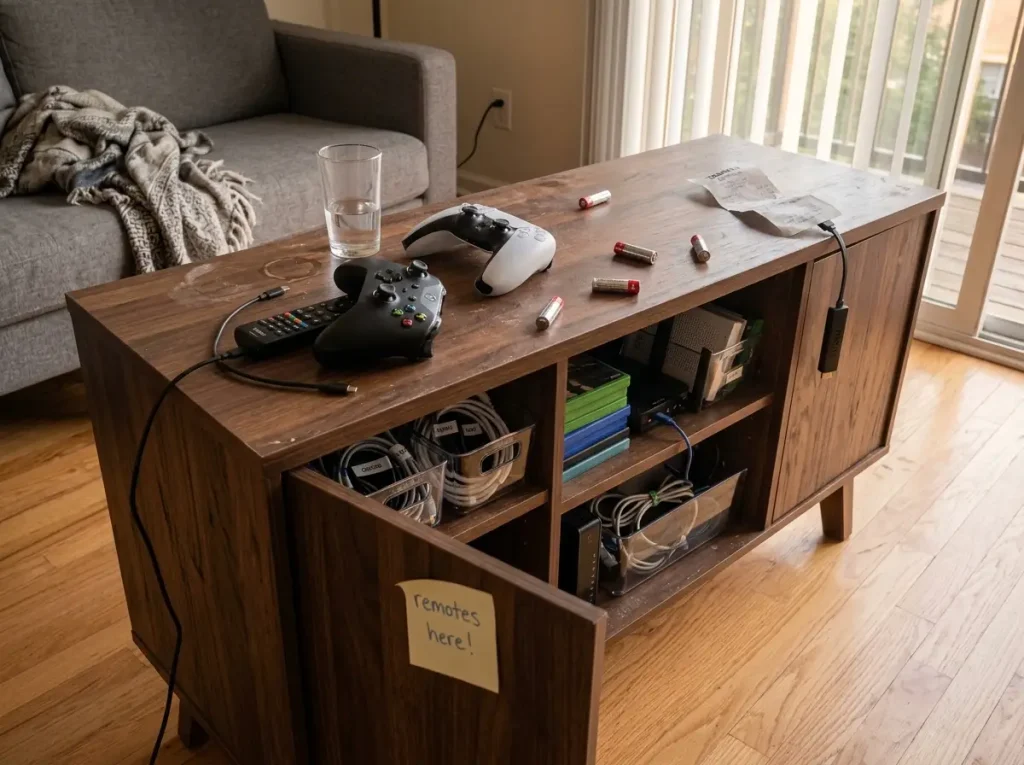
Your media console is a flat surface sitting at hip height in the most-used room in the house. That alone makes it a collection point for anything that enters the living room — mail, phone chargers, earbuds, that second remote nobody can identify. The mess isn’t a discipline problem. It’s a physics-of-flat-surfaces problem, and it has three specific triggers.
The flat-surface gravity problem
A flat surface without a defined edge works like an open inbox. Things land on it because there’s no visual signal saying “stop here.” Your kitchen counter does the same thing — the difference is you clear the counter daily because you need it to cook. The media console has no built-in forcing function, so items accumulate until the surface is gone.
The fix costs nothing: one tray on the surface creates the visual boundary your console is missing. Items naturally stay within the tray’s edges instead of spreading across the whole top. We’ll get to the exact setup in the surface section below — for now, the point is that this single change is what separates consoles that stay organized from the ones that look great for a photo and revert within two weeks.
New device creep and the intake zone
Here’s the pattern that wrecks every media console setup: you organize everything, it holds for a month, then a new streaming stick arrives. It has no designated spot, so it sits on the surface. A week later, its charging cable joins it. Then the old device it replaced stays plugged in because nobody unplugged it. Now you have two devices doing the same job, extra cables, and the surface has become the default deposit zone for the whole household.
The average household adds one to two new streaming or gaming devices per year. Every single one triggers this cascade if there’s no intake protocol. The fix — a designated intake zone and a monthly audit — gets its own section later. The point here is that your system didn’t break. It just had no plan for additions, only a plan for the initial setup.
Why cable spaghetti grows back
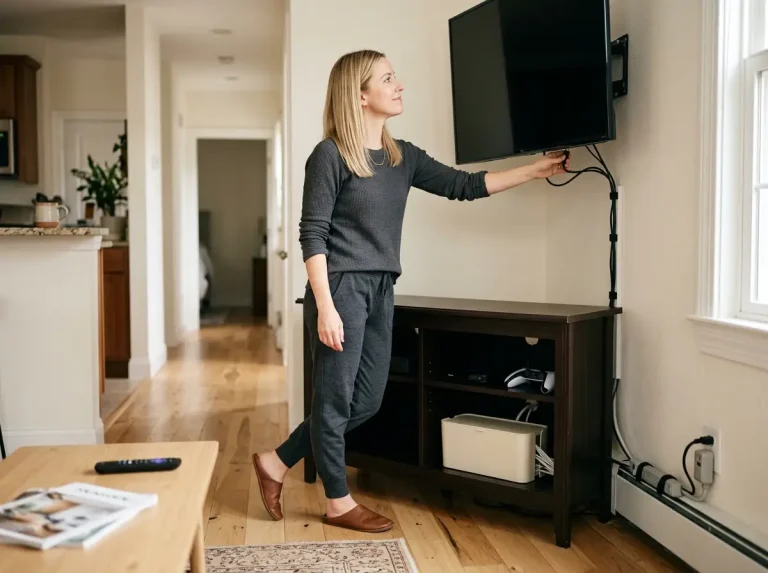
Cable management reverts the moment a single cable gets unplugged. Someone disconnects the HDMI cable to move the gaming console to a different room. When they bring it back, they plug it in but don’t re-route the cable through the bundle. One loose cable becomes two, then four, and within a month the back of the console looks identical to the mess you started with.
The core problem: if your cables are held together with zip ties, re-bundling means cutting the ties, reorganizing, and re-tying. Nobody does that on a Tuesday night after work. Velcro ties fix this — you can open a bundle, add or remove a cable, and close it in seconds without disturbing the rest. If cable management is your main battle, the dedicated guide to TV cable organization goes wall-to-wall; this article focuses on what’s happening inside the console itself.
Check This Before You Add a Single Bin
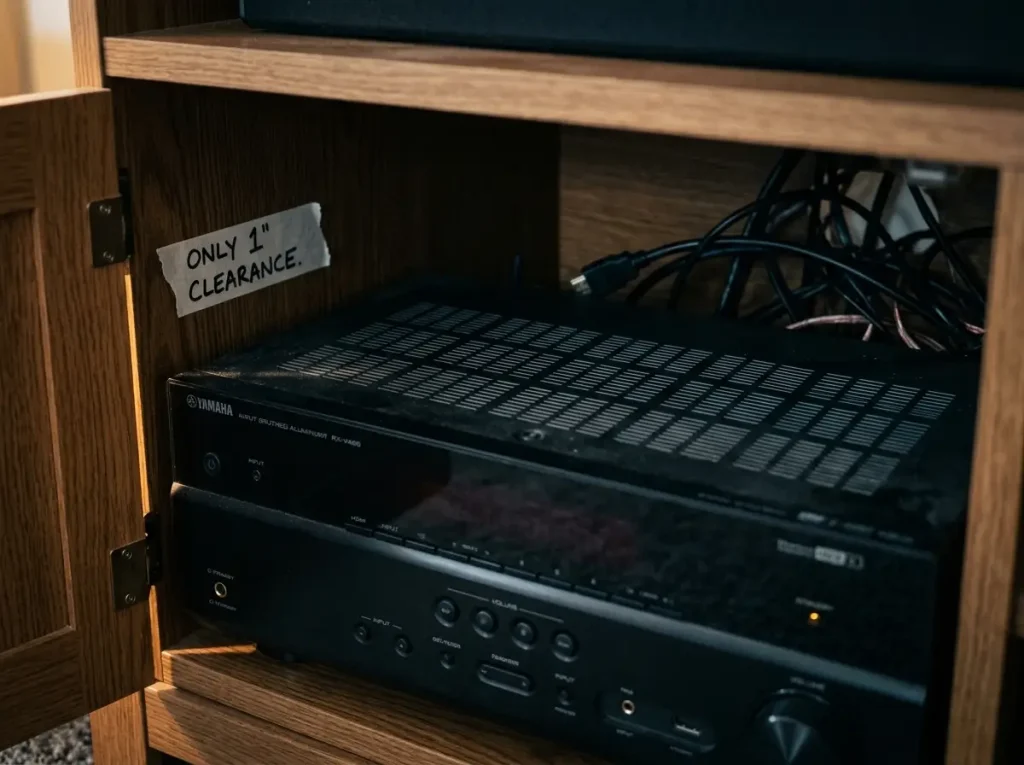
Most media console organization articles jump straight to bins and baskets. That’s the wrong starting point. The first thing you need to check is whether your electronics have room to breathe — because a perfectly organized closed cubby that cooks your AV receiver is worse than a messy open shelf where everything can vent.
This is the part of media console organization that nobody writes about. Your AV components produce real heat, and if they can’t release it, they shut down, degrade, or in extreme cases become a fire hazard. Before you add a single bin, measure the clearance around every heat-producing device in your console.
What AV receivers and gaming consoles actually need
AV receivers are the hottest component in a typical media console. Under normal use they run warm; in an enclosed cubby without airflow, they can reach temperatures that trigger automatic shutdown — and you’ll assume something’s wrong with the movie when the receiver cuts out mid-film on a hot July afternoon. That’s a thermal protection mechanism, not a malfunction.
The manufacturer specs are specific about this. Denon recommends a minimum of 5–6 inches of clearance above the receiver and 2 inches on each side. Marantz says 6–8 inches above. Onkyo’s manual for the 805/875 series specifies 8 inches above and 4 inches on each side. These aren’t suggestions — they’re the specs that prevent chip failure, screen pixel degradation, and forced shutdowns. Audioholics has a full breakdown of the heat buildup risk in enclosed AV cabinets if you want the technical details.
Gaming consoles aren’t exempt either. Sony’s official guidance for the PS5 requires 10+ centimeters (about 4 inches) of clearance on all sides. Most standard media console cubbies don’t meet that. If your PS5 fits snugly in a cubby with the door closed, it’s running hotter than Sony designed it to handle.
Pro tip: Streaming sticks and cable boxes produce less heat — 2–3 inches of clearance on all sides is generally enough. Prioritize your receiver and gaming console placement first, then fit the lower-heat devices around them.
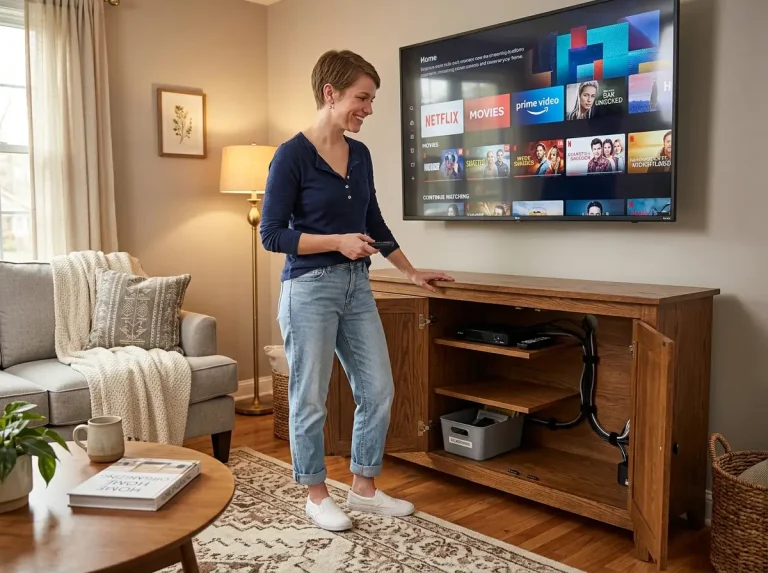
The closed-cubby problem (and the chimney fix)
Closed cubbies look clean and keep dust out. They also trap heat. Hot air rises — that’s the mechanism. If the shelf directly above your receiver has no gap, the heat has nowhere to go and just builds against the underside of the shelf above it.
The most effective passive ventilation is what’s called the “chimney effect”: an unobstructed vertical column of air above the heat-producing component. If your console has adjustable shelves, raise the shelf above the receiver as high as it goes. If the shelf is fixed and your receiver barely fits, that cubby isn’t the right spot for it — put the receiver on an open shelf instead and use the closed cubby for something that doesn’t produce heat.
For the full picture of how the stand, cables, and devices all work together, see the entertainment organization system that covers the whole setup.
When to leave the cabinet door open
If you already own a closed-cubby console and replacing it isn’t realistic, you have two practical options. The first is free: leave the cabinet door open while your receiver or gaming console is running. Not the most polished look, but it’s the difference between a component that lasts years and one that degrades in months.
The second option is a small USB-powered cabinet cooling fan mounted at the rear of the cubby. These draw warm air out through the back and are completely renter-safe — no drilling, no modification, just position it behind the device. They’re quiet enough that you won’t hear them over whatever you’re watching.
Pro tip: Here’s a quick self-test. Run your system for 20 minutes with the cubby doors closed, then touch the top of the receiver. If it’s too hot to hold your hand on comfortably, the ventilation isn’t enough. That’s the low-tech version of a thermal check, and it takes less time than reading the manual.
Zone Your Console by How Often You Use Each Device
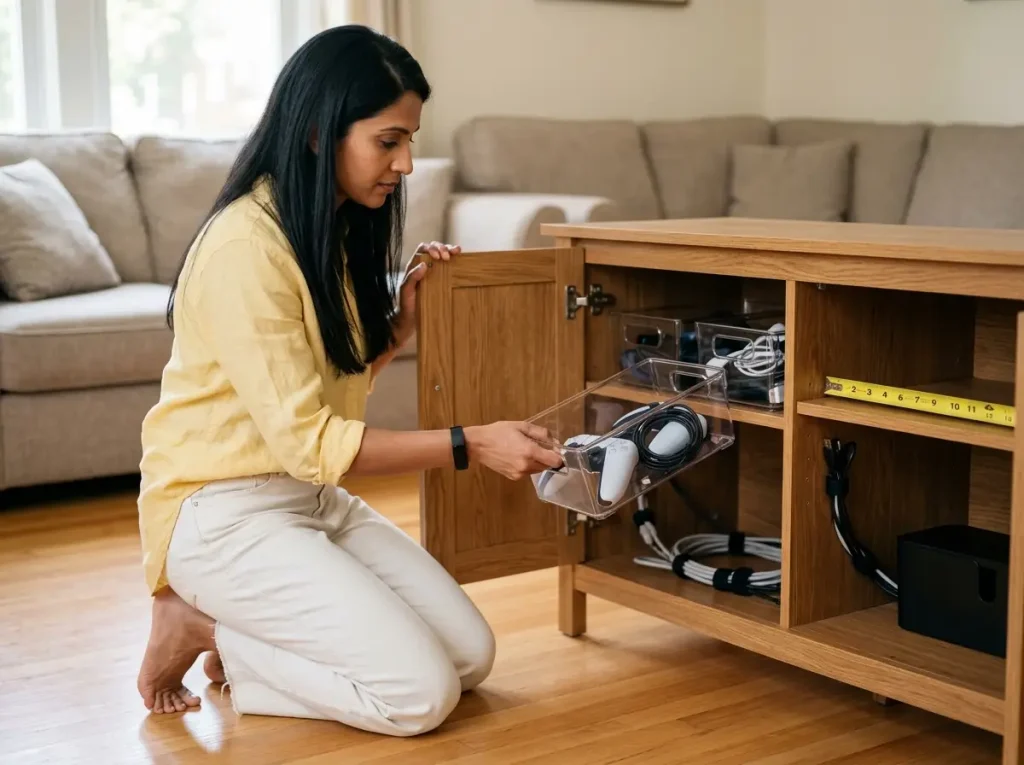
The default way people organize a media console is by category: all gaming stuff on one shelf, all streaming devices on another, cables in a pile at the back. That system breaks because it doesn’t account for how often you reach for each thing. The gaming headset you use once a month shouldn’t occupy the same real estate as the streaming stick you use every night.
Frequency zoning works better: daily-use devices go in the front where you can grab them without moving anything. Weekly-use items sit in the middle. Monthly or seasonal gear goes in the back or bottom. This is the same logic that keeps kitchen pantries functional — the spices you use every night sit at eye level, not on the top shelf behind the holiday cookie cutters.
Front zone, middle zone, back zone
The rule is straightforward: if you reach for it more than twice a week, it belongs in the front zone. Your streaming stick, cable box, and the remote that controls them sit at the front edge of the most accessible shelf or cubby. The gaming console you play on weekends goes in the middle zone — still reachable without rearranging, but not in the prime real estate. Extra HDMI cables, the spare controller with the sticky drift, the seasonal decorations that live behind the TV for some reason — those go in the back or in a lower cubby you rarely open.
One slot in each zone stays empty. That’s not wasted space — it’s the buffer that prevents the next new device from landing on the surface instead. The moment every shelf is full, the system starts breaking down.
Measure before you buy (the shelf depth trap)
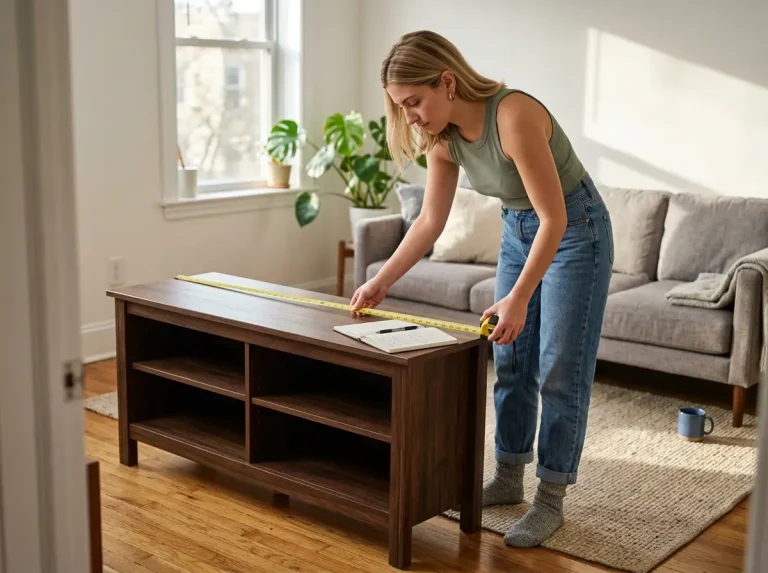
Most media console shelves are 12–16 inches deep. Most storage bins marketed as “pantry organizers” or “kitchen storage” are designed for 20–24 inch shelves. Buy one of those for your console and it will hang off the front edge — or worse, it won’t fit at all and you’re stuck with a bin you can’t return because you already removed the label.
Measure your shelf depth before ordering anything. The mDesign Stackable Plastic Storage Bins (4-pack) are 14.5 inches long by 5.75 inches wide by 5 inches tall — they fit shelves as shallow as 12 inches without overhanging, and the clear plastic means you can see what’s inside without pulling the bin out every time. They stack, too, so if your cubby has the vertical clearance you get two tiers from a single shelf. The budget alternative: dollar store bins work fine, but measure the shelf depth first — most dollar store bins run deeper than media console shelves can handle.
If your current console has shelves too shallow for any bin (under 10 inches), that’s a sign you might want to look at a TV stand with proper cable management cutouts before investing in organization products for a stand that’s working against you.
Cable routing in the back zone
Every cable inside your console should run to the rear of its shelf before exiting the back of the console. This keeps the interior clean and — more importantly — prevents spaghetti from regrowing every time you swap a device. Label both ends of every cable with masking tape and a marker. A label maker works too, but tape and a Sharpie do the same job for free.
Bundle cables within each shelf using VELCRO Brand ONE-WRAP Cable Ties. These are reusable, which is the entire point for a media console — you’ll swap devices, add new ones, and pull old cables. Zip ties require cutting to remove, and that friction is enough to make most people stop re-bundling entirely. Velcro opens in seconds.
For the surge protector — the single most visually chaotic element behind any media console — tuck it into a D-Line Cable Management Box at the rear of the bottom cubby. It’s 12.75 inches long by 5 inches wide by 4.5 inches tall, fits a standard 6-outlet surge protector, and routes every cable through one clean exit point at the back. If you want the free version, a shoebox with holes cut in the sides and back does the same job — not as polished, but functional.
Pro tip: Label the inside of the cable management box lid with which cables run through it. When you need to swap a device six months from now, you won’t have to pull everything out to trace which cable goes where.
Drawers, Controllers, and the Console Surface
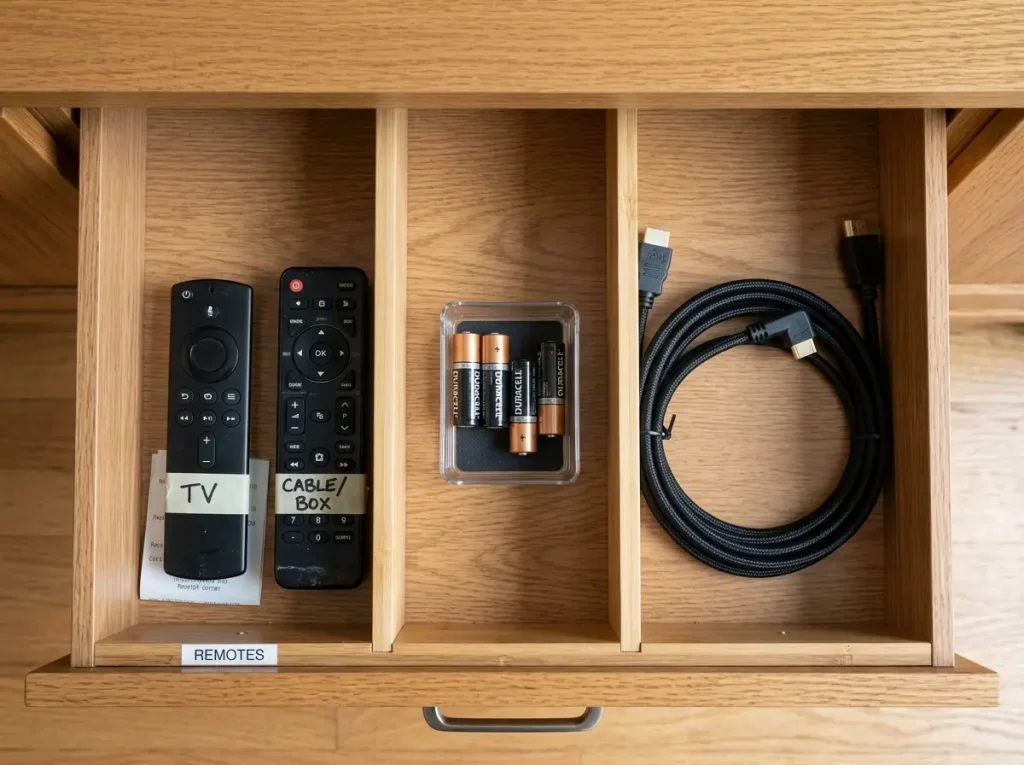
Media console drawers fail for the same reason kitchen junk drawers fail: everything goes in, nothing has a fixed spot, and the “easy” area near the front absorbs everything until the drawer won’t close. The surface above fails for an even simpler reason — it’s flat, it’s unclaimed, and gravity does the rest.
Low-profile drawer dividers for shallow media console drawers
Here’s the detail that trips everyone up: media console drawers are typically 3–4 inches deep. Most drawer dividers sold on Amazon are designed for kitchen drawers at 4–6 inches tall. Buy those, and the drawer won’t close — the dividers hit the underside of the frame above it. You need dividers under 3 inches tall, and that narrows your options significantly.
The Bamboo Drawer Dividers (4-pack, adjustable 12–17 inches) are 2.6 inches tall — low enough to clear standard media console drawers with room to close. They’re tension-fit and expandable, so they adjust to your drawer width without adhesive or modification. Completely renter-safe. The free alternative: folded cardboard strips cut to your drawer height create the same barriers — less durable, but they work. Once dividers are in, assign each section a job: remotes on the left, batteries in the center, spare cables on the right. If you find yourself needing a “miscellaneous” section, the drawer is too full. Something needs to leave.
Controller storage near the TV (without buying a dedicated stand)
Dedicated controller stands cost more than they’re worth for most setups. Twelve inches of adhesive velcro strips from the dollar store mount two controllers inside a cabinet door or on the side wall of a cubby — completely out of sight, holds up to 3 pounds per pair, and peels off clean when you move out.
This works for one or two controllers. If your household has three or more controllers from different consoles, a small countertop controller stand earns its shelf space — at that point the velcro method starts looking crowded because the controllers are different shapes and don’t sit flush.
The one-tray surface rule
The simplest fix in this entire article: put one tray on your media console surface. A serving tray from the kitchen, a shallow bowl from a thrift store, a wooden cutting board you never use anymore — anything with a raised edge. The tray holds the TV remote and maybe a small plant. Nothing else gets surface rights.
The tray works because it creates a visual boundary. Without one, items spread to fill the entire surface — there’s no signal for where organized stops and clutter begins. With a tray, items naturally stay within its edges. It’s the same reason hotel bathroom trays work: the tray defines the zone, and you instinctively keep things inside it instead of scattering them across the counter.
For more ways to carry this approach into the rest of the room, check out living room storage ideas that build on this system.
The Monthly Reset That Keeps Your Console From Reverting
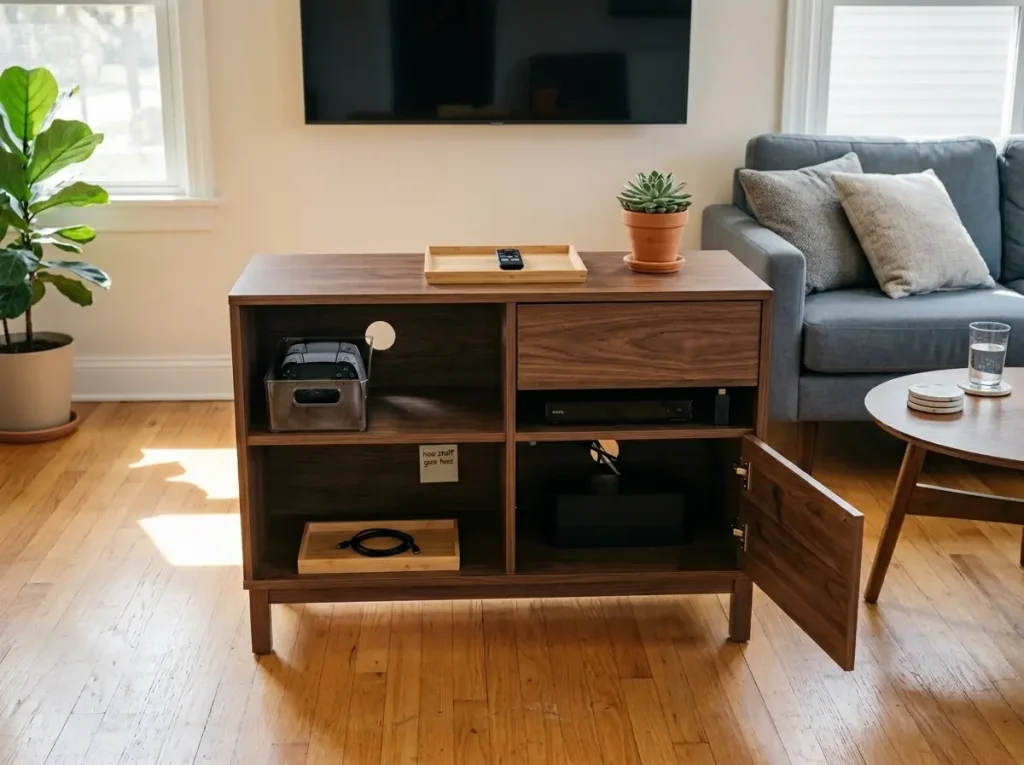
Every media console organization guide ends with the “after” photo. Nobody writes about what happens three months later when two new devices arrived, an extra charging cable migrated into the drawer, and the smart speaker nobody uses sits on the surface collecting dust. The after photo is not the finish line — the maintenance system is.
The intake zone (how to handle new devices)
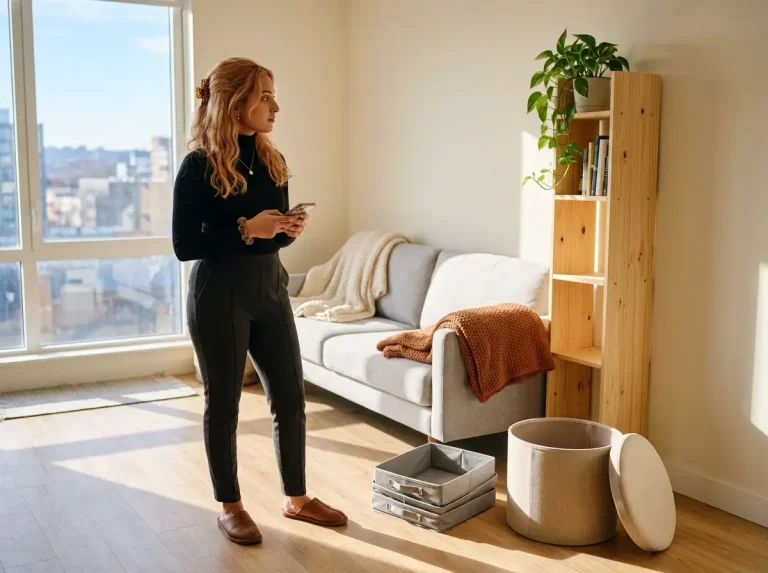
Designate one small empty bin or tray — inside the console or on the surface next to the main tray — as the intake zone. Every new device, cable, or accessory that enters the living room goes in the intake zone first. Not in its “permanent” spot. Not on the surface. The intake zone.
Think of it as an inbox for electronics. Nothing goes directly to a permanent home until you’ve confirmed there’s space and a clear zone assignment. When the intake bin fills up, that’s your trigger to run the 10-minute audit and reassign zones. This single rule prevents the whole cascade — new devices never land on the surface because they have a designated temporary home from the moment they arrive.
The 10-minute monthly audit
Once a month — set a phone reminder if you need to — run this four-point check:
- Dead cord purge: Trace every cable in the console. If it’s not connected to an active device on both ends, it leaves the console. In most setups, 25–40% of cables are dead — plugged in on one end, connected to nothing on the other, left over from a device you removed months ago. Pulling dead cords is the single highest-impact thing you can do before reorganizing anything else.
- Zone drift check: Has anything migrated from its assigned zone? The gaming controller that belongs in the front cubby ended up behind the streaming box. The spare HDMI cable drifted from the back zone into the drawer. Move everything back where it belongs.
- Surface clear: Anything on the console surface that isn’t in the tray goes back to its assigned zone. If it doesn’t have a zone, it goes in the intake bin until the next audit.
- Dead device check: Is anything plugged in that nobody has used in the last 30 days? Unplug it, coil its cable, and move it to the intake zone. If it stays in the intake zone for two consecutive months, it’s ready to leave the living room entirely.
Pro tip: The trigger for most re-organizations isn’t a gradual slide into chaos — it’s the day you realize you’ve been unplugging the Roku to plug in the Nintendo Switch for six straight months. The monthly audit catches that pattern before it becomes your permanent workaround.
The three-month test for media console organization
Here’s how you know the system works: three months after setup, have someone in your household who did NOT help with the initial organization try to find the TV remote, plug in a gaming controller, and access the most-used streaming service. If they can do all three in under 30 seconds without asking for help, the system holds.
If they can’t, the system has drifted — and that’s expected. Run the 10-minute audit, clear the dead cords, reset the zones, and you’re back. The point isn’t perfection. The point is a system that self-corrects in 10 minutes instead of requiring a full Saturday reorganization twice a year.
For a complete reset of the whole setup beyond the console itself — including where to position devices and how to assess whether your stand is doing its job — see the full TV and entertainment organization system.
Conclusion
Three things keep a media console organized past the first week:
- Start with clearance. Before adding any bins, confirm your AV receiver and gaming console have the ventilation space they need. An organized cubby that overheats your electronics isn’t an improvement — it’s a more expensive problem.
- Zone by frequency, not category. Front zone for daily devices, middle for weekly, back for cables and seasonal gear. The things you reach for most should require the least effort to grab.
- Build the monthly reset into your routine. Designate an intake zone for new arrivals, run the 10-minute audit monthly, and pull dead cords before they multiply. That’s what separates a system that lasts from one that lasts a photo.
Three-Month Check: In three months, pull out the intake zone and run the dead cord test. If you find cables connected to nothing, the system is doing its job — dead cords are being captured in the audit, not accumulating silently in the back of the cubby.
Start with the surface tray and the dead cord purge. Those two actions alone recover more usable space than any bin purchase, and they take less than fifteen minutes combined.
Q1 How do you organize a media console with lots of devices?
Zone devices by frequency: daily-use devices in front cubbies where you can reach them without moving anything, weekly-use in the middle, rarely used in the back. Leave one open slot per zone so new devices don’t migrate to the surface. Use clear bins sized for your specific shelf depth.
Q2 What should you keep inside a media console?
Active devices — streaming boxes, gaming consoles, cable boxes — their cables routed to the rear, controllers in a designated cubby or drawer section, and remotes in an accessible drawer slot. Decorative items, books, and magazines belong on top of the console or elsewhere entirely.
Q3 How do I organize cables inside a media console?
Velcro ties bundle cables within each shelf, routed to the rear before exiting the console back. Label both ends of every cable with masking tape and a marker. A cable management box at the bottom cubby hides the surge protector. Our guide to organizing TV cables and cords covers routing beyond the console.
Q4 How do I stop my media console surface from collecting clutter?
One tray, fixed in place on the surface, holding only a remote and a small plant. The tray creates a visual boundary — items naturally stop at its edge instead of spreading across the whole top. Without a tray, the flat surface fills to its edges within days.
Q5 What is the best renter-friendly way to store gaming controllers?
Adhesive velcro strips inside a cabinet door or on the cubby side wall hold two controllers and remove without damage when you move out. Each velcro pair supports up to 3 pounds. For three or more controllers from different consoles, a small countertop stand is worth the shelf space.
Disclaimer: ClutterlessNest is a participant in the Amazon Services LLC Associates Program. As an Amazon Associate we earn from qualifying purchases. This article may contain affiliate links — if you buy through them, we may earn a small commission at no extra cost to you. We only recommend products we have tested or genuinely believe in.