






In this article
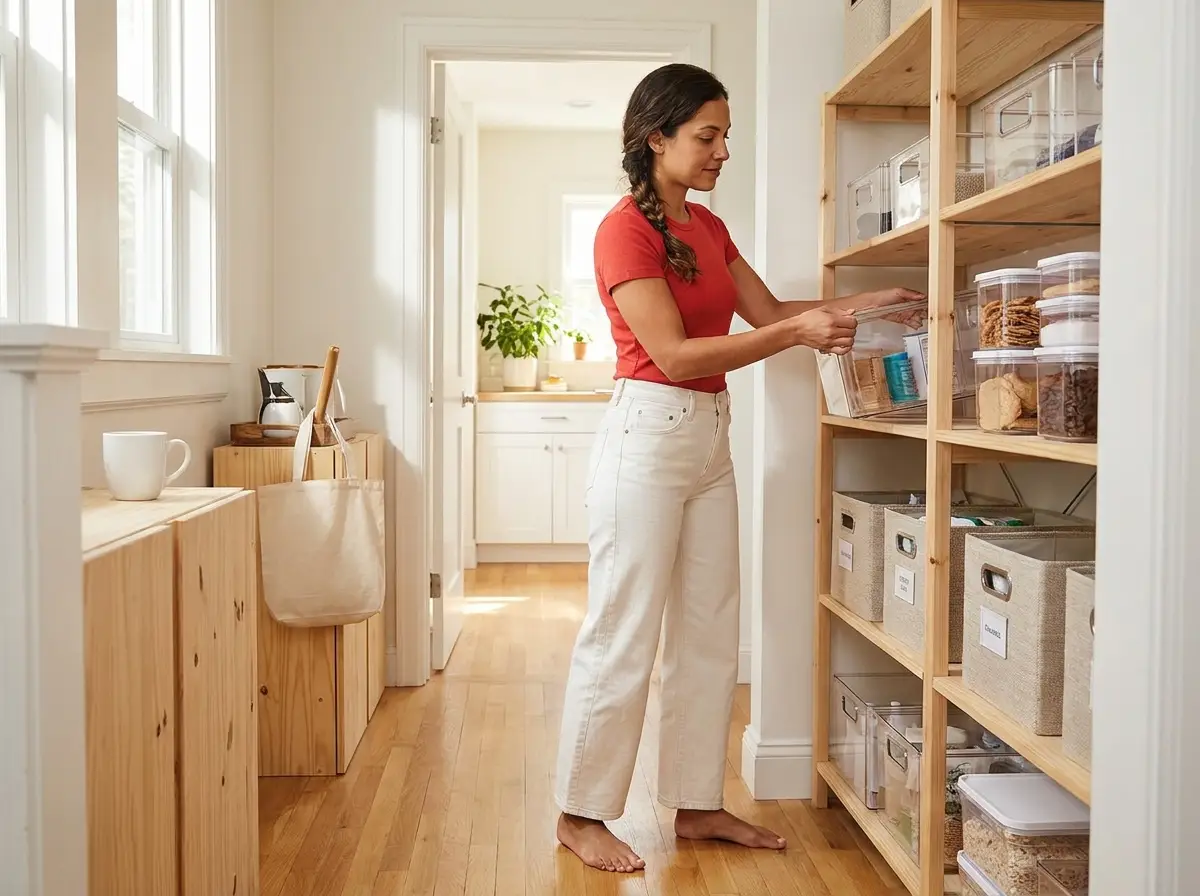
You can buy the most-reviewed bins on Amazon, label every single one, and still watch the whole system fall apart by spring. That’s the part nobody tells you when they hand you a list of “best storage bins.” A bin is a container, not a solution. It holds whatever you put in it, organized or not, which is exactly why professional organizers say the bin is the last step, not the first. This guide walks every type of storage bins and containers, how to match one to your actual space and constraints, and how to keep the system alive long after the satisfying first-week photo.
Quick Answer
Match the type to the job, not the aesthetic. The six that cover almost every home:
- Clear plastic: daily-access zones where you grab what you see
- Fabric / collapsible: visible shelves and anything that moves with you
- Stackable: vertical space in closets and on top shelves
- Airtight (gasket): food, documents, humidity protection
- Weathertight: garage, attic, basement, anywhere cold or damp
- Under-bed: low-profile clear boxes for dead floor space
Before You Buy a Single Bin

Here’s the weekend that repeats in organizing threads over and over. Someone buys a full matching set of bins, gets home, spends Saturday labeling, feels fantastic. By month two, three of those bins are labeled “random snacks,” “stuff to use up,” and “IDK.” Three different labels, one problem: the categories were never decided. The system didn’t fail because of the bins. It failed because the bins came first.
Bins archive clutter, they don’t remove it
A bin contains whatever you put in it. That sounds obvious until you realize what it means for a cluttered home: an empty bin is just a nicer-looking place to keep the pile. Organizing communities have a name for this, the “clutter containers” problem, and it’s the quiet reason a lot of “organized” spaces still feel chaotic three weeks later. You containerized the mess into matching boxes. You didn’t decide what stays.
The honest entry point is the one professional organizers repeat constantly: declutter first, then organize what you’re keeping, and only then buy containers if you still need them. There’s a real number behind this. Decluttering first routinely cuts the volume you’re storing so much that households overestimate how many bins they need by something like half. Buy before you sort and you’ll come home with eight bins you don’t need and the wrong sizes for the ones you do.
It’s worth working through the bin trap that minimalists warn about before a single purchase, because the cheapest bin is the one you never had to buy. According to professional organizers through NAPO, decluttering belongs before any container purchase, full stop.
Decide your categories before you decide your bins
Categories should be observed, not invented. If you can name the category before you own the bin, the bin will work. If you’re inventing categories to justify bins you already bought, you’ve got it backwards. The tell is the label. “Winter hats,” “first-aid,” “phone cables” are real. “Misc,” “random,” and “other” are confessions that you skipped the sorting step.
So test your categories with what you already own. Use shoeboxes, old gift boxes, whatever’s in the recycling, and run the category for thirty days. If a shoebox labeled “batteries and chargers” stays full of batteries and chargers for a month, that’s a real category and it has earned a real bin. If it turns into a junk pile, you just saved yourself the cost of a bin. Working through a decluttering method first makes this step faster, because the method does the sorting and the bins just hold the result.
The Main Types of Storage Bins and Containers
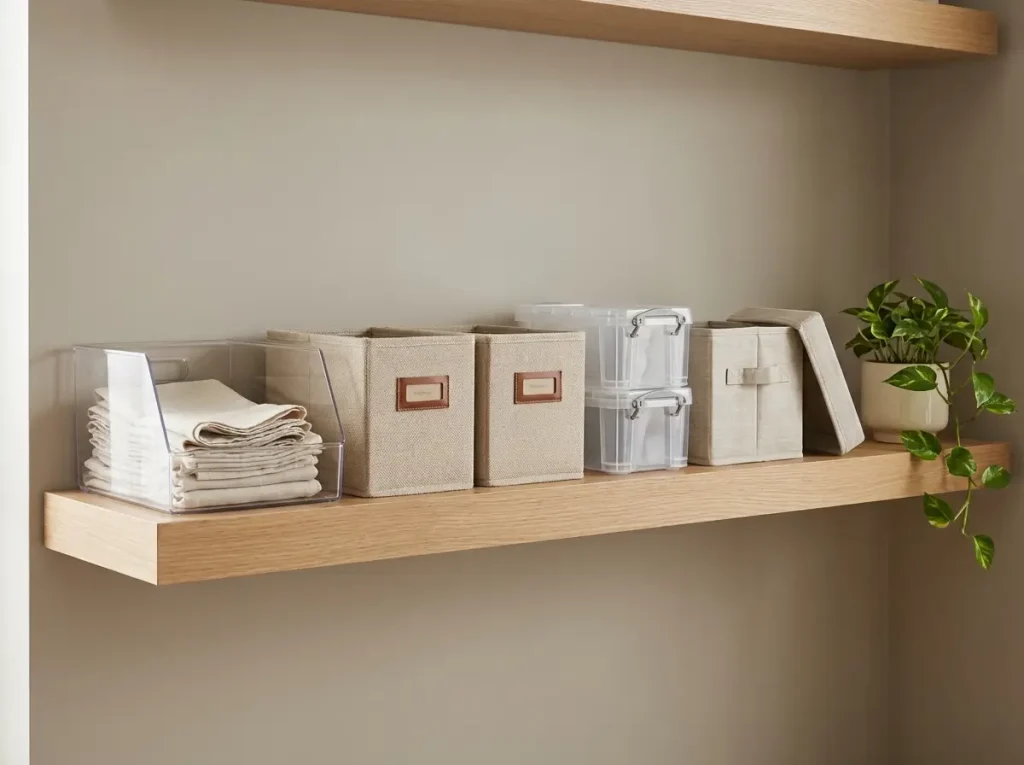
Most people shop with two categories in their head: “the clear plastic ones” and “the fabric cube ones.” There are really six working types, and each one is the right answer to a different question. Knowing the full menu is half the decision.
Clear plastic bins, open-front and lidded
Visibility is the whole point. You see the contents through the wall, so you grab what you need without pulling three bins to find it. Open-front bins (the kind with a scooped-out front) are built for daily reaching. Lidded clear boxes trade a little access friction for the ability to stack and keep dust out. Most clear bins are polypropylene, which is fine indoors and a problem in the cold, but more on that in the next section.
Fabric and collapsible bins
Soft-sided, light, and they fold flat when empty. Fabric bins are the right call for visible shelves where you want warmth instead of a wall of plastic, and they’re the single smartest pick for anyone who moves. A rigid bin is locked to one shelf depth forever. A fabric bin squishes to fit.
The Fabric Storage Bins with Labels (Set of 6) fit a standard closet shelf, include a front label holder so you’re not taping paper to cloth, and collapse to almost nothing when you’re between apartments. The trade-off is structure: fabric slumps when it’s not full, so they’re not the move for heavy or sharp-edged items.
Stackable, airtight, and weathertight containers
These three solve specific problems. Stackable boxes turn vertical air into usable space, which matters most on closet top shelves. Airtight containers with a rubber gasket protect food and anything that hates humidity. Weathertight bins are built tough enough for a garage, attic, or basement. Each of these deserves its own deep dive, and the sections below go there, because choosing within these types is where people get it wrong.
How to Choose by Material
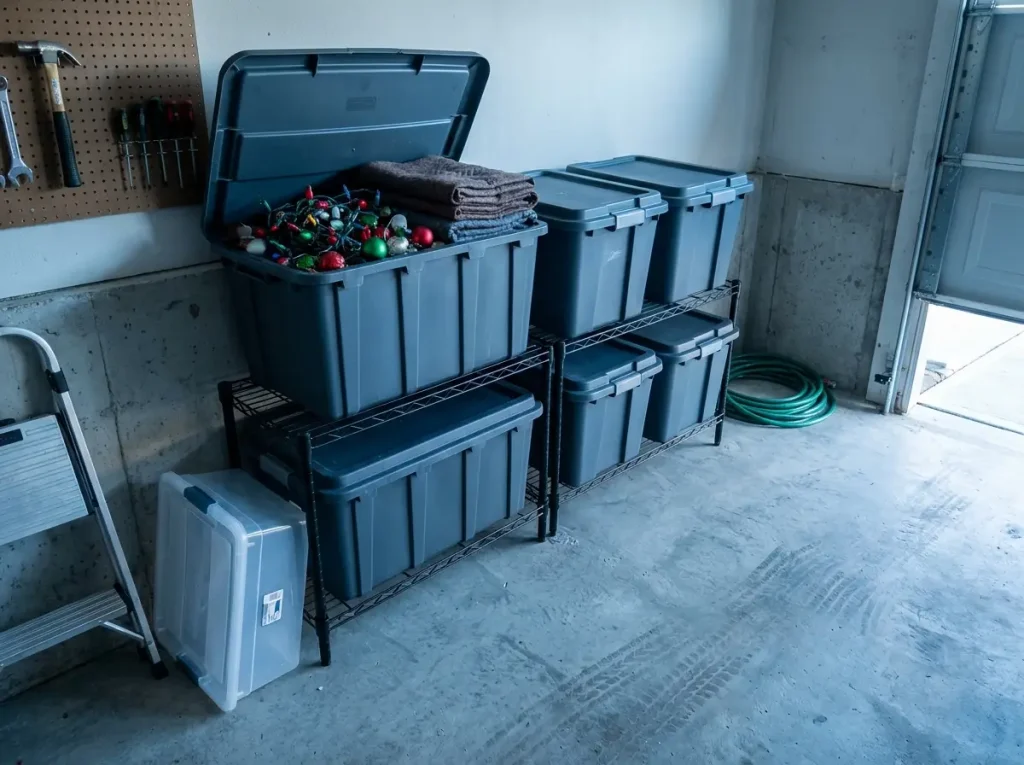
The reason your garage bins cracked last winter isn’t bad luck. It’s the wrong plastic in a cold room. “Heavy-duty” printed on a label means nothing on its own. The recycling symbol on the bottom tells you the truth.
Plastic types and where each survives
Three resins cover almost every bin you’ll touch. Polypropylene (recycling code #5) is the default for clear indoor bins, microwave-safe and tough at room temperature, but it goes brittle below freezing and cracks if you knock it on a cold morning. High-density polyethylene (#2) and LDPE (#4) stay flexible in the cold, which is why they belong in the garage, attic, and basement. The difference isn’t marketing. Materials data shows HDPE handles sub-zero temperatures that make polypropylene brittle, and the cold-cracking failures show up as returns every winter.
So before you store anything in an unheated space, flip the bin over. A #4 or #2 on the bottom means it can take the cold. A #5 means keep it inside where it’s heated. This one habit prevents the most common and most preventable bin failure there is.
Before any bin goes into the garage or attic, turn it over and read the recycling number. #2 or #4 survives the cold. #5 belongs indoors. The label on the front lies more often than the symbol on the bottom.
Fabric, acrylic, and woven trade-offs
Fabric is light and foldable but has no structure when empty, and it wicks moisture, so keep it out of damp basements. Acrylic looks beautiful and lets you see everything, but it’s rigid in the worst way: it cracks under impact and shows every scratch, which makes it a display material, not a daily-abuse material. Woven bins (seagrass, water hyacinth, rattan) bring warmth and hide clutter, but they shed, they snag delicate fabrics, and they’re never airtight. Pick the material for the job, not the photo.
A note on labels and surfaces
One detail that organizing threads bring up again and again: adhesive labels peel off rubberized bin surfaces within weeks, especially in humid spaces like bathrooms and basements. If labels matter to you, buy clear-sided bins and use external label pouches that clip or slide on. Smooth clear plastic holds a label. Textured, rubberized finishes don’t bond, and you’ll be re-sticking them by month’s end.
How to Choose by Lid Type
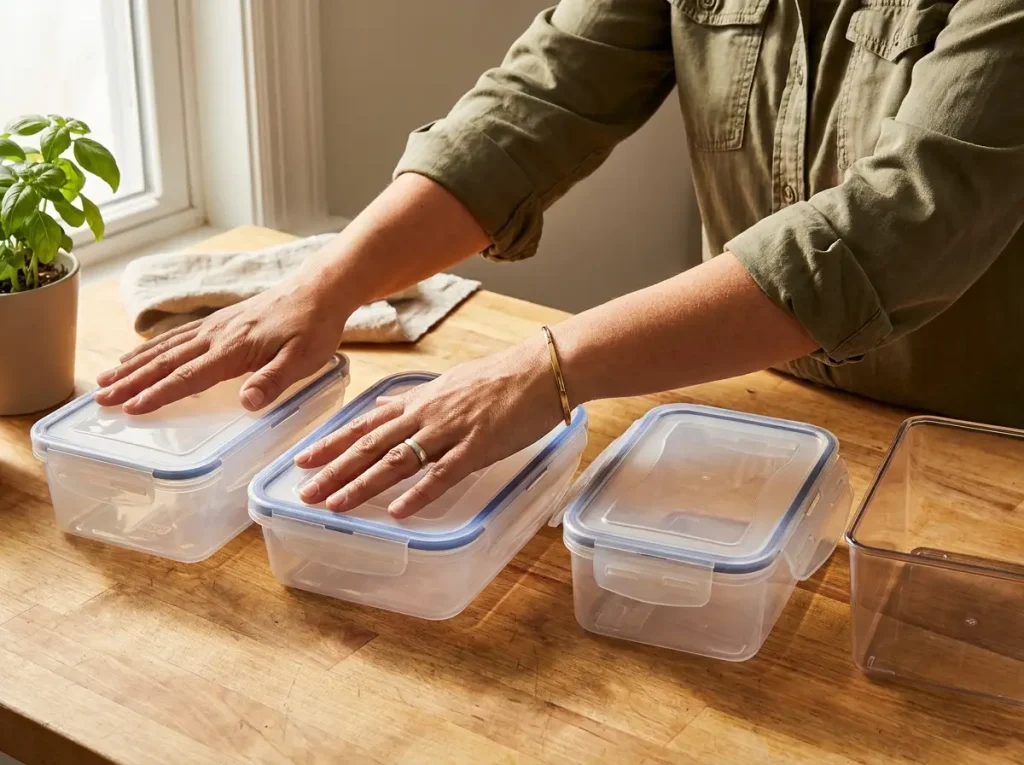
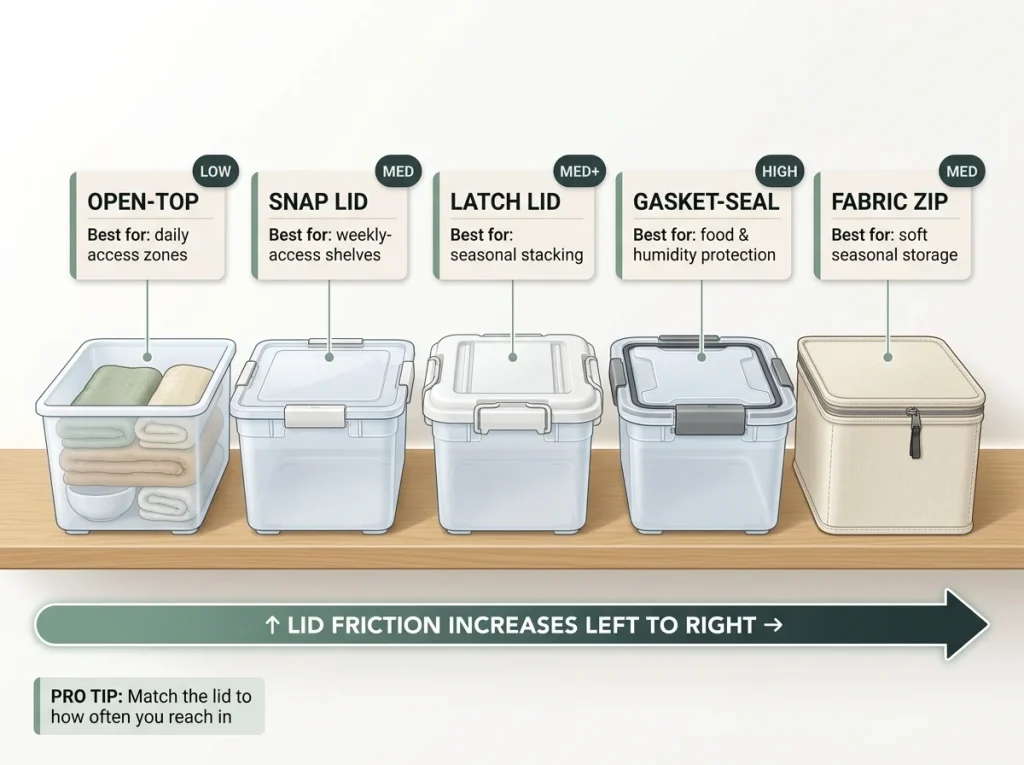
The fanciest latching lid is the wrong choice for a bin you open ten times a day. Lids aren’t an aesthetic decision. They’re a friction decision, and friction is the variable that quietly decides whether your system survives past the first month.
Open-top vs snap vs latch vs gasket vs fabric zip
Run them from least to most friction. Open-top bins have zero barrier, so they belong in daily-access zones. Snap lids add a light dust cover for things you reach for weekly. Latch lids lock down for secure stacking, but the latch nubs are a known weak point. Gasket lids seal airtight for food and humidity, the most friction and the most protection.
Fabric zip lids keep dust off seasonal soft storage. None of these is “best.” Each is best somewhere.
Match the lid to how often you reach in
This is the whole rule: daily zone gets an open top, weekly gets a snap, seasonal or long-term gets a latch or gasket. Get this backwards and the system punishes you. Organizing communities are full of the same complaint, the Sterilite gasket-box latch nubs snapping within a month or two of daily use, because a sealed box was never meant to be opened three times a day. Latch lids fail fast in high-frequency zones. Save them for the boxes you open twice a year.
When airtight is worth it
A gasket earns its keep for food, important documents, and anything stored in a humid space. For a daily pantry bin, that same gasket is friction you’ll resent by Wednesday. I used to recommend airtight boxes broadly because they’re satisfying to close. After watching how fast people abandon them in high-traffic spots, I now save the gasket for long-term storage only. For the garage and attic, the IRIS USA WeatherPro Storage Box (47 qt) pairs a gasket seal with side latches and stacks within its own size range, which is exactly where an airtight lid belongs: somewhere you open it seasonally, not daily, so the seal protects without taxing you every time.
Measure Before You Buy
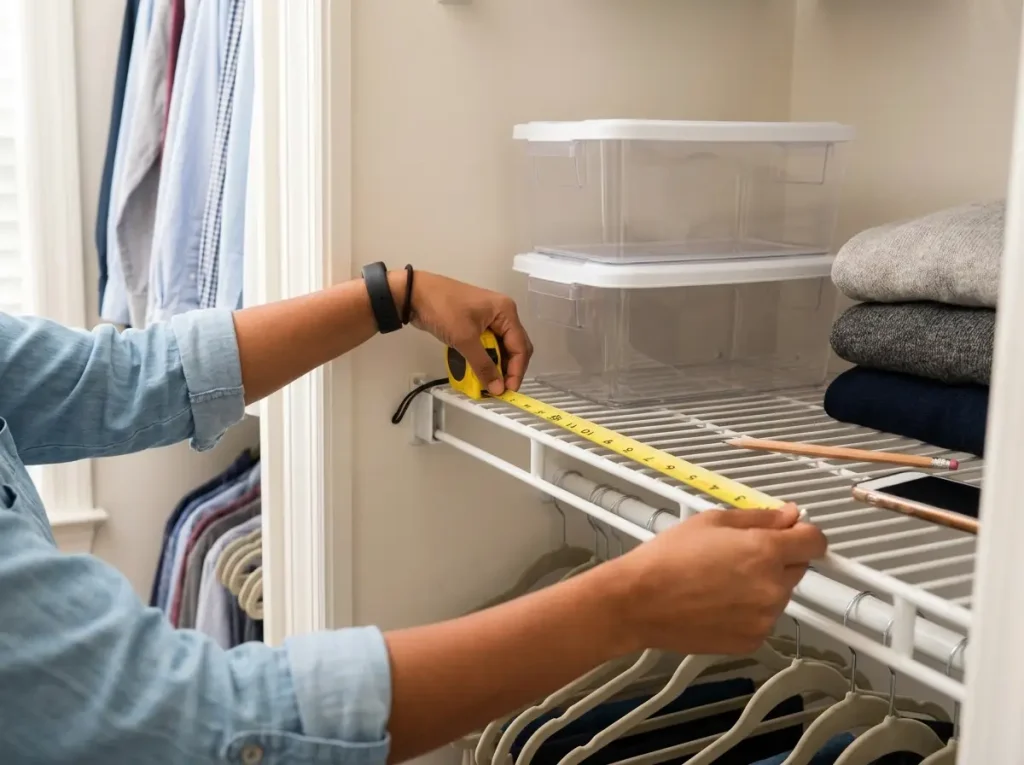
“Measure first” is advice everyone gives and nobody explains. Here are the exact three numbers, and the two subtractions that stop a bin from sticking past a shelf edge and becoming the thing you knock with your hip every morning.
The three numbers every space needs
Take three measurements before you buy anything. First, shelf depth: your bin’s depth must be equal to or less than the shelf. Second, the clear height between that shelf and the one above it: your bin has to clear that gap with room to lift out. Third, the width available for each category zone, so you know how many bins actually fit side by side. Professional spacing runs about half an inch to an inch between bins so you can pull one without dragging its neighbors, an inch or two of headroom above stacked bins, and a couple of inches of front clearance for anything you slide out like a drawer.
The two subtractions that save a return
The two formulas worth memorizing. For under-bed storage: measure floor-to-frame, then subtract an inch of buffer, and that’s your maximum bin height. For pantry shelves: measure the gap between shelves, subtract two inches, and that’s your ceiling. Rental closet shelves usually run shallow, somewhere in the foot-to-sixteen-inch range, so subtract about two inches for your maximum bin depth. Put a seventeen-inch bin on a fourteen-inch shelf and it overhangs, blocks the door, and becomes a daily hazard. Platform beds are even tighter; platform beds leave as little as four inches of clearance, which most standard under-bed bins won’t clear.
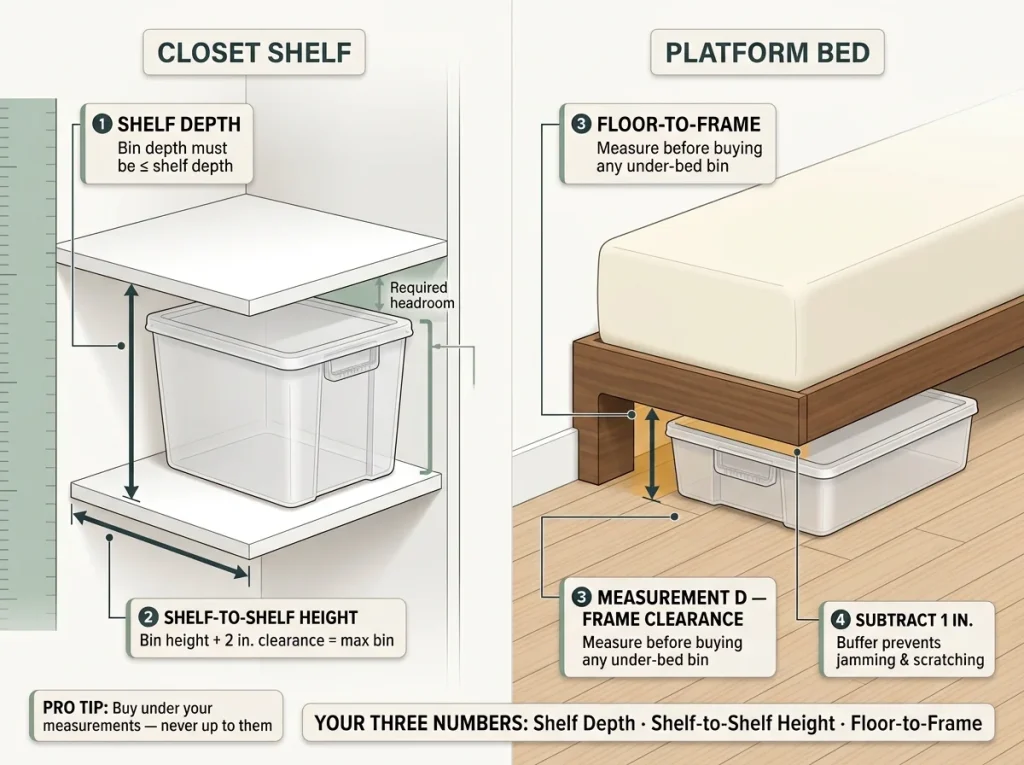
Write your three numbers on your phone before you shop: shelf depth, shelf-to-shelf height, zone width. Then buy under those numbers, never up to them. A bin that fits with room to spare gets used. A bin that barely fits gets returned.
Cube-organizer fit, the half-inch rule
Fabric inserts labeled “fits 11-inch cube organizers” often don’t, because the cube’s wall thickness eats into the opening. Subtract half an inch from each internal dimension of the cube before you trust the bin to slide in. It’s a tiny number that explains a huge share of the one-star “didn’t fit” reviews on cube inserts.
Room by Room: Which Bin Belongs Where
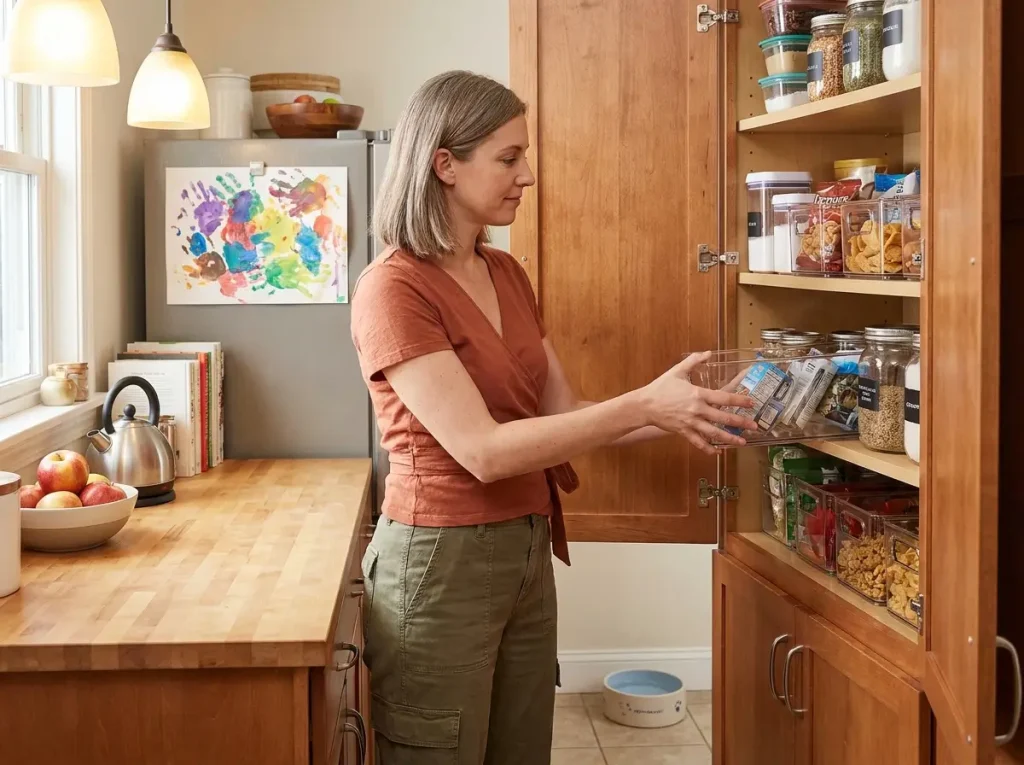
The same bin that’s perfect under the bathroom sink is the wrong bin in the garage. Matching the type to the room is most of the decision, and once you’ve got the material and lid rules down, the rooms practically sort themselves.
Kitchen, pantry, and bathroom
These are daily-access zones, so open-top wins almost every time. You want to reach in and grab without lifting a lid, and you want to see what’s running low. Save airtight containers for dry goods that genuinely need the seal. Before you buy anything nicer, a dollar-store clear bin works fine for small cabinet categories, and it’s the right place to start.
When you’re ready for bins that hold up, the mDesign Stackable Plastic Storage Bins (4-pack) are the most versatile pick I know: open-top, stackable, and they work freestanding or shelved across the pantry, cabinets, fridge, under-sink, and bathroom counter. The catch is they’re not airtight, so they’re for organizing, not for sealing flour. For the deeper question of what to store in airtight food containers, the pantry guide goes further than I can here.
Closet and bedroom shelves
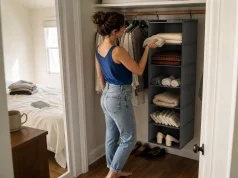
Closets are where fabric earns its place. Use soft fabric bins on the visible shelves where they look better than plastic, and clear lidded boxes up top for seasonal storage. The lid is fine here, because a top shelf is a low-frequency zone. You reach it twice a year, so the small friction of a lid costs you nothing and the dust cover actually helps.
Under-bed, garage, and attic
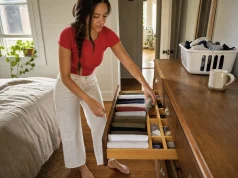
Under-bed wants a low-profile clear box with a snap lid, and you measure the frame clearance before you buy, every time. A snap lid beats a latch lid here for a sneaky reason: latch lids add small holes where the latches seat, and those are documented moisture entry points. The IRIS USA Under Bed Storage Box with Lid is clear, snaps shut without those latch holes, and fits metal frames with about seven inches of clearance or more. For the garage and attic, go back to the material rule and use weathertight HDPE only (Rubbermaid and IRIS both make rugged HDPE totes built for the cold), never the indoor #5 plastic. If you want more options sized for low frames specifically, the roundup of the best under-bed containers for low beds breaks them down by clearance.
Top Picks by Use Case
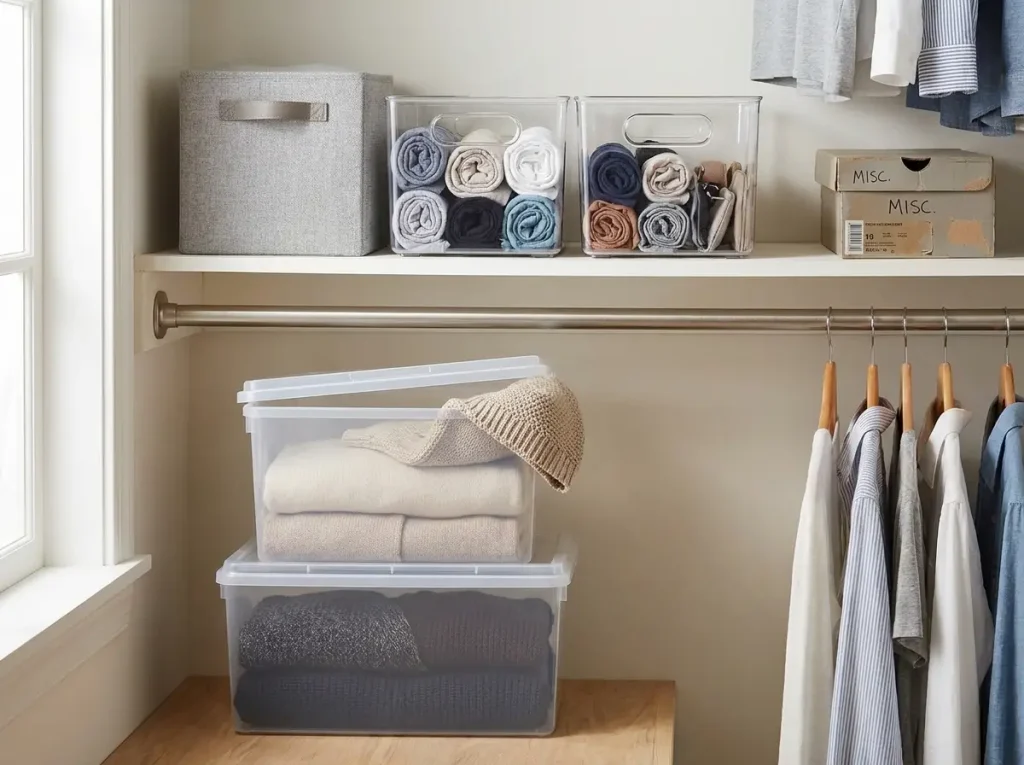
Now that you know how to choose, here’s what I’d actually reach for, sorted by job. I used to point people at one big matching set, but that’s how you end up with eight identical bins and three jobs they don’t fit. So this is a short list, just the one pick that fits each common need.
Best clear bin for daily-access zones
Visibility wins anywhere you reach in every day. The ClearSpace Clear Plastic Storage Bins are clean, see-through, and open-front for grab-and-go use in the pantry, cabinets, and fridge. If you want to spend less and still get the job done, the mDesign 4-pack covers the same daily-access need for a smaller outlay. Either way, the rule holds: clear plastic where you need to see and reach fast.
Best stackable clear box for shelves and storage
When you’re stacking on a top shelf or storing seasonal items, you want a box that’s clear, snaps shut, and nests when empty so it isn’t eating space in the off-season. The IRIS USA 40 Qt Nestable Clear Storage Box (3-Pack) does all three, with a snap lid that skips the latch-hole moisture problem and a stackable footprint that plays nicely with the rest of the IRIS range. It’s the box I’d build a closet top shelf around.
Where free or cheap beats premium
And here’s the anti-sell, because it matters. You don’t need to buy your way to organized. Shoeboxes are perfect for testing categories before you commit. Dollar-store clear bins handle small cabinet groups just fine. Repurposed boxes work for seasonal storage you touch twice a year.
Buy premium only where it genuinely earns the cost: weathertight bins for the cold garage, gasket boxes for food. Everywhere else, budget and free options do most of the job.
Why Bin Systems Fail After 3 Months
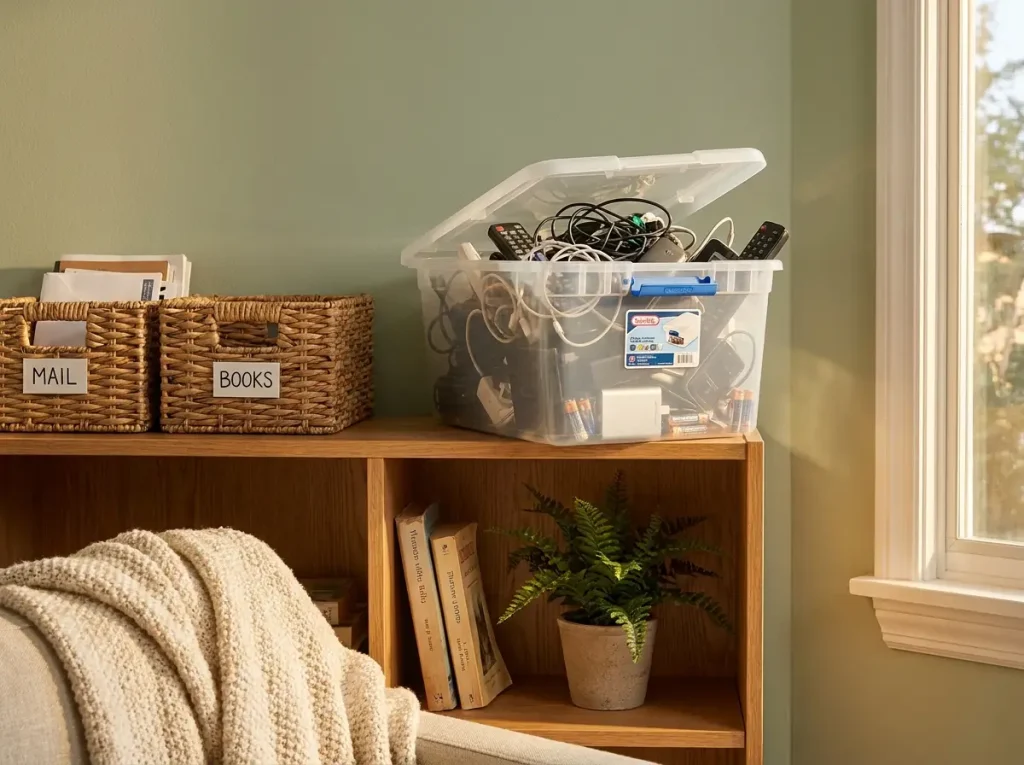
The “after photo” is week one. The real test is whether the system still works on a Tuesday night in month three, after four people have used it without reading the instructions. That’s the test no product roundup ever shows you, and it’s where most systems quietly die.
The three ways a bin system collapses
There are three failure modes, and they’re predictable. First, no fixed category per bin: any bin without one clear rule turns into a “miscellaneous” bin within weeks. Second, lid friction in daily zones: every time someone has to lift a lid to put something back, they pay a tiny toll, and eventually they stop paying it. Third, no category assigned at purchase: bins bought without a defined job become dumping grounds by default.
The lid friction one has real math behind it. Picture a four-person household and a lidded bin in a daily-access spot. Four people, three reaches a day, ninety days, and you’ve asked for that lid to be lifted and reseated more than a thousand times in a season. Nobody decides to quit the system. They just quietly stop, one skipped lid at a time, and by month three the bin is open and overflowing. That’s the “lid tax,” and it’s why open-top bins survive roughly three times longer in any high-frequency zone.
The miscellaneous-bin trap
Any bin labeled “misc,” “random,” or “other” fills within two or three weeks and then collapses everything around it. A miscellaneous bin isn’t storage. It’s permission to stop deciding where things go, and once one exists, every hard-to-place item heads straight for it. The fix is unglamorous: every bin needs a rule, even a loose one. “Cables and chargers” is a rule. “Stuff” is a white flag.
The 90-day maintenance habit
So here’s the maintenance habit that keeps a system alive, and it takes five minutes a month. Pull the one bin that’s drifting (you always know which one). Re-sort it back to its rule. And break up any “miscellaneous” category that’s started forming before it spreads. That’s it. Five minutes, once a month, and the system you built in week one is still standing in month six.
Put a recurring five-minute “bin reset” on your calendar for the first of every month. The goal isn’t to re-organize. It’s to catch the one bin that’s drifting and the one “misc” label forming, before either one takes the whole shelf down with it.
A Renter’s Guide to Bins That Survive a Move

Rigid bins fit your current shelves perfectly. Then you move, the new closet is two inches shallower, and half your bins overhang and won’t sit flush. This is the part no buying guide covers, and it’s the single biggest reason renters waste money on storage: bins that fit one apartment rarely fit the next.
Why rigid plastic punishes renters
A rigid bin has fixed dimensions, which means it’s locked to one shelf layout for life. There’s also a moving cost people forget. Rigid bins can’t compress, so they eat a full moving box for every four to six of them, and you’re paying to move air. A six-bin fabric set, by contrast, folds into a flat stack barely thicker than a magazine. The story that keeps coming up in renter threads is the matching rigid set that survived exactly one move and got donated at the second apartment, when nothing fit the new shelves. Fabric would have made it to a third.
Collapsible and fabric, the renter default
For anyone who moves every year or two, collapsible bins are the obvious call. They fold flat between homes and adapt to whatever shelf depth the next place throws at you. The PRANDOM Large Collapsible Storage Bins with Lids (3-Pack) have a linen look, a dust-protecting lid for seasonal storage, and they collapse to almost nothing when it’s time to pack. They move like folded laundry instead of like furniture. The trade-off is the usual fabric caveat: they slump when empty and they’re not for heavy loads, but for clothes, linens, and seasonal gear they’re hard to beat.
No-drill, freestanding, adaptable
The rest of the renter rule is simple: nothing that mounts. Freestanding stackable bins don’t depend on a particular shelf system, so they move with you and set up anywhere. Avoid anything that screws into a wall or locks into a proprietary frame, because you’ll either lose your deposit or leave it behind. Pairing portable bins with no-drill closet setups that won’t cost your deposit gives you a whole storage layout you can pack into a car and rebuild in an afternoon at the next place.
Conclusion
Three things carry the whole system. Declutter and measure before you buy, because the cheapest, best-fitting bin is the one you chose on purpose. Match the type and the lid to the room and how often you reach in, because friction is what quietly breaks a system. And remember the bins were never the point; the category rules are. A labeled bin with a real rule lasts. A pretty bin full of “misc” doesn’t.
In ninety days, run the three-month test: check the one bin that’s drifting and watch for a “miscellaneous” label forming. That’s your early warning, and a five-minute reset catches it before it spreads.
Start with one shelf. Get the type, the lid, and the category right. Then buy for the next shelf, and only the next shelf. Buying in phases like this keeps your budget on the bins you’ll actually use instead of the splurge you’ll regret.
Frequently Asked Questions
01Should I declutter before buying storage bins?
Yes, always declutter first. Sorting before you shop routinely cuts the number of bins you actually need by a third or more, because you stop storing things you were going to let go of anyway. Buy after you sort, not before.
02Are clear or fabric storage bins better?
It depends on access and whether you move. Clear bins win for daily grab-and-go because you see the contents. Fabric bins win on visible shelves and for renters, since they fold flat and adapt to any shelf depth at the next place.
03What size storage bin should I buy?
Measure three things first: shelf depth, the clear height between shelves, and the width per zone. Then buy under those numbers with a buffer. The bin has to fit the space, not the other way around, and an inch of overhang is what triggers most returns.
04Why do my storage bins stop working after a few months?
Usually one of two things happened: a “miscellaneous” bin formed and started swallowing everything, or a lid added daily friction until the household stopped putting things back. Give every bin one fixed rule, and keep lids off daily-access zones.
05Are plastic storage bins safe in a cold garage?
Only the right plastic. Look for HDPE (recycling code #2) or LDPE (#4), which stay flexible in the cold. Polypropylene (#5) turns brittle below freezing and cracks, so keep those bins indoors and use weathertight ones in the garage.