









In this article
You measured the dresser, ordered the dividers, and now the drawer won’t close flush. Or it closed fine for a month, and then one divider quietly walked half an inch toward the side and your folded tees started spilling into the socks again. Ask anyone who has organized a bedroom dresser and you’ll hear the same sentence: I returned it because it didn’t fit. The fix is almost never a different brand. It’s knowing that the inside of a drawer runs several inches smaller than the dresser’s listed depth, and buying for that number instead. This guide covers how to measure, which material survives which situation, and the best drawer dividers for dressers sorted by the width you actually have.
Quick Answer
Four types of drawer divider exist, and the right one depends on your drawer and your timeline:
- Bamboo expandable: best overall for a dresser you plan to keep; holds shape for years.
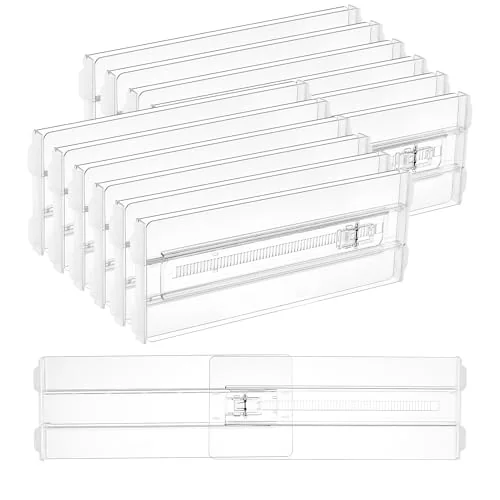
- Plastic expandable: cheapest working option; the locking tab cracks in a couple of years.
- Fixed-cell trays: the only real answer for socks, underwear and small accessories.
- DIY cardboard or wood shims: free, correct for odd drawer sizes and short-term trials.
How to Measure a Dresser Drawer Before You Buy Anything
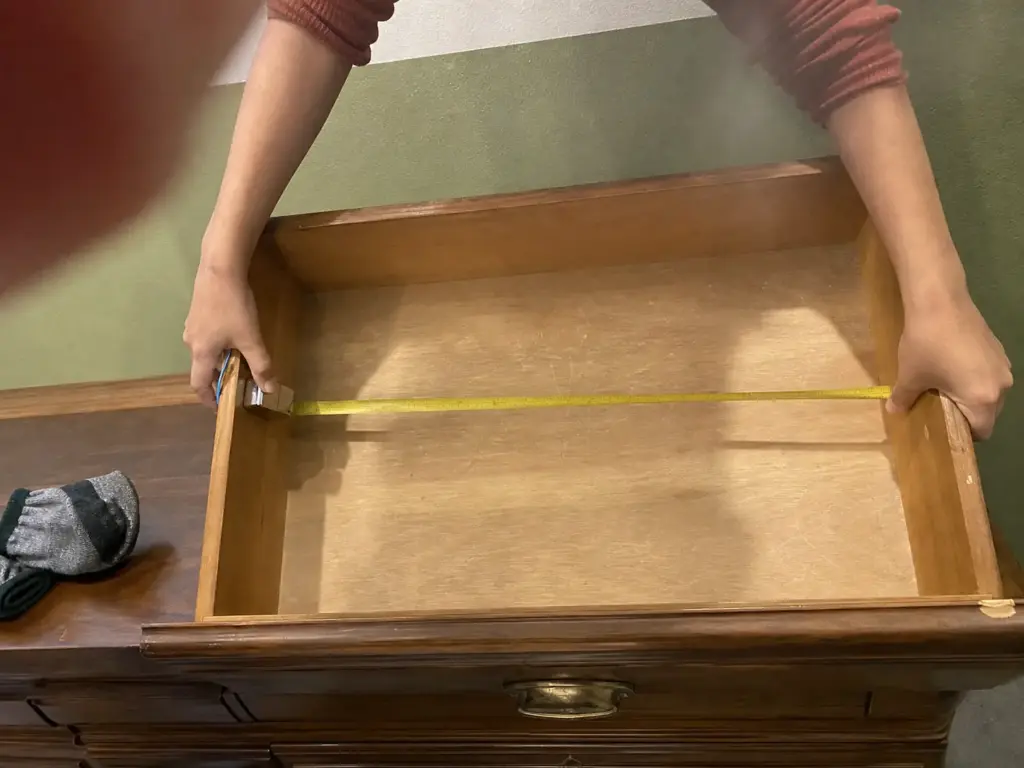
This is the section that saves the return label. Almost everyone measures the outside of the dresser, reads the number off the product listing, and orders. The dividers arrive, and they’re an inch too long. It isn’t a manufacturing problem. It’s that the drawer’s interior and the dresser’s exterior are two completely different measurements, and only one of them matters.
Where the inches actually go (exterior vs. interior)
A dresser listed at 18 to 24 inches deep usually has an interior drawer depth closer to 14 to 17 inches. The back panel, the drawer box construction and the slide hardware eat the rest. Width loses about half an inch per side to side-mount slides, which is why a drawer in a dresser advertised as 30 inches wide gives you noticeably less usable space inside.
Practical drawer widths land in three rough bands. Small drawers, the nightstand and jewelry-drawer size, run around 12 inches. Medium drawers sit near 28 inches. Large ones stretch toward 30. Those are the numbers that decide which expandable range you need, and none of them appear on the box the dresser came in.
The tape-measure method that doesn’t read short
Here’s where most measurements go wrong. You hook the tape into the drawer, bend it into the corner, and read the number. A bent tape reads short by up to an inch, which is exactly how a set rated to 13 inches ends up failing in a drawer that’s genuinely 13.75 inches across.
Professional organizers do it differently. Press the flat metal housing of the tape measure squarely against the inside drawer wall, pull the blade taut to the opposite wall, read the number, then add the length of the housing itself. It sounds fussy. It’s the difference between a divider that seats under tension and one that goes back in the box. Lela Burris walks through the pro-organizer trick for measuring a drawer without a bent-tape error in more detail, and the housing step is the part everyone skips.
Write both numbers on a sticky note and put it on your phone case, not in your head. You will be standing in front of a product listing forty minutes later trying to remember whether the top drawer was the wide one or the narrow one, and you will guess wrong.
Height and Slide Clearance: The Measurement Everyone Forgets
Width and depth get all the attention. Height is what stops the drawer closing. Measure from the drawer bottom to the top edge of the drawer box, then leave about half an inch of clearance so the divider clears the frame as the drawer slides shut.
Most clothing dividers are built around 4 inches high, which suits standard dresser drawers. Shallow drawers and kids’ dressers usually want something shorter, closer to 2.6 inches. If your drawer closes but catches slightly at the end of its travel, height is the culprit almost every time. Once you have all three numbers, the rest of the dresser gets easier, and a dresser reset that holds past week one becomes a matter of executing rather than guessing.
Bamboo, Plastic, Fabric or Cardboard: What Each Material Does Under Real Use
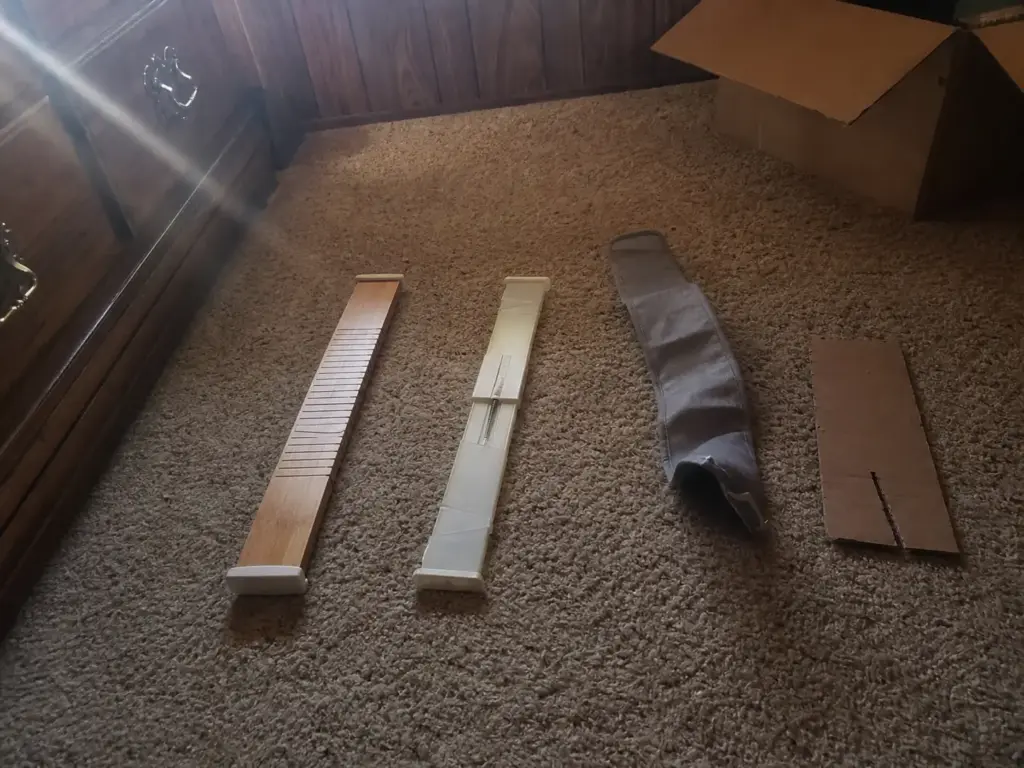
Most roundups describe materials like personality types. Bamboo is eco-friendly, plastic is affordable, fabric is soft. None of that tells you what you actually need to know, which is what breaks first and roughly how long that takes.
Bamboo: What Humidity Actually Does to It
Bamboo is moisture-resistant, not waterproof, and the distinction matters more than the marketing suggests. It holds its shape for years under normal bedroom conditions. What kills it is trapped condensation sitting underneath the divider where air can’t reach, usually in a humid room or after something damp goes into the drawer. That’s when the fibers swell and the panel warps.
The prevention is unglamorous: wipe the drawer bottom with a dry cloth when you’re already in there. Ten seconds, and it removes the entire failure mode. Bamboo also handles weight better than plastic, so if a drawer holds folded jeans rather than tees, it’s the more sensible tier.
Plastic: The Locking Tab Is the Failure Point
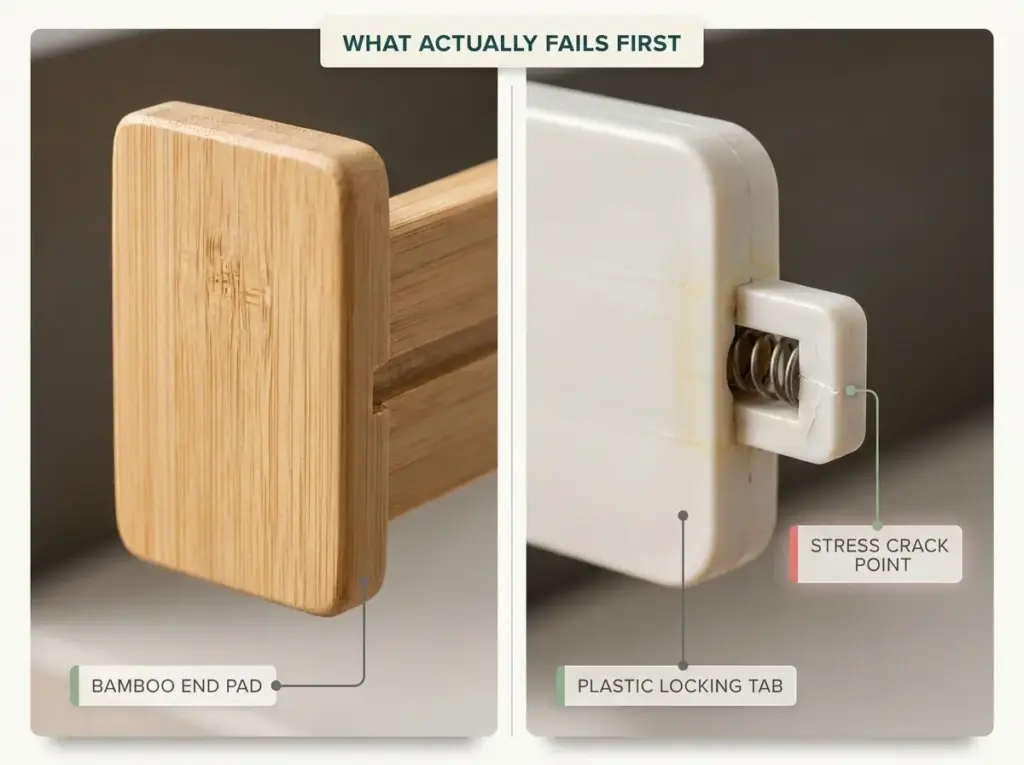
Plastic dividers yellow and start cracking, usually within two or three years of daily use. The part that fails is never the flat panel. It’s the spring-tension locking tab, the small mechanism that holds the extended length in place. Every readjustment stresses it, and cheap injection-molded tabs give out long before the rest of the divider shows any wear.
That sounds like a reason to skip plastic. It isn’t, quite. Plastic runs roughly 40 to 60 percent cheaper than bamboo, and if you’re in a rental with eighteen months left on the lease, buying for a three-year lifespan is a decision you’re making for a dresser you may not keep. Choose the material for the timeline, not for the review score.
| Material | Best For | What Fails First |
|---|---|---|
| Bamboo | A dresser you plan to keep | Warping, only if moisture sits trapped underneath |
| Plastic | Rentals and tight budgets | Locking tab cracks in 2 to 3 years |
| Fabric / mesh | Lightweight accessories only | Sides lose tension and puddle into the corner |
| Cardboard | Trials and odd drawer sizes | Loses right angles within weeks |
Fabric and Mesh: Why They Puddle
Fabric dividers look appealing in product photos because they’re soft against clothing and fold flat for storage. In a real drawer, they hold shape only as long as their sides stay under tension. Load one side heavier than the other, or push a stack against it once too often, and the whole thing slumps into the corner. From there it stops dividing anything and just becomes another object in the drawer.
They earn a place in shallow accessory drawers where nothing pushes sideways. For folded clothing they’re the weakest of the four. Worth knowing: the fabric options that used to get recommended in this category have largely been discontinued, which is why you’ll see them in older articles and not on current listings.
Cardboard and Wood Shims: The Free Versions
Cardboard costs nothing, works immediately, and every tutorial online tells you exactly how to cut it. What none of them mention is how long it lasts, and that silence is telling. We’ll get to the real answer further down.
Wood shims deserve more attention than they get. A bundle from the lumber aisle costs almost nothing, cuts to any width with a utility knife, and holds a right angle indefinitely. If your drawer is an odd size that no standard expandable range covers, this is the genuinely good solution rather than the compromise. For a broader look at what fits which drawer, drawer organizer inserts sorted by the drawer they actually fit covers the tray-style options alongside these.
Expandable vs. Fixed-Cell: Which Mechanism Fits Your Drawer

Expandable dividers get bought because they look adjustable, and adjustable feels safe. One product, any drawer, no measuring anxiety. That instinct is right about half the time and expensive the other half.
How spring tension actually holds (and when it stops)
An expandable divider is a two-piece panel with a spring inside. You compress it, set it in the drawer, and release; the spring pushes outward and friction against the drawer walls holds it in place. It works beautifully in the middle of its rated range.
Push it near its maximum and the spring is nearly fully extended, which means the outward force is at its weakest exactly when the span is at its longest. That’s the divider that slowly walks toward one side over a few weeks of drawer-slamming. It didn’t fail. It was asked to do the one thing it’s worst at.
End Pads: The Feature to Check Before You Buy
If you check one specification before ordering, make it this one. Non-slip foam or rubber pads on the divider ends are what convert spring tension into grip. Without them the divider is pressing smooth plastic against smooth wood, and the friction just isn’t there.
Cheap unbranded sets skip the pads because they cost money and don’t photograph. The listing rarely says so outright, which means you’re looking at the product images for a visible strip of foam or rubber at each end. No pads — no purchase.
If your existing dividers have worn-down pads, a strip of adhesive weatherstripping foam cut to length restores the grip for the cost of nothing. It’s the same material doing the same job, and it buys a couple more years out of dividers that otherwise still work fine.
When two dividers beat one
Here’s the math nobody publishes. Say your drawer measures 20 inches inside. The obvious move is to hunt down a single divider rated 17 to 22 inches and stretch it to fit. The better move is two dividers rated 11 to 17 inches, placed end to end, each sitting comfortably near the middle of its range.
Two dividers at moderate extension hold far more reliably than one at full stretch, and you get three usable zones instead of two. It costs slightly more and it looks less elegant in the drawer. It also stops the walking problem completely, which is the actual thing you were trying to solve.
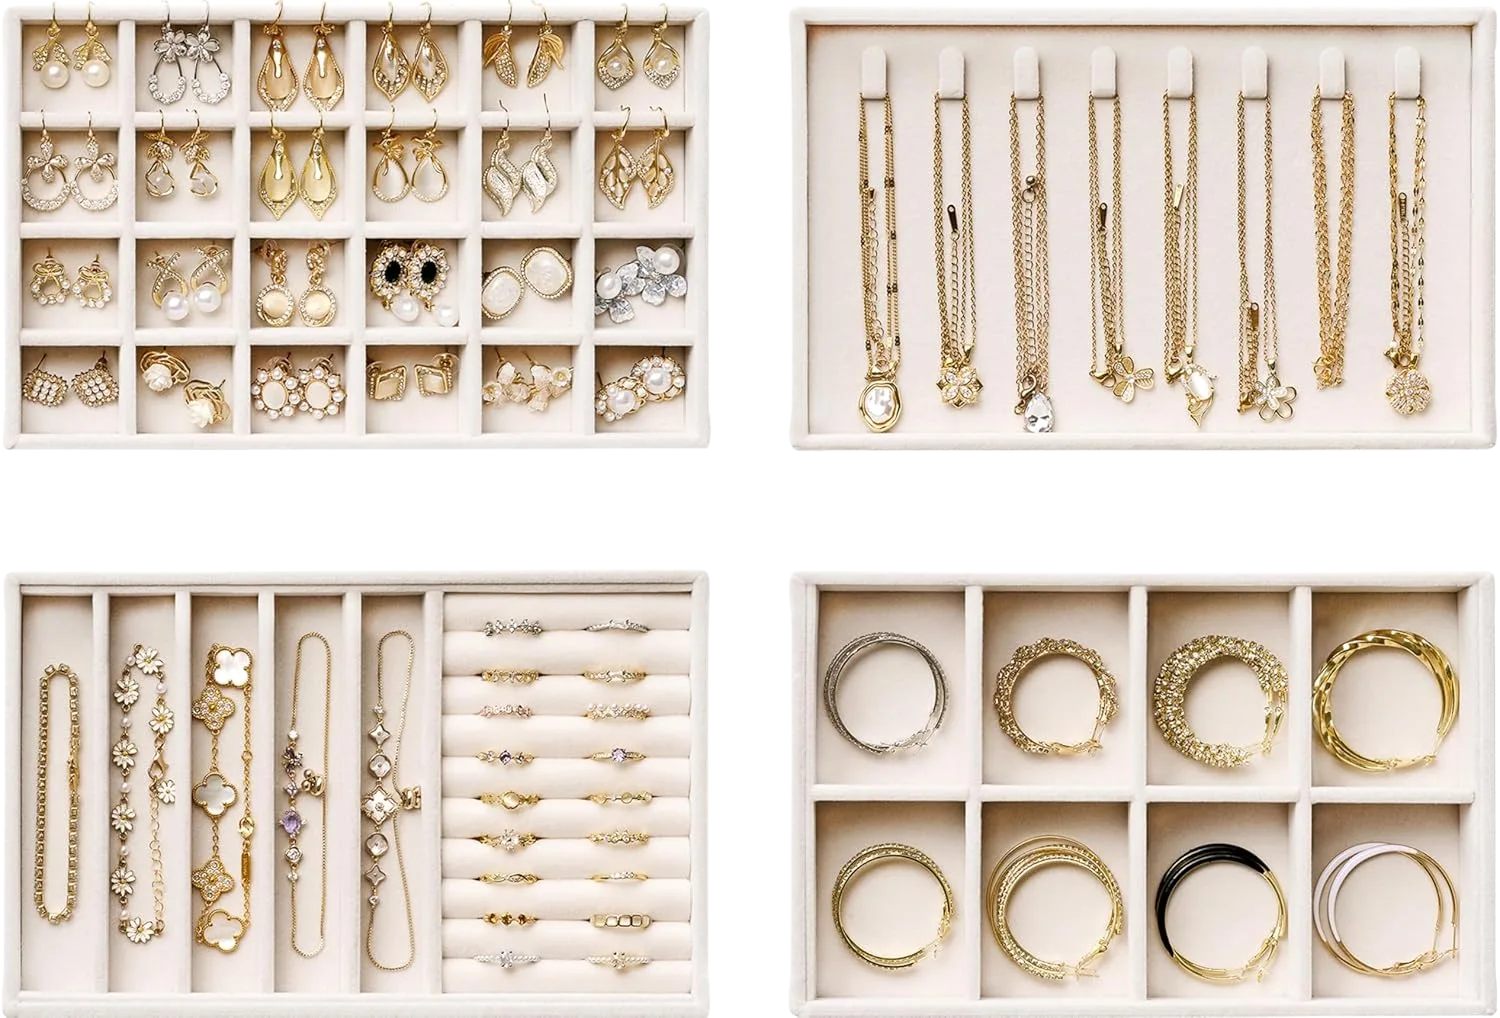
None of this helps with socks. That’s a different mechanism entirely. Loose small items need permanent addresses, not adjustable zones, which is why the sock drawer is the one everybody describes as a black hole: nothing has a fixed spot, so everything vanishes into the same undifferentiated pile. A fixed-cell tray fixes that in a way no expandable divider can, because the cells can’t drift.
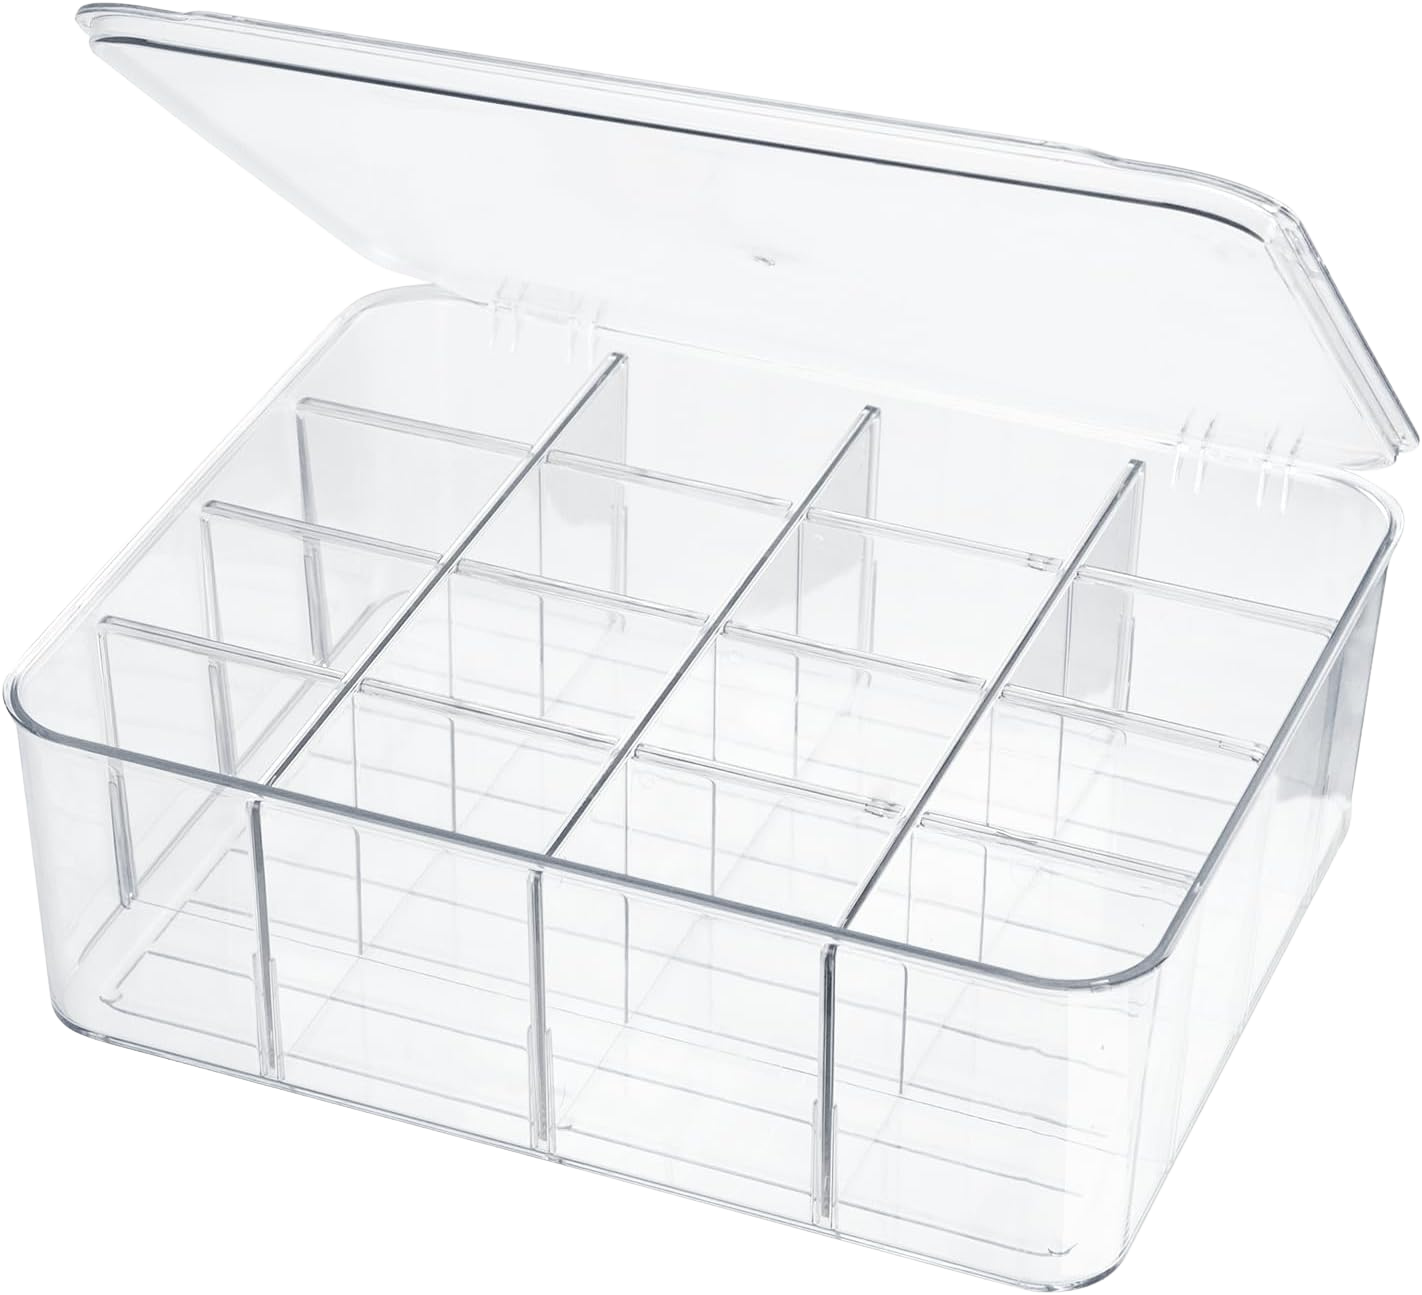
One boundary worth drawing: this article is about the hardware. If what you actually need is a system for what goes in each zone and how to fold it, how to zone the drawers themselves handles that side of it.
The Best Drawer Dividers for Dressers, Sorted by Drawer Width
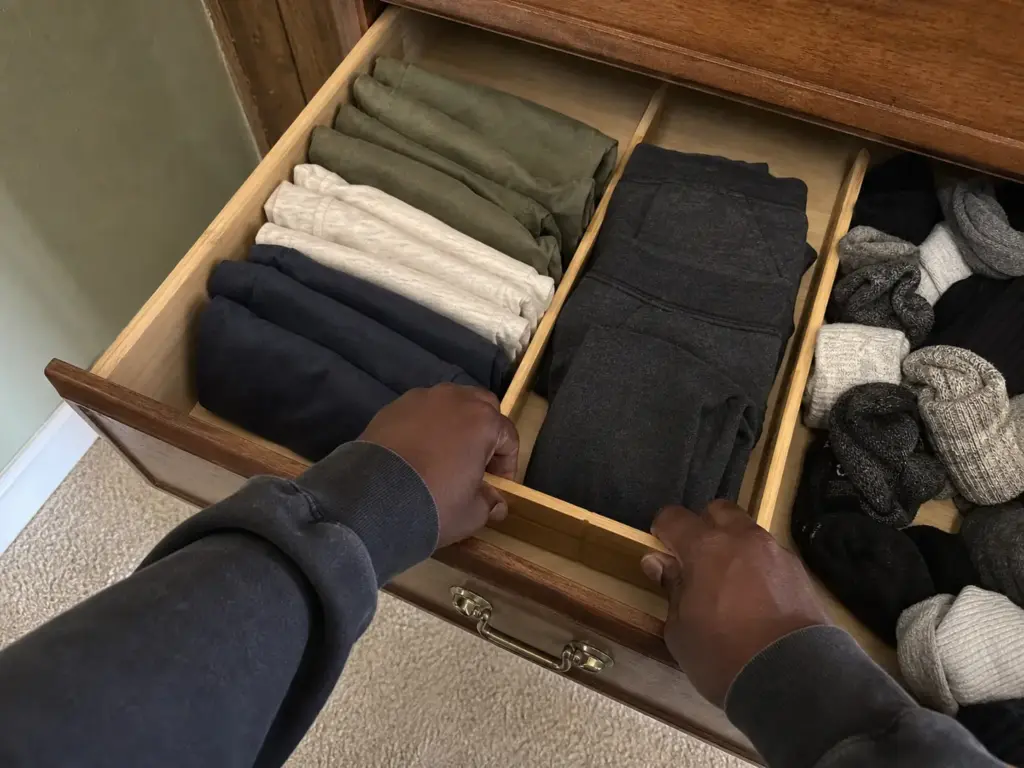
Ranked lists are close to useless in this category. A number-one pick rated 17 to 22 inches does nothing for a nightstand drawer that measures 14 inches inside. Sorted by width, the list answers itself: find your band, pick your material tier, done.
Narrow and nightstand drawers (about 10 to 17 in)
This band covers nightstands, small dressers, and the top drawer of a lot of standard dressers. It’s also the band with the widest quality spread, because it’s where the cheap unbranded sets cluster.
The OXO Good Grips set is the one worth paying for here, mostly because of the feature the last section told you to check.
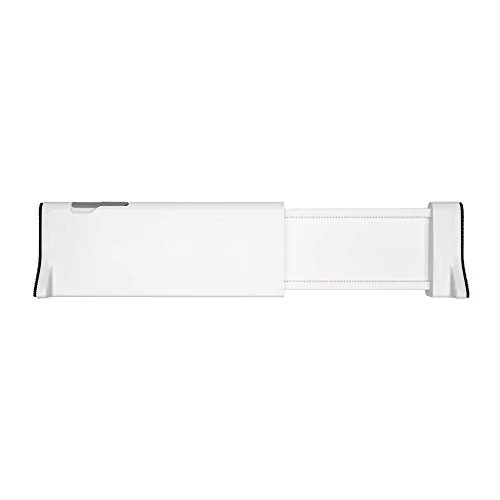
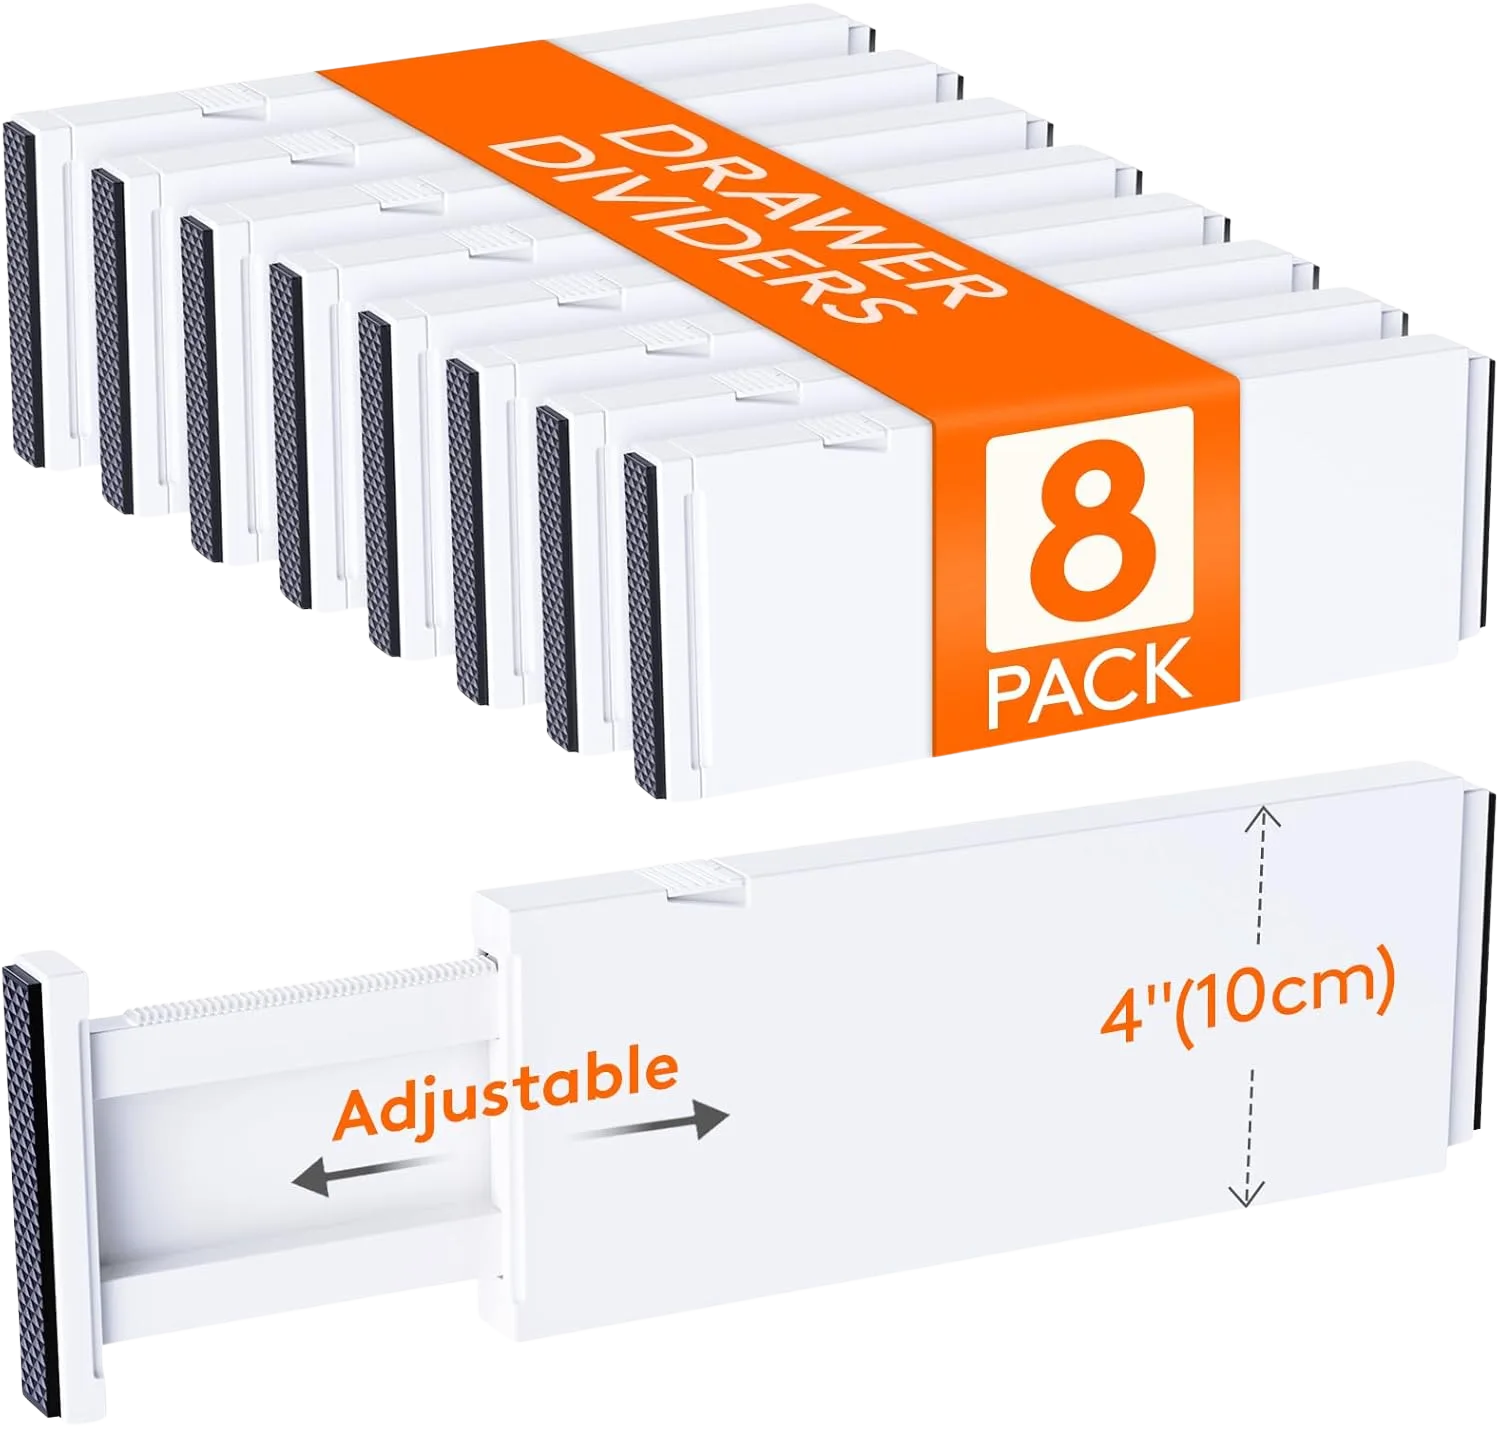
Same size band, different tier: if the lease-timeline argument from the material section applies to you, the Lifewit multipack is the plastic version of the same decision.
Standard and wide dresser drawers (about 17 to 22 in)
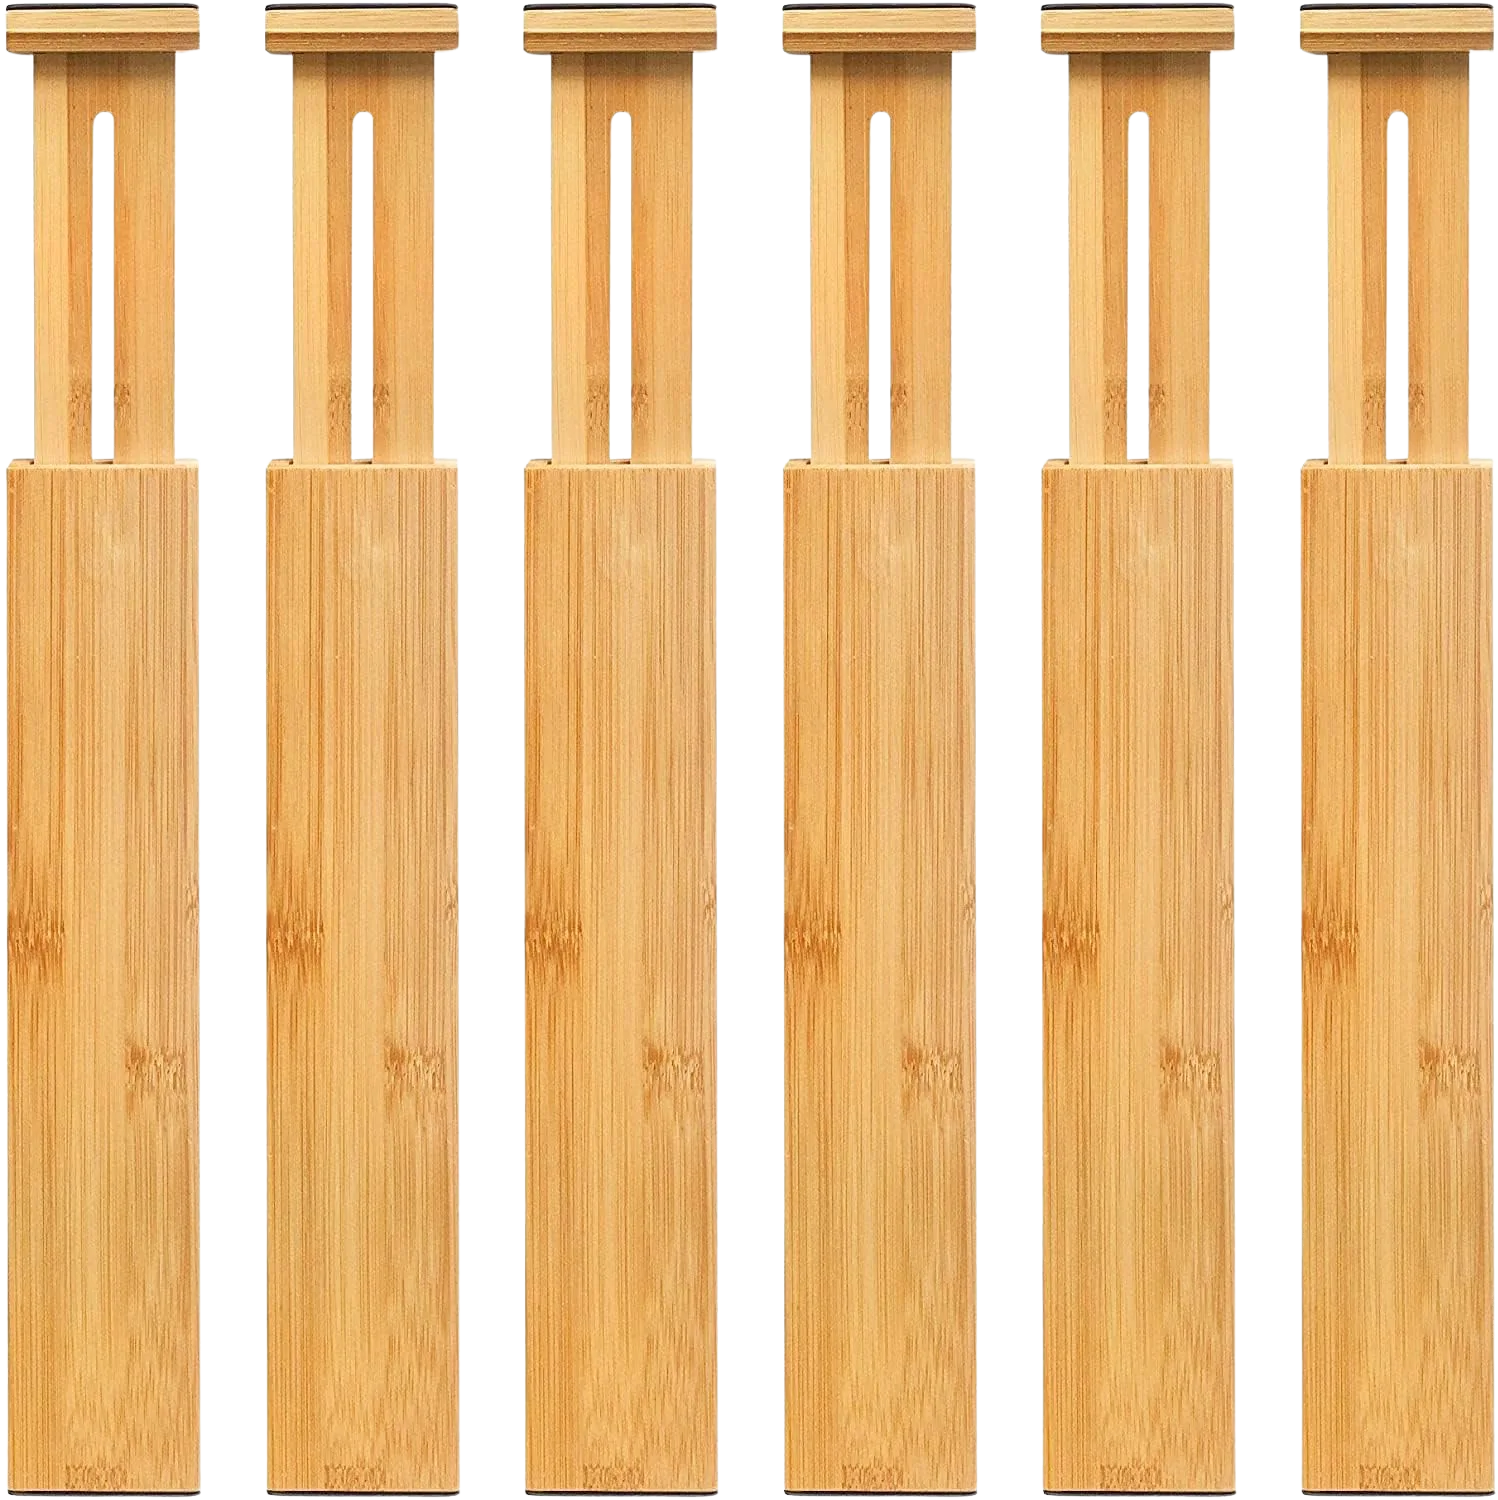
This is where most full-size dresser drawers land, and where bamboo makes the most sense because these drawers usually carry the heaviest folded loads. The SpaceAid set covers the band cleanly.
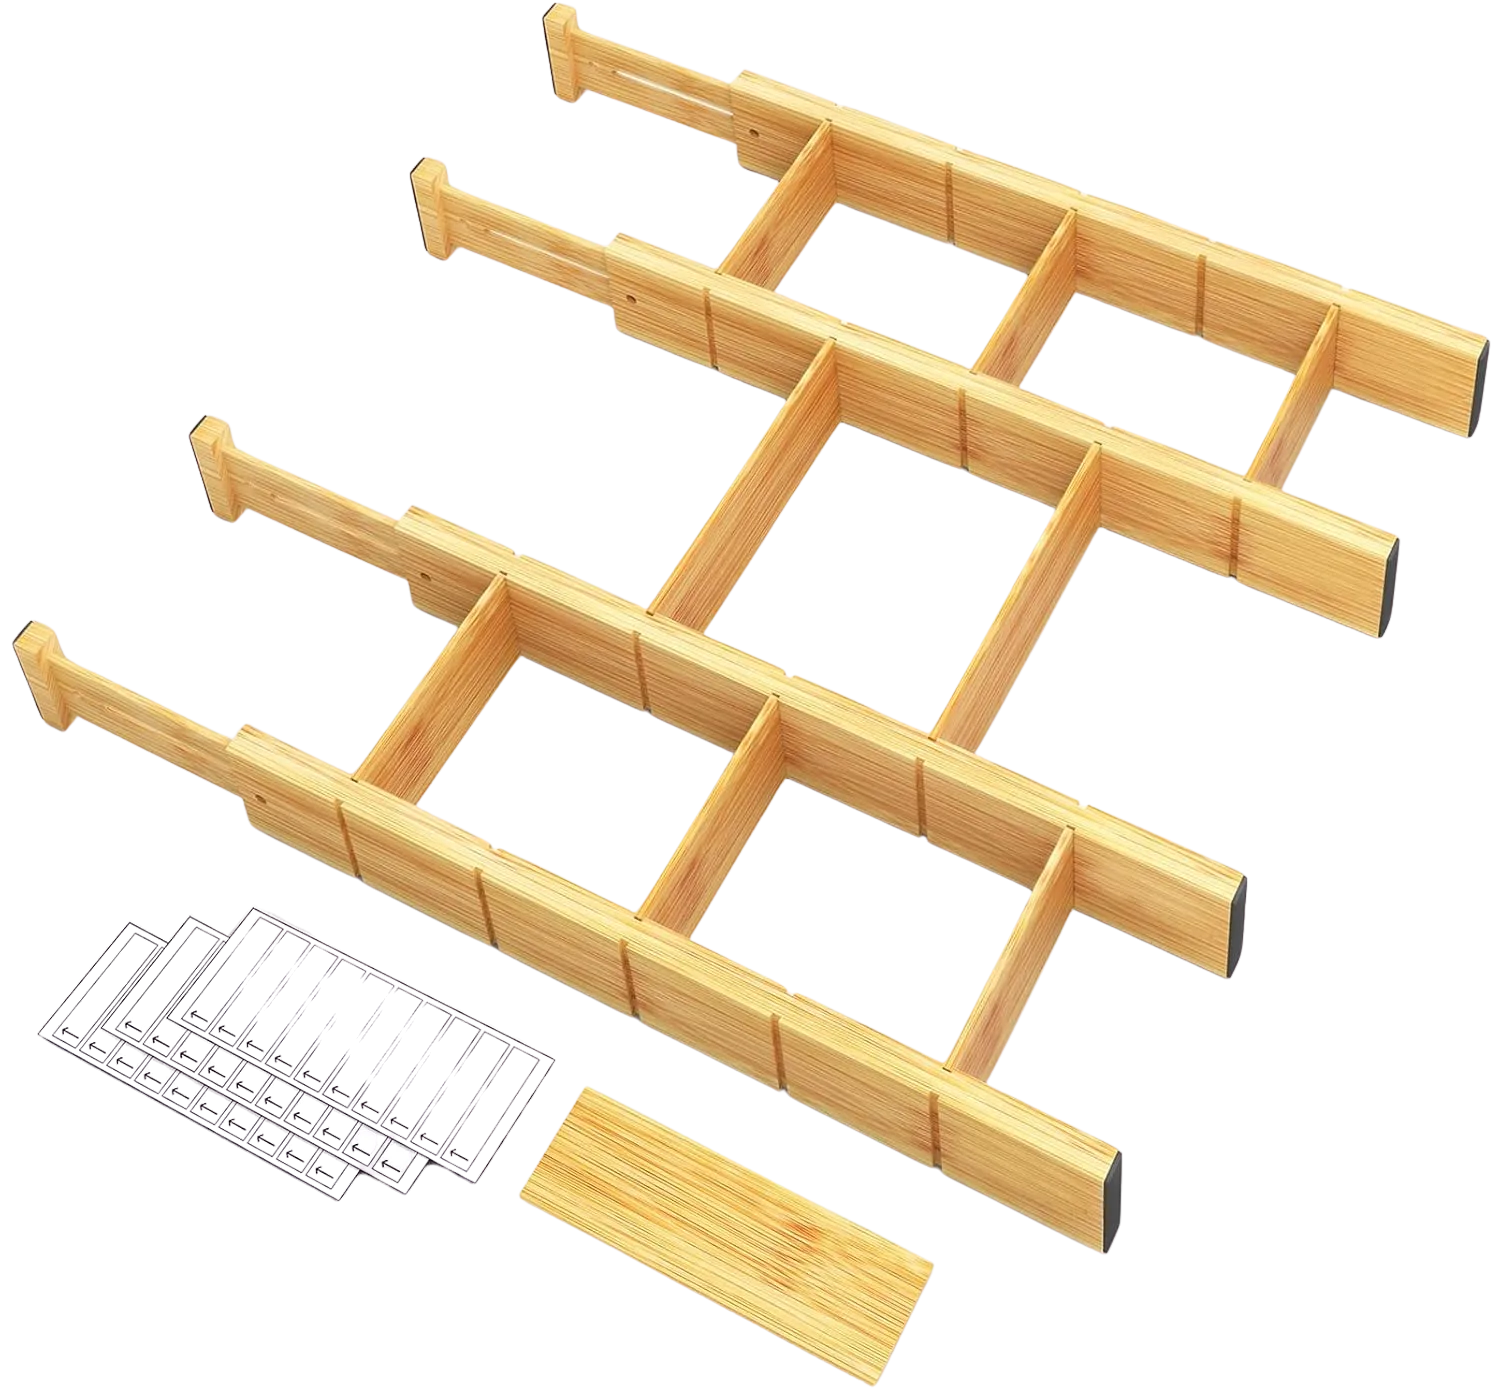
If you’re doing the entire dresser at once rather than one drawer, the VaeFae set is the same material and nearly the same range at a better count.
How many dividers one drawer actually needs
The pack-count trap catches almost everyone. A 2-pack looks like the sensible starter purchase until you realize that one drawer usually needs two dividers to create three zones, which means a 2-pack does exactly one drawer. That arithmetic is why a multi-pack almost always wins once you’re doing more than a single drawer.
Here’s the honest anti-sell: nobody needs four different sets. Measure your widest drawer and your narrowest drawer, buy for those two numbers, and let everything in between fall into one of the two bands. Most dressers only have two real sizes anyway. The same measure-first rule applies in the kitchen, incidentally, where the same size-band logic drives kitchen drawer organizers just as reliably.
Do one drawer first and live with it for a week before ordering the rest. You will almost certainly discover you wanted three zones where you planned two, or that a drawer you assumed needed dividing works better empty. A week of use tells you more than an hour of planning.
When a Free Cardboard Divider Is the Right Call
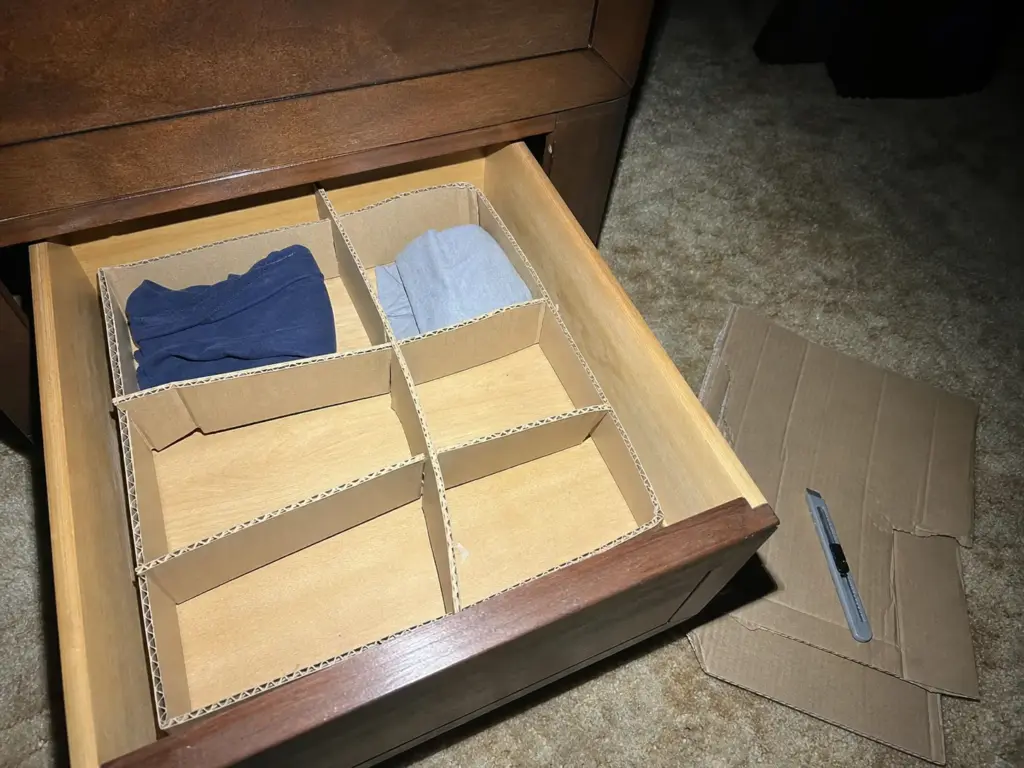
Time for the anti-sell. A shipping box and a utility knife produce a working divider grid in about twenty minutes, and the question was never whether it works. It’s how long it works, and every tutorial online is conspicuously quiet on that point.
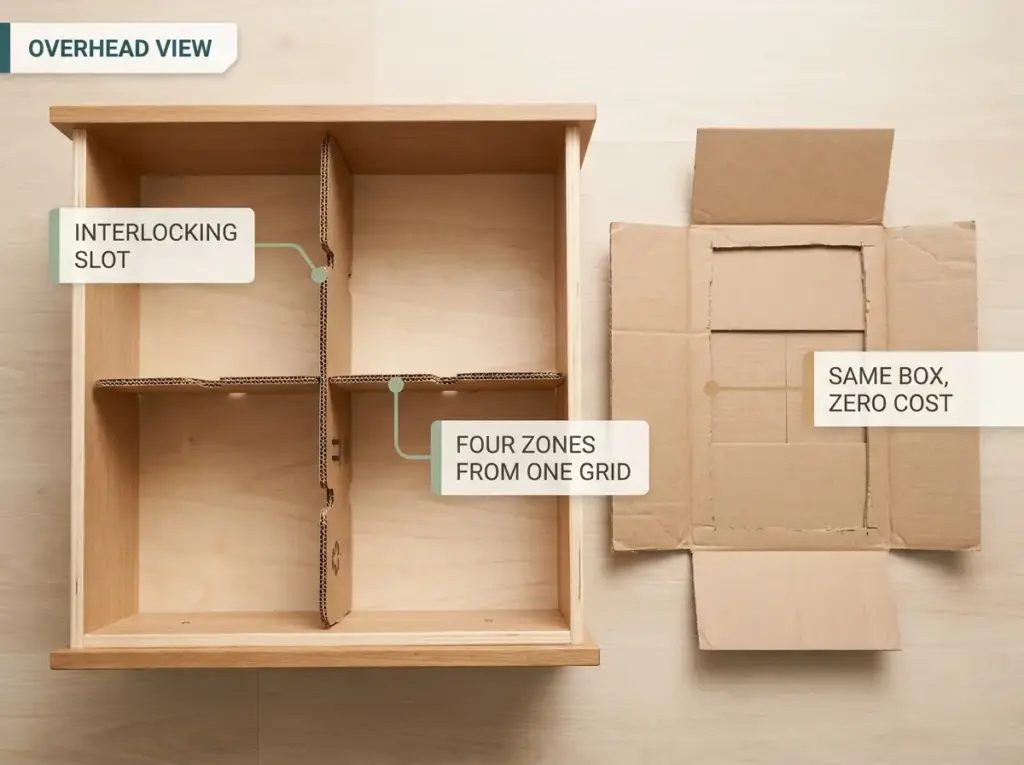
How to cut a slotted cardboard grid
Cut strips of corrugated cardboard to the interior height you measured back in the first section, and to the interior width and depth for the long and short pieces. Then cut slots halfway through each strip at the points where they’ll cross, and interlock them into a grid. The slots should be just wide enough for the cardboard’s thickness, which usually means two parallel cuts rather than one.
Cut the slots slightly tight rather than slightly loose. Tight ones you can widen with a second pass; loose ones leave you with a grid that wobbles and eventually collapses sideways when a drawer gets slammed.
The shoebox divider version is the same idea with less cutting: drop a lidless shoebox into the drawer and let its walls do the dividing. It only works if the box height roughly matches your drawer, and it wastes the space its own walls occupy. A drawer liner underneath either version adds grip and stops the cardboard sliding on bare plywood.
How long it actually lasts
Weeks — sometimes a couple of months, never longer. Cardboard flexes under the weight of folded clothes pressing sideways, and every drawer slam adds a small amount of permanent deformation at the slot joints. The right angles go first, then the grid starts leaning, and eventually one strip pops out of its slot and the whole thing gives up.
That timeline means cardboard does not pass the Three-Month Test, which is our standard for whether an organizing system is real or temporary. Worth being honest about, because the tutorials that show you the cut never come back three months later to show you the result.
Wood Shims: The Better Free Version
Wood shims are the upgrade nobody suggests. A bundle from the lumber aisle costs close to nothing, they cut cleanly with a utility knife, and they hold their shape indefinitely under the same loads that flatten cardboard. For a drawer with an odd interior width that no standard expandable range covers, this is a better answer than any product on this page.
So when is DIY genuinely the right call? Three situations. An odd-sized drawer no rated range fits. A kid’s dresser that’s getting reorganized in six months anyway. And a trial run, where you’re still working out how many zones you want before spending anything. Outside those, a bought tray with adjustable cells is the fair benchmark: something like the Dial Industries Junk Drawer Organizer Tray costs very little, holds its shape indefinitely, and adjusts its cells the way cardboard never will. It’s the same design logic applied to the junk-drawer version of this same problem, where loose small objects need cells rather than zones. The limitation is that it’s a fixed footprint, so it works in a drawer where you can give it a permanent corner.
Renters, Kids and Shared Dressers

Two audiences get almost no coverage in this category, and one of them is the majority of the people searching for it.
Why every divider here is renter-safe
Every product on this page sits inside a drawer under its own tension or its own weight. Nothing screws in, nothing adheres, nothing leaves a mark, nothing needs a landlord’s permission. That’s genuinely unusual in home organizing, where most solutions come with an asterisk about drilling.
The versions renters actually can’t use are built-in drawer inserts and drilled organizer systems, which is a different product category entirely. For dividers, the renter and the homeowner buy the exact same thing and install it the exact same way. If you’re working through the rest of a rental, the same logic drives no-drill organization that won’t cost your deposit across the closet too.
Kids’ Dressers: Shorter, Fewer, Simpler
Two adjustments for a kid’s dresser. Shorter dividers, closer to 2.6 inches high than 4, because kids’ clothes are smaller and a tall divider just makes it harder to see in. And fewer zones. Two or three, not six. A child maintains a system with three rules; the same child abandons a system with eight.
There’s a safety point that belongs here even though it isn’t strictly about dividers. Loading one drawer heavily while the others sit near-empty makes a dresser front-heavy, and dressers tip. The CPSC’s mandatory dresser stability standard covers clothing storage furniture specifically because of that failure mode, and anchoring a dresser to the wall takes about twenty minutes with a strap kit. If you’re organizing a kid’s dresser this weekend, do the strap while you’re already back there.
For a kid’s dresser or a multi-drawer project, high-count packs make more sense than premium singles, since some of these will get repurposed within a year anyway.
A shared dresser has a different problem: the zones have to survive someone else’s hands. Fixed cells win here for the same reason they win in the sock drawer. There’s nothing to nudge out of position, so the system holds regardless of who’s putting things away. That applies double to small accessories, which are the items most likely to end up in a pile.
What to re-check after three months
Open the drawer in three months and look at one thing: has any divider moved? A divider that has walked half an inch is telling you something specific, and it usually isn’t that the divider failed.
Check the end pads first. If they’re compressed flat or peeling, that’s a cheap fix with adhesive foam. If the pads are fine and it’s still drifting, the drawer is overloaded, or that divider is sitting too close to its maximum extension. Both of those are load problems, not product problems, and replacing the divider with an identical one will produce an identical result three months later.
The Bottom Line
Measure the drawer’s interior width, depth and height before you open a single product page. The outside of the dresser tells you nothing useful, and that gap is the single most common reason these things get returned.
Pick the material for your timeline, not for the photo. Bamboo for a dresser you’re keeping, plastic for a lease that ends before the locking tab does, cardboard or wood shims for a trial run or an odd-sized drawer.
Then buy for the size band you measured, and remember that two dividers at moderate extension beat one stretched to its limit every single time.
In three months, open the drawer and check whether anything has shifted. If a divider has walked, look at the load in that drawer before you look at replacements.
Measure one drawer. Just one. Get that divider right, then do the rest of the dresser with the number you already have.
Frequently Asked Questions
01What are the best drawer dividers for dressers?
The best drawer divider is the one whose expandable range matches your drawer’s measured interior width, with non-slip pads on the ends. Bamboo suits a dresser you plan to keep; plastic costs far less but its locking tab typically cracks within two to three years.
02Are drawer separators worth it?
They are worth it for drawers holding small or loose items that lose their place, like socks, underwear and folded tees. They are not worth it for a drawer holding two or three bulky items, which already hold their own shape without help.
03What is the most efficient way to organize dresser drawers?
Zone by frequency first, then divide. Daily items go in the top drawer with the tightest divisions, bulk and seasonal items go lower with fewer, wider zones. Our full guide to organizing dresser drawers walks through the whole workflow.
04How do you make dividers for dresser drawers?
Cut strips of corrugated cardboard to your measured interior height, slot them halfway through at the crossing points, and interlock them into a grid. It works immediately but holds for weeks, not months. Wood shims cut to width are the sturdier free version.
05How do I stop a drawer divider from sliding around?
Check that it has non-slip foam or rubber end pads, since that is the feature holding tension against the drawer wall. If the pads are intact and it still walks, the divider is stretched too near its maximum width. Two shorter dividers end to end hold better.