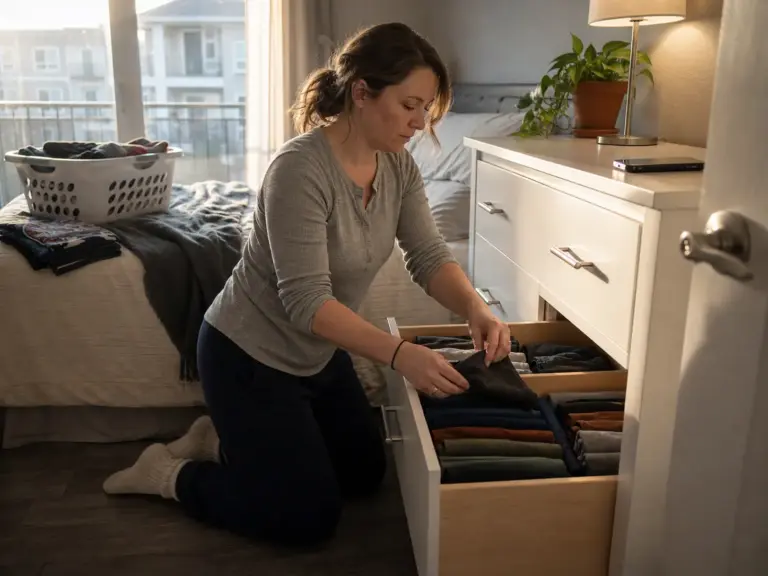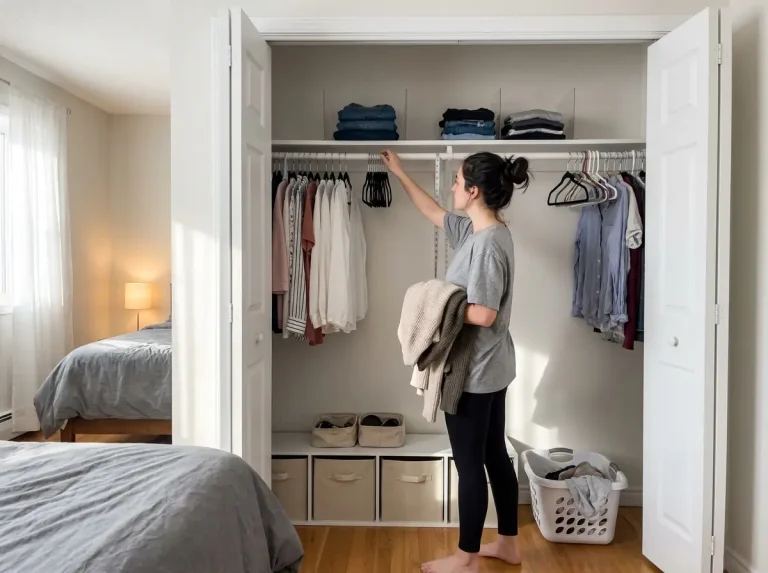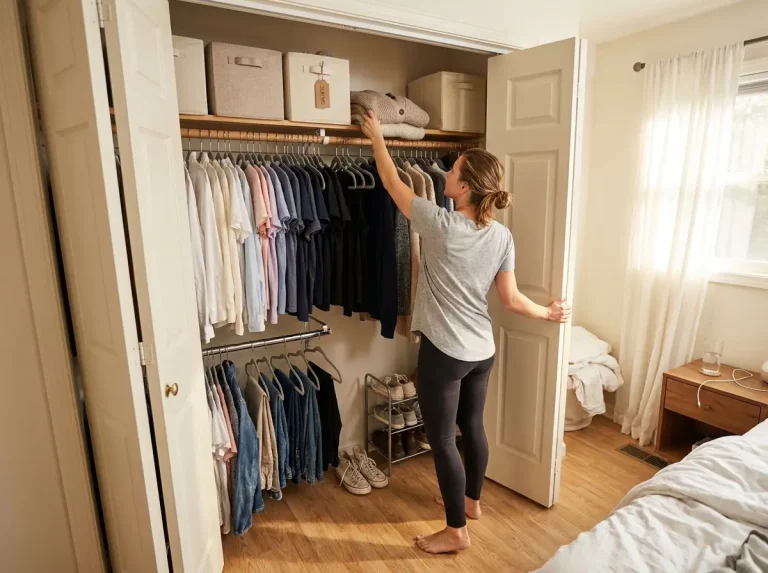
You’ve folded the sweaters. You’ve stacked the jeans. And by Wednesday, half of it’s on the floor again. Closet shelves fail not because you’re bad at folding — they fail because most people skip two steps that happen before anything goes back on the shelf.
After organizing close to three dozen closets, I’ve seen the same pattern every time: the wrong items are on the shelves, the shelves themselves aren’t set up for stacking, and there’s no system in place to stop the slow collapse. This guide fixes all three.
Quick Answer: Here’s how to organize closet shelves so piles stop falling:
- Sort what belongs on shelves (soft, fold-stable items) versus the rod (anything that holds its shape)
- Measure shelf spacing before buying anything — 14 to 16 inches of vertical clearance is the standard for sweater stacks
- Use a flat rectangular fold on open shelves, not file folding — file folding only works inside a bin with walls
- Cap each stack at 4 to 5 items and use acrylic shelf dividers to hold columns in place
- Zone by frequency — daily wear at eye level, seasonal and overflow storage on top
- Run a 10-minute monthly reset before the system fully unravels
What Goes on Closet Shelves (and What’s Sabotaging Yours)
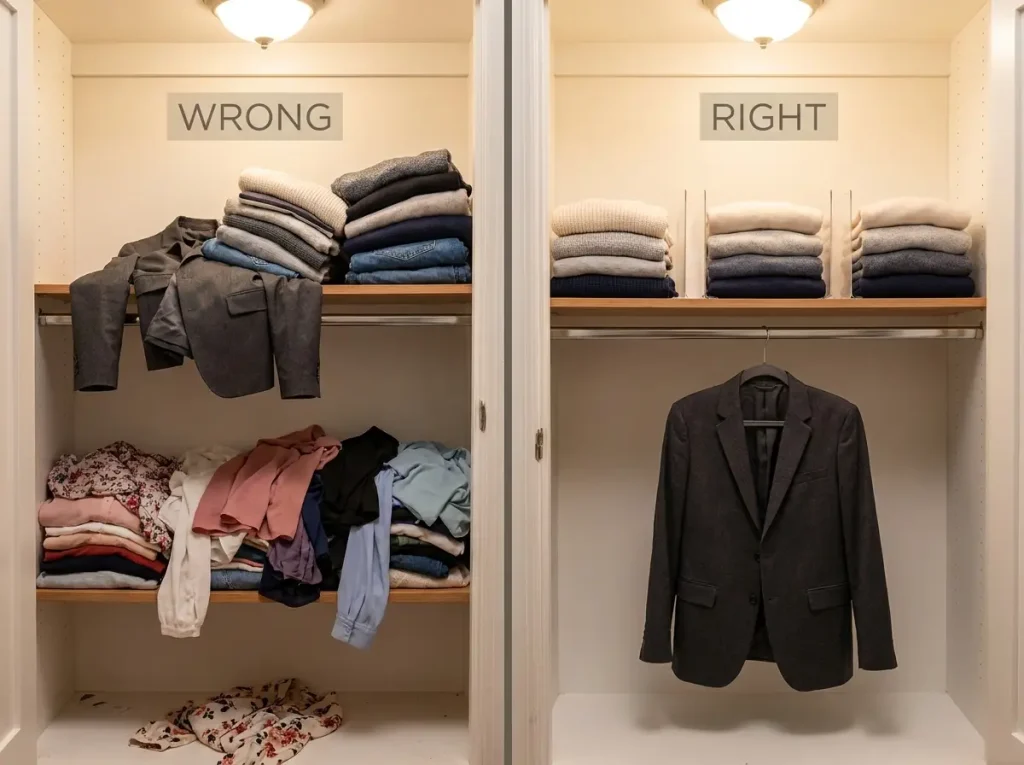
The fastest way to fix a closet shelf system is to take half the stuff off it. Not because you have too much — because some of those items have no business being on a shelf in the first place.
The items that belong on shelves
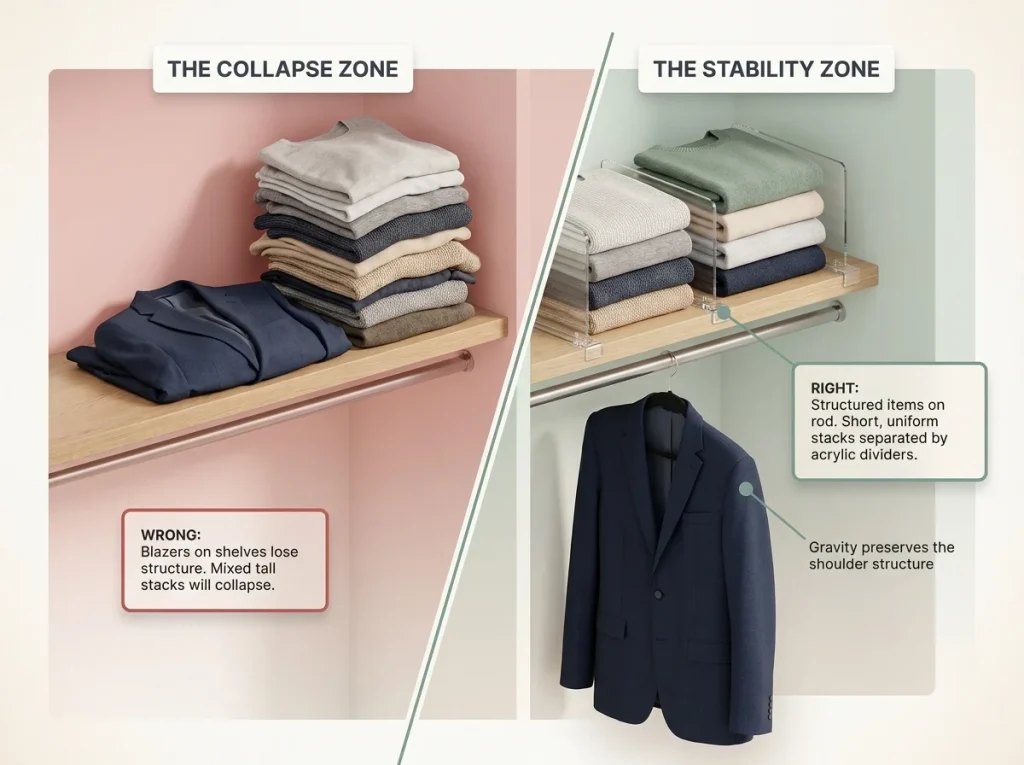
Shelves are for soft, fold-stable items: sweaters, jeans, t-shirts, workout clothes, pajamas, casual shorts. The rod is for anything that holds its shape — blazers, dress shirts, structured jackets, trousers with a crease. Put a blazer on a shelf and the shoulders collapse in a week.
The collar flattens. The fabric creases at the fold line. That’s not a storage problem; it’s physics. Structured shoulders need vertical support, and a horizontal shelf cannot provide it.
Why piles collapse
Stacks fall for two reasons: wrong item types mixed together and too many items per stack. A folded cotton tee is stable. A folded chunky wool sweater is basically a compressed spring — it wants to uncurl, and it will take everything above it with it when it does.
Mixing heavy knits with lightweight tees in the same stack makes every item less stable. Keep heavy knitwear in its own dedicated stack.
How many stacks per shelf
Most standard reach-in closets have a shelf 36 to 48 inches wide. That’s room for three to four stacks with a couple of inches between each one. If you’re trying to fit more than four stacks side by side, they’ll lean on each other — and leaning stacks always lose.
If you genuinely don’t have enough shelf width for everything you fold, the answer is a second shelf or a set of labeled bins, not tighter packing.
Pro tip: Pull everything off your shelves right now and set aside anything structured — blazers, dress shirts, tailored jackets. Hang those on the rod. Most people reclaim a full stack of space from this step alone before buying a single organizer.
Measure Your Shelf Spacing Before You Buy Anything
Nine out of ten times when someone tells me their storage system doesn’t work, the bins and dividers they bought are the wrong size. Not because they bought bad products — because they measured the product but not the shelf.
The three measurements that matter
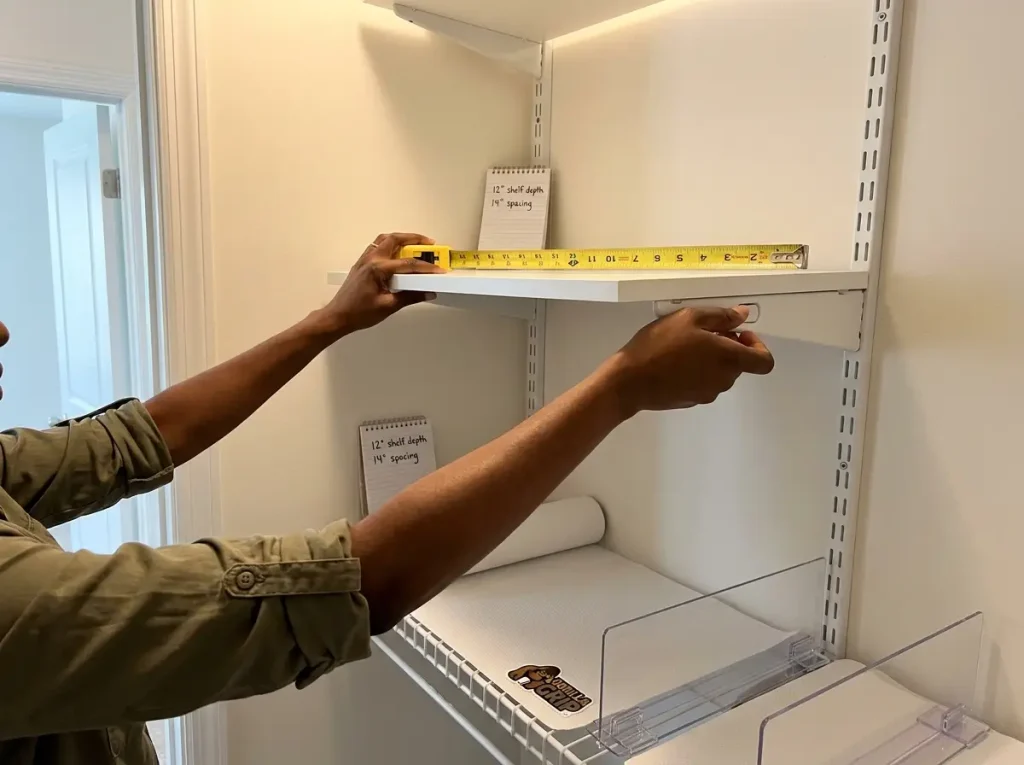
Before buying any organizer, measure three things: shelf depth (front to back), shelf width (side to side), and vertical clearance — the distance from your shelf surface to the underside of the shelf above it. Standard reach-in closets have shelves 12 to 14 inches deep.
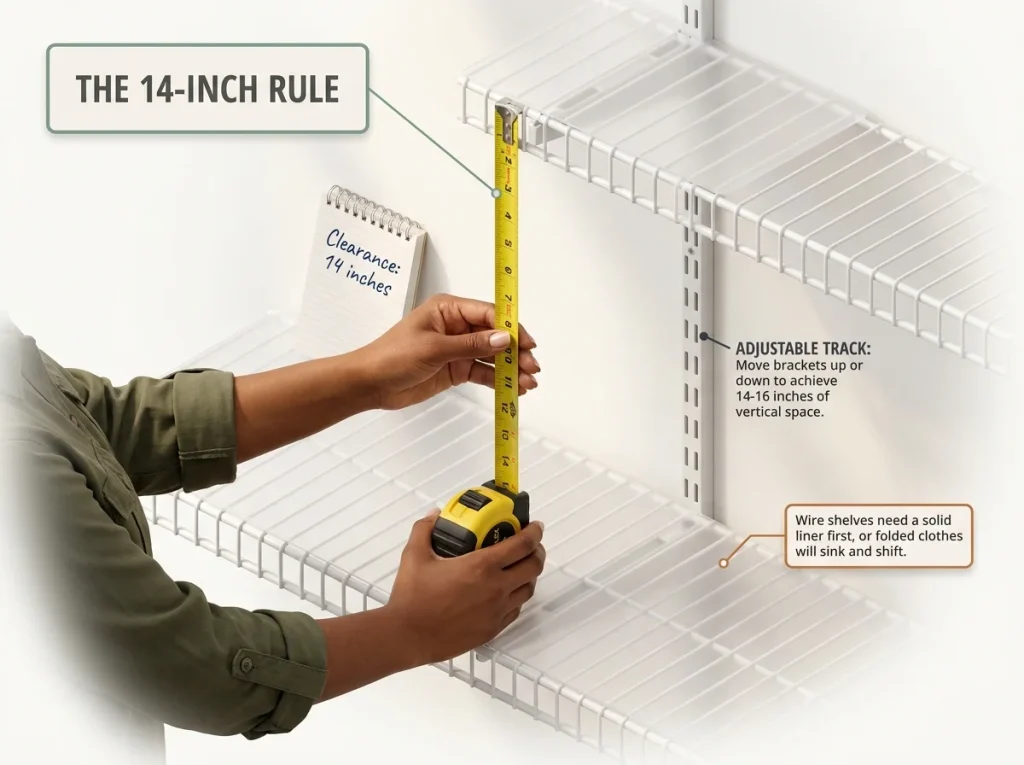
Vertical clearance should be 14 to 16 inches for a four-sweater stack. If yours is 10 inches, that’s why your folded clothes always scrape the shelf above them when you try to put something back. Write the measurements down before doing anything else.
Adjusting your brackets
Most closets built in the last 30 years use an adjustable track system — vertical metal strips screwed to the side walls with notches or holes spaced roughly an inch apart. You can move shelves up or down by lifting the shelf slightly, pressing the release tab on the bracket, and sliding it to a new notch.
Write your measurements on a sticky note and put it inside the closet. You’ll thank yourself when you need to make a second adjustment after buying bins and discovering they’re 1.5 inches too tall. This works whether you own or rent — you’re adjusting a bracket that’s already there, not drilling anything new.
Wire shelves and the flat surface problem
Wire shelving is in most rental closets and it creates a specific problem: the gaps in the wire let folded items sink, shift, and catch on the grid. Stacked sweaters on a wire shelf drift out of alignment every time you pull one from the bottom, because nothing holds the base in place.
The fix before anything else is a Gorilla Grip Wire Shelf Liner — a cut-to-fit roll that lays across the wire grid and creates a flat, stable surface. No adhesive, nothing permanent, and it comes off clean when you move. The liner alone won’t solve a stacking problem, but without it, nothing else you do on that shelf will hold position.
Pro tip: If you’re in a rental and your closet has the standard ClosetMaid wire system, the shelves are almost certainly adjustable even if they look fixed. Check the side walls for vertical strips with holes or notches spaced about an inch apart — that’s an adjustable track system. Most renters don’t know to look.
How to Fold So the Piles Stop Toppling
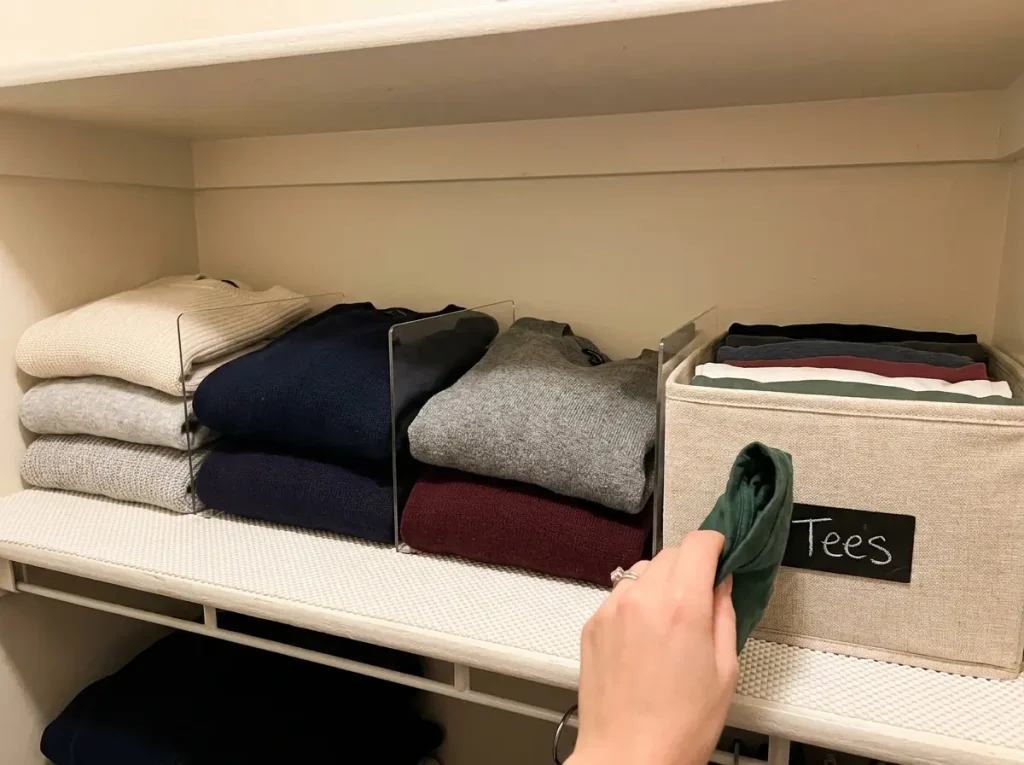
This is where most closet advice goes wrong. KonMari file folding — standing clothes upright like files in a drawer — works perfectly in a drawer. On an open shelf, it’s a problem waiting to happen.
Without walls on all four sides, file-folded clothes will start leaning within days and fall within a week. For open closet shelves, use a flat rectangular fold, not a file fold. If you want to file fold, the right place for it is inside a bin with walls — which is covered in the next section.
The 4–5 rule
Cap every folded stack at four to five items. That’s not an aesthetic preference — it’s structural. Beyond five items, the torque at the base of the stack builds faster than the friction between layers can counteract.
The stack starts as a lean and ends on your floor. If you have eight sweaters, that’s two stacks of four, not one stack of eight. Two shorter stacks are more stable than one tall one even if they take up slightly more shelf width. This single change fixes most closet shelf pile problems before any organizer is involved.
The right fold for open shelves
Fold each item into a flat rectangle roughly the same width and depth as your other folded items. For sweaters: lay flat, fold in the sleeves, fold the bottom third up, fold the top third down. For jeans: fold in half lengthwise, then into thirds.
What you’re building is a uniform stack where every item sits at the same width and depth. Irregular shapes are where lean begins — one thick-shouldered sweater folded wider than the others will torque the stack sideways within a day.
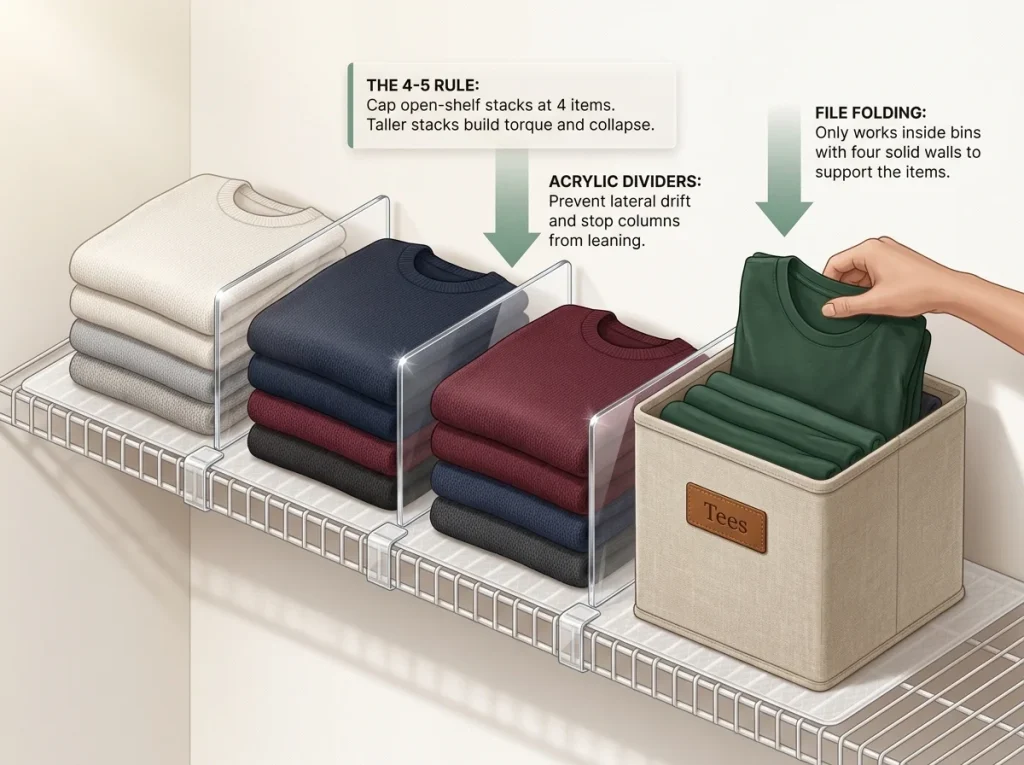
Shelf dividers
Once you have your stacks, dividers hold the columns separated and stop them from leaning into each other. The HBlife Acrylic Shelf Dividers clip to the shelf edge front and back — no hardware, no installation, no residue when you remove them. Each divider holds up to 15 pounds, which is more than enough for a four-sweater stack.
Clip one between each column and you’ve removed the main structural cause of closet shelf collapse. One limitation: on wire shelves without a liner, the clip mechanism can flex under load because the wire gives slightly. Install the shelf liner first, then add the dividers on top.
Zone Your Shelves So Getting Dressed Takes Ten Seconds

The goal of a closet shelf system isn’t to store everything — it’s to make your daily items impossible to miss and one-handed to grab. That requires assigning each shelf a specific job instead of filling by category. According to the National Association of Productivity & Organizing Professionals, frequency-based zoning is the framework professional organizers rely on most because it matches how people actually live with a space, not how they think they should.
Eye-level zone
This shelf gets everything you reach for in the morning: the sweaters you rotate, the jeans you wear most, the workout clothes you grab four times a week. Keep your dividers here and avoid anything that requires lid removal to access.
The mDesign Stackable Plastic Storage Bins work well at eye level for workout clothes or accessories — the clear sides let you see contents without pulling the bin out, and the footprint fits standard 12 to 14-inch shelf depths. The one thing to keep off this shelf: lidded bins. Anything requiring two hands to access will stay buried and the zone will revert within a month.
Top-shelf zone
The top shelf is for items you access occasionally: off-season pieces, extra blankets, the wool coat you wear eight times a year. The Fabric Storage Bins with Labels work here — they’re collapsible when empty, and the labeled tabs are readable from below without pulling the bin down.
This is also the right place for KonMari file folding. File-folded t-shirts inside a fabric bin with four solid walls stay upright indefinitely — the same t-shirts file-folded on an open shelf fall over in a week. Measure your top-shelf clearance before ordering; many closets have less than 12 inches above the top shelf, which fits a half-full bin but not a fully loaded one.
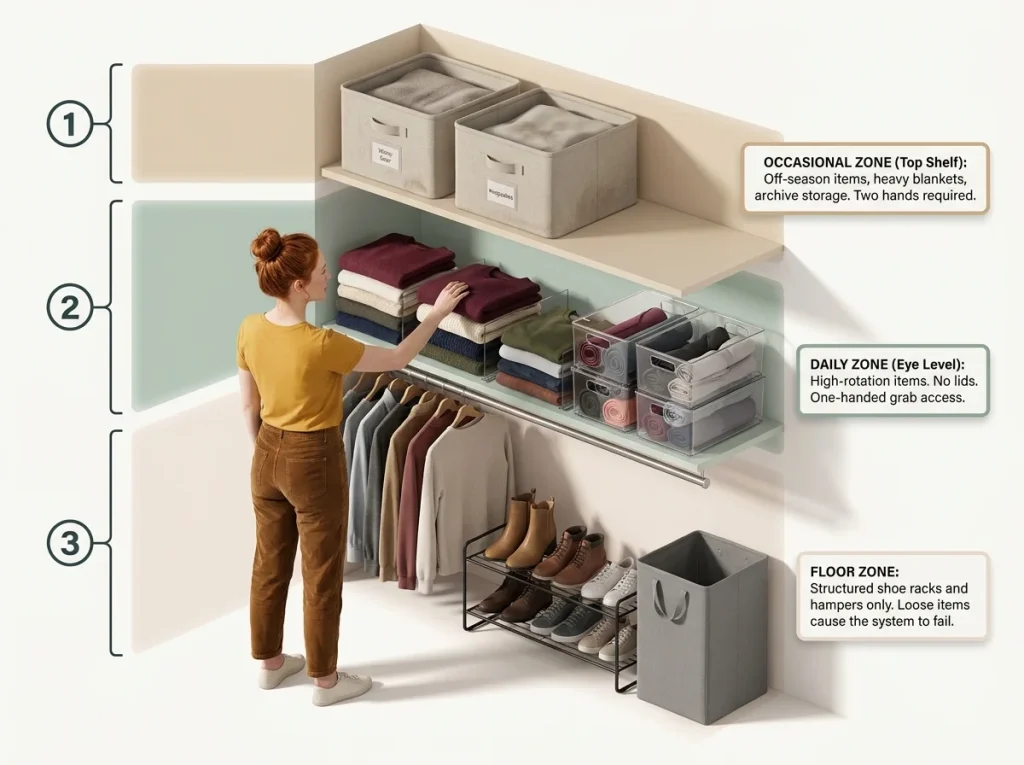
Floor zone
Shoes and floor storage belong below your bottom shelf, not on it. If shoes are sitting on a shelf, you’ve traded stack stability for shoe storage and neither one works well. Shoes go on a wire rack on the floor or in a hanging over-door organizer.
The reach-in closet organization guide covers the geometry for fitting both a shoe rack and floor storage in a standard 24-inch reach-in without sacrificing shelf space. The floor rule: nothing sits loose on the closet floor. Loose items migrate toward the door, the door gets harder to open, and that’s the first sign a closet system is coming apart.
Pro tip: If you’re working with a limited budget, buy the shelf dividers first. Everything else — bins, liner, labeled containers — is an improvement on the base system. The dividers are the thing that actually prevents the stacks from falling. Start there and add the rest when you can.
The Monthly Reset That Keeps Shelves From Reverting
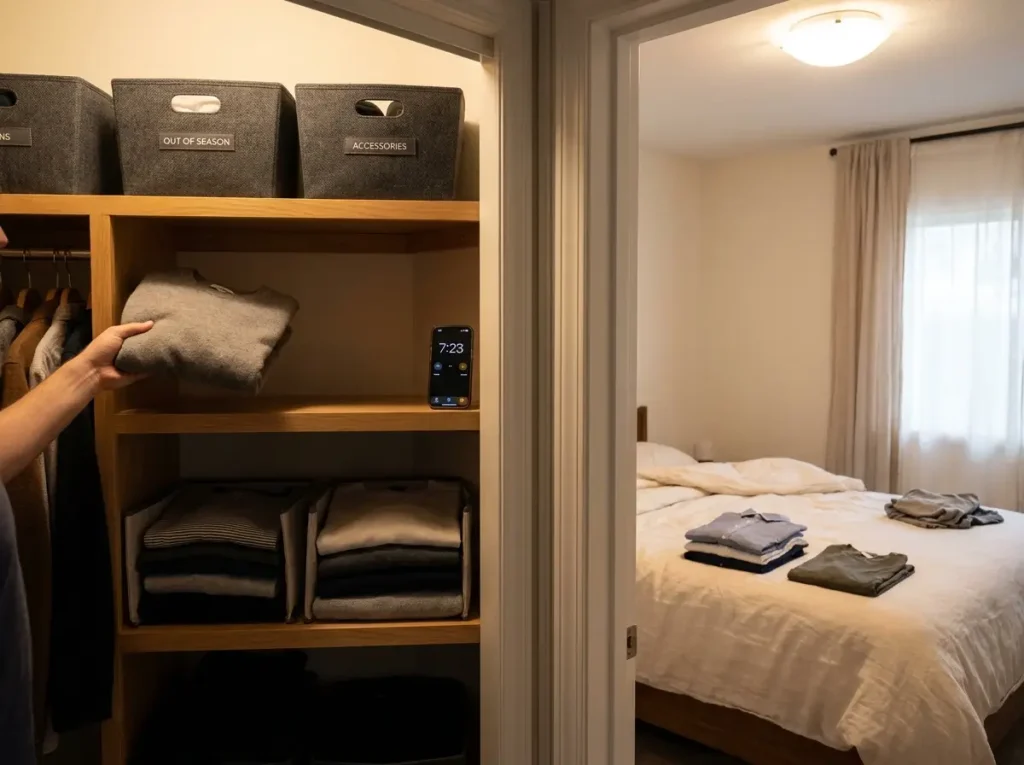
Every closet shelf system drifts over three months of daily use. Items go back imperfectly. Stacks lean. The eye-level zone slowly fills with things that belong on the top shelf.
This isn’t a failure of the system — it’s how normal people live with a space. The monthly reset is not a re-organization. It’s a ten-minute maintenance run that keeps everything from reaching the point where a full overhaul is needed.
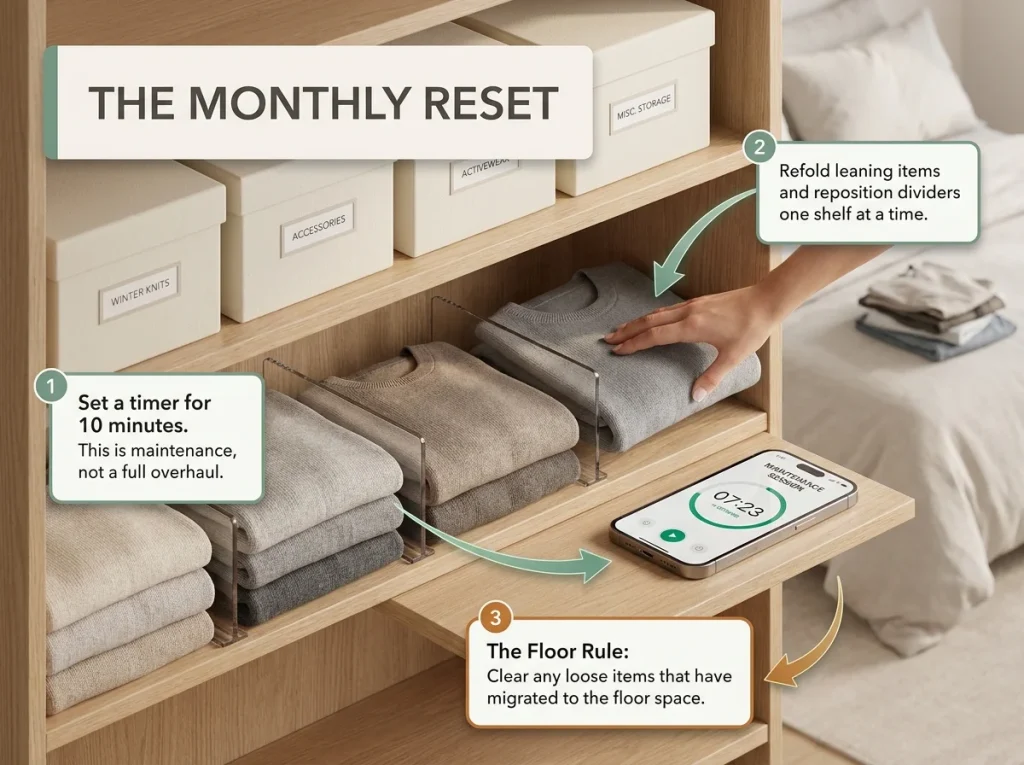
The 10-minute monthly reset
Set a timer for ten minutes. Pull everything off one shelf at a time, re-fold anything that’s lost its shape, and put it back with the dividers properly repositioned. You’re not editing what you own — you’re resetting what’s already there.
The full closet should take under ten minutes once the original system is in place. If it’s taking longer, something in the original setup is off: either the zones don’t match how you actually use the space, or there’s more volume than the shelf can hold cleanly. The full closet organization system covers the wardrobe edit that often needs to happen before a shelf system can work properly.
The floor rule
During every reset, enforce one rule: anything on the closet floor that isn’t on a rack or inside a bin gets put somewhere specific right now. Not “deal with later” — somewhere now. If you’re regularly stepping over items to access the closet, the floor rule is the reset’s most important piece.
When to do the full edit
Twice a year — spring and fall — replace the reset with a full edit. Pull every item off every shelf, assess what you actually wore in the past six months, and remove anything that hasn’t moved since the last review. The budget closet makeover guide has a three-pile method that makes this go faster than most people expect, and it costs nothing.
Conclusion
Three months from now, check two things: whether the eye-level zone still matches what you actually reach for daily, and whether the top-shelf bins still hold what they’re labeled for. Zones shift with seasons — what you wear in August is different from what you wear in November, and your shelves should reflect that.
The changes that make the biggest difference: pull anything off your shelves that should be hanging on the rod, cap stacks at four to five items, and add dividers between columns. That’s the system. Start with one shelf, get it right, and run the same setup across the rest of the closet.
Q1 How do you keep folded clothes from falling off closet shelves?
Cap each stack at four to five items and use acrylic shelf dividers between columns to stop lateral drift. Stacks fall because they get too tall and start leaning — dividers remove the lean, and keeping stacks short removes the top-heavy load that causes it.
Q2 What goes on closet shelves versus the hanging rod?
Soft, fold-stable items go on shelves: sweaters, jeans, t-shirts, workout clothes, pajamas. Structured items — blazers, dress shirts, tailored jackets, pleated trousers — go on the rod. Putting a blazer on a shelf collapses the shoulders and creases the fabric within a week.
Q3 How many items should be in each closet shelf stack?
Four to five items per stack is the stability limit. Beyond five, the torque at the stack’s base exceeds the friction between layers and the pile starts to lean. Two stacks of four are more stable than one stack of eight, even if they take up slightly more shelf width.
Q4 Does KonMari file folding work on closet shelves?
File folding works in enclosed drawers, not on open shelves. Without walls on four sides, file-folded items begin leaning and fall within days. For open closet shelves, use a flat rectangular fold. Reserve file folding for items stored inside fabric bins with solid walls.
Q5 How often should you redo your closet shelf organization?
A 10-minute monthly reset keeps the system from drifting. Twice a year — spring and fall — swap the reset for a full edit: pull everything off the shelves, assess what you wore in the last six months, and remove anything that hasn’t moved since the last review.
Disclaimer: ClutterlessNest is a participant in the Amazon Services LLC Associates Program. As an Amazon Associate we earn from qualifying purchases. This article may contain affiliate links — if you buy through them, we may earn a small commission at no extra cost to you. We only recommend products we have tested or genuinely believe in.