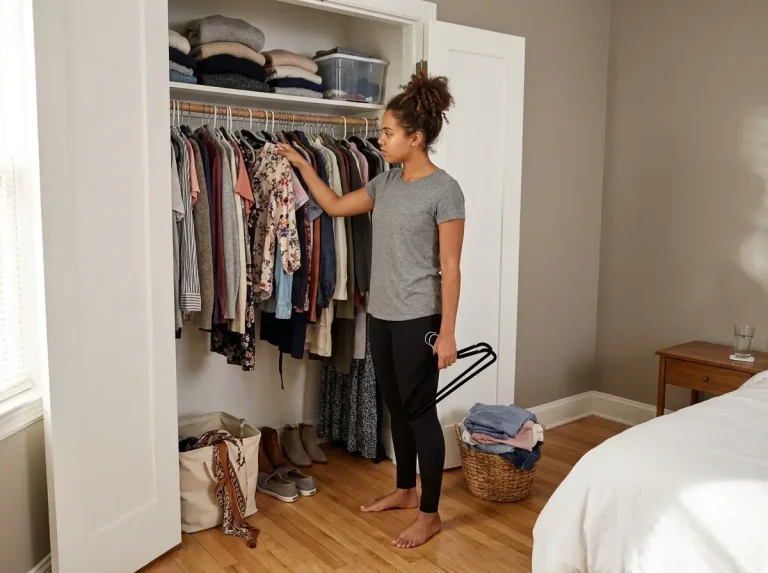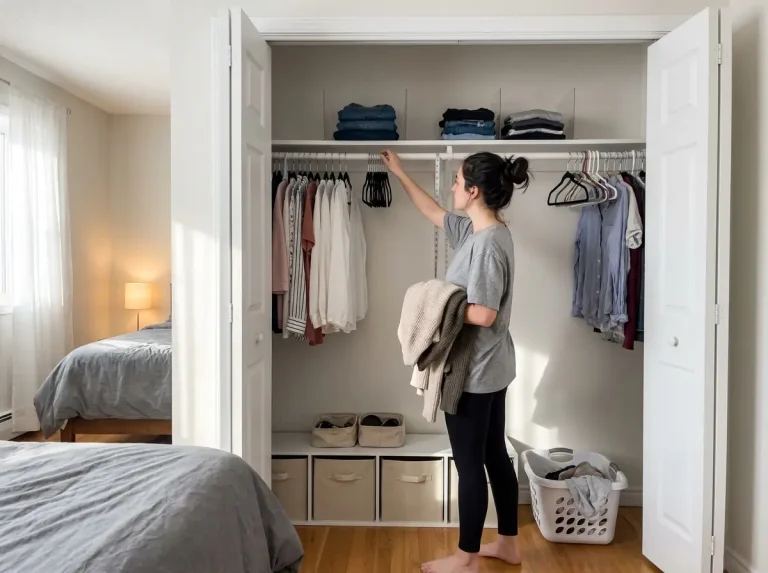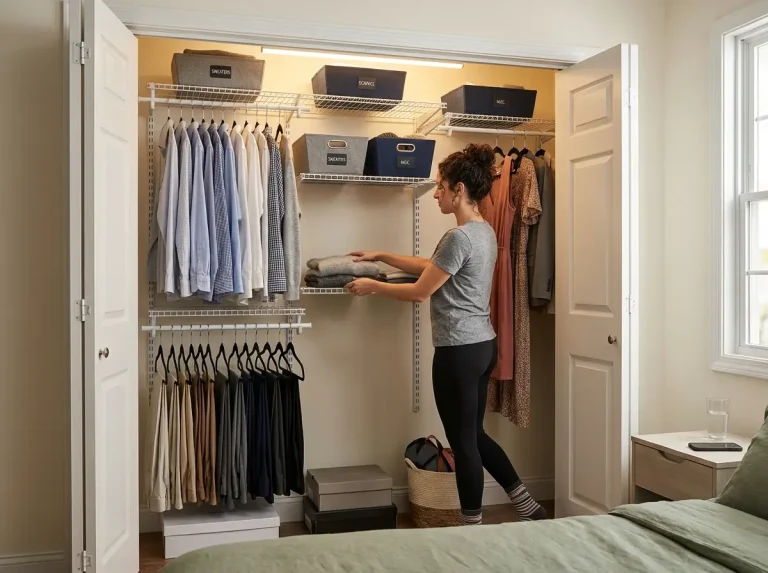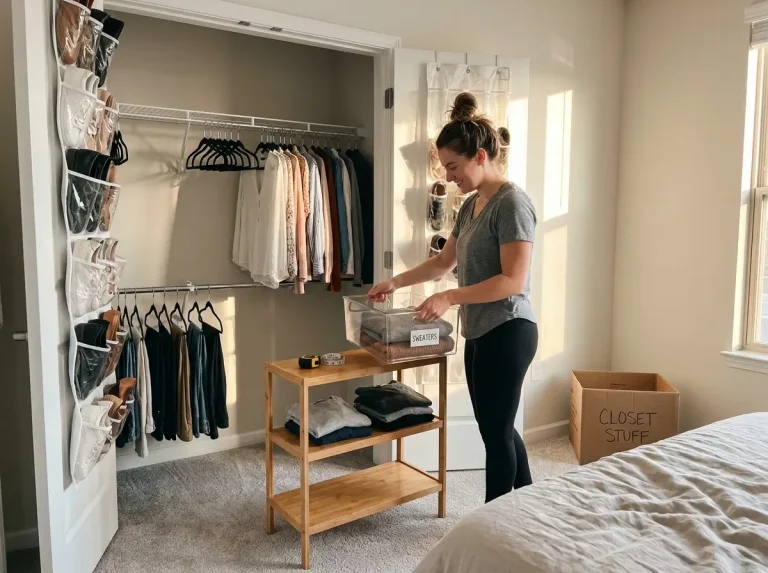
You spent a Saturday on your closet. Pulled everything out, sorted through it, bought some bins, rearranged things until they made sense. It looked great. Two weeks later, the wire hangers are back, the bins hold things that don’t belong in them, and the floor is a pile again. That’s not bad luck. That’s a sequencing problem — and it’s almost universal in budget closet makeovers. This guide covers why budget closets revert, what to fix before you spend a dollar, and exactly which products give you the most organization improvement per dollar, ranked by impact rather than listed alphabetically.
Quick Answer: To organize a closet on a budget that actually lasts:
- Edit your wardrobe before buying anything — determine what stays
- Switch to slim velvet hangers to reclaim rod space immediately
- Reorganize by frequency zones using what you already own
- Buy shelf dividers first, then labeled bins for the top shelf
- Add a no-drill double rod if you need more hanging space
- Run a 5-minute backward hanger check every month to catch drift early
The Real Reason Budget Closet Fixes Don’t Stick
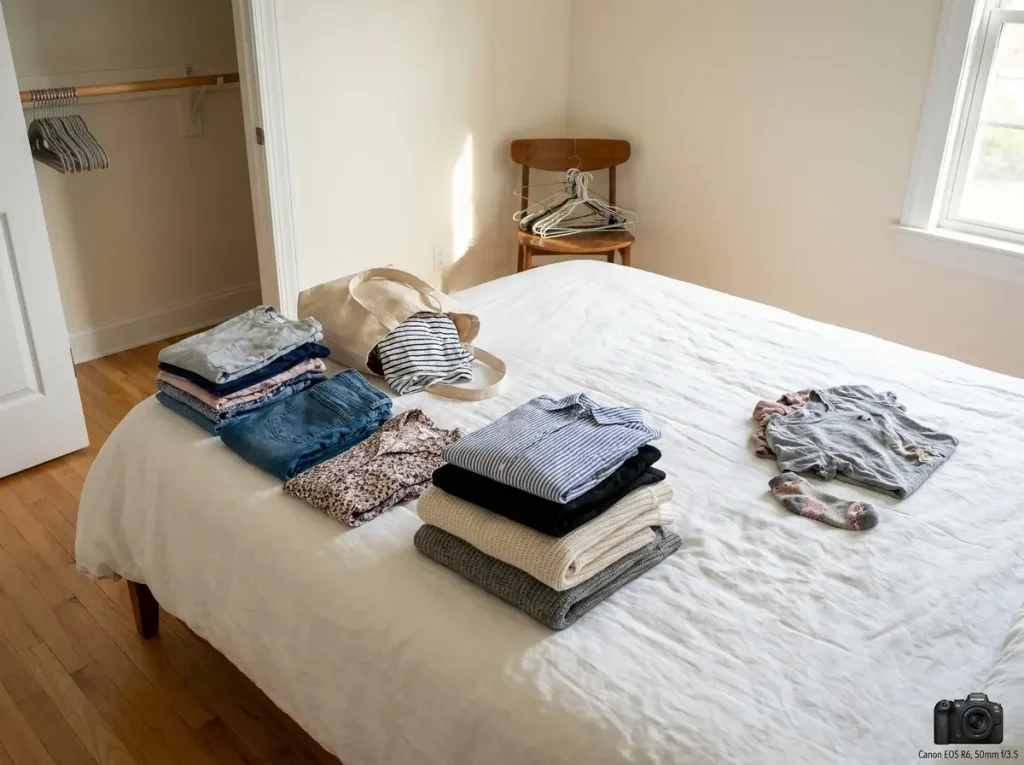
Most people approach a budget closet the way they approach cleaning: move everything around until it looks better, add some organizational products, hope the results hold. They don’t — and the reason is specific.
Why You’re Organizing the Wrong Problem
If your closet feels perpetually chaotic, there’s a decent chance you have two separate problems: too much stuff AND not enough organization. Budget closet fixes almost always address only the second problem. The bins arrive. The hangers get rearranged. The stuff stays.
What happens next is predictable: the bins fill up with whatever doesn’t have a home, the rearranged sections drift back toward their original chaos, and three weeks later the closet looks identical to how it started — except now there are bins you’re also not using correctly.
The only way to break this cycle is to address the stuff problem before the organization problem. Not because minimalism is the goal, but because you cannot correctly size your storage solutions until you know what you’re actually storing. People who buy bins before editing almost always buy the wrong amount for the wrong categories.
The Backward Hanger Test (Free, 30 Seconds)
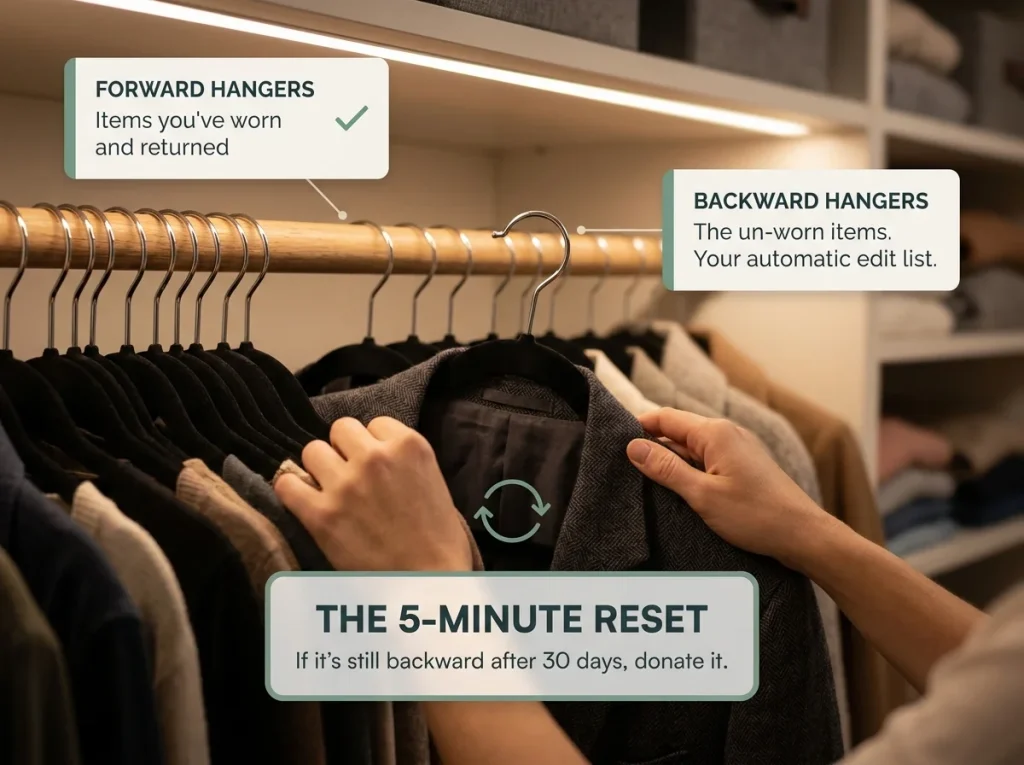
The fastest version of the edit: turn all your hangers backward right now. The hook faces you instead of the rod. When you wear something and hang it back, hang it the normal way. After 30 days, anything still backward is something you didn’t reach for once. That’s your edit list — without debate, without the “but I might wear it someday” negotiation.
This works because it removes the decision point from the future and puts it in the past. You’re not deciding what to keep. Your actual behavior already decided.
Pro tip: Do the backward hanger test before buying any organization product. The result tells you whether you have a volume problem (too many clothes) or a system problem (right amount of clothes, wrong layout). The fix for each is completely different — and buying bins for a volume problem doesn’t help.
The Three-Pile Edit Before You Buy Anything
If you want faster results than 30 days, the three-pile method gets it done in one session. Pull everything out of the closet. Sort into three groups: keep, donate, toss (worn out, stained, beyond repair). The rule is that you cannot buy anything or reorganize anything until the donate and toss piles leave the room.
This is basic advice — and one that professional organizing bodies including the National Association of Productivity and Organizing Professionals (NAPO) treat as the foundation: address volume before adding storage, not after. It’s also the step most budget closet guides skip or mention as an afterthought after showing you which bins to buy. For a detailed framework on how to do a 30-minute wardrobe edit without getting paralyzed by “maybe someday” decisions, that article walks through the decision process specifically.
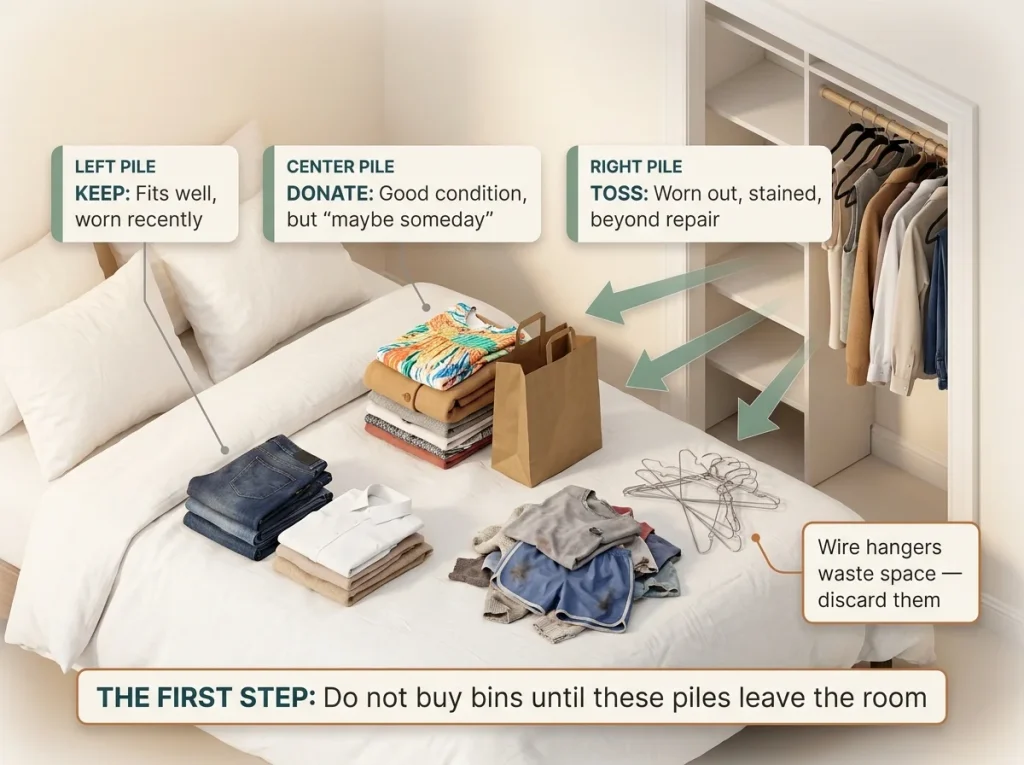
The Hanger Switch: Highest ROI per Dollar in Any Closet
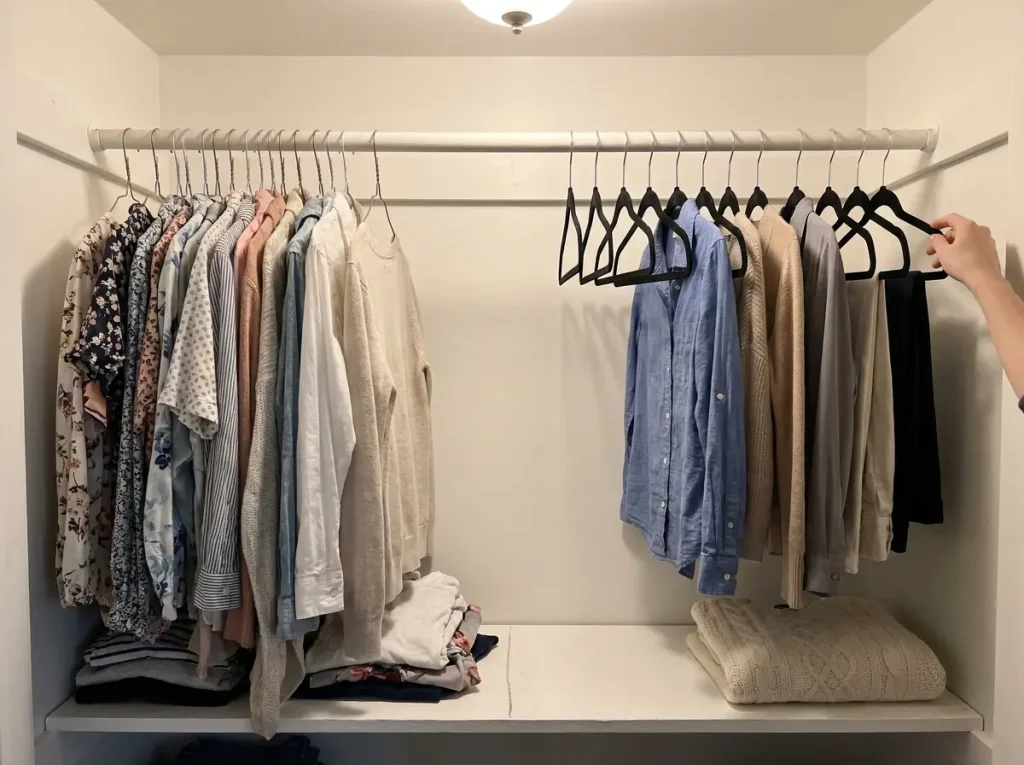
If you spend money on one thing for your closet, make it hangers. Not because they’re exciting, but because the math is better than anything else on this list.
The Math Your Current Hangers Are Hiding
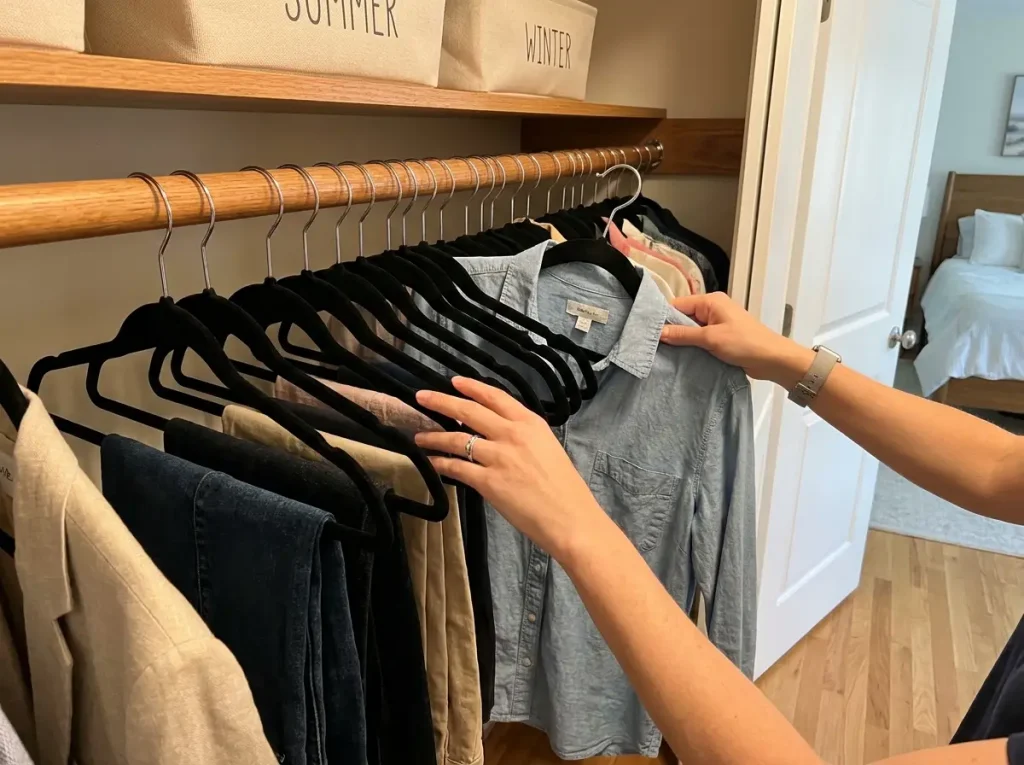
A standard wire hanger is about half an inch thick at the hook. A slim velvet hanger is about one-fifth of an inch thick. Switch 50 wire hangers to velvet and you recover approximately 15 inches of rod space — enough to hang 12 to 15 additional garments on the same rod without touching anything else in the closet.
In a standard 60-inch reach-in closet, that’s a quarter of the rod back. For a detailed look at how much rod space your closet actually has and how to use all of it, that breakdown includes the full zone measurement approach.
What Width Actually Matters (and Why 17.5″ Beats Cheaper Options)
Hanger width is the spec most people skip. Velvet hangers come in different widths, and if your closet shelf overhangs close to the rod, a wider hanger creates dead space because the garment catches on the shelf edge when you pull it out. The Zober Premium Velvet Hangers are 17.5 inches wide — the standard adult-clothing width that clears most rental-closet shelf overhangs without catching. They’re 0.2 inches thick with a 360-degree swivel hook, which matters when you’re pulling from a packed rod and the hanger needs to turn without snagging adjacent garments.
One limitation: the velvet coating wears at the shoulder points on heavy coats after a year or two of daily use. For winter coats and structured jackets, a wooden hanger holds shape better. Use velvet for everything else.
What a Hanger Switch Won’t Fix
Clear expectations: a hanger switch recovers rod space. It doesn’t fix a closet with twice the clothes its rod can hold, and it doesn’t address the shelf situation at all. If your rod is at absolute capacity — hangers pressing together, nothing moving freely — the hanger switch buys you room, but the edit step is still the actual fix. Reclaimed rod space fills back up if the volume problem isn’t addressed first.
Pro tip: Switch hangers in one pass, not gradually. Switching 10 hangers at a time means months in a mixed-hanger closet that looks disorganized and doesn’t show the space gain until the whole rod is done. One session, all at once, done.
Free Fixes: Reclaim Space Before You Spend Anything
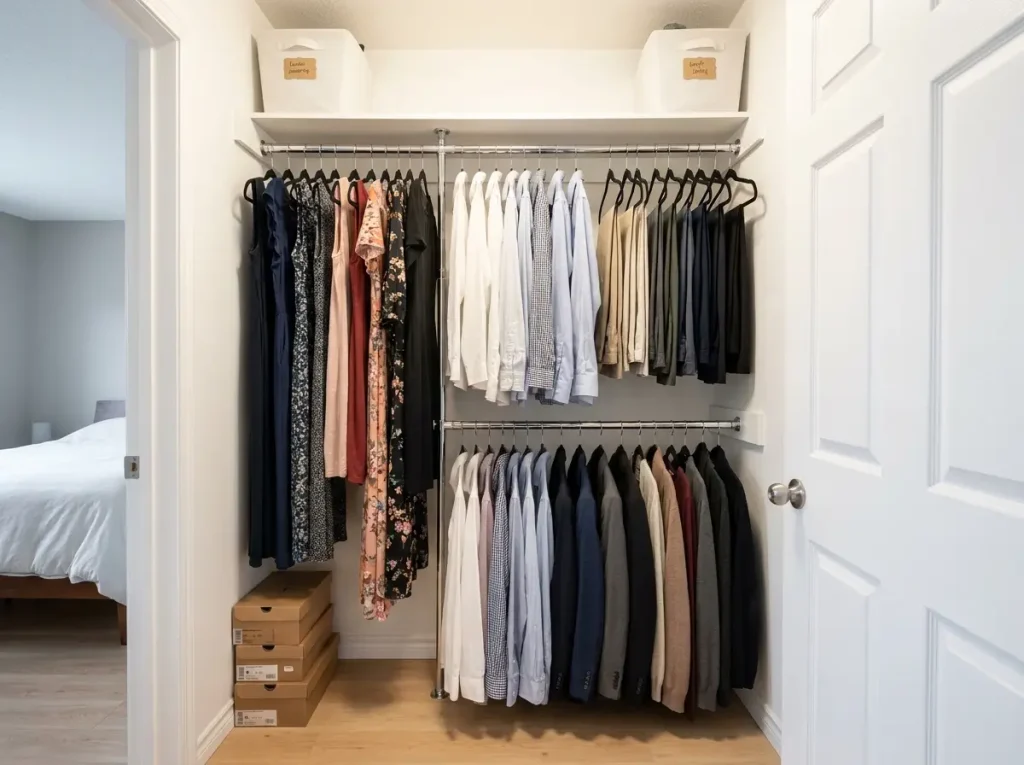
After the edit and the hanger switch, there’s a third layer of improvement that costs nothing: reorganizing how the existing space is used.
Zone by Frequency, Not by Color
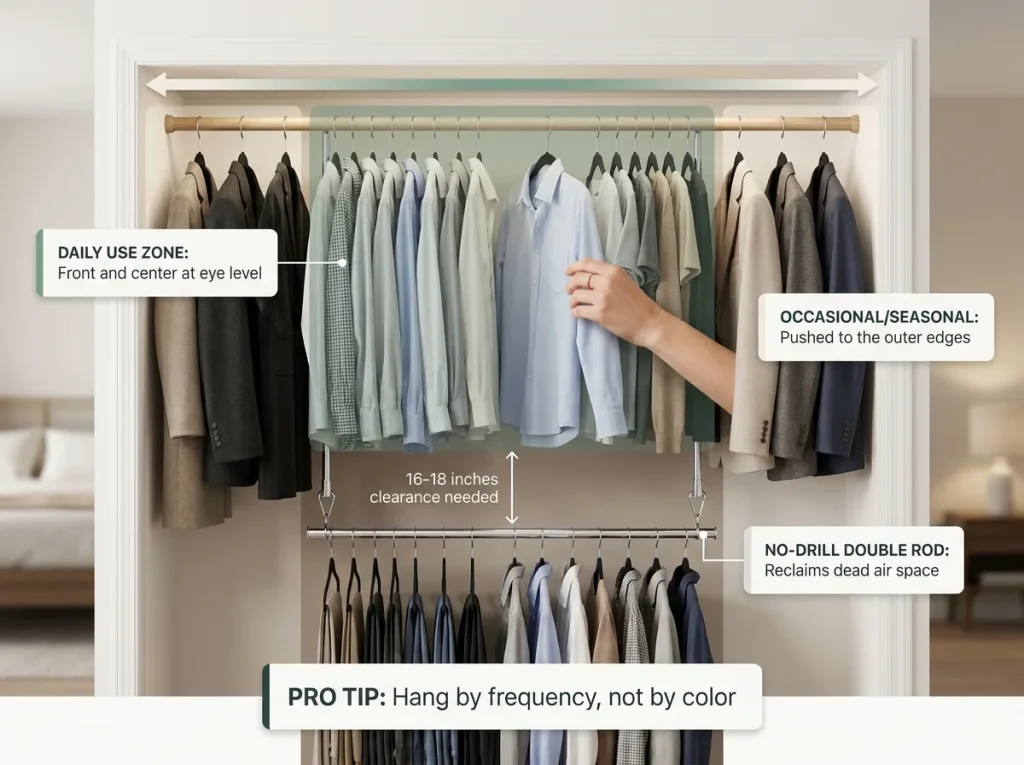
Color-coordinated closets look good in photos and fail in real life because color tells you nothing about how often you wear something. Zone by frequency instead: the clothes you wear every week go in the center of the rod at eye level, your most reachable zone. Clothes you wear monthly go to the sides. Seasonal items go to the far ends or up high.
This single change eliminates most daily rummaging. When everything you actually wear is grouped in one center section, you stop moving garments around every morning looking for the shirt you want. The center zone stays organized because you’re using it constantly. The outer zones stay put because you’re barely touching them.
The Double Hang That Costs Almost Nothing
Most closets have dead air space below shorter hanging items — folded shirts, blazers, anything that ends above hip height. A second rod below the main rod turns that space into a full additional section.
The free version: a tension rod hung below the main rod with S-hooks, works for light items only. For something that holds a full wardrobe section without wobbling, the STORAGE MANIAC Adjustable Closet Double Rod hooks over your existing rod via adjustable brackets, requires no drilling, and holds 110 pounds across the pair — enough for a full rack of shirts and jackets without stressing the original rod. The tension rod option costs almost nothing; the hanging rod version is sturdier and doesn’t need rebalancing when weight shifts.
One note: the hanging double rod only works in sections where your items are short. Measure where your folded shirts end before ordering — you need at least 16 to 18 inches of clearance below the main rod.
Three Things You Already Have That Work as Organizers
Shoeboxes cut to drawer height create dividers for accessories at zero cost. A banker’s box lid turned upside down makes a reasonable shelf riser for the top shelf section. A large binder clip attached to a shelf edge can hold a small hook for belts or scarves. None of this is beautiful or permanent, but it extends the post-edit organization before any money leaves the account, and it tells you which organizer categories are actually worth purchasing.
What to Buy First: Budget Ranked by What Actually Works
After the edit, the hanger switch, and the free fixes — if there’s budget remaining, here’s the priority order ranked by impact per dollar.
Buy These First: Shelf Dividers (The Stack Problem Nobody Names)
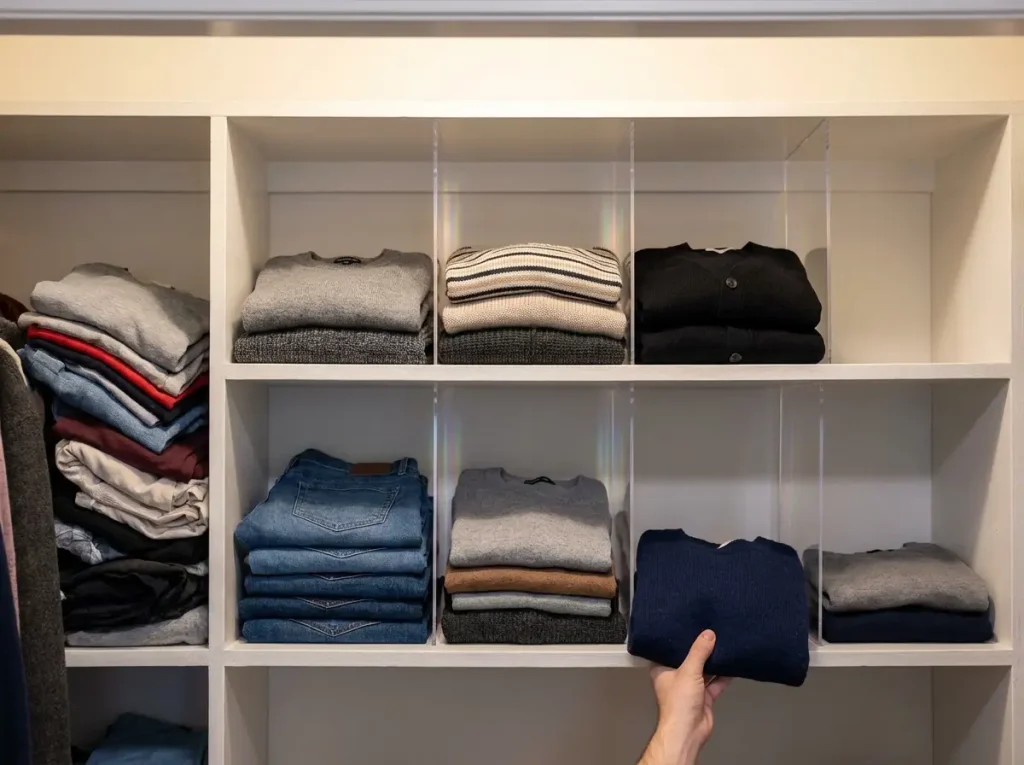
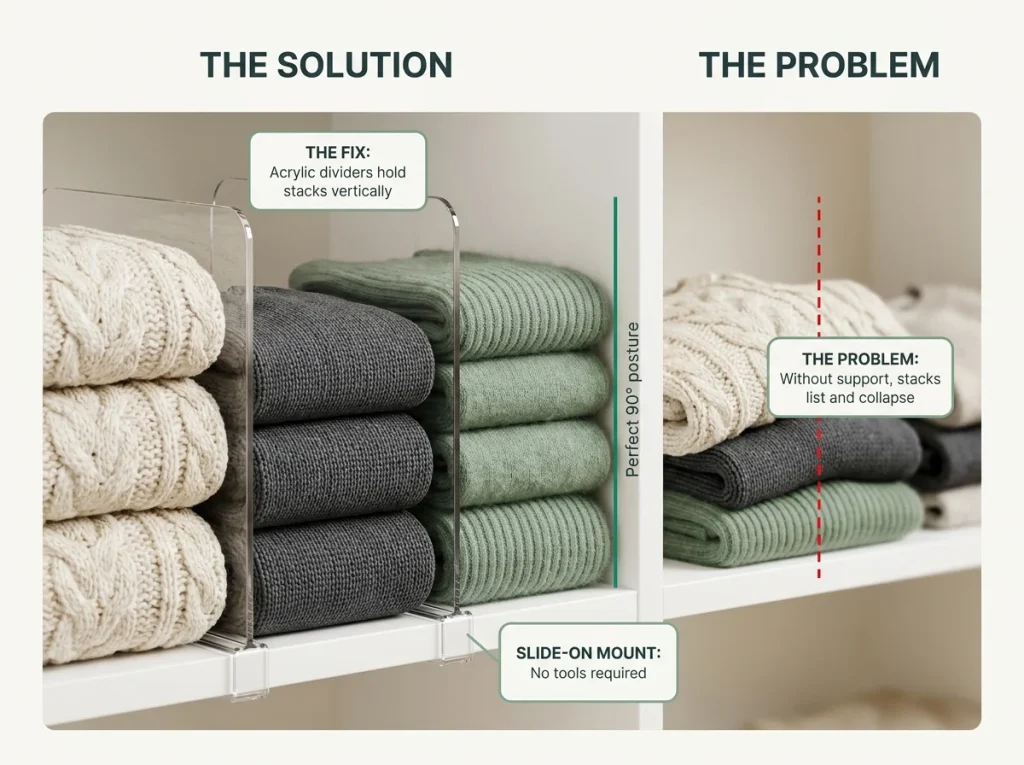
The shelf problem almost every closet has: folded items collapse sideways. You fold sweaters neatly, stack them on the shelf, and within two days the stack lists to one side and knocks into the adjacent pile. You stop folding neatly because neat stacks don’t hold. The whole shelf reverts to a pile.
Acrylic shelf dividers fix this by holding each stack upright between two vertical barriers. The HBlife Acrylic Shelf Dividers slide onto the shelf edge with no mounting, no tools — position them, done. Each divider holds 15 pounds, handles multiple sweaters without bending, and the clear acrylic disappears against white shelves. Six dividers create five sections on a standard 60-inch shelf. They’re also the easiest to reposition as your categories change after the edit.
The free alternative — a cardboard box insert cut to shelf height — works for the same function but needs replacing every few months as it bends under weight.
Pro tip: Install dividers based on your actual categories, not your ideal categories. If you realistically have three sweater types and a scarf pile, set four sections for that. Not six sections for the wardrobe you’re planning to have. Build around the closet you have now.
Buy These Second: Bins for the Top Shelf
The top shelf of most closets is the organizational pressure valve: everything without a clear home ends up there. Seasonal accessories, the bag you’ve used once, the item you’re not sure about donating. Without containment, it becomes a random pile that makes the entire closet feel out of control.
One labeled bin per category turns the top shelf from a dumping ground into deliberate storage. The Fabric Storage Bins with Labels come as a collapsible set — useful when you’re not certain of sizing yet — and the included labels prevent the most common top-shelf failure: the mystery bin where things go and never come back out. If a category doesn’t have enough items to fill a bin, it doesn’t need its own bin. The bins reveal which categories are real.
Skip These: What Looks Budget-Friendly but Isn’t
Fabric hanging cube shelves are probably the most commonly purchased budget closet product and the one that fails most predictably. In product photos they look structural. In use, the shelves sag under the weight of folded items within weeks, the fabric warps inward, and you end up with less usable space than you had with nothing. Skip them.
Specialty racks for specific items — dedicated belt racks, tie organizers, earring trees for everyday jewelry — are low-ROI unless you have a large and active collection of that item. The space they occupy usually exceeds the organizational problem they solve.
If your budget stretches to a complete closet system down the line, the breakdown of closet organizer systems that actually hold up covers what’s worth the investment at each price level.
Renter Budget Closet: Which of These Need No Drilling
Everything in this article except wall-mounted shelving and permanent hooks is renter-friendly. Here’s the explicit list.
The Complete No-Drill Budget List
- Velvet hangers — no installation, remove without a trace
- STORAGE MANIAC double rod — hooks over the existing rod, no holes in anything
- HBlife shelf dividers — slide on, slide off, no marks on the shelf
- Fabric bins — freestanding on shelves, no mounting
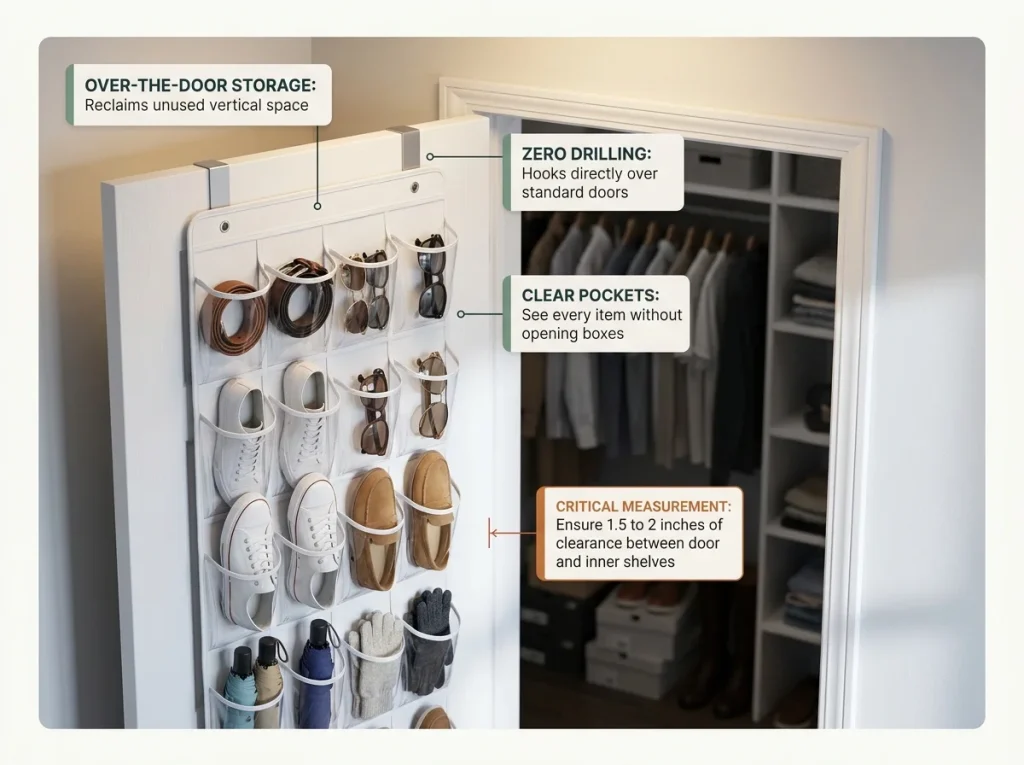
- Over-the-door organizer — hooks over the door top, no screws required
That’s a complete budget closet system. Every piece of it moves with you when the lease ends.
The Over-the-Door Organizer (Measure the Clearance First)
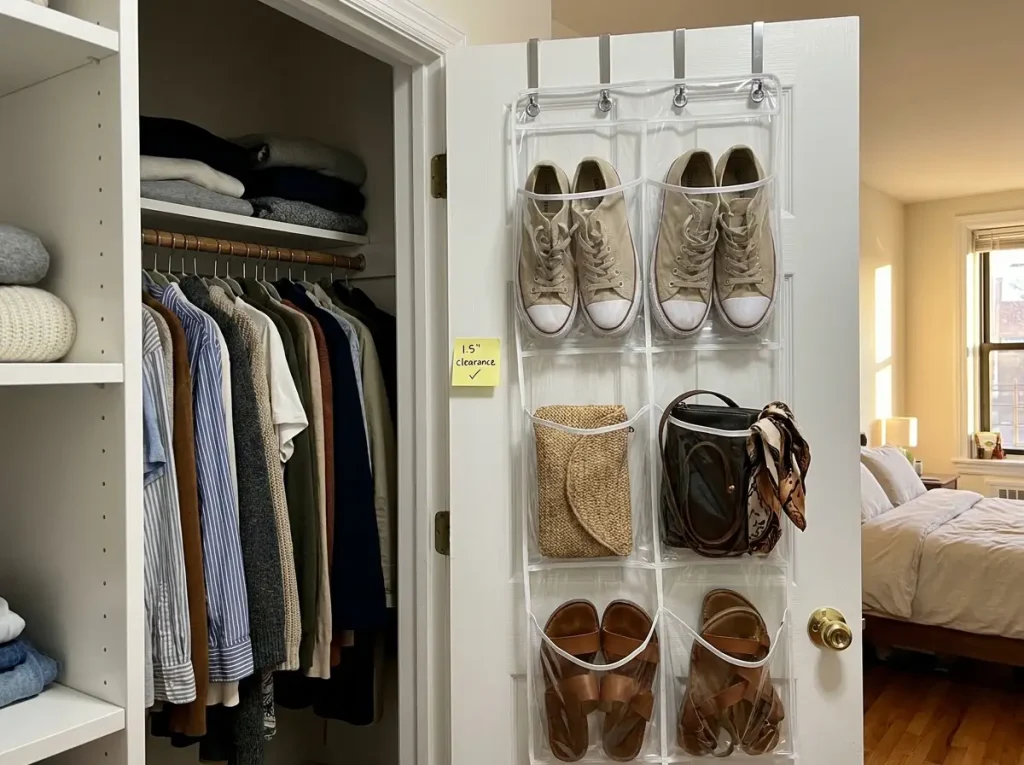
The SimpleHouseware Crystal Clear Over-the-Door Organizer is 12 inches wide, 12 inches deep, and 44 inches tall across six shelves. It hooks over the door top and holds shoes, accessories, and small folded items in clear pockets you can see through without opening anything.
Before ordering: measure the clearance between your closet door and the nearest shelf edge. You need at least 1.5 to 2 inches of clearance for the organizer to sit flat against the door without catching on the shelf when the door opens. Standard clearance on most reach-in closets is 2 to 3 inches — but some closets with adjustable shelving systems sit much closer to the door. Measure first. The organizer is designed for standard interior doors and works on hollow-core doors. Don’t try to hang it on a sliding or bifold door — there’s no fixed edge to hook onto.
For the complete approach to a full no-drill closet system for renters — including freestanding floor units and Command strip weight ratings by surface type — that article covers what’s possible without a single hole.
What to Put Off Until You Move or Get Permission
Wall-mounted shelving, closet rod extensions that require brackets, and wall hooks beyond Command strip capacity all need landlord approval — or the willingness to spackle on the way out. These are worthwhile long-term investments in a space you own or plan to stay in. They’re not the right starting point for a budget renter’s closet, and skipping them now doesn’t limit the system you can build from what’s on this list.
The 5-Minute Monthly Reset (Why This One Has a Chance)
Here’s the actual reason budget closets revert: there’s no reset mechanism. The organization happens once. Life happens continuously. Without a small regular maintenance habit, drift is inevitable — and it’s indistinguishable from the original chaos within six weeks.
The Backward Hanger Check (30-Second Monthly Habit)
Pick one day per month — the first, laundry day, whatever attaches it to something you already do. Scan the rod. Any hanger still backward from when you last reset is a decision point: wear it in the next two weeks or move it to the donate pile. Rehang everything you did wear with the hook facing forward. Turn the rest backward again.
This takes 30 seconds. It’s what keeps the closet from accumulating the same volume it started with, because it catches drift when it’s still two or three garments rather than two dozen. For the full ten-minute monthly closet reset system — including the shelf check and the floor audit together — that article covers the whole routine in one pass.
The Floor Rule: Nothing Lives on the Closet Floor
The closet floor is not storage. It’s a surface that should be visible and clear. Once something lives on the closet floor, more things join it. The first item signals that the floor is available; from there the pile rebuilds itself.
If something has been on the closet floor for more than three days, it either needs a dedicated home inside the closet or it doesn’t belong in the closet at all. This sounds harsh. It’s the one rule that does more for long-term organization than any product on this list.
One-In-One-Out Without the Guilt
The one-in-one-out rule is the right concept with an execution problem: it feels like a punishment for buying anything new. Reframe it as seasonal rotation. Every season, run the backward hanger check plus a shelf sweep. What you wore in winter but won’t wear in summer goes into vacuum storage bags under the bed. What you need for the new season comes back in.
This isn’t minimalism. It’s managing a closet with finite space over time. The budget system handles your current wardrobe. Seasonal rotation handles the wardrobe as it changes.
Conclusion
Three things make a budget closet work past the first week. Edit before you buy — the right products for your pre-edit closet are probably the wrong ones for your post-edit closet, and buying first is the most common reason budget makeovers fail. Velvet hangers are the single best purchase, and the math explains why. The floor rule — nothing lives on the closet floor permanently — is what separates a system that holds for three months from one that holds for three weeks.
The three-month check: scan for backward hangers, confirm the top bins haven’t overflowed, and verify the floor is clear. That’s it. Fifteen minutes, once per season.
Start with the backward hanger test tonight. It costs nothing, takes 30 seconds, and gives you the most accurate picture of what your closet actually needs before you spend a dollar.
Q1 How do you organize a closet cheaply?
Edit your wardrobe first to remove what you don’t use — this costs nothing and makes the biggest difference. Then switch to slim velvet hangers to recover rod space. After that, add shelf dividers and labeled bins only for what remains. Buying products before the edit almost always means buying the wrong sizes for the wrong categories.
Q2 What is the first thing to do when organizing a closet on a budget?
Stop buying products. The first step is the wardrobe edit — pull everything out, decide what stays, and remove everything else. You cannot correctly size your organization products until you know exactly what you’re organizing. Buying bins before editing results in wrong-quantity purchases more often than not.
Q3 Can you organize a closet without spending any money?
Yes. Turn all hangers backward and use the backward hanger test over 30 days to identify what you don’t wear. Rezone the rod by frequency — daily items in the center, occasional items at the sides. Repurpose shoeboxes as drawer dividers for accessories. Redistribute what’s on the shelves so items are grouped by use. None of this costs anything, and for many closets it creates a visible difference before a single product is purchased.
Q4 How do I stop my organized closet from getting messy again?
Run a 5-minute monthly reset: check for backward hangers, enforce the floor rule (nothing stays on the closet floor for more than three days), and sweep the top shelf bins for overflow. Monthly maintenance catches drift when it’s still small. Closets that stay organized aren’t organized better — they get reset more consistently.
Q5 What is the most useful closet organizer to buy first?
Shelf dividers, not bins. The most common shelf problem is folded stacks collapsing sideways, which causes people to stop folding neatly and leads to pile-based shelves. Clear acrylic dividers that slide onto shelf edges fix this at minimal cost and have the highest impact per dollar of any first purchase for most closets. Bins come second, for the top shelf specifically.
Disclaimer: ClutterlessNest is a participant in the Amazon Services LLC Associates Program. As an Amazon Associate we earn from qualifying purchases. This article may contain affiliate links — if you buy through them, we may earn a small commission at no extra cost to you. We only recommend products we have tested or genuinely believe in.