










In this article
You have already organized this kitchen. Possibly twice. The drawers looked great for about a week, and then the counter filled back up, which is the part that makes people assume they’re the problem. They usually aren’t. A kitchen with two or three drawers doesn’t have a tidiness problem, it has a capacity problem, and no amount of re-sorting adds volume to a box that is already full. Learning how to organize a small kitchen with few drawers starts with a number, not a product: how much drawer space you actually have, and where everything that doesn’t fit is going to live permanently.
Quick Answer
Work in this order, and finish each step before starting the next one.
- Count every real drawer you have in the kitchen.
- Measure the interior width of each one, not the front.
- Keep only daily-use, flat-profile tools in them.
- Give everything evicted one named spot: cabinet, wall, or cart.
- Subdivide what stayed so the drawer can’t re-blend.
Why a Small Kitchen With Few Drawers Always Ends Up on the Counter
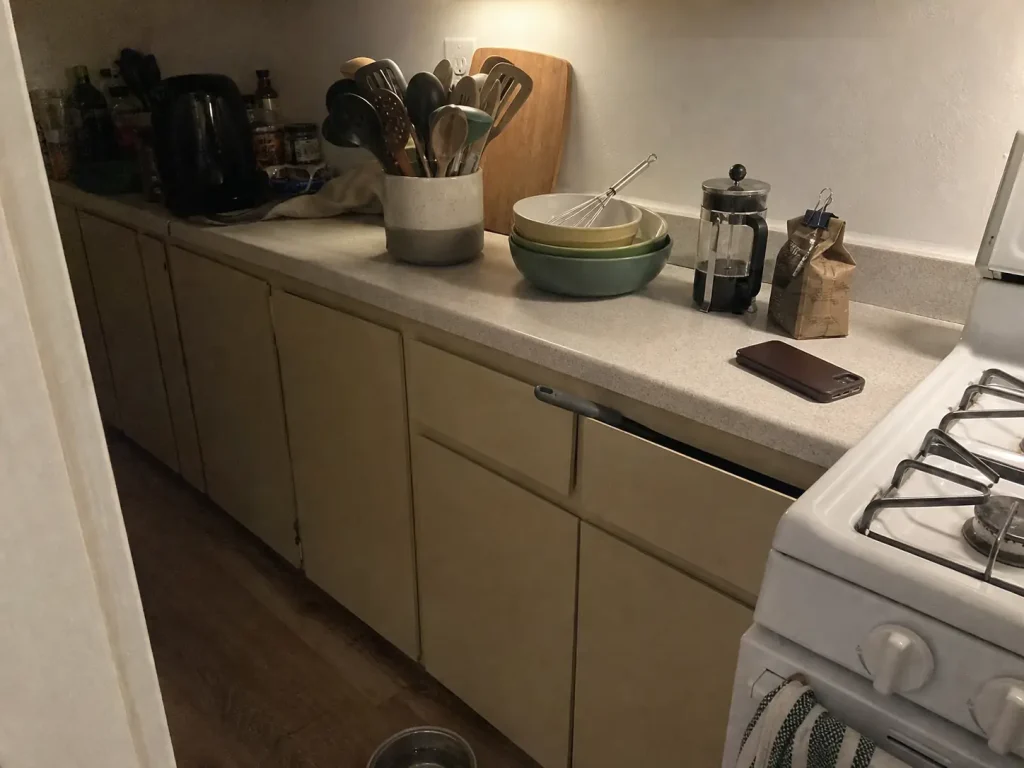
Everyone treats this as a discipline failure. You weren’t consistent enough, you didn’t maintain the system, you let it slide. That framing is wrong, and it’s worth naming out loud before you buy a single organizer.
The arithmetic nobody says out loud
A two-drawer kitchen holds a fixed volume. Older rentals and galley layouts sometimes have no drawers at all, which is the same problem with the number set to zero. A normal cooking setup, the one with a peeler and a can opener and three wooden spoons and the good tongs and the meat thermometer, exceeds that volume. Organizing harder does not change the math. It just rearranges which items lose.
That’s the whole diagnosis. The tell that you’re in a capacity situation rather than a habit situation is repetition of the same objects: if the identical three or four things reappear on the counter every single week, that isn’t randomness. Habit problems drift. But capacity problems repeat, with the same cast, on schedule.
Why the counter wins by default
A finished countertop lands at 36 inches high, which is the working height the NKBA recommends for most adults. It is the single most reachable horizontal surface in the room, it is always empty enough to accept one more object, and it never tells you no. Anything without an assigned home migrates there because physics and convenience both point that way.
This gets worse in a kitchen where the counter is already doing double duty as prep space, mail drop, and appliance parking. Countertop clutter doesn’t just look bad. It eats the surface you needed for cooking, which is how a storage problem quietly becomes a cooking problem.
The purge-once trap
Decluttering evicts items. It does not assign them anywhere. Three weeks later they’ve reappeared, because eviction without a destination is just a delay, and the counter is the default destination for anything in limbo.
There’s a story that comes up constantly in renter kitchen threads and it captures the failure exactly: someone with a drawerless apartment kitchen moved their silverware into a basic tray tucked inside a cabinet, then described grabbing a fork as feeling like a blind treasure hunt. The items had a location. They didn’t have a structure. A month in, that person is using the counter again, not because they’re disorganized but because the assigned spot was worse than the counter at the one job that mattered.
Count and Measure Before You Buy a Single Organizer
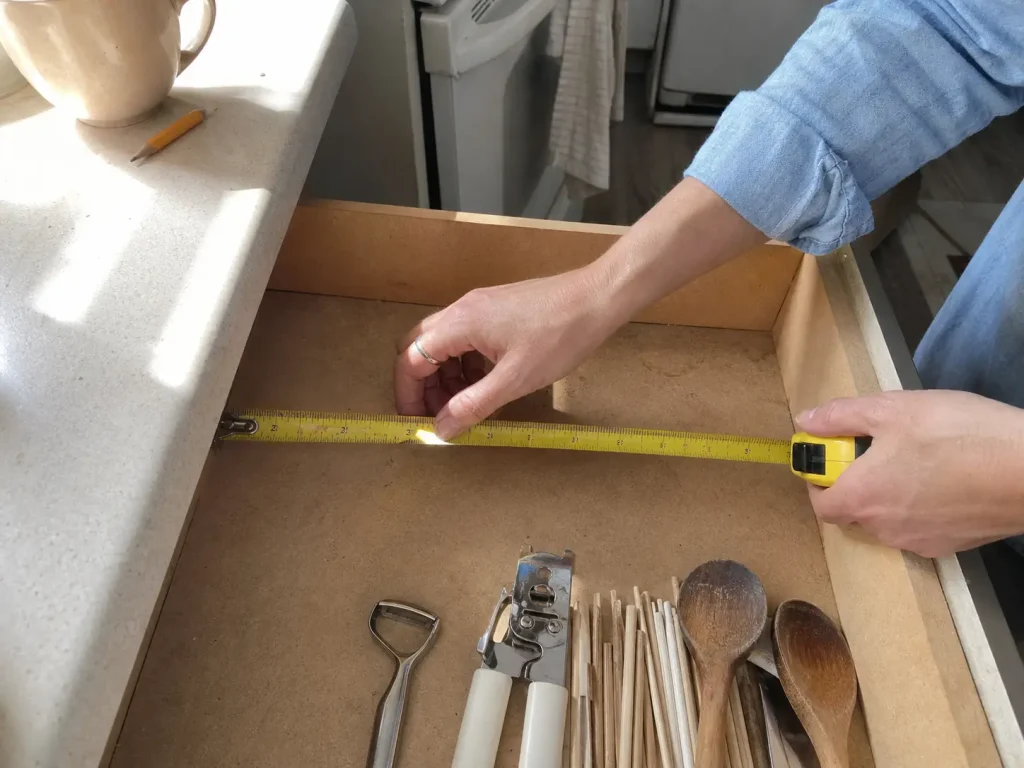
The reason so many drawer organizers get returned is that people measure the cabinet face, or skip measuring entirely, then buy a divider set sized for a kitchen they don’t own. Two minutes with a tape measure removes the entire guessing phase.
Count your drawers, then name your kitchen
A 2-drawer kitchen, a 3-drawer kitchen and a 4-drawer kitchen get genuinely different plans, and almost nobody says this. With four drawers you can afford a dedicated utensil drawer and still have room for a bounded catch-all. With two, you can’t. One drawer goes to everyday cooking tools, the second goes to flatware or the catch-all, and every specialty category you were hoping to give a slot is getting evicted. Naming which kitchen you have decides the next four decisions for you.
Measure the interior, not the drawer front
Standard drawer interiors sit between 18 and 21 inches wide, and that band is what an adjustable divider has to bracket. The drawer front is wider than the box behind it, so measuring the face is how people end up with dividers that won’t seat. Check the NKBA’s standard cabinet and drawer depth guidelines if you want the full dimension set, but the short version is that your kitchen is almost certainly standard, and standard is measurable in about ninety seconds.
Measure clearance too (the vertical gap, not the floor area). A drawer that opens under a lipped counter or an overhanging appliance has less vertical room than the box suggests, and a tall organizer that fits the floor plan can still jam on the way out. There’s a whole framework for measuring a drawer’s real interior depth if you want it in more detail.
Know the depth ceiling of every spot you’re about to use
Everything you evict has to fit somewhere, and every somewhere has a fixed depth. Cabinet depth is the number that matters most here: base cabinets run 24 inches deep, which nets roughly 23 usable inches once the back panel and face frame take their cut. Upper wall cabinets run 12. Those two numbers govern the rest of this article, because the entire redistribution plan is built on moving things from a shallow box into deeper storage that you can actually reach into.
Renters get double value from this step. You can’t add drawers, so measuring is the only way to know whether an existing cabinet shelf can be converted into a pull-forward substitute later on.
Write your drawer’s interior width on a piece of tape and stick it inside your phone case. Every organizer you look at for the next month gets checked against that one number, and you stop buying things that arrive and don’t seat.
What Earns a Drawer Slot and What Gets Evicted
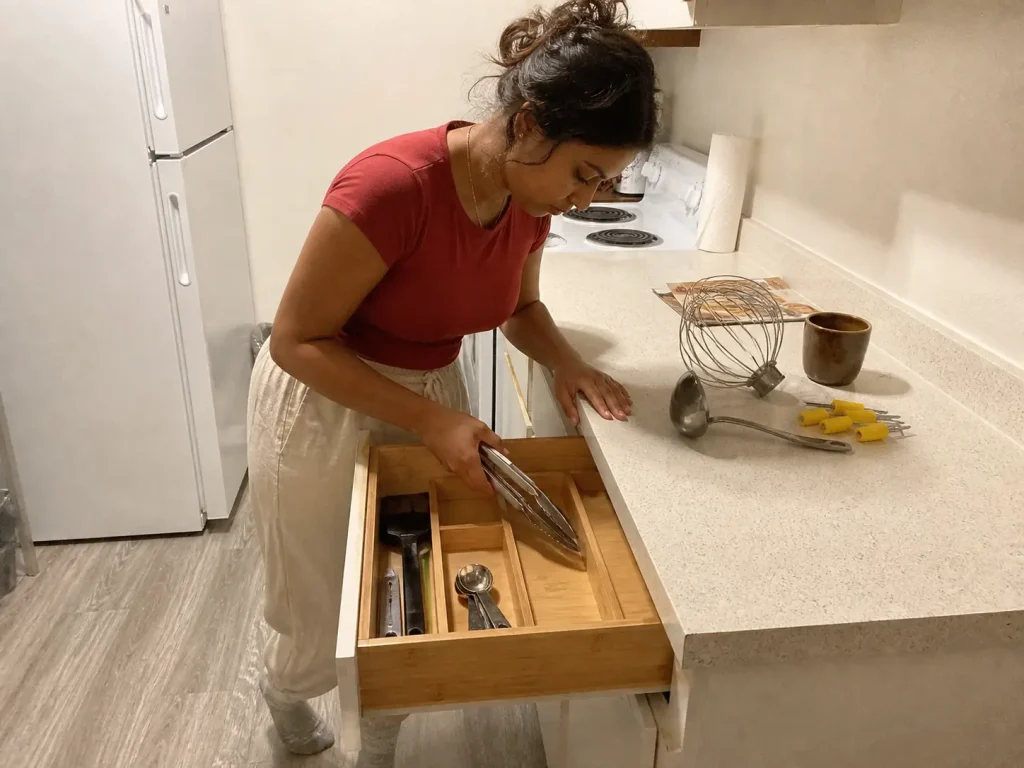
Everyone says purge first. Nobody says what the keeping criteria are. In a four-drawer kitchen you can be generous about it. In a two-drawer kitchen every slot is competitive, and the honest filter is blunt: daily frequency plus drawer-shaped geometry. A stand mixer attachment used twice a year loses to a peeler used twice a day, regardless of what the attachment cost.
The hierarchy, in order
This is frequency-based placement, and it beats category-based sorting in a scarce-drawer kitchen every time. Run each item through four questions and stop at the first no.
- Is it used daily or close to it?
- Is it genuinely flat or short enough to lie down?
- Is it sharp, awkward, or something you’d rather not leave in the open?
- Everything else gets evicted.
That second question is the one people skip. Tall, bulky, oddly shaped tools were never drawer items even in a kitchen with ten drawers, and forcing them in is what makes a drawer stop closing. Whisks and ladles in particular need different treatment, since whisks and ladles need deeper slots than forks do and a scarce-drawer kitchen usually can’t spare that depth.
Multi-taskers beat single-taskers
One solid pair of tongs beats three specialty grabbers when the slot count is fixed. This sounds obvious and almost nobody applies it, because single-taskers arrive as gifts and never leave. If two tools do the same job and only one of them is in the drawer this week, the other one is not a drawer item.
One catch-all zone, physically bounded
Allow exactly one loosely-sorted section, and give it walls. A catch-all drawer is only a problem when it has no edges: an unbounded miscellaneous zone expands until it eats the drawer, usually in under a month. Bounded, it stays a useful buffer. The reason the junk drawer refills because the working items in it have no home elsewhere is the same mechanism from the first section, running at drawer scale instead of kitchen scale.
Subdivide, or it re-blends in a week
Without fixed compartments, a sorted drawer re-blends in about seven days of normal cooking. Everything slides on open and close, categories merge, and you’re back to digging.
Before spending anything, try the free version: a rigid shoebox lid trimmed to width holds a partition perfectly well while you figure out whether your zone layout is right. Budget organizing threads suggest small spring-tension rods next, and they’re not wrong. The TYRON Small Tension Curtain Rod 4-pack adjusts from about 7 to 10.5 inches, which covers narrow drawers and lets you test a layout for a fraction of a divider set. The limitation is real, though: they only span the short direction, and in a full-width drawer they’ll bow.
For a standard drawer that you’ve already measured, the SpaceAid Bamboo Drawer Dividers 4-pack adjust from 17 to 22 inches, which brackets that 18 to 21 inch interior band almost exactly. An expandable drawer organizer with that range is the entire reason to name a specific product instead of saying “use dividers.” The catch is that spring-tension dividers grip against the drawer sides, so if your drawer has a rounded or lipped interior they can slip under load. A contact paper drawer liner or a cut piece of shelf liner under the divider feet adds enough friction to stop that.
I used to send people straight to a full divider set as step one. After enough “it arrived and it doesn’t fit” stories in organizing threads, I switched: measure, test the zones with something free or cheap for a week, then buy the set sized to what you learned.
Turn a Cabinet Shelf Into the Drawer You Don’t Have
A cabinet is a drawer that lost its slides. That’s genuinely the whole difference, and it reframes the problem: cabinets feel like worse storage because of access, not volume.
The reach problem, not the capacity problem
A base cabinet holds roughly 23 usable inches of depth. Your drawer holds a fraction of that. So the cabinet is the bigger storage unit by a wide margin, and yet the back half sits empty or holds things nobody has seen since the last move. People stop reaching, and the items they’d need to reach for drift to the counter instead.
Restore the pull-forward motion and the cabinet becomes real storage again. An adhesive-mount pull-out organizer converts a fixed shelf into a sliding tray, which is functionally the drawer the kitchen was never built with. The SpaceAid Pull-Out Cabinet Organizer expands from 11.8 to 19.6 inches to fit standard cabinet widths and mounts without drilling, which is what puts it in reach of renters at all. Worth knowing before you commit: adhesive mounts need a clean, smooth shelf surface, so a cabinet lined with old contact paper needs stripping first or the base won’t hold.
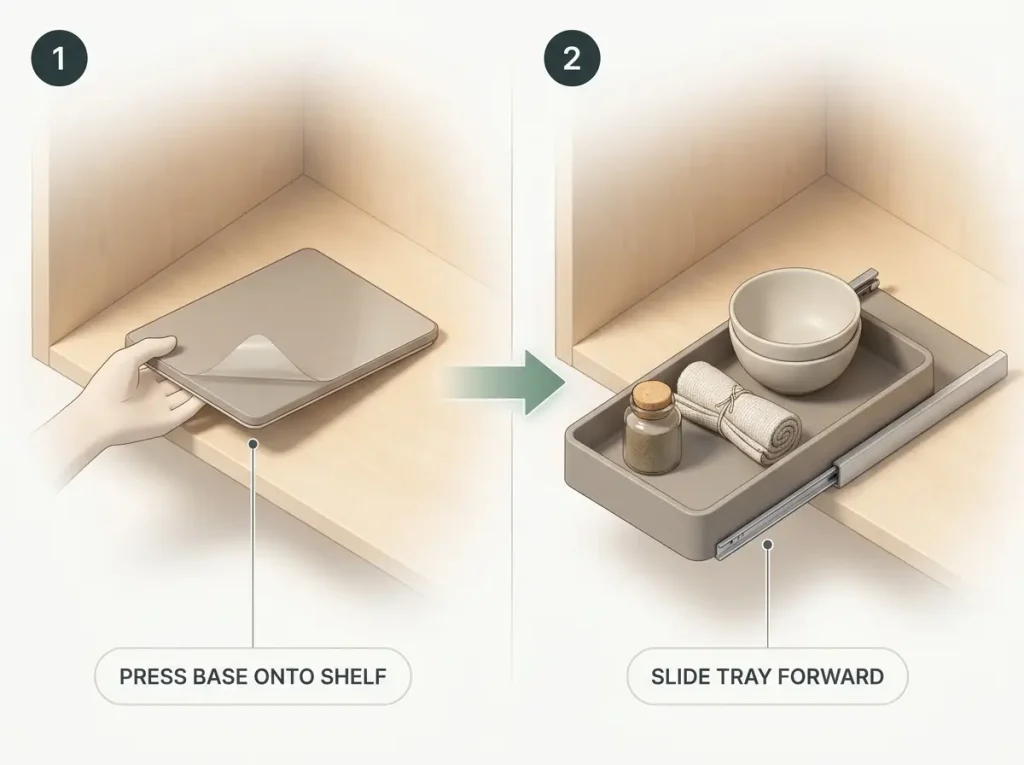
Empty it and re-stack before you buy anything
Pull everything out of one cabinet and re-stack it in a single layer, with nothing hidden behind anything else. Plenty of people discover at this point that the cabinet was holding duplicates rather than volume, and that half of what was stranded back there can leave the kitchen entirely. Free, takes fifteen minutes, and it changes what you need to buy.
If the cabinet is tall and half-empty overhead, a simple shelf riser doubles the usable layers for a fraction of what a tiered pullout costs, and it needs no mounting at all. The same logic applies to under-sink storage, where the plumbing eats the middle and the two side pockets usually sit empty.
The corner cabinet is your biggest dead pocket
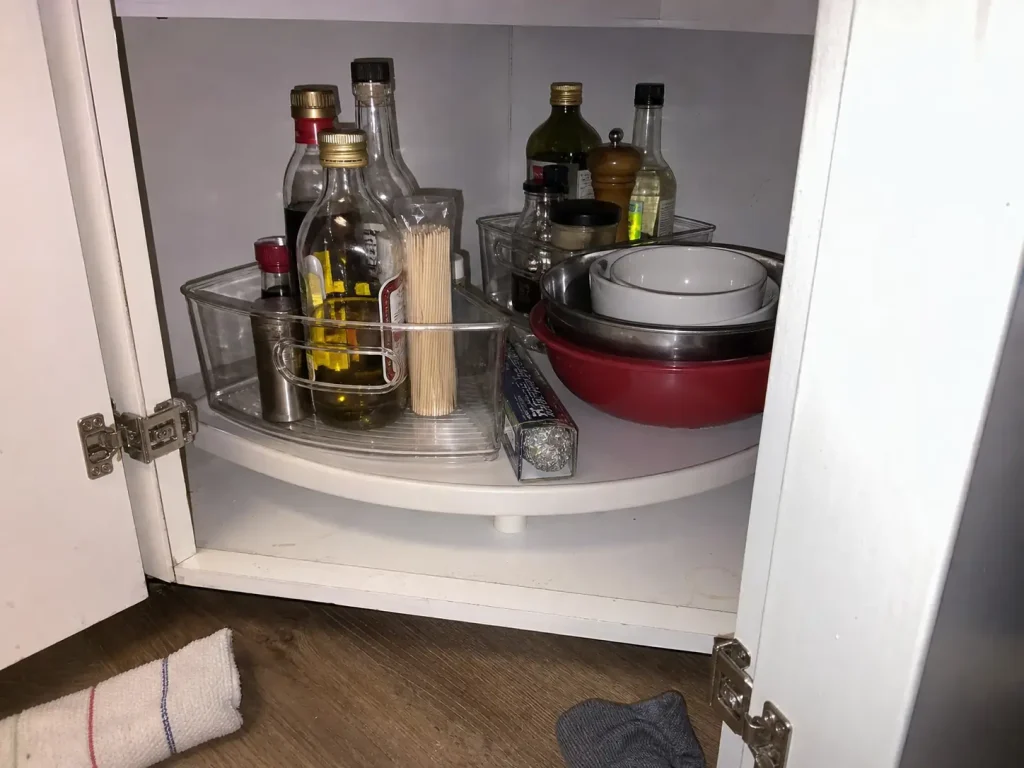
In a small kitchen, the corner base cabinet holds more unusable volume than anywhere else in the room. The reason it stays dead is geometric: rectangular bins can’t reach into a wedge-shaped void, so the back of the corner becomes a place where things go to be forgotten.
A quarter-wedge turntable is the shape that solves it. The iDesign Linus Lazy Susan Wedge Organizer Bin fills the corner void that a round turntable leaves stranded, and it spins forward so the back items come to you. It won’t fix a blind corner cabinet with a small opening, which is a different problem entirely, and the dead corner cabinet has its own set of fixes worth reading if that’s your situation.
Put the evicted items into the cabinet closest to where you use them, not the cabinet with the most free space. A system that adds four steps to a daily task gets abandoned by the second week, no matter how tidy it looked on day one.
Move the Rest to Walls and Floor Gaps Without Drilling
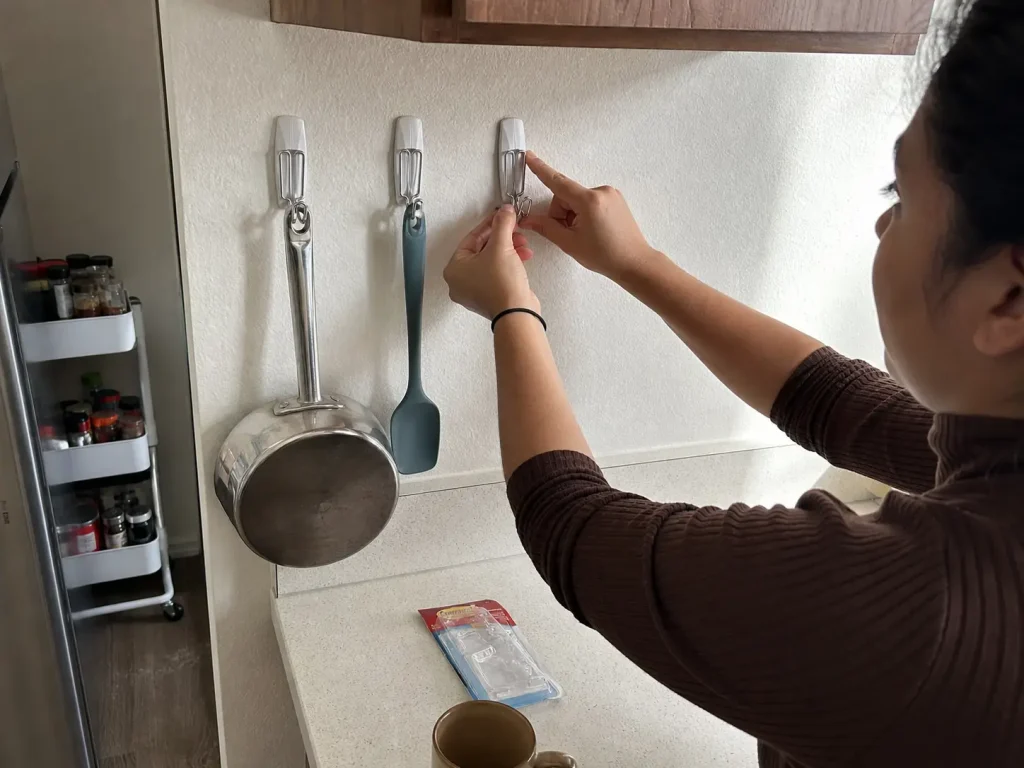
This is the section renters get shortchanged on everywhere else. Most wall solutions quietly assume you can drill, and the ones that don’t tend to skip the part where adhesive has limits.
Match the load before you stick anything to the wall
Vertical storage is unused volume in almost every small kitchen: backsplash storage on the strip above the counter, the side of a cabinet run, cabinet door storage on the inside of the doors you already open daily. But the mounting method has to match what you’re hanging. A large adhesive hook handles a light utensil crock or a lightweight pan. A cast-iron skillet or a stack of mixing bowls does not belong on adhesive, and general wall-mount guidance puts anything past roughly 15 pounds into stud territory.
That weight ceiling is also why the two most-recommended wall-mounted storage upgrades quietly assume you own the place. A magnetic knife strip and a pegboard both want screws into studs, and both leave holes a landlord will notice. Worth knowing so you can rule them out on purpose instead of buying one and discovering it at install time.
The Command Large Wire Hooks multi-pack is the renter-friendly, deposit-safe way to pull light utensils and pans off the counter. Ratings differ by hook size, so read the number on the pack rather than assuming: the brand’s jumbo hook carries around 7.5 pounds, and smaller hooks carry considerably less. Command hooks come off with a pull tab instead of a putty knife, which is the whole point at move-out. Check Command’s official weight-limit chart for hooks and strips before you load anything, because the ratings vary a lot by product line. If that pack is out of stock, the large adhesive strips from the same brand do a lighter-duty version of the same job.
Kitchen adhesive has a shelf life
Here’s the part nobody mentions until something falls. Heat and steam degrade adhesive faster in a kitchen than anywhere else in the house, and the manufacturer’s own guidance is to replace kitchen-wall strips every six to twelve months rather than treating them as permanent. I used to treat adhesive mounts as install-once hardware and never mentioned the replacement interval at all. That was wrong, and the failure mode (a loaded hook letting go over a tile floor) is the kind that makes people swear off no-drill storage entirely. It isn’t a reason to skip it, it’s a reason to put the replacement on a schedule. There are more renter-safe fixes that come off cleanly at move-out worth stacking alongside this one.
The gap beside the fridge is storage
Older and compact kitchens usually have a narrow leftover floor slot next to the fridge or the stove, and it’s almost always wasted. A narrow utility cart converts it into three usable tiers with zero installation, and unlike a freestanding shelf it rolls out for cleaning. The Slim 3-Tier Rolling Storage Cart runs about 7 inches wide, which is what makes it fit that specific gap, and it rolls out so the back of each tier stays reachable rather than becoming another dead zone. It’s not stable enough for heavy stockpots, so keep it to lightweight items, spices, and wraps.
Rolling carts and adhesive hooks dominate renter kitchen threads for one reason: neither leaves a mark.
Keep It Working When the Kitchen Isn’t Only Yours
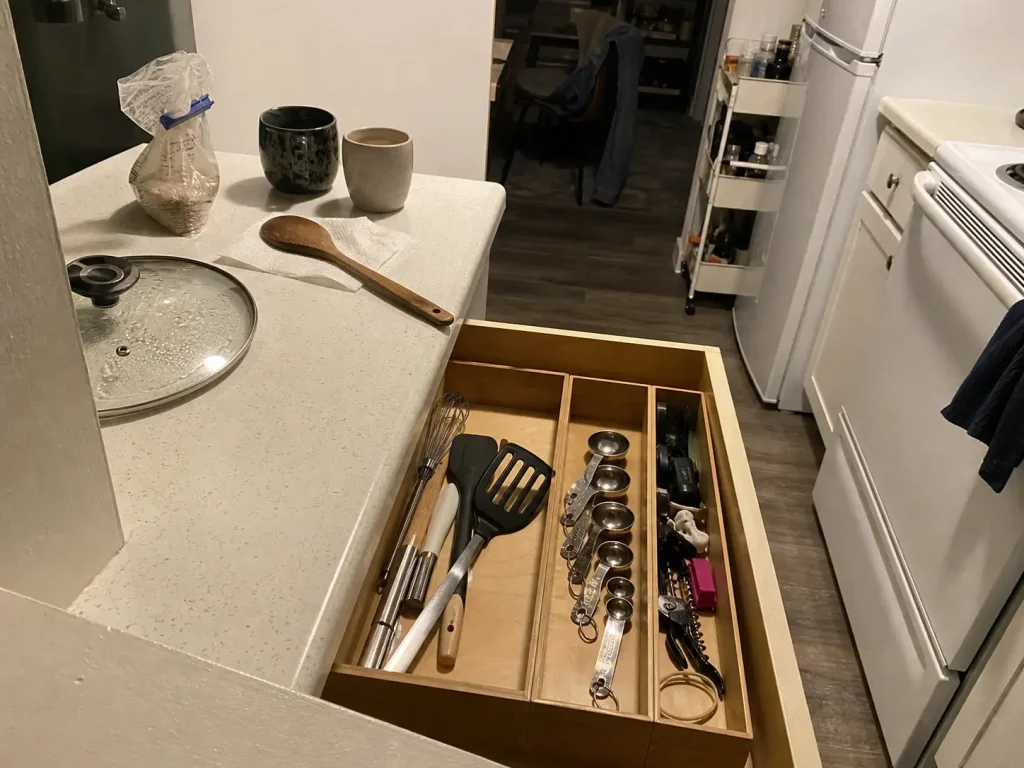
A system that only the person who built it can follow will fail in a shared kitchen, and most small kitchens are shared. The fix isn’t asking everyone else to try harder. It’s making the correct placement the easiest physical action available, so that the wrong one takes more effort than the right one.
Bounded zones survive shared use. A loose drawer never does, because “put it back where it goes” only works if the destination is obvious to someone who wasn’t there when you set it up. Zone by task rather than by category, so the prep tools sit near the cutting board and the coffee things sit near the kettle, and nobody has to remember a rule since the shortest path is already the correct one. Conventional advice says to label everything. In a shared kitchen with two drawers, physical dividers do more than labels ever will, because people follow walls without reading them.
The other rule worth enforcing is one-in-one-out, and in a fixed-capacity kitchen it isn’t minimalism, it’s arithmetic. New gadget arrives, an old one leaves, or the counter absorbs the difference.
Then there’s the weekly reset, which is not tidying. It’s a capacity audit. Whatever ended up on the counter this week is either missing a home or has one that’s too far from where it gets used, and whatever landed back on the counter this week is data, not a personal failing. Fix the assignment, not the symptom.
Re-check the adhesive while you’re at it. Two minutes, twice a year, prevents the failure that makes people give up on no-drill setups entirely.
In a shared kitchen, leave one compartment deliberately empty. It absorbs the new thing somebody brings home before that thing colonizes the counter, and an empty slot is the cheapest storage you own.
Wrapping It Up
Three things worth carrying out of this:
- Your kitchen doesn’t have a tidiness problem, it has a capacity problem, and re-organizing never adds volume.
- Measure the drawer interior and count what you’ve got before buying anything. The numbers decide the plan, not the product list.
- Every item you evict needs a named destination, whether that’s a cabinet, a wall, or a cart, or it comes back to the counter within weeks.
In three months, look at what’s sitting on the counter that you didn’t put there on purpose. Each of those objects is telling you its assigned home is either missing or in the wrong place.
Start with the drawer closest to where you actually cook. Get that one right, then work outward.
Frequently Asked Questions
01How do you organize a kitchen with only two drawers?
Reserve both drawers for daily-use, flat-profile tools and move everything else to one assigned cabinet, wall, or cart spot. With two drawers there is no room for a specialty drawer at all: everyday cooking tools in one, a bounded catch-all in the other.
02What can you use instead of a drawer for kitchen storage?
A pull-out cabinet organizer, a narrow rolling cart, and adhesive wall hooks are the three real drawer substitutes, in that order of capacity. The pull-out converts a cabinet shelf into sliding access, the cart fills a floor gap, and hooks handle light items.
03Do drawer dividers work in a small drawer?
Yes, but only if the divider’s adjustable range brackets your drawer’s interior width, and most standard interiors fall between 18 and 21 inches. Measuring the interior rather than the drawer front is the step that decides whether dividers seat properly.
04How do you add kitchen storage without drilling into the walls?
Adhesive hooks and strips, free-standing rolling carts, and adhesive-mount cabinet organizers cover almost every no-drill scenario. Respect the weight ratings, and expect kitchen adhesive to need replacing every six to twelve months because heat and steam degrade it faster.
05Why does my kitchen counter get cluttered again after I organize?
Because decluttering evicts items without assigning them a new permanent home, so they migrate back to the most reachable surface in the room. The fix is giving every evicted item a named destination before you call the project finished.