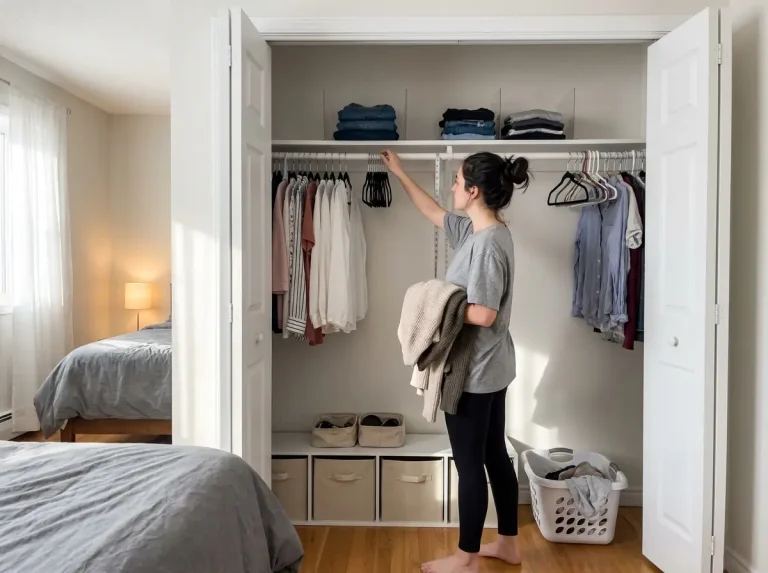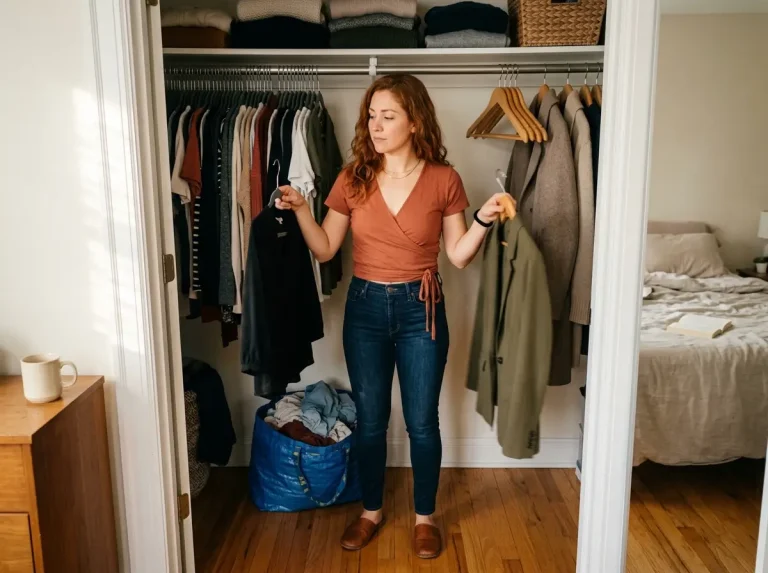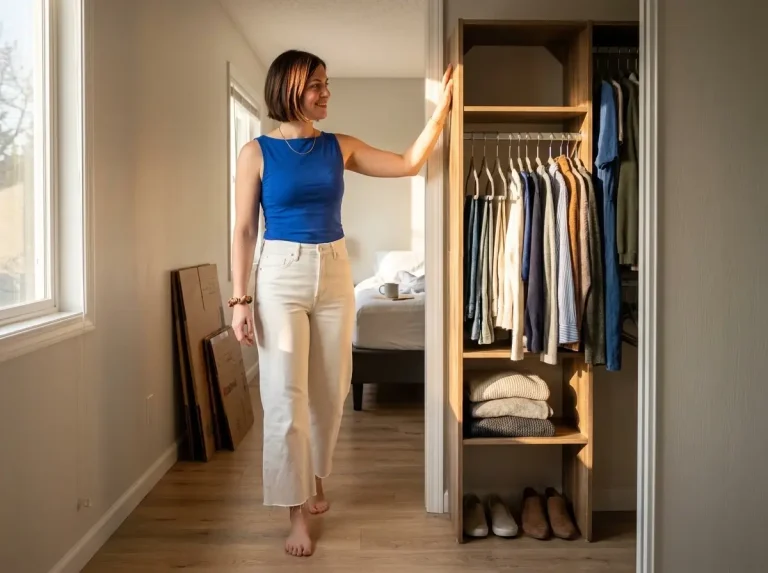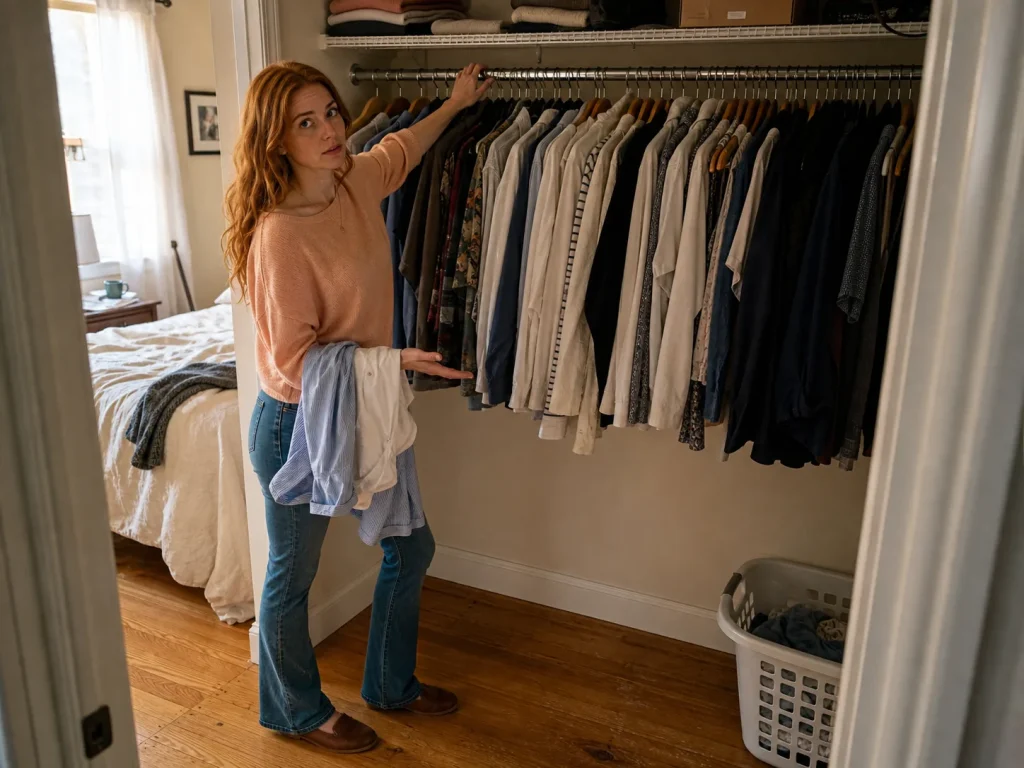
You shove one more shirt onto the rod and it’s already shoulder-to-shoulder, hangers fighting for space. Then you look down and notice the obvious thing you’ve been ignoring: a whole wall of empty air hanging below the hems, doing nothing. Your rod didn’t run out of room. The height it’s set at did. That single bar is almost always hung for the tallest thing you own, which means everything shorter is wasting the space beneath it. These five closet rod extender ideas fix that, ranging from a no-drill clip-over that leaves zero marks on the wall to a permanent rigid rod that holds a full season of coats.
Quick Answer
Five ways to add hanging capacity, from least to most permanent:
- A no-drill rod doubler that clips over your existing rod (best for renters)
- A chain-and-hangers or S-hook secondary rod (near-free, deposit-safe)
- A DIY PVC or wire-rope build (budget, custom height)
- A store-bought adjustable telescoping rod (light loads)
- A bracket-mounted rigid rod (permanent, holds real weight)
Why Your Closet Rod Ran Out of Space (It’s the Height, Not the Length)
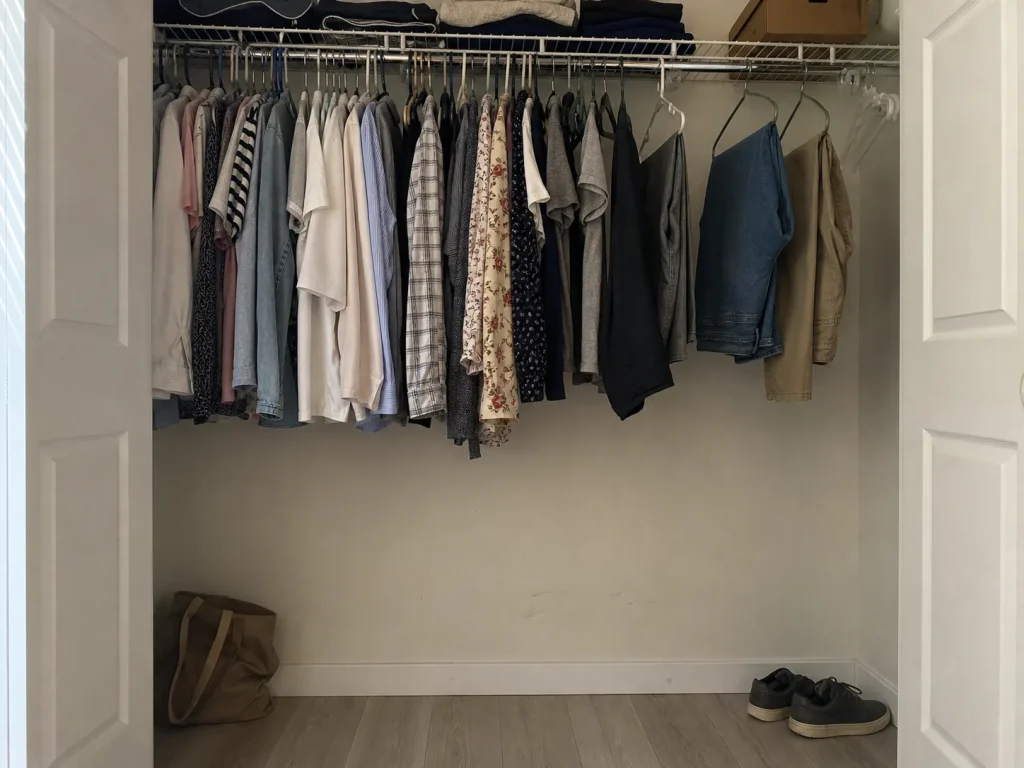
Here’s the part that feels backward: most people who run out of hanging space don’t actually own too many clothes. They own one rod set for one kind of garment, with a huge band of unused vertical space trapped underneath. Naming that is the whole fix. Add a tier, don’t purge your wardrobe.
The 66-Inch Rule Nobody Tells You About
A standard single closet rod sits around 66 inches from the floor. That number isn’t random. It’s the height a rod needs to be so your longest coat or dress can hang without pooling on the closet floor. The problem is that a shirt is not a dress. When you hang a shirt on a rod built for a full-length coat, the shirt ends around chest height and everything below it hangs empty.
Now compare that to how a proper double-rod setup works. The top rod runs at roughly 80 inches for coats and long dresses, and a second rod sits around 40 inches for shirts, blouses, and folded pants. That lower number is the tell. It proves there’s a whole second hanging zone your single rod is wasting, somewhere between 25 and 40 inches of dead air below your shirts. Reclaiming that band is the cheapest vertical storage win in the whole closet.
Where the Dead Space Actually Hides
Stand in front of your closet and find the lowest point your hanging clothes reach. Everything from there to the floor is the space you’re about to reclaim. In most reach-in closets that’s a band tall enough to hang a second full row of shirts, or a stack of folded knits on a lower bar.
There’s a nastier version of this in shallow closets, and it’s the one people don’t see coming. Coats hung on a too-shallow rod don’t just crowd, they drag. The bottom hems catch the closet floor and press against the back wall, and you end up with a permanent crease across your good wool coat. It’s one of those failures nobody warns you about until it’s already ruining a garment. If your coats are dragging, you don’t have a laundry problem, you have a rod-position problem. There’s a full breakdown of mapping the dead space above and below your rod if you want to see how it fits into a whole reach-in setup.
Before you buy anything, sort your hanging clothes into “long” and “short” piles for five minutes. If more than half are short (shirts, blouses, folded pants), a second lower rod will roughly double your usable space. If almost everything is long, an extender won’t help much and your real fix is folding or shelving.
Measure These 3 Things Before You Buy Any Extender
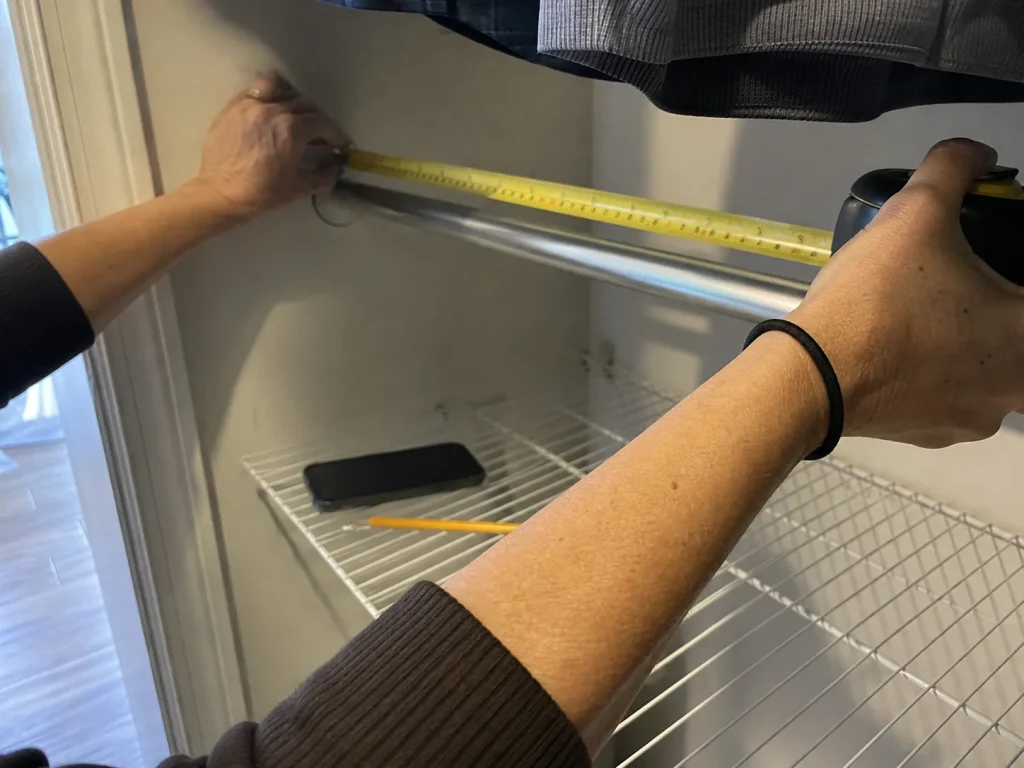
This is the step that separates “closet rod extender ideas” from “the right idea for my closet.” I’ve watched people order a telescoping rod, get excited, and then discover it won’t clear the shelf above or it jams the door shut. Two numbers on a phone note save you that return trip.
Depth and Door Clearance
A standard reach-in closet is about 24 inches deep from the back wall to the door frame. That sounds like plenty until you do the math on what a hanger actually takes up. A hanger plus a garment sticks out roughly 17 to 18 inches from the rod, which leaves you only 6 or 7 inches of slack before things start brushing the door.
That thin margin is why the direction an extender adds bulk matters so much. A rod that pushes your clothes toward the closet opening eats into those 6 or 7 inches and can stop the door from closing. A rod that hugs the back wall doesn’t. Measure your depth first, then subtract 18 inches, and whatever’s left is how much room you have to work with.
The Shallow-Closet Test
Anything in the 18-to-22-inch range counts as a shallow closet, and it changes which extender you should buy. In a shallow closet, a spring-loaded telescoping rod is the wrong call because it tends to sit forward and make the door problem worse. What works instead is a rigid, wall-anchored extender mounted 3 to 4 inches off the back wall, which buys you a couple of inches of usable depth exactly where coats need it.
Rod Height and Ceiling Room
The last number is the gap above your existing rod. If you want to add an upper rod for coats, that top bar wants to sit around 80 inches, and coats need roughly a foot of clearance above it to hang clean. Measure from your current rod up to the wire shelf or ceiling before you assume a second upper rod fits. And honestly, while you have the tape measure out, remember that switching to slimmer hangers frees rod space too — sometimes the cheapest capacity win isn’t a new rod at all, it’s ditching the bulky plastic hangers.
No-Drill Rod Extenders for Renters (Zero Holes, Deposit-Safe)
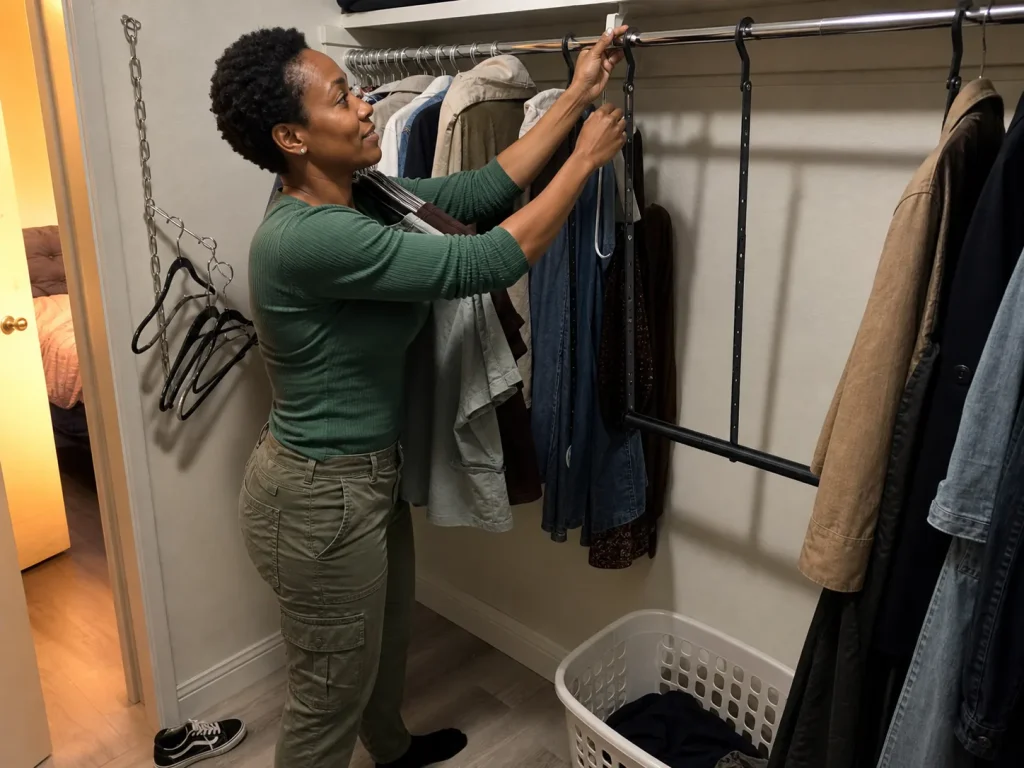
If you rent, the whole calculation changes. You like your closet, you just need more places to hang things, and you cannot put a single hole in the wall. Good news: the two best fixes here are also the two cheapest, and neither touches drywall.
The Free Fix First
Before you buy a thing, try the chain trick. Loop a lightweight chain over your existing rod and hook a hanger through every other link. Each hanger drops a few inches below the last, so five shirts take up the vertical space one used to. It costs almost nothing and comes down in ten seconds at move-out.
The slightly sturdier version uses a second bar hung from S-hooks or a multi-pack of Command wire hooks clipped onto the existing rod. You get a real second rod for the price of a coffee, and the hooks peel off clean. The catch is weight: this is a shirts-and-light-blouses solution, not a place for your winter coats. Keep the heavy stuff up top.
The Clip-Over Rod Doubler
When you want something that looks intentional rather than improvised, a rod doubler is the cleanest deposit-safe option there is. It hooks directly over your existing rod and drops a second bar below it. No wall contact at all, which means no drywall, no studs, no closet frame, nothing for a landlord to flag. It’s the fix for “I want a real second tier and I want it gone without a trace when I leave.”
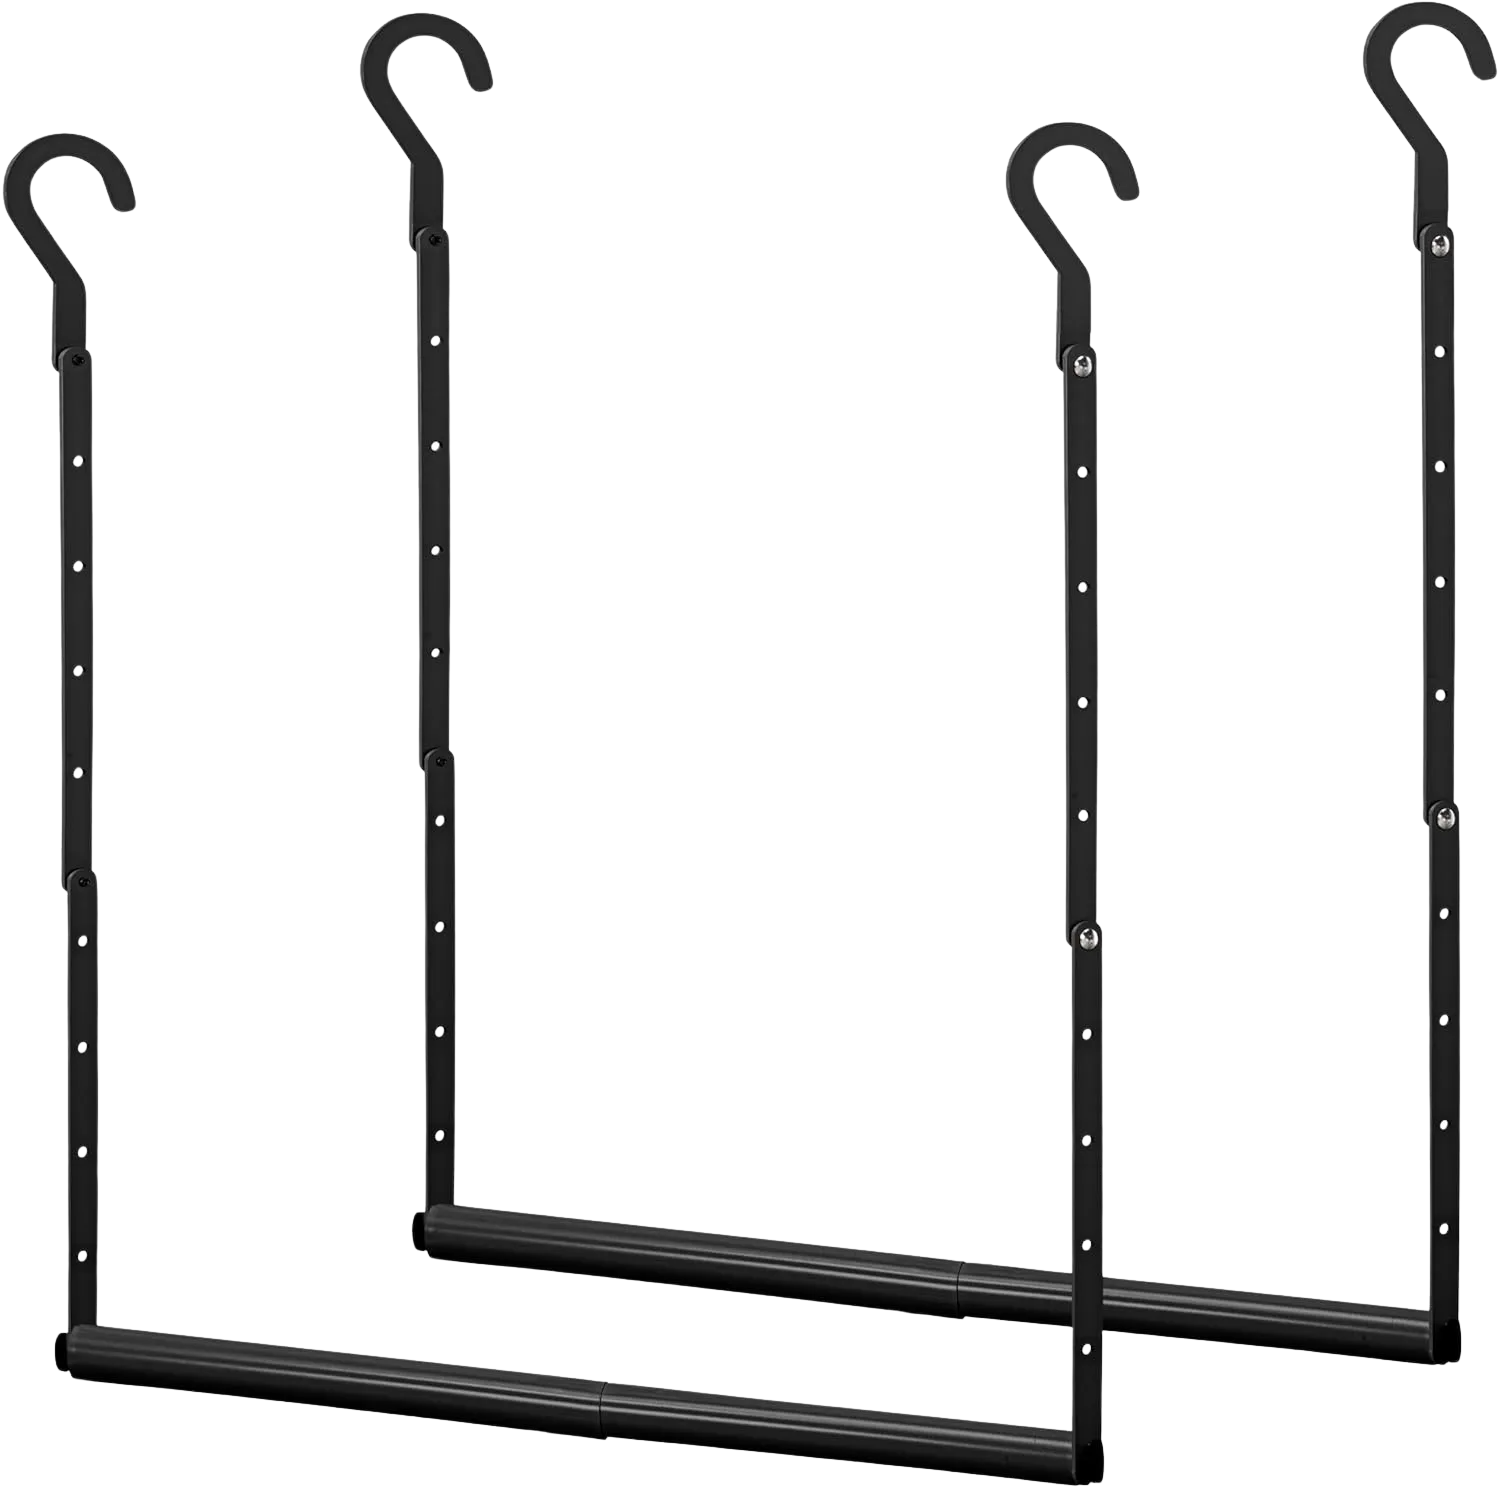
One honest line on the whole no-drill category: everything here is rental-friendly and leaves zero marks, which is the entire point. The rigid drill-in rod further down the page is the owner-only option. If you rent, you want to stay on this side of the line, and the same logic runs through these no-drill closet options that protect your deposit if you’re rethinking the whole space.
DIY Rod Builds You Can Cut and Hang Yourself
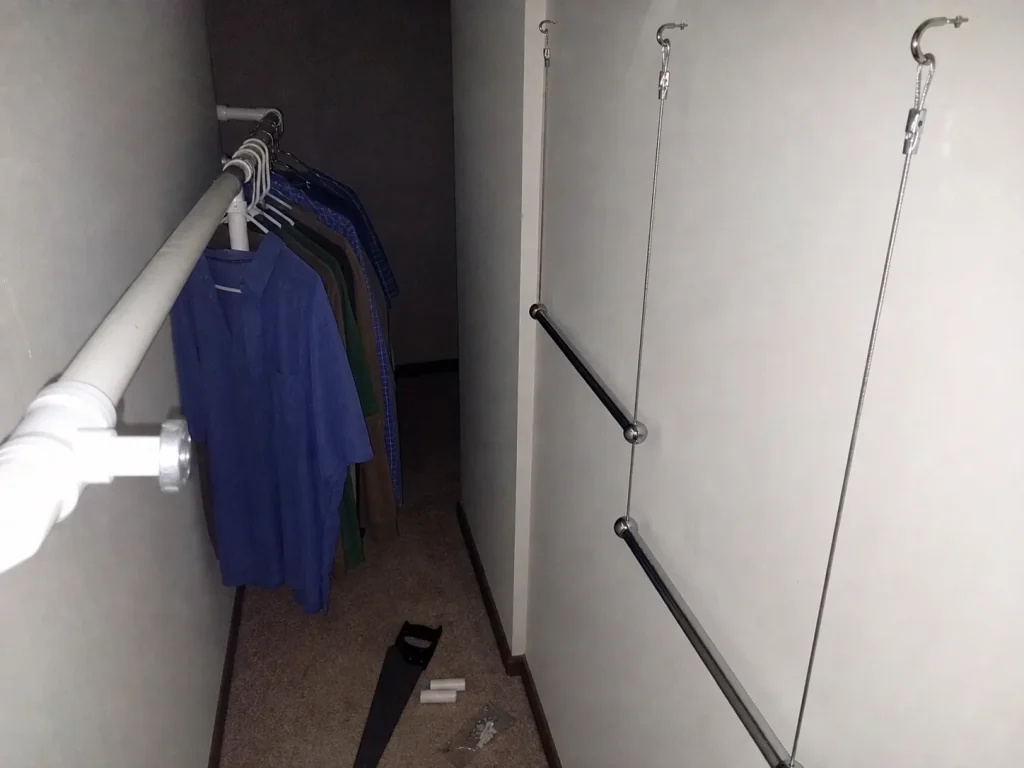
For the Saturday-project crowd, building your own rod is genuinely satisfying, and it’s the only route that lets you set a rod at a weirdly specific height a store rod won’t hit. But let me bust one myth up front, because it trips people up.
The PVC Build
DIY is not automatically the cheap option. A wooden dowel long enough to span a closet can cost about as much as a cheap store-bought rod, which defeats the whole point. The material that actually stays cheap is 3/4-inch PVC pipe.
A basic PVC rod uses the pipe with T-fittings and metal flanges, cut to length with a hand saw, and the pieces friction-fit tight enough that you can usually skip the glue. Mounting the flanges to the wall still needs anchors, so this isn’t a no-drill build, but the materials themselves stay genuinely low-cost. It’s the build budget-organizing threads keep landing on when someone asks for the cheapest possible rod.
If you go the PVC route, buy one extra length of pipe and a couple of spare fittings. PVC is cheap enough that the second trip to the hardware store costs more in gas and time than just over-buying, and you’ll almost always want to adjust the span once it’s up.
Wire-Rope and Cable Rods
The other DIY-adjacent idea is a rod hung from cables instead of brackets. A wire-rope or chain system lets you set an exact custom height in seconds, which is the one thing a fixed rod can’t do. That makes it the go-to when you need a rod low enough for a kid to reach or high enough to clear an odd sloped ceiling.
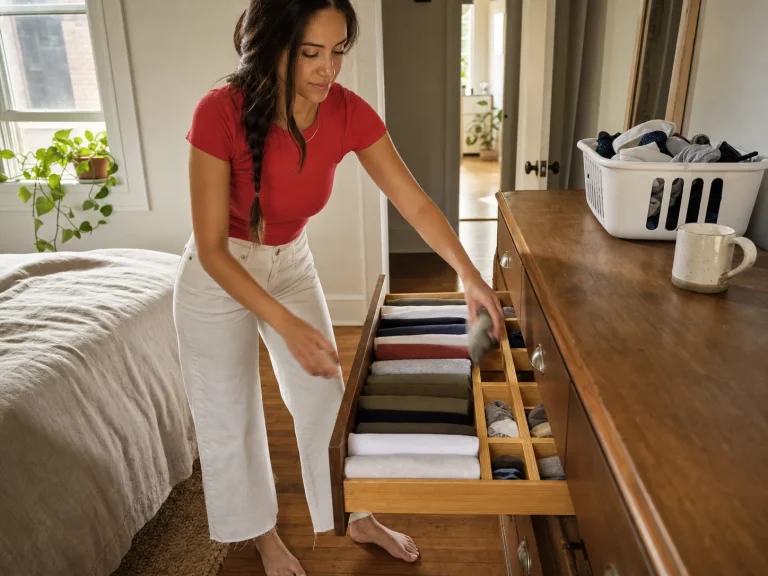
If you’d rather buy the ready-made version than rig one yourself, a two-piece wire-rope hanging rod does it with an adjustment buckle and no saw required. One caution: stock on these has been running thin lately, so grab it sooner if you’re set on it. And the bigger caveat is physics. A rod on cables sways more than a bracketed one, so it’s great for light loads and custom heights, and a bad idea for a packed row of coats. When hanging space genuinely maxes out, the smarter move is to move folded clothes to drawers to free the rod entirely rather than fighting to hang everything.
Store-Bought Adjustable Extenders That Actually Hold Weight
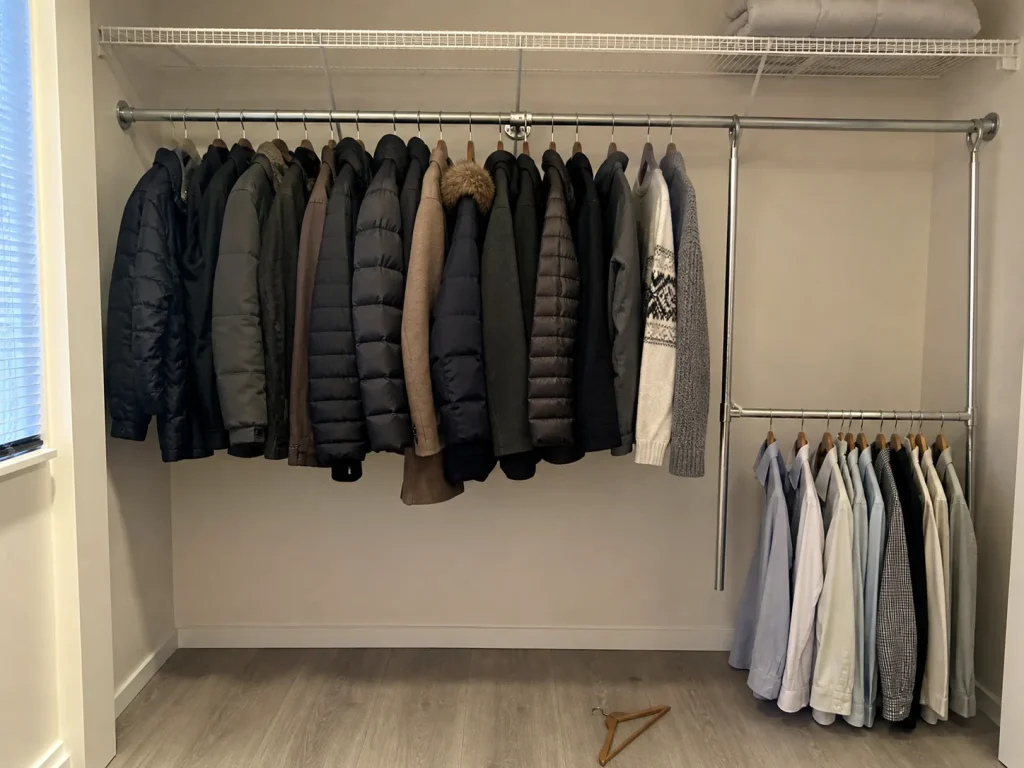
Here’s the quiet part most telescoping-rod reviews leave out: they’re written before the closet has held a full winter’s weight for three months. Adjustable rods are convenient, but “adjustable” and “strong” are not the same spec, and weight capacity is exactly where the gap shows up.
Spring vs Steel — What Actually Holds
A 1-inch steel tension rod with reinforced end caps holds around 35 pounds before it starts to sag. The same rod, wall-mounted with a center support bracket, safely carries 60 pounds or more with no sag at all. Spring tension alone is fine for a light row of shirts. The moment you hang real weight, jeans, sweaters, a few coats, you get the classic sagging rod, and it starts immediately, not eventually.
Material matters as much as the mount. On a 6-foot rod, a thin chrome oval and a thick aluminum round aren’t interchangeable even at the same length. The rod itself sets the ceiling, not just the brackets holding it.
I used to point people straight at the cheapest telescoping rod for any quick fix. After enough “my rod dropped everything at 2 a.m.” stories piled up in organizing threads, I stopped. That failure is real and specific: a spring rod sized to fit loosely walks itself loose over weeks of the door brushing past it and clothes swaying, and then it lets go all at once, usually in the middle of the night under a full load of coats. A one-week test never catches it. So if you’re buying spring-tension, buy it for shirts and know its limits. The lowest-cost option in that category is the Deco Brothers adjustable chrome rod, which is fine for a light load and honestly framed as exactly that, not as your coat rod.
When you want a rod you install once and stop thinking about, step up to a rigid adjustable one.
The Center-Support Rule
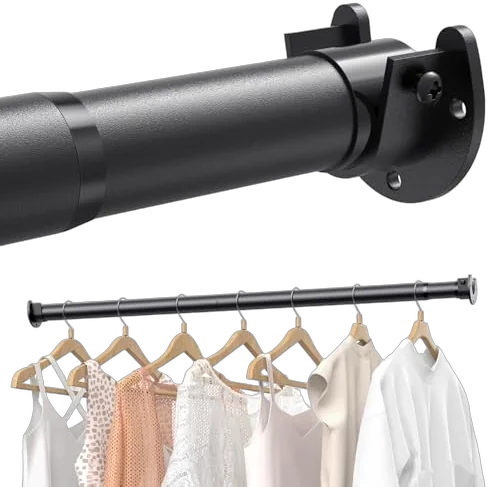
Whatever rigid rod you pick, there’s one rule that decides whether it lasts: any rod longer than about 4 to 6 feet needs a center support bracket. Skip it and the rod bows in the middle within months, which is the single most common reason store-bought rods fail. Support brackets should sit no more than 3 feet apart.
The reassuring part is that the brackets almost never fail first. Manufacturer spec sheets rate heavy-duty rod brackets up to 500 pounds per pair, far more than the rod material itself can take before it bends. So when you’re deciding what to reinforce, worry about the rod and the center support, not the brackets. If you want to see the same spring-versus-steel weight math applied elsewhere, it shows up again in tension-rod shelving, where people make the exact same mistake.
Shared Closets, Shallow Closets, and When an Extender Isn’t Enough
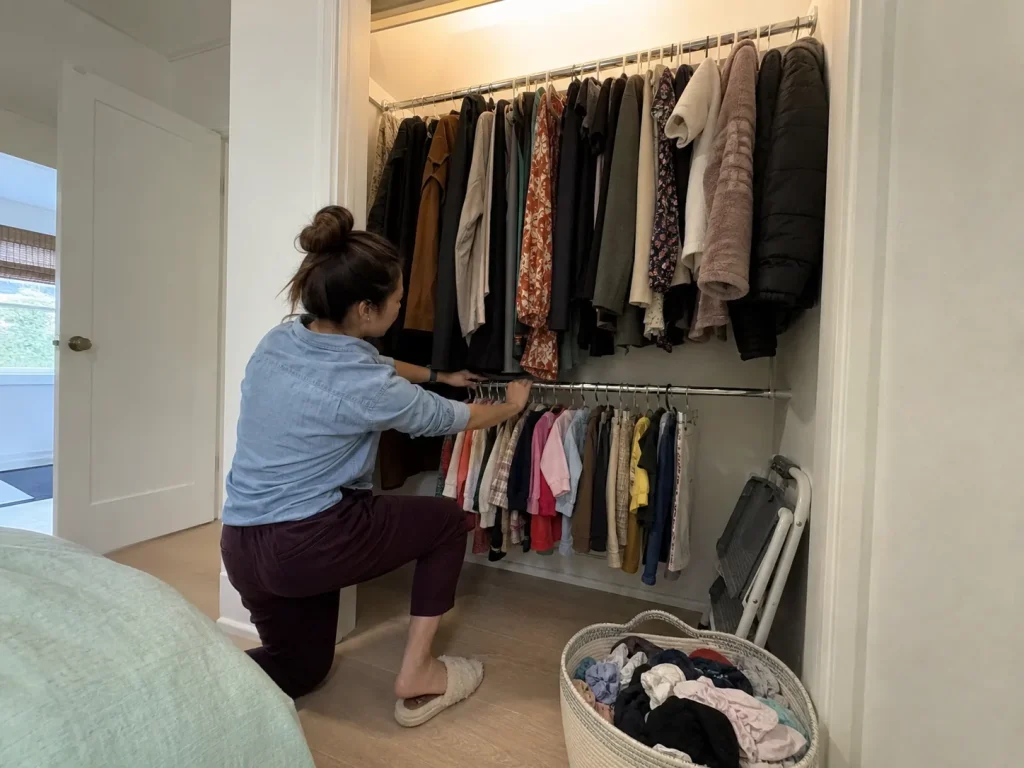
Not every closet breaks the same way, so this is the read-your-own-situation section. Two setups in particular need a different call, and one of them is knowing when to stop adding rods altogether.
Sharing One Rod Between Two People
A shared closet runs into the height problem from a second angle. That 66-inch rod is built for one adult’s reach, which means a shorter partner or a kid is stuck either straining or living out of a drawer. A lower second rod, or a height-adjustable cable rod, solves both problems at once: it adds capacity and it puts a tier within reach. One fix, two constraints. The same logic scales up when you’re splitting one rod between two people across a whole shared closet.
In a shared closet, give each person a full-height column rather than stacking one person on top and one on the bottom. Splitting left-and-right keeps everyone’s long coats and short shirts in their own zone, and it stops the daily argument about whose stuff crept over the line.
When It’s Time for a System, Not a Rod
There’s a point where adding rods stops working. If you’re already on a second tier, cramming a third bar in, and still short on space, the extender isn’t the problem anymore. The closet’s whole layout is. That’s the signal to stop buying rods and look at a real closet system that mixes hanging, shelving, and drawers in the same footprint, which is exactly what the full renter-friendly closet system breakdown walks through.
And sometimes the honest answer is the opposite of buying anything. The fix might be fewer garments on the rod, not more rod: move folded knits to a shelf, rotate off-season coats into storage, and let the rod hold only what it’s built for. That costs nothing and it’s usually the first thing to try.
Conclusion
Three things to walk away with. First, you’re almost never out of hanging space, you’re out of space at one height, so add a tier before you blame your wardrobe. Second, measure your depth and clearance before you buy, or you’ll be packing up a return. Third, spring rods are for shirts, and real weight needs a rigid rod with a center support.
Give it three months, then load-test whatever you added. If the rod is sagging or has walked loose, it was under-rated for the weight it’s carrying, so re-seat it or step up to a bracketed rigid rod before it drops something at the worst possible hour.
Start with the free fix. Clip a chain over the rod you already have, hang a few shirts off it, and see how much space you reclaim before you spend a dollar on anything else.
Frequently Asked Questions
01Are closet rod extenders worth it?
Yes, if your closet has dead vertical space below a single rod, which most reach-in closets do. Clip-over doublers and cable rods pay off fastest for renters, and a rigid extender is worth it in a shallow closet where coats drag. If you’re already cramming a second tier and still short, you’ve outgrown extenders and need a full system.
02How much weight can a closet rod extender hold?
It depends on the type. A spring or telescoping rod holds around 35 pounds before it sags without a center brace, a clip-over doubler is rated much higher but only inherits the strength of the original rod it hangs on, and a wall-mounted rigid rod with a center bracket carries 60 pounds or more. The rod usually fails before the bracket does.
03How do I add hanging space to a small closet without drilling?
Use a rod doubler that hooks over your existing rod, or hang a secondary bar on S-hooks or a chain looped over the rod. Both are deposit-safe with zero wall contact and remove in seconds at move-out. Keep long coats on the top tier so nothing drags on the floor.
04What is the standard height for a closet rod?
About 66 inches from the floor for a single rod. In a double-rod setup, the top rod sits around 80 inches for coats and dresses, and the lower rod around 40 inches for shirts and folded pants. That single 66-inch rod is set for your tallest garment, which is why everything shorter leaves empty space below it.
05Can you double up closet rods for more hanging space?
Yes, and it’s the single most effective extender idea. Adding a lower second rod under the existing one turns the dead air below your shirts into a full second hanging tier, often doubling capacity for shorter garments. Do it no-drill with a clip-over doubler, or permanently with brackets and a center support.
Disclaimer: ClutterlessNest is a participant in the Amazon Services LLC Associates Program. As an Amazon Associate we earn from qualifying purchases. This article may contain affiliate links — if you buy through them, we may earn a small commission at no extra cost to you. We only recommend products we have tested or genuinely believe in.