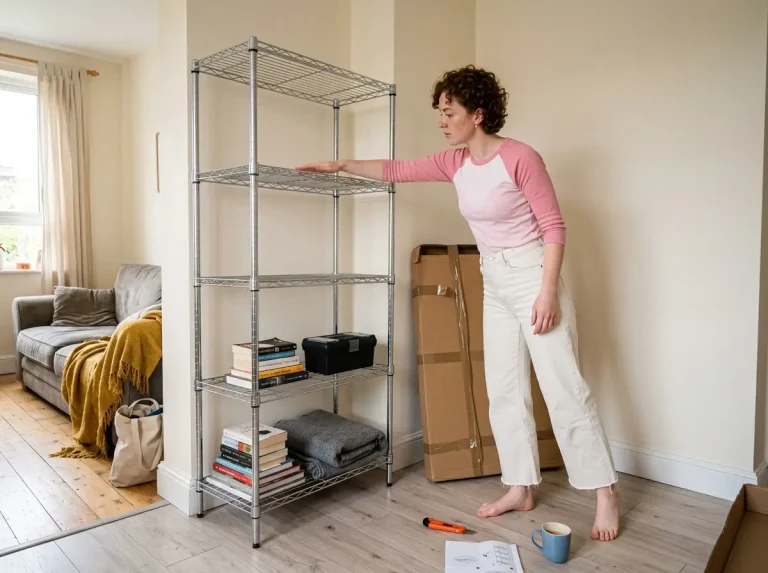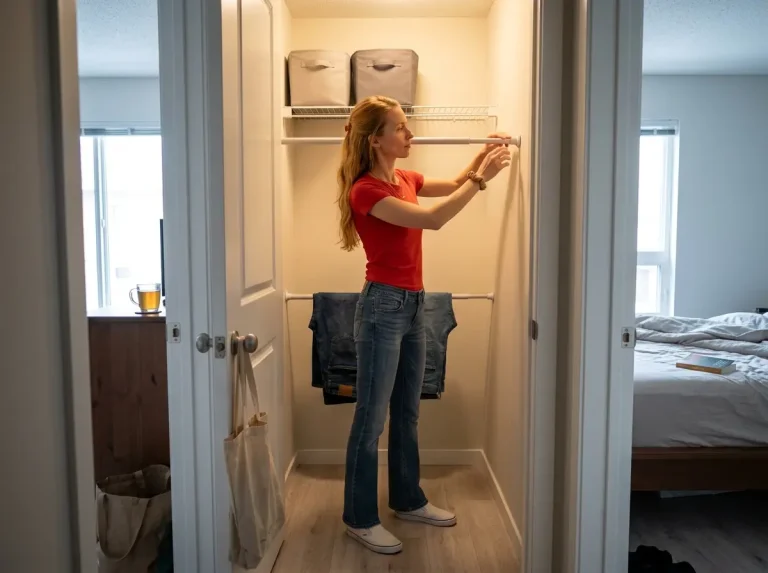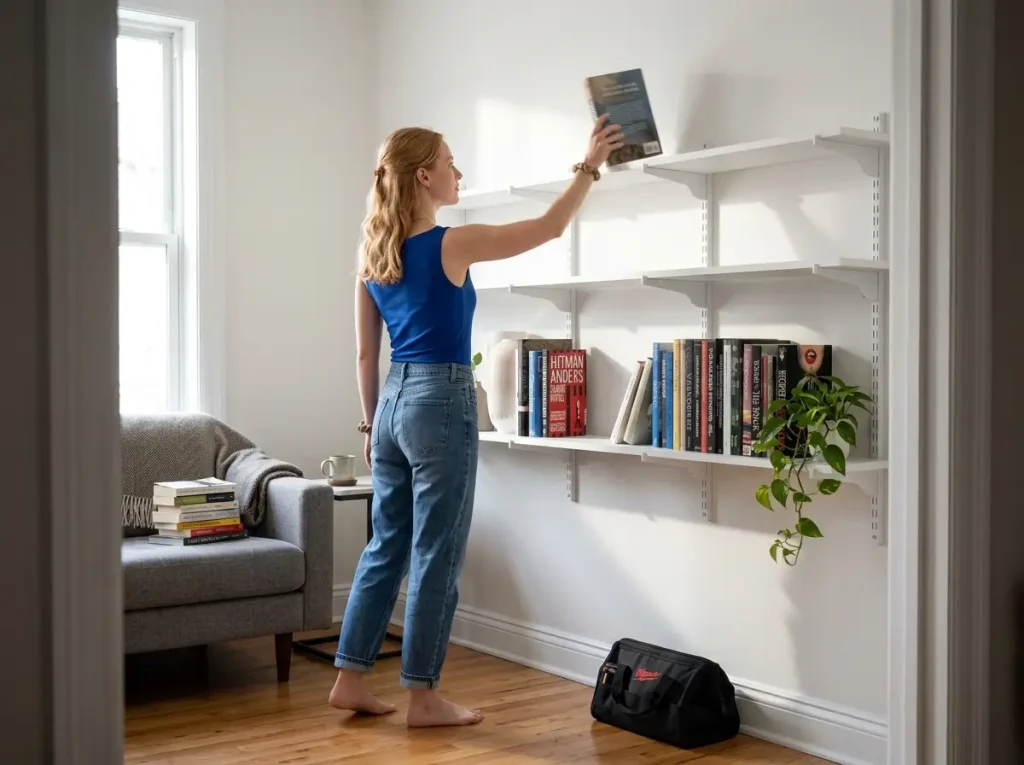
You mounted a shelf rated for 50 pounds, hung it with the little plastic anchor that came in the box, and three weeks later it’s sagging away from the wall like it’s trying to leave. That shelf didn’t fail because it was a bad shelf. It failed because the number on the box quietly assumed you were screwing into a stud, and nobody ever asked your wall what it could actually hold. The truth almost every roundup skips is simple: with wall-mounted shelves, the mount decides the real capacity, not the shelf. Below are the picks worth buying, sorted into three honest tiers, each matched to what your wall can support.
Quick Answer
The right wall shelf depends on your wall and your load, not the sticker capacity. Match the tier to the job:
- Heavy loads and garages: FLEXIMOUNTS Pro Series (stud-mounted)
- Everyday rooms: Wallniture Turin adjustable bracket shelf (stud-mounted)
- Renters, light loads: Hangman No-Stud floating shelf
- Budget DIY: HOME MASTER HARDWARE brackets plus your own board
- Upgrade any hollow-wall shelf: QUALIHOME spring toggle bolts
How Wall Shelf Weight Capacity Actually Works
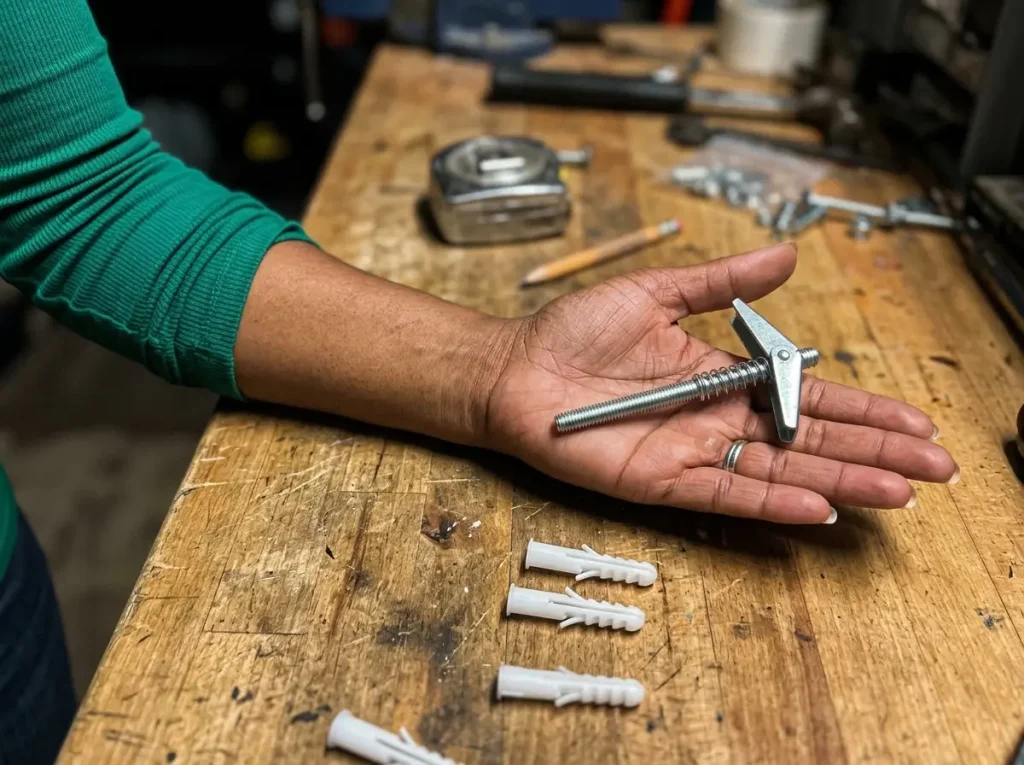
Here’s the part every product page leaves out. A shelf pressed flat against a wall is carrying mostly a shear load, meaning the weight pulls straight down, parallel to the wall. Anchors handle that reasonably well because the downward force runs along the wall surface. What wrecks a mount is pull-out load, the outward force that tries to peel the shelf off the wall, and that force lands on a small patch of drywall paper face. It’s the same reason the same anchor that holds a light shelf would rip out of the wall if you yanked on a towel bar. Once you understand that difference, every capacity number on every box starts to read differently.
Shear vs. Pull-Out — Why the Same Anchor Holds a Shelf but Not a Towel Bar
Load a shelf evenly and most of the strain is shear. Load it heavy at the front edge, or stack everything on one end, and you introduce leverage that turns into pull-out force at the top screws. That’s why a shelf can feel rock-solid empty and then creep loose after you actually fill it. The wall isn’t getting weaker. You’re just finally asking it the question it can’t answer.
The Anchor Ladder From Plastic Plugs to Toggle Bolts
Not all anchors are close. The little plastic expansion anchors from a picture-frame kit hold roughly 5 to 20 pounds. Self-drilling anchors move you up to about 25 to 75 pounds. Molly bolts land around 25 to 50. Toggle bolts, the ones with the spring wings that pop open behind the drywall, carry roughly 75 to 150 pounds in shear. So the free plastic plug in your junk drawer tops out around a paperback’s worth of weight. If you want a shelf that holds real storage on a hollow wall, the anchor matters as much as the shelf.
Before you buy any shelf, decide where it’s going and knock the wall. If you can hit a stud, almost any rated shelf works. If you can’t, mentally swap the included plastic anchors for toggle bolts before you even open the box, and rate the shelf by the toggle, not the sticker.
Why the Number on the Box Assumes a Stud
Manufacturer capacity is a lab ceiling, usually measured with the shelf screwed into solid framing. It is not a promise for your specific wall. Mount that same “50 pound” shelf into open drywall with a plastic plug and the real-world number drops to a fraction of what the box says. This isn’t a conspiracy, it’s just testing conditions nobody prints on the front. The savvy DIY crowd has a name for the sticker number, “the box number,” and they treat it as optimistic rather than guaranteed. Worth knowing before you trust it with anything heavier than a plant. If you want the capacity-first lens applied across every shelf type, it runs through the rest of our shelving and racks guides too. And it’s worth stressing why this matters so much: the CPSC’s own testing found drywall typically can’t handle the 50-pound pull-force standard set for furniture anchors, which is exactly why anti-tip kits ship with a wood screw meant for a stud, not a drywall anchor.
Best Heavy-Duty and Rail Systems for Garages
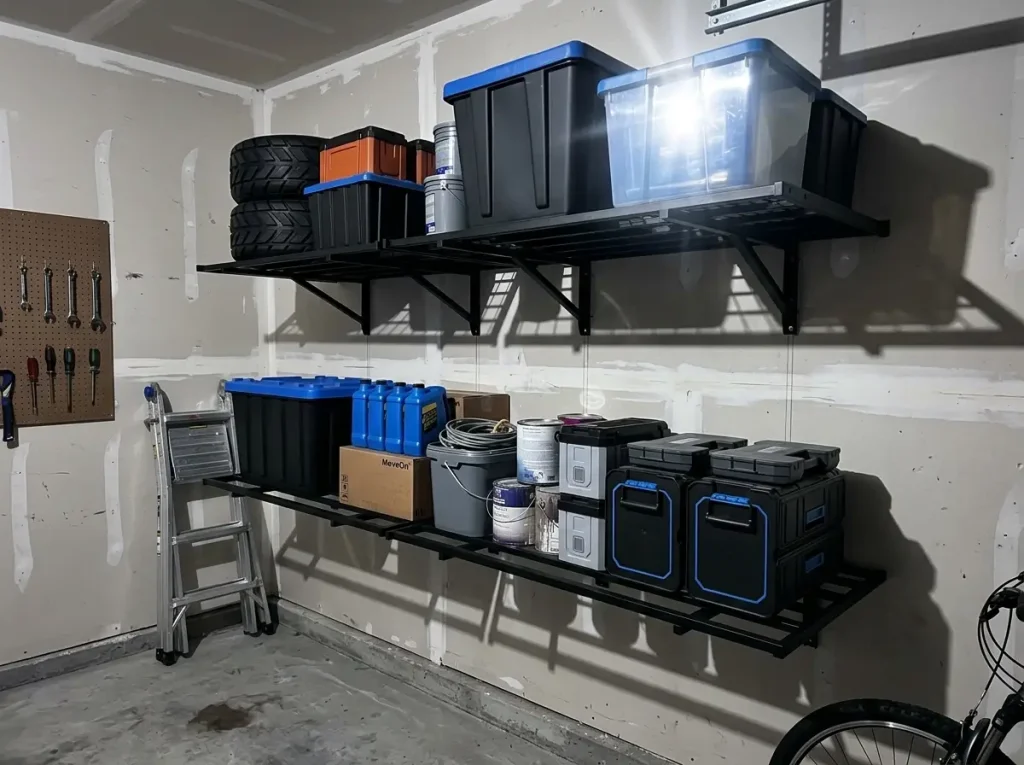
The garage is where people overload a wall the hardest, and where the choice between a rail system and separate brackets actually has money and safety riding on it. Here’s the number that settles the debate: a single 48-inch rail mounted to studs can support up to about 1,750 pounds distributed, while three individual brackets on that same span hold closer to 350 pounds for a shelf. One rail beats three brackets on raw capacity, and it lets you reposition shelves later without re-drilling the wall.
When a Rail System Beats Three Separate Brackets
Rail systems get recommended as the default garage answer. And they’re right, most of the time, unless your studs are irregular or you genuinely only need one shelf, in which case separate brackets are simpler and cheaper. The rail earns its keep when you’re storing a full run of totes, tools, and bulky gear and want the freedom to slide shelves up and down as the season changes. Rubbermaid’s own FastTrack specs make the stud-mounting requirement explicit, which is the whole point: that huge weight number only exists if you hit studs across the rail’s full length.
Fleximounts Pro Series for Real Garage Loads
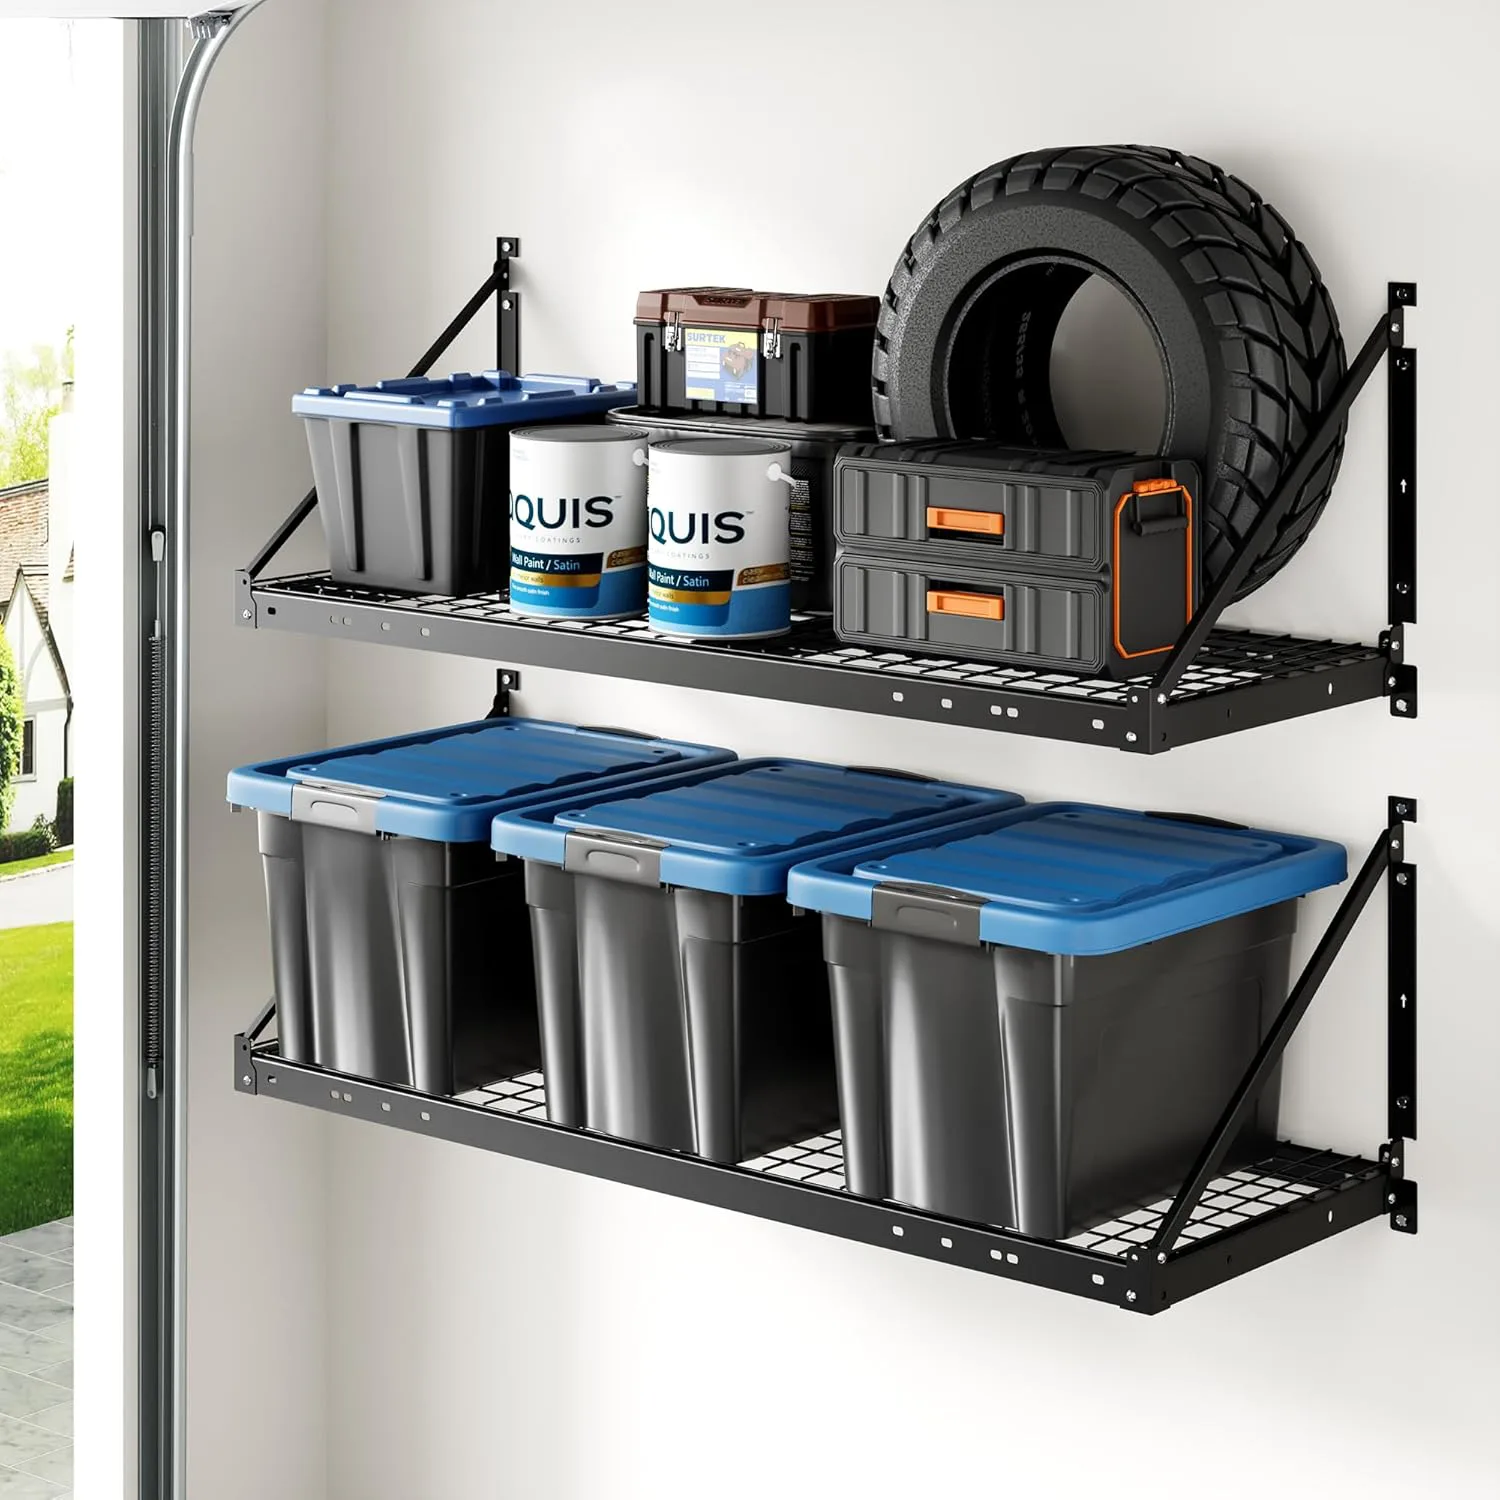
For a dedicated heavy-duty shelf rather than a rail, the Fleximounts Pro Series is the pick. This class of garage shelving is commonly rated around 200 pounds per shelf section, roughly 800 pounds total across a unit, when it’s stud-mounted with the included heavy-duty brackets. That’s the tier above a basic bracket shelf, built for storage totes, small power equipment, and seasonal gear.
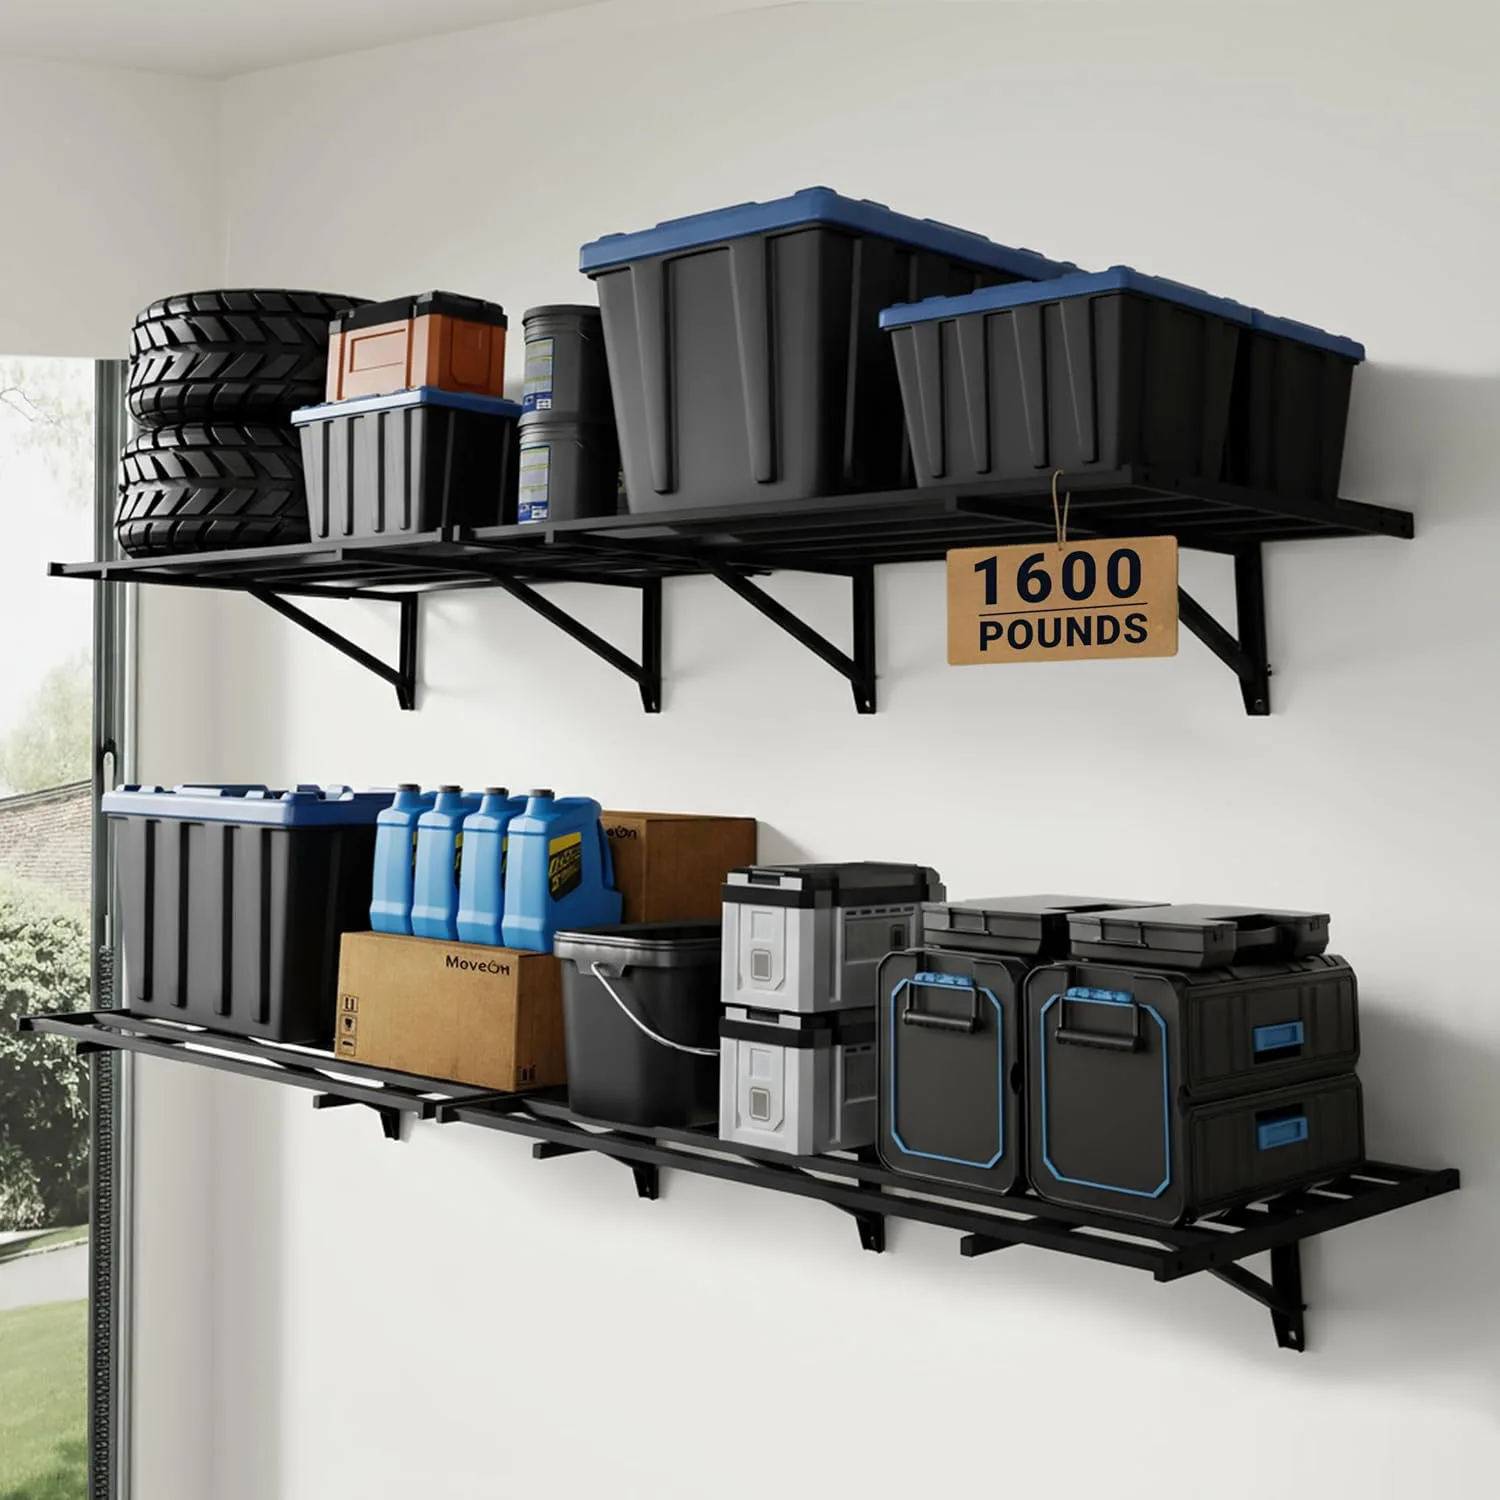
If a full 6-foot run is more shelf than your space or budget wants, the smaller version does the same job in a tighter footprint. It’s the same heavy-duty category, just scaled down for a garage corner or a utility closet.
The Stud Rule You Can’t Anchor Your Way Around
One thing to be blunt about: a rail system installed without hitting studs across its full length is a genuine safety hazard, and it voids the warranty. It’s one of the most common garage shortcuts, usually because the studs weren’t marked and someone got impatient. You cannot drywall-anchor your way to a four-figure weight rating. If you’d rather not commit heavy loads to a wall at all, a freestanding shelving unit that won’t tip sidesteps the whole anchor question. The video below walks through a real stud-mounted install and load test so you can see the capacity claim in action.
Best Stud-Mounted Bracket Shelves for Everyday Rooms
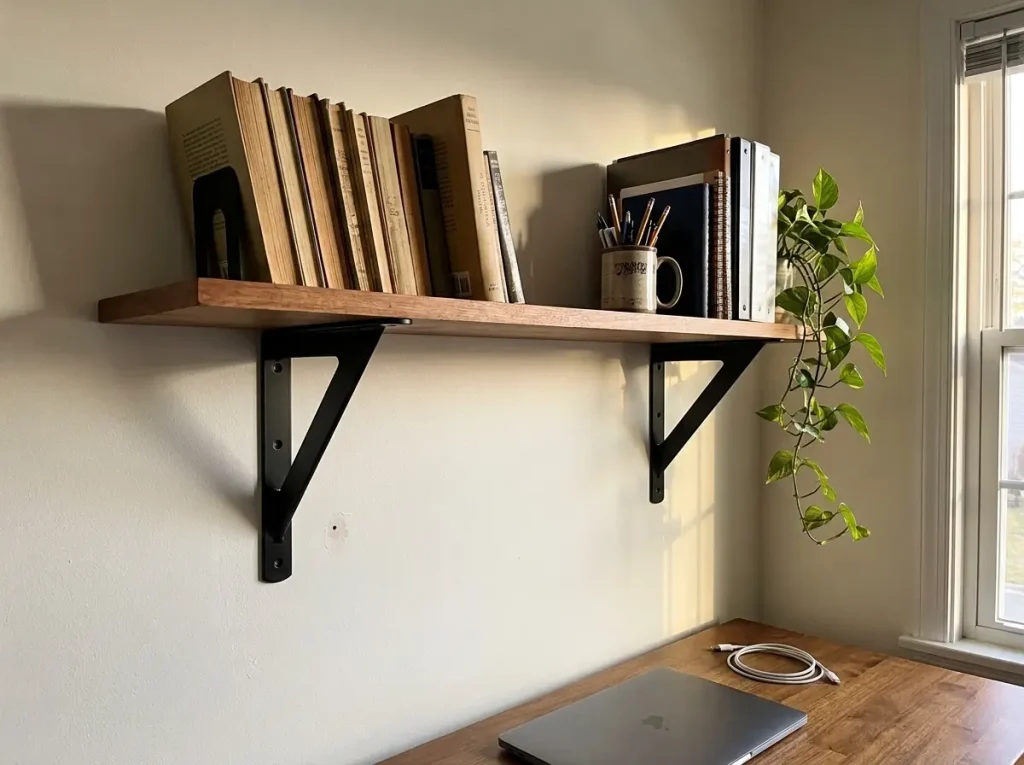
Most people don’t need garage-grade steel. They need a shelf that holds a run of books or a stack of media in a living room, office, or bedroom without sagging by summer. This is the middle tier, and it’s where the smartest money decision lives: buy a finished system, or build your own with rated brackets and a board.
System vs. Build-Your-Own With Rated Brackets
The conventional move is to buy the matching pre-built system because it looks tidier in the box. In practice, for a straight run over studs, a board plus a rated pair of brackets does about 90% of the same job for less, and it forgives the reality of where your studs actually landed. A finished adjustable system is genuinely nicer if you want to change shelf heights often. For a shelf that’s going up once and staying put, the DIY route usually wins on both price and fit.
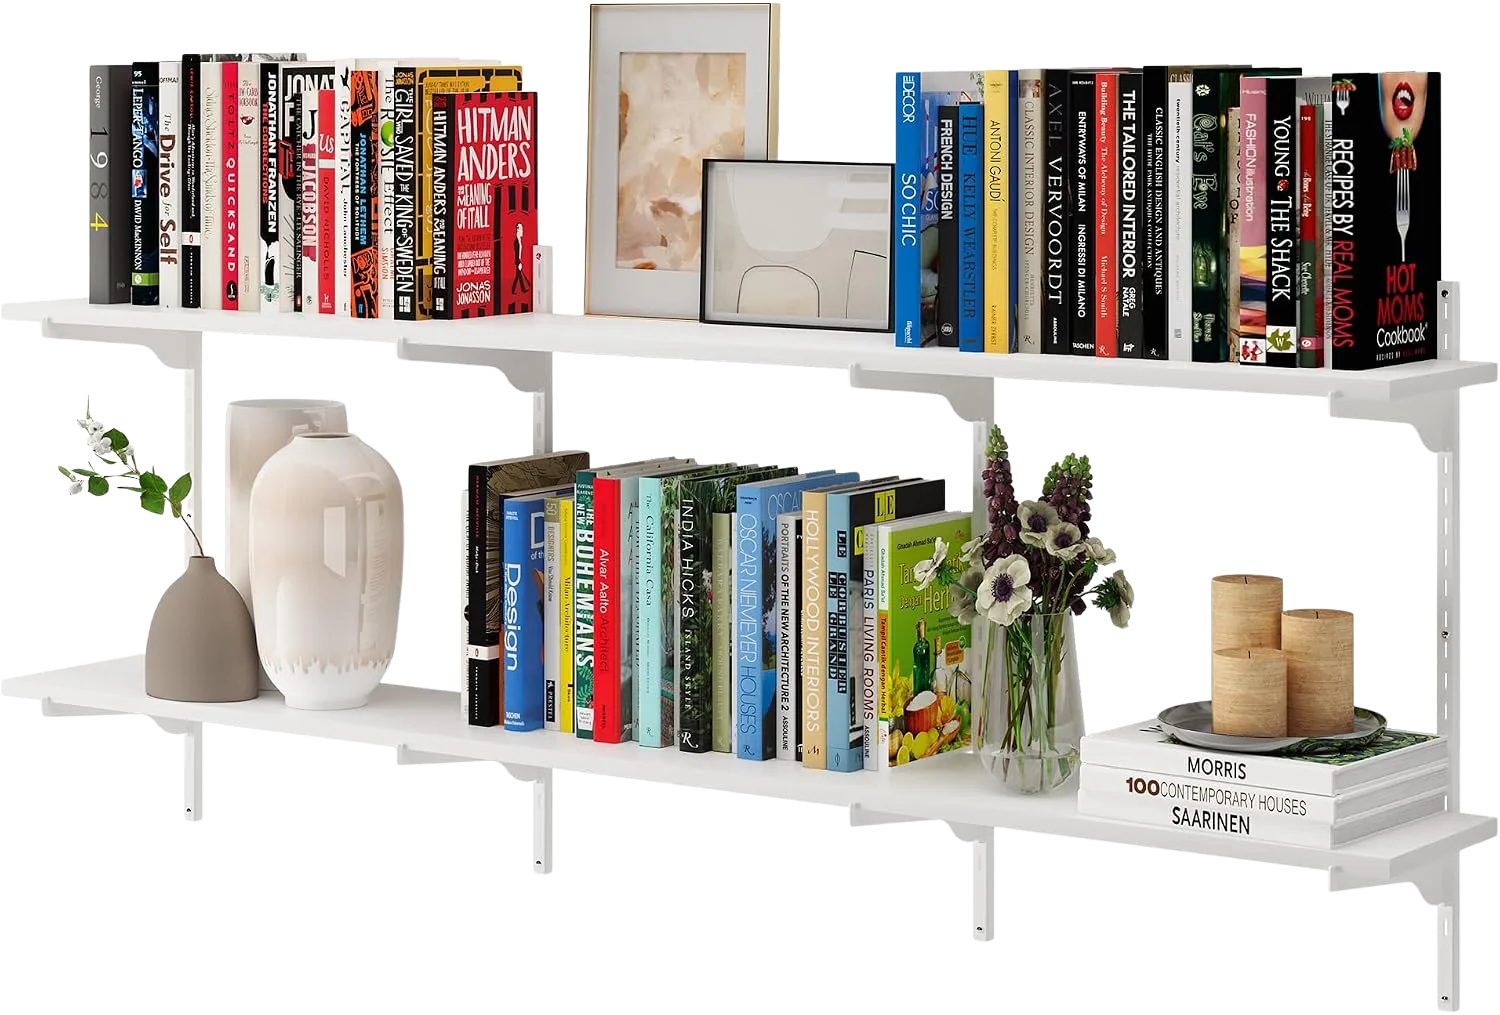
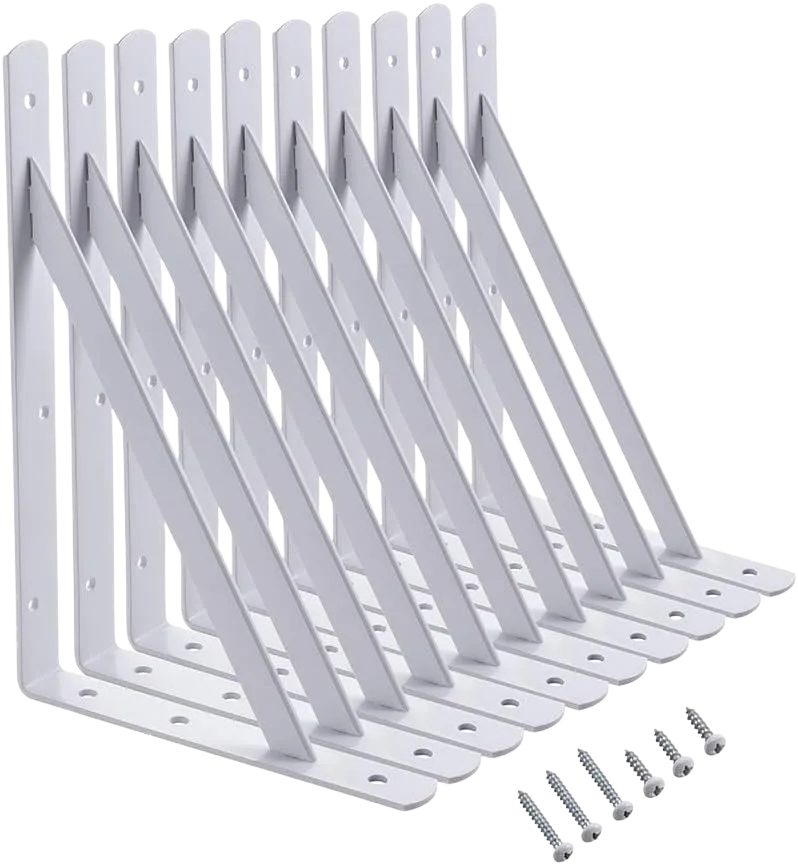
If you’d rather build your own, a rated bracket set is the budget path. You supply a board you like, mount the brackets into studs, and end up with a stronger, better-fitting shelf than most pre-made units for less money.
Adjustable Tracks for Rooms That Change
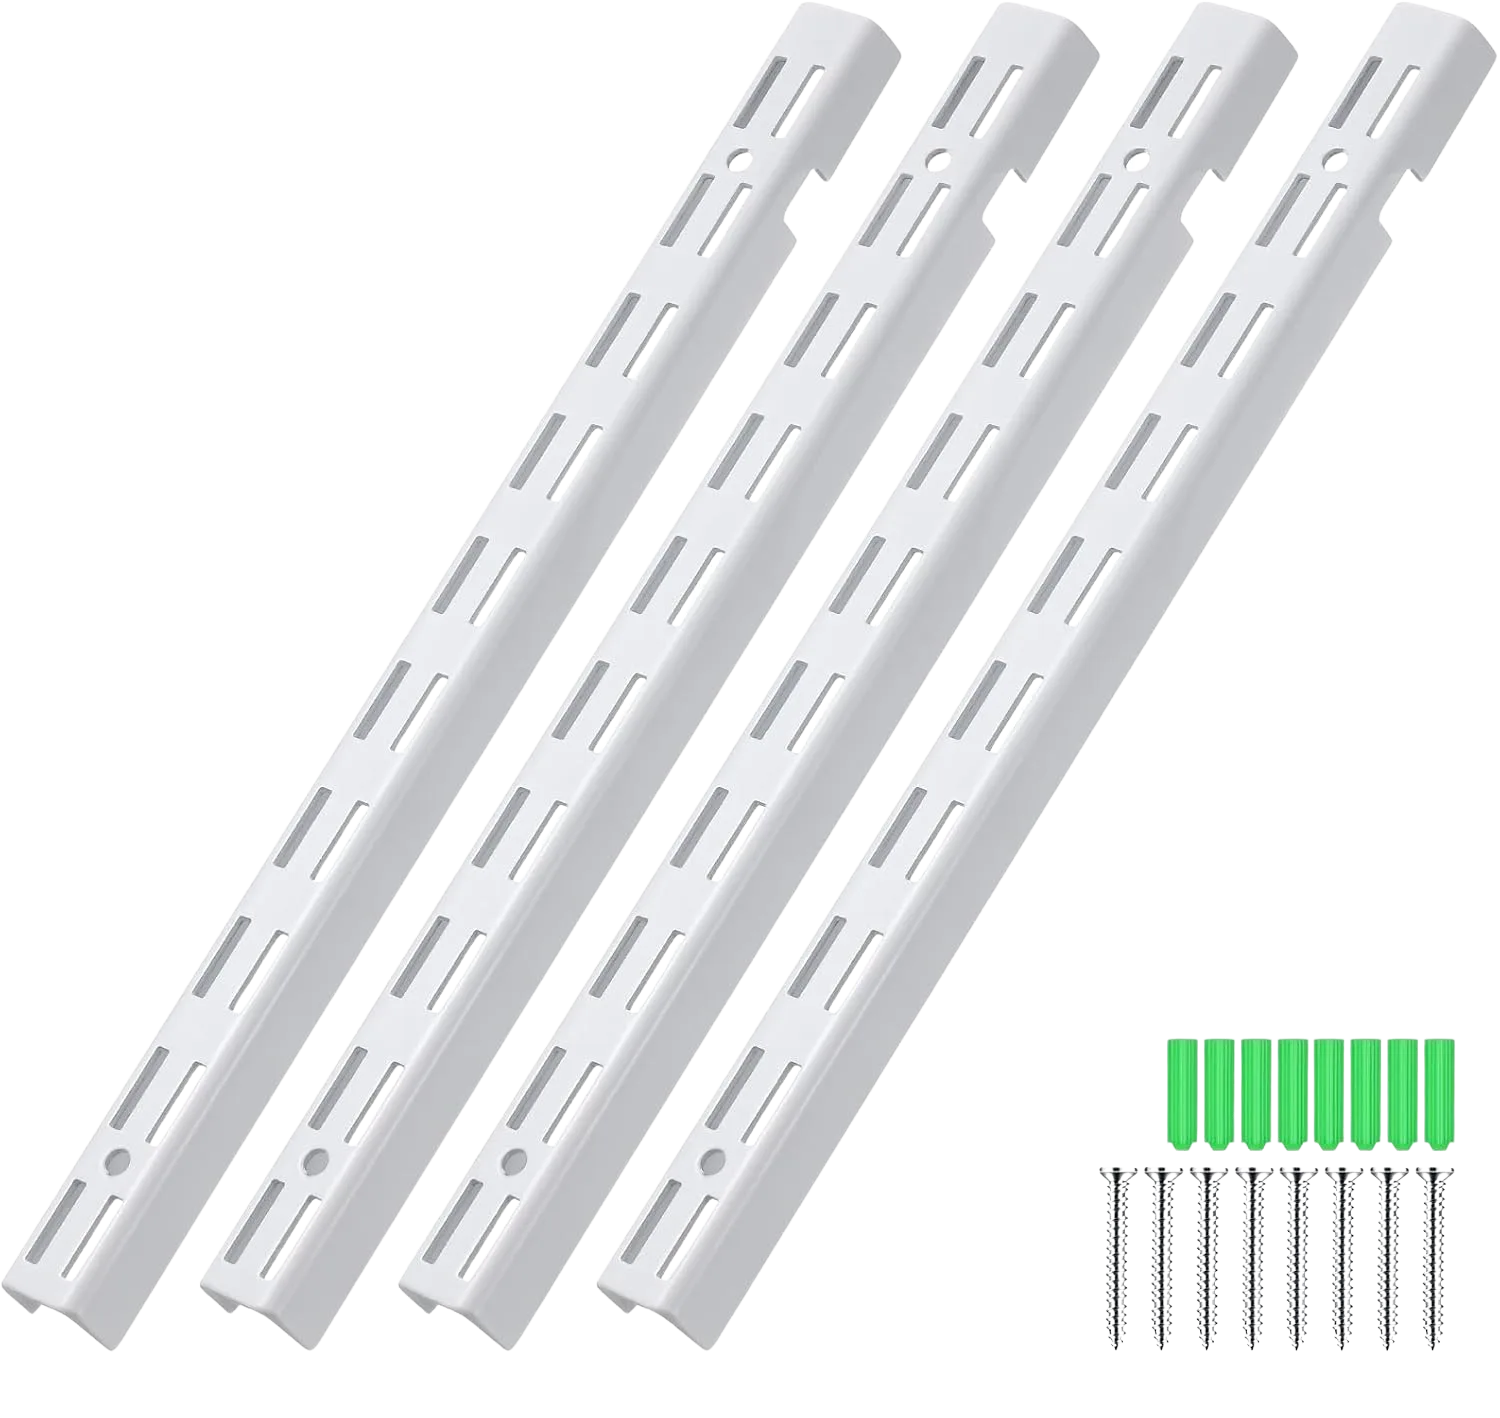
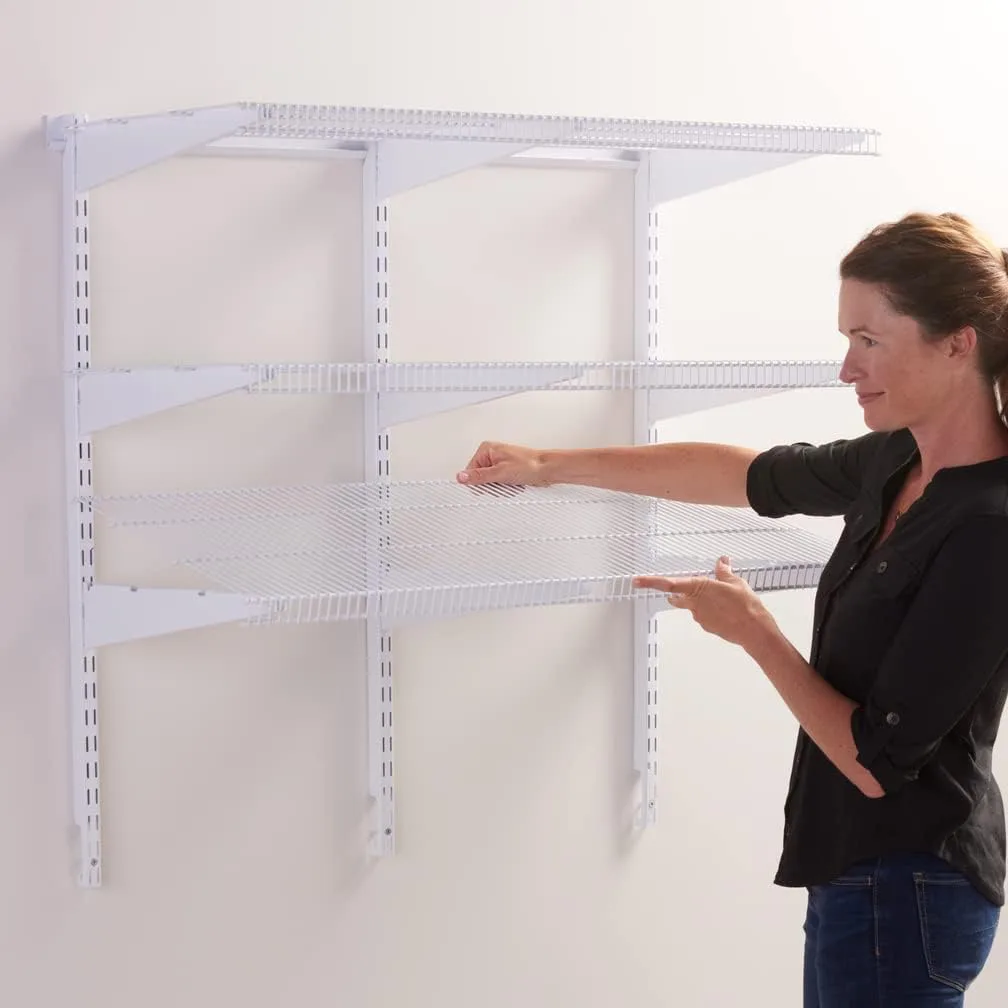
For a closet or office where the storage keeps evolving, a notched dual-track upright system gives you tool-free height changes. You mount the vertical tracks into studs once, then move the shelf brackets up and down as your needs shift.
Matching Bracket Spacing to Your Actual Studs
The reason DIY brackets often beat a rigid pre-built shelf is spacing. Pre-drilled units assume your studs sit at a tidy interval. Real walls, especially in older buildings, don’t always cooperate. With loose brackets you place each one exactly where the framing is, instead of forcing a fixed unit to line up with studs that refuse to. If your storage looks more decorative than structural, a low-profile floating shelf instead may be the better-looking answer for lighter loads.
Best No-Drill Wall Shelves for Renters

Renters get sold “heavy-duty no-drill” shelves that hold a small fraction of what the name implies. The honest move is to tell you the real ceiling before you stack hardcovers on one and watch it slide down the wall a month later.
What Adhesive Strips Really Hold
Command-style adhesive strips top out around 16 pounds for the largest shelf strips, and about 7.5 pounds for hooks. That number also comes with fine print: it assumes you wiped the wall with rubbing alcohol first and that weight is spread evenly, not piled on one end. Sixteen pounds vanishes fast once you subtract the shelf’s own weight, which is exactly why the “no-drill floating shelf loaded with books” story ends the same way so often. The strips creep loose in a humid room or under steady weight, and the failure shows up weeks later, not on install day.
Wipe the wall with rubbing alcohol and let it dry fully before pressing on any adhesive strip. It’s the single cheapest step that decides whether the strip actually reaches its rated hold or gives out early, and skipping it is the most common reason a no-drill shelf lets go.
Mechanical No-Stud Mounts as the Honest Step Up
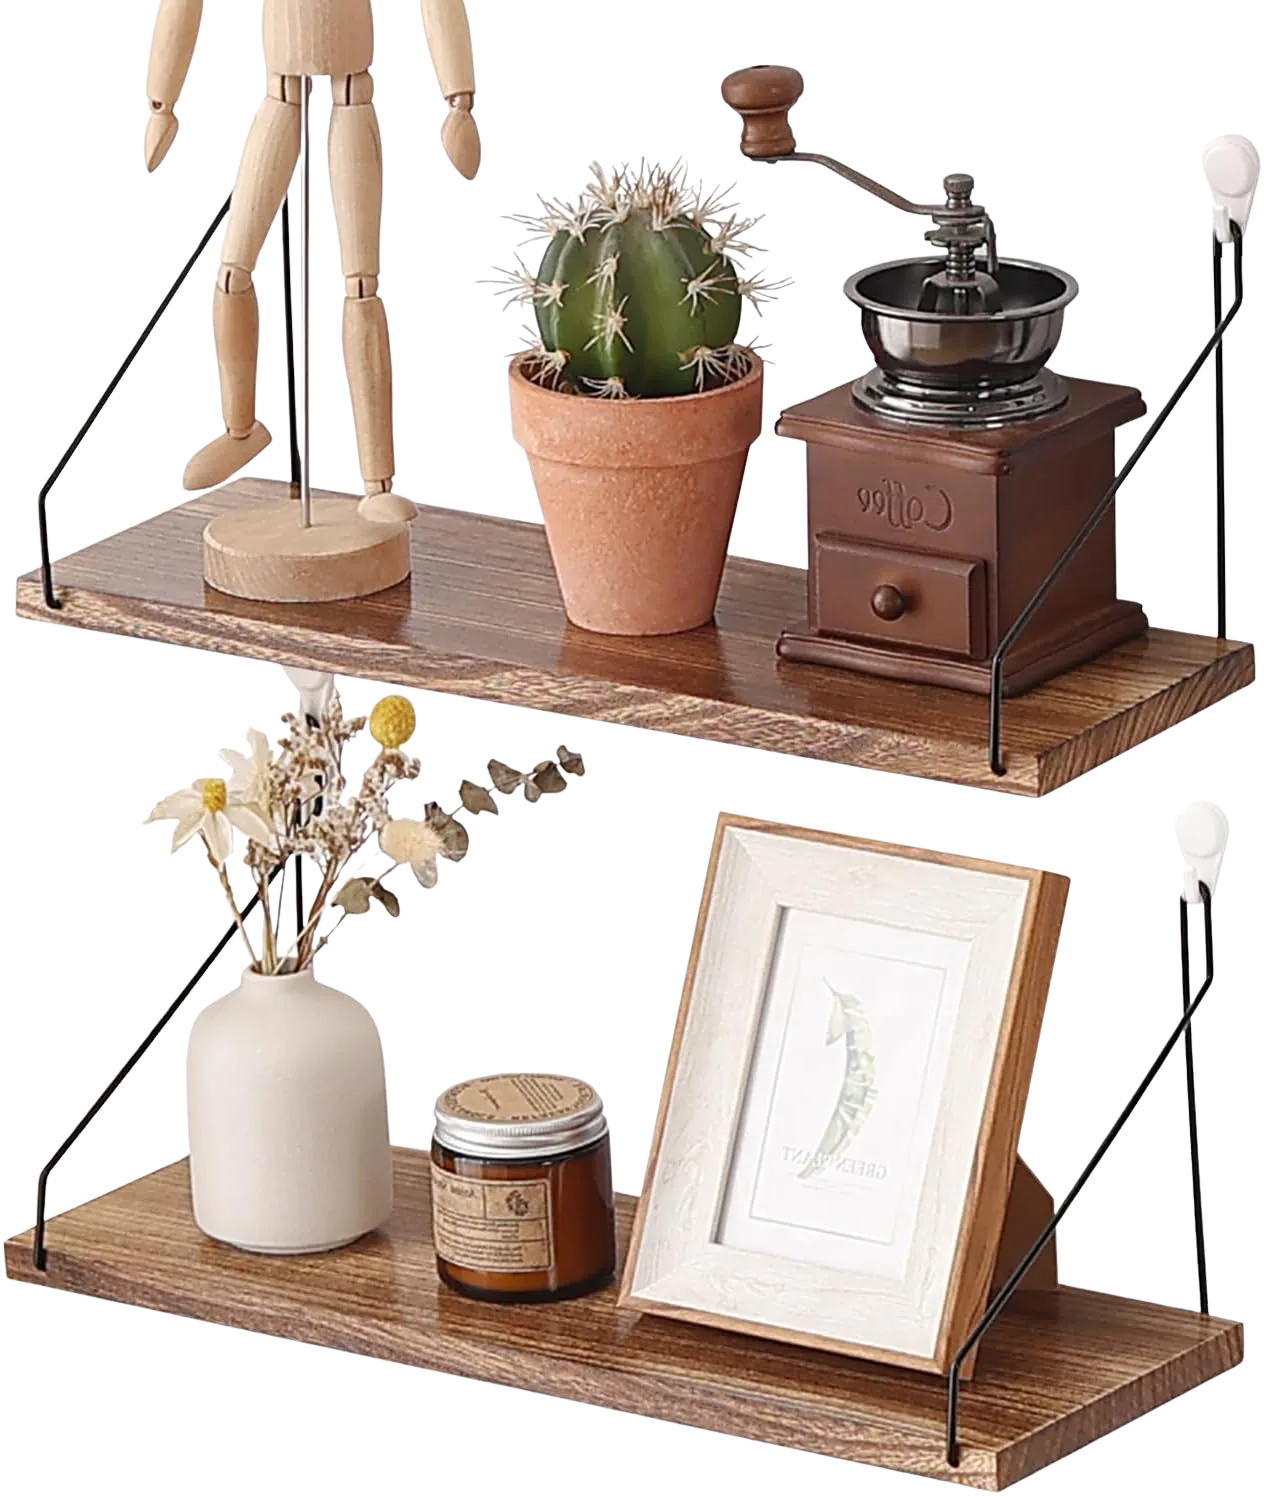
If you need more than a few pounds but still can’t drill into studs, a mechanical no-stud mount beats pure adhesive. Instead of relying on tape, it uses a mounting system that grips the wall, which gives you materially more real-world capacity while staying stud-optional. It’s the honest renter upgrade.
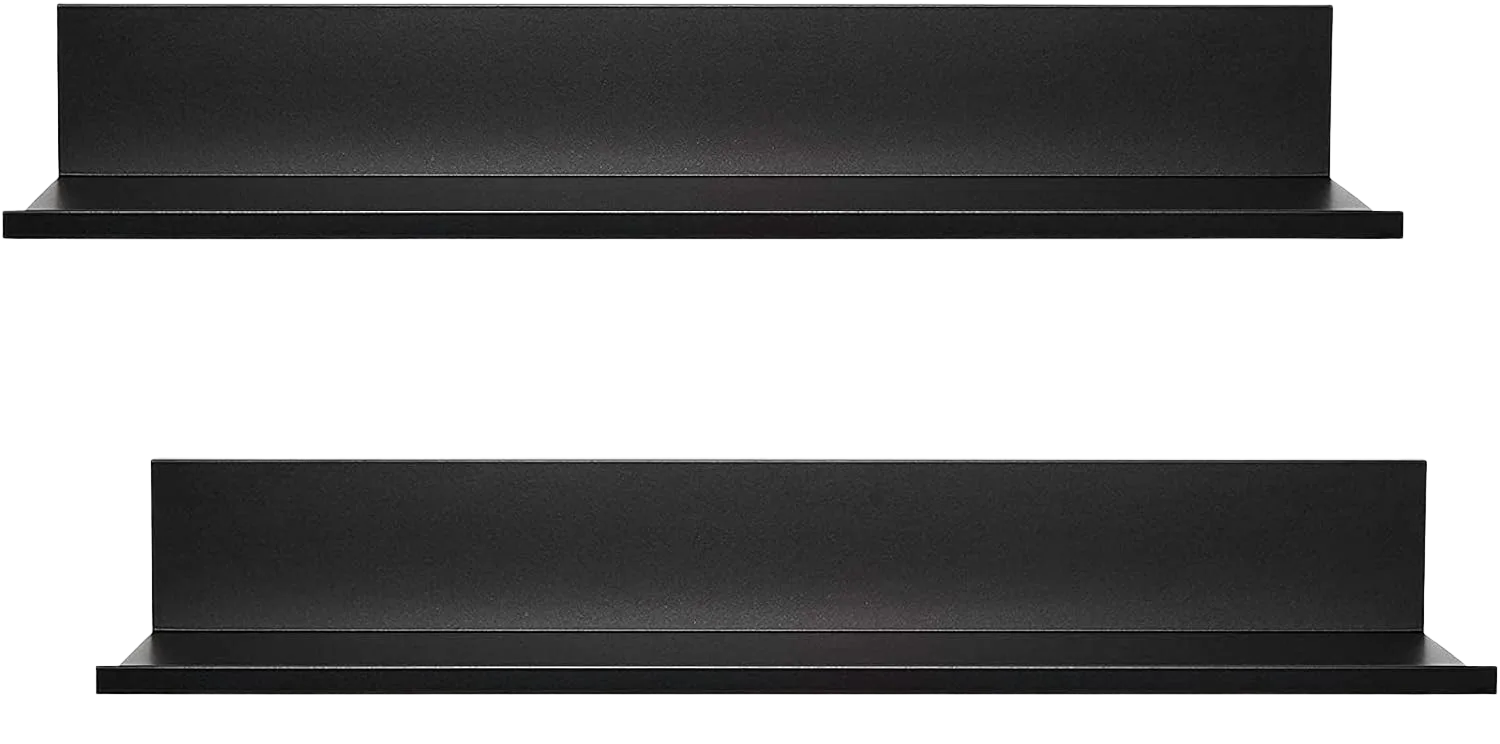
For a true light-duty adhesive shelf, this one is honest about its job. Pair it with the 16-pound reality above, keep it to light items, and it does exactly what it should.
Zero-Hardware Options That Skip Anchors Entirely
There’s one more renter route that sidesteps the whole capacity question: no hardware at all. A leaning ladder shelf or a corner tension setup uses its own geometry, or two walls, for stability instead of anchors. You trade the need for open wall space for the freedom from ever patching a hole or leaving any wall damage behind. In a corner especially, a tension-rod shelf that holds real weight without a single hole can carry more than an adhesive strip ever will. The same logic drives most no-drill closet setups that won’t cost your deposit.
How to Choose a Wall Shelf by Room
The wall rules don’t change from room to room, but the load and the right tier do. Here’s the quick translation so you can map your space to a pick without overthinking it.
Kitchen, Pantry, and Laundry Loads
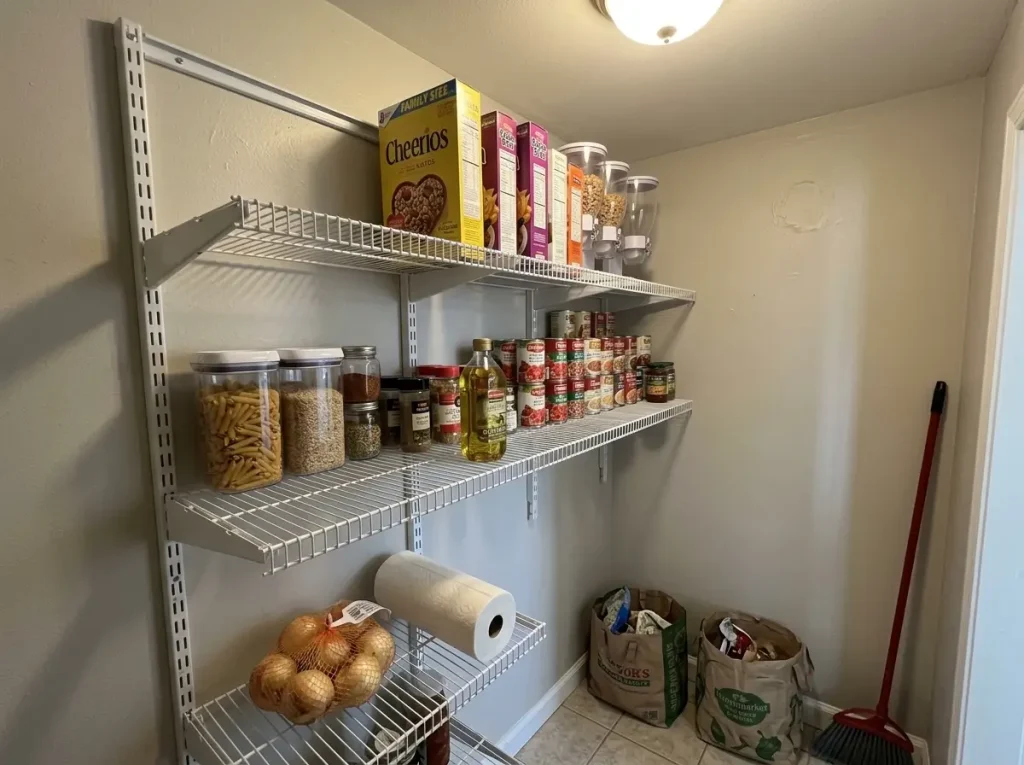
Kitchens and pantries hold heavy, shifting weight: canned goods, small appliances, jars that get pulled out daily. An adjustable stud-mounted rail handles that best, and a rail system like the Rubbermaid FastTrack 36″ Wall-Mount Pantry Shelf System crosses over here nicely because you can reposition shelves as your stock changes.
Laundry and utility rooms lean toward the heavy-duty or rail systems for detergent and supplies, with one extra caveat: humidity. A damp room is where adhesive mounts creep first, so this is stud territory, not strip territory.
Office and Living Room Shelving
Home offices want everyday bracket shelves over studs for books and binders, with the run kept over framing rather than resting on a single anchor mid-span. Living rooms are the same load-bearing job for media and books, while decorative floating shelves are a lighter, different task. For an awkward corner in either room, a corner shelf that braces against two walls can hold more than a flat wall shelf of the same size. And if you’re a renter working with limited walls, the broader playbook for going vertical in a small apartment pulls all of this together.
How to Install Wall Shelves and What Fails at Three Months
The “after” photo is not the finish line. Daily life is. Here’s how to mount a shelf so it survives the boring part, plus the failures that show up around the three-month mark that no product page mentions.
Finding Studs — Including in Old Plaster Walls
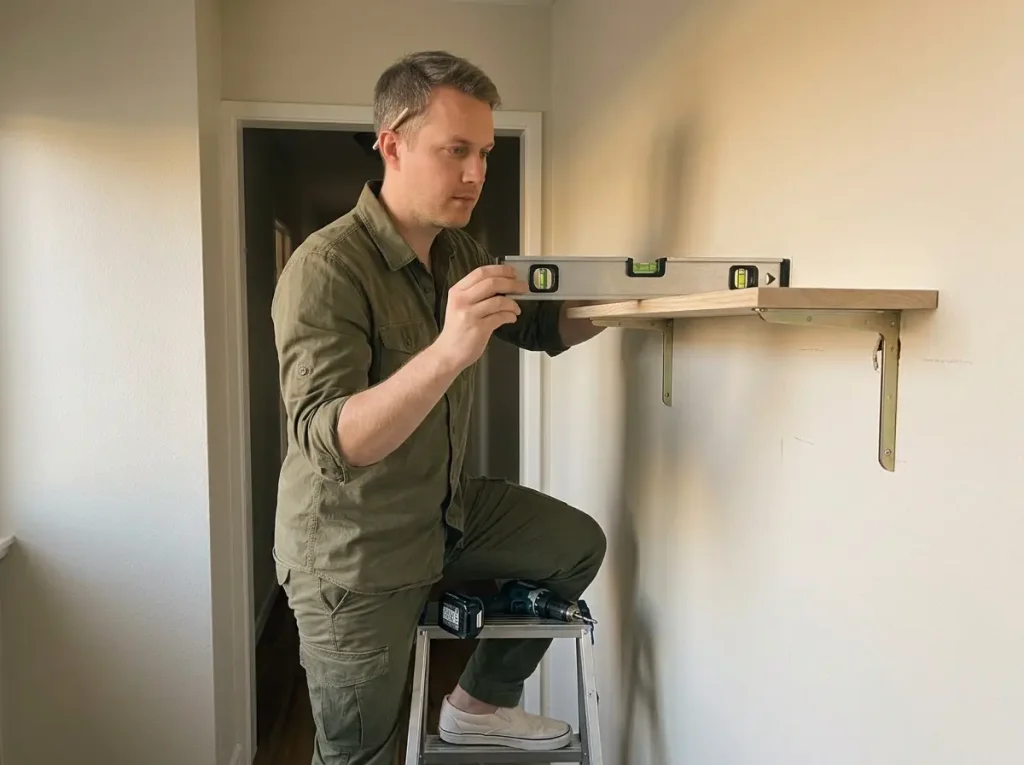
The install baseline is straightforward: find your studs, level the mount, pre-drill, and screw in. The wrinkle is that 16 inches on-center isn’t a universal law, it’s a modern-construction norm. Pre-1950s lath-and-plaster walls can vary the stud spacing by several inches per bay, and a standard stud finder tends to give false positives on plaster. The reliable method there is a magnet: run it slowly down the wall and it catches on the vertical line of lath nails, which traces the true stud position. Then pre-drill through both the plaster and the lath so you don’t crack the surface.
In an older apartment, don’t trust the electronic stud finder that keeps beeping on plaster. Drag a small magnet down the wall instead and mark every spot it grabs. Those grab points are the nail lines running into the studs, and they’re the only reliable map of your framing before you drill.
Toggle Bolts for When You Can’t Hit a Stud
Sometimes the shelf has to go where there’s no stud. The plastic anchors in the box get used by default here. And they’re fine for a picture frame, but for a loaded shelf they’re the first thing to fail. Swap them for spring toggle bolts, which carry far more in shear and spread the load behind the drywall instead of chewing through the paper face.
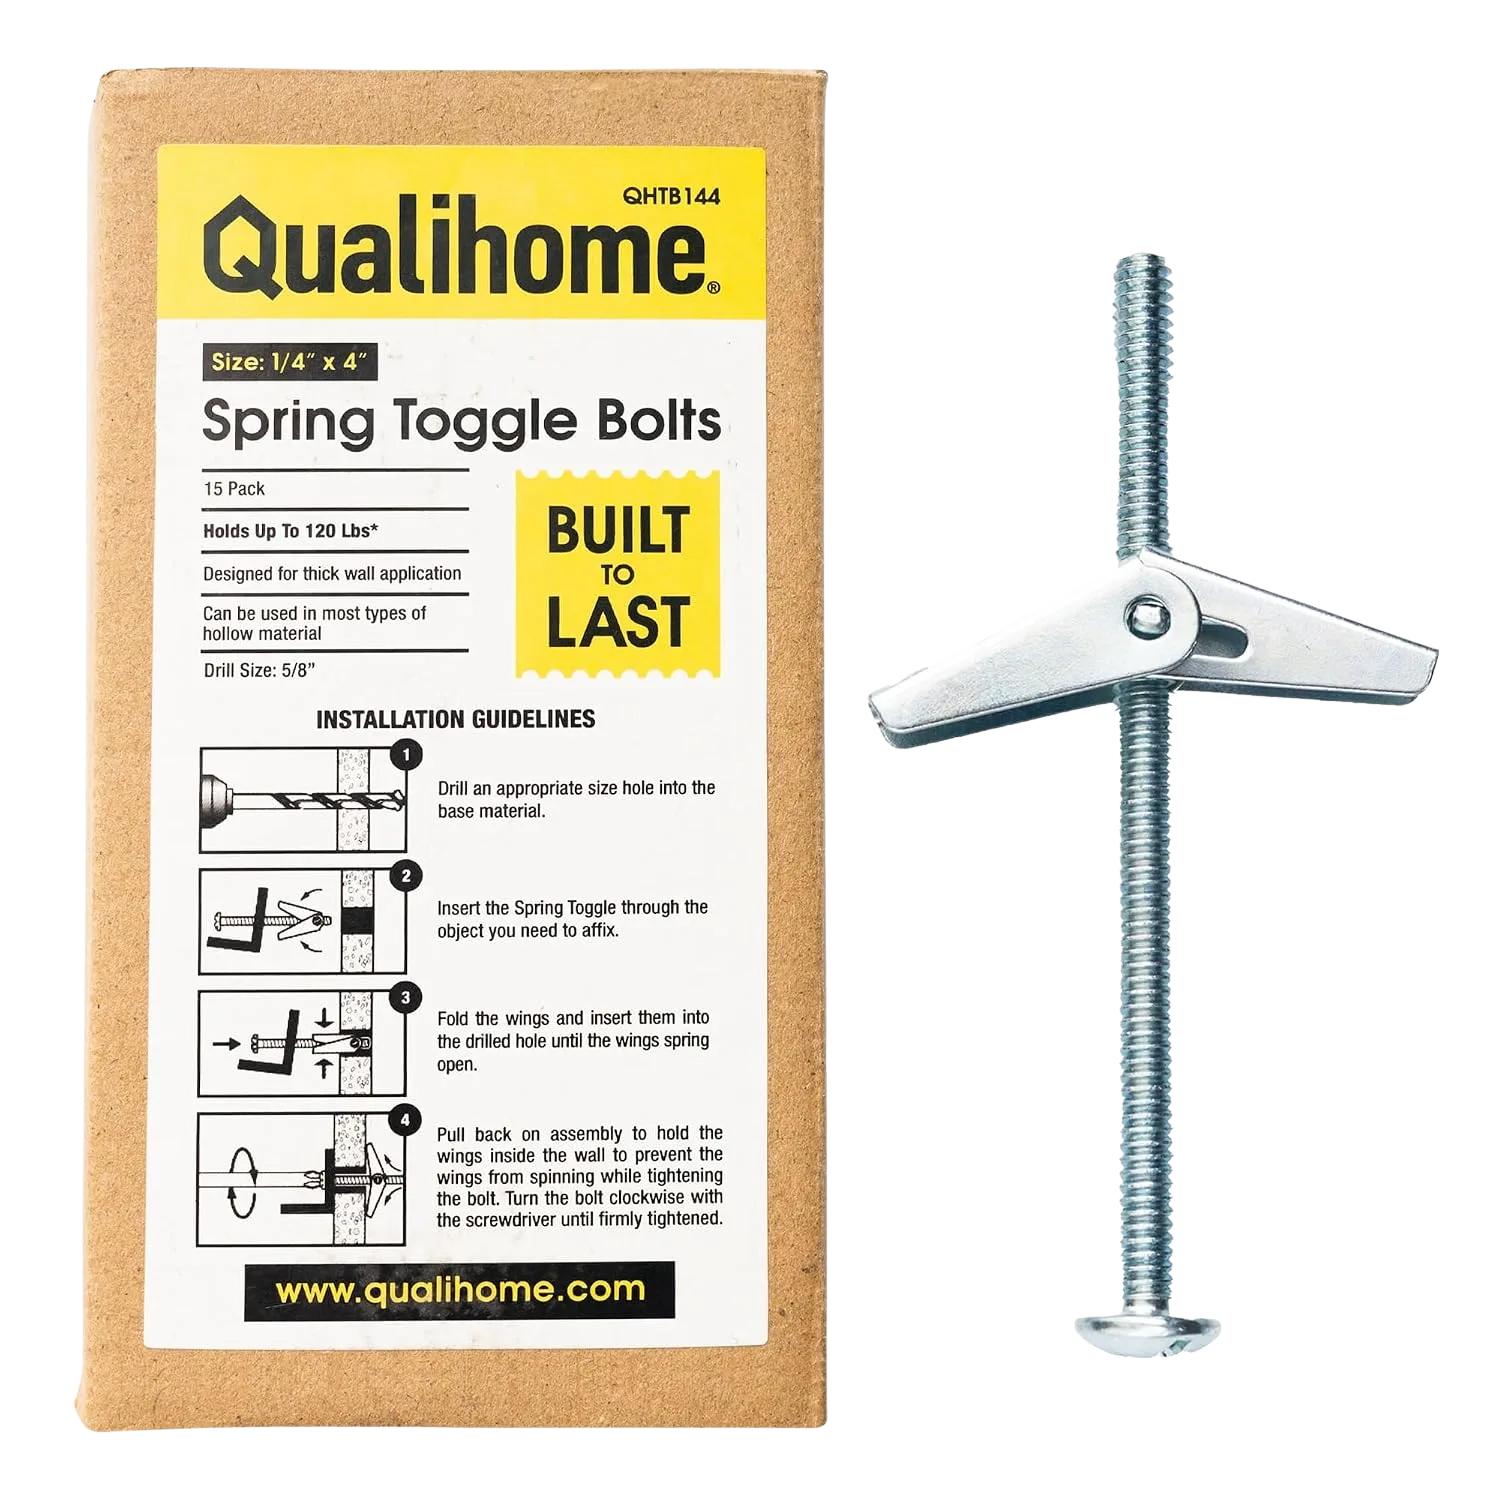
For load-bearing installs, the CPSC’s Anchor It! guidance on securing loads to studs is the same stud-first logic applied to furniture, and it’s worth a read before you trust a wall with real weight.
What Actually Fails Three Months In
None of this shows up on install day. It shows up in month three. Particleboard, MDF, and other engineered wood shelves sag in the middle under sustained weight, so a shelf that looked flat in week one develops a slow smile. Adhesive strips creep in humid rooms until the shelf drifts down the wall. And screws in drywall anchors slowly back out from vibration, a door slamming near the shelf over and over, until the whole thing loosens. The fix for all three is the same as the theme of this entire guide, the three-month test in practice: put the load on studs, use rated hardware, and don’t ask a plastic plug to do a toggle bolt’s job.
Conclusion
Three things to carry out of here. First, the mount decides capacity, not the sticker, so match stud, anchor, or adhesive to the actual load. Second, pick your tier honestly: garage rails for heavy loads, stud-mounted brackets for everyday rooms, no-drill only for genuinely light stuff. Third, upgrade the hardware before you blame the shelf, because a toggle bolt fixes most hollow-wall failures the plastic plug caused.
In three months, tug-test each shelf and look for sag, adhesive creep, or a screw starting to back out. Catch the failure before the shelf catches the floor.
Start with the one wall you’ll actually load. Mount it into studs. Then trust the next one.
Frequently Asked Questions
01How much weight can a wall-mounted shelf hold?
It depends on the mount, not the shelf. Screwed into a stud, a rated bracket shelf holds serious weight. Mounted into hollow drywall with a plastic anchor, real capacity drops to a fraction of the box number.
02Do wall-mounted shelves need to be screwed into studs?
For anything load-bearing, yes. Drywall alone can’t reliably hold heavy loads. Toggle bolts are the hollow-wall workaround for moderate weight, but studs are the baseline for any heavy shelf or rail system.
03How do you mount shelves on drywall without hitting a stud?
Use a spring toggle bolt instead of the plastic plug from the box, keep the load modest, and spread weight across the shelf. Toggles grip behind the drywall and hold far more than expansion anchors.
04Can you hang wall shelves without drilling holes?
Yes, but keep it honest. Adhesive-strip shelves cap around 16 pounds with proper wall prep and even loading. A leaning ladder shelf or a corner tension-rod setup skips hardware entirely for light loads.
05How do you find studs in an old plaster wall?
Run a magnet slowly down the wall to trace the line of lath nails, which marks the true stud position. It’s the reliable method when a standard stud finder gives false positives on plaster. Pre-drill through plaster and lath to avoid cracking.
Disclaimer: ClutterlessNest is a participant in the Amazon Services LLC Associates Program. As an Amazon Associate we earn from qualifying purchases. This article may contain affiliate links — if you buy through them, we may earn a small commission at no extra cost to you. We only recommend products we have tested or genuinely believe in.