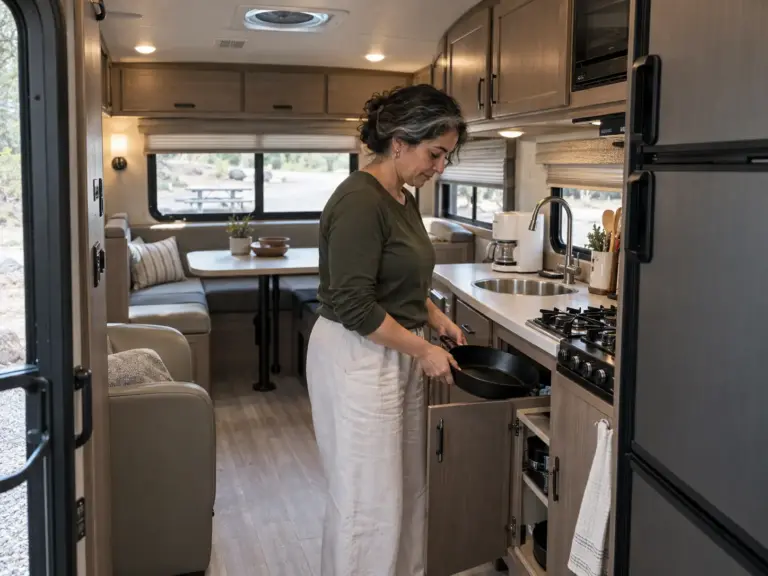

You open an overhead cabinet at the end of a travel day and the cans you stacked that morning are already on the floor behind you. In a tiny house on a foundation, the same shelf fails another way: it was perfect the day it was filled, and by spring there is no spare cubic inch left anywhere. RV and tiny home organization goes wrong in both homes for one reason. The bins were picked to match a photo, and the cavity, the weight and the motion never made it into the plan.
This guide works in the order a person actually does the job: measure, cut, zone, contain, go up, secure, check the load, then sort what belongs in a rig from what belongs in a house.
Quick Answer
Measure every opening first, cut what the home cannot carry, and put heavy items low. Fill each cavity with bins that fit it, then secure anything that can move. A rig needs a latch on every door and drawer; a fixed tiny house can use wall storage and anchored furniture.
RV and Tiny Home Organization Starts With the Opening, Not the Bin
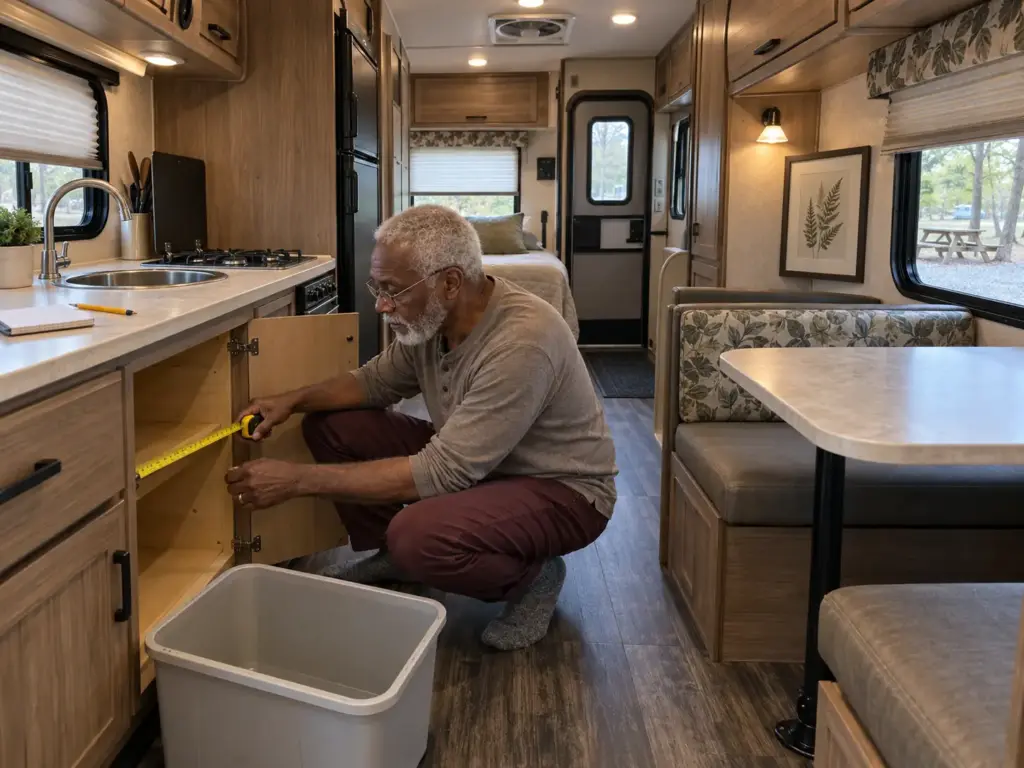
Measure Width, Depth and Height of Every Cavity
Take a tape measure and your phone to every cabinet, drawer, bay and the space under the bed. Write down the interior width, depth and height of each one, measured inside, not across the outside of the door. Storage sets are sized for houses, and RV cabinet depth is whatever the builder could fit between the wall and the roof. A set that looked right on the store shelf ends up sitting proud of the cabinet frame, and then the door will not close.
Measure at the narrowest point, which is usually the opening itself. The hinge, the face-frame lip or the door stop takes another inch that a tape run along the back wall never sees. And measure twice before you carry anything home, because a return trip from a campground is a half-day errand.
Photograph each opening with the tape reading in the frame. When a bin in a store aisle looks close, the photo settles it in ten seconds, and it also records which cabinet is which.
Where the Geometry Fights Standard Bins
Odd geometry (curved walls, sloped cabinet backs, shallow upper cabinets) is where a rectangular bin loses its inch. A straight-sided box pushed against an angled wall leaves a wedge of dead space, and the wedge is exactly where small items wedge themselves and rattle. Round containers fare worse, since they waste the corners of a straight-walled cavity too.
Drawers show the effect most sharply. An in-drawer knife organizer is sold in drawer-length sizes, and one listing for a 17-inch block says a 17-inch drawer holds 11 knives while a 22-inch drawer fits all 16. The drawer’s number picks the model, not the other way around.
Record It Once so Every Purchase Starts From a Number
Keep one note on your phone: each opening named by location (galley upper left, bath under-sink, bed drawer) with its three numbers beside it. Every purchase after that starts from a figure you wrote down on a calm afternoon, not from memory in an aisle. It is also the quickest way to see how much of a small footprint you are really working with, and the same habit pays off when you are squeezing more out of a small footprint of any kind.
Cut the Inventory to What the Home Can Carry
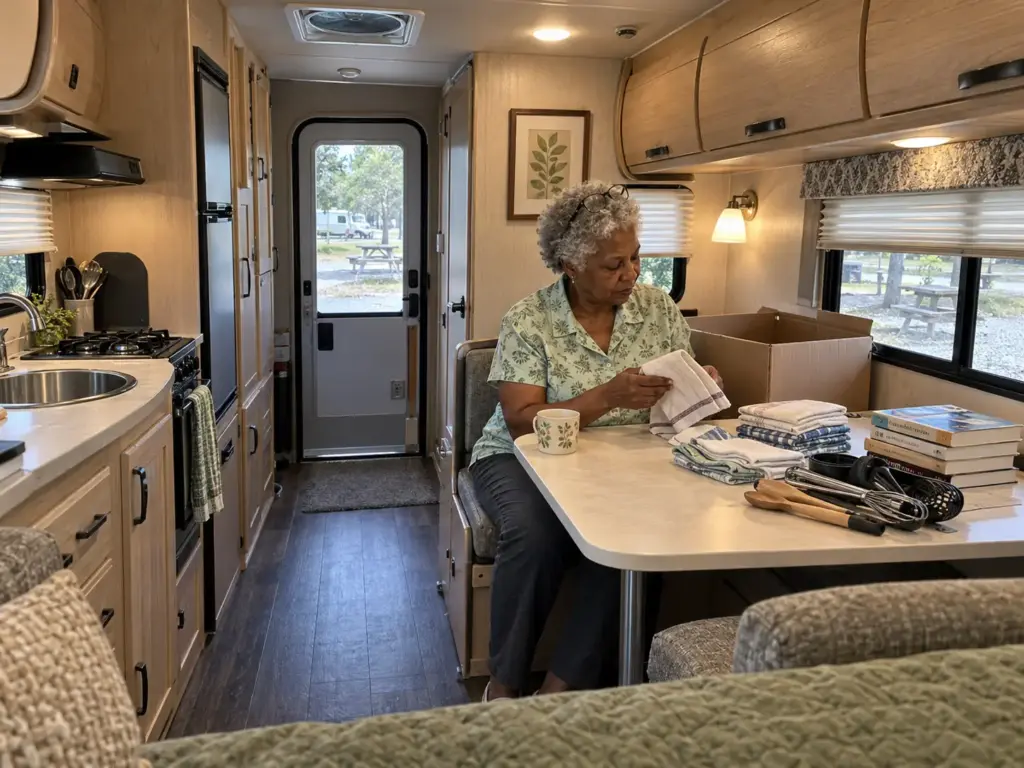
Sort Everything Into Keep, Donate and Toss First
Declutter first, with three piles before a single container is bought: keep, donate, toss. What you buy afterward should fit what stays, and a smaller pile means smaller bins, fewer latches and a lighter cabinet. People pack for the trip they imagine, with the spare skillet, the second tablecloth and the tools for repairs that never come up, instead of the one they take. A stationary tiny-house owner does the mirror image and keeps everything that might be useful someday, and one season later the shelves are full.
Keep the pile honest by sorting by use, not by sentiment, and give anything you have not touched in a full season a hard look. If you want the method for staying pared down once the pile is gone, here is how to keep a pared-down home pared down.
In a Rig, the Limit Is the Vehicle’s Total Weight
A rig, whether a full-time RV or a weekend camper, has a ceiling that a house does not. According to Escapees RV Club’s education director Jim Koca, “The GVWR is determined by the manufacturer and is the maximum weight that a vehicle or trailer can carry.” That figure sits on a data plate (inside the driver’s door sill on a motorhome; a trailer’s owner’s manual points you to it), and it covers everything on board: water, propane, people, and every item in every cabinet.
Most rigs are already close to it. SmartWeigh wheel-weight data, as reported by Escapees, puts about 57% of all RV types overweight in some area. So every pound you store is a pound taken from a margin that is probably thin already. The pantry and the books are what quietly add the weight, because a dozen cans and a shelf of paperbacks feel like nothing until you lift the box.
In a Fixed Tiny House, the Limit Is Cubic Inches
A tiny house that stays put can carry more weight; its limit is floor and shelf area. The rule that holds here is one in, one out: nothing enters without something leaving. Write a short list of what the house is allowed to hold (two sets of sheets, one set of pots, one shelf of books) and treat anything beyond it as a decision, not an accident. The second set of everything is what fills a tiny house, and it fills it a little at a time.
Zone the Space by What Happens Where
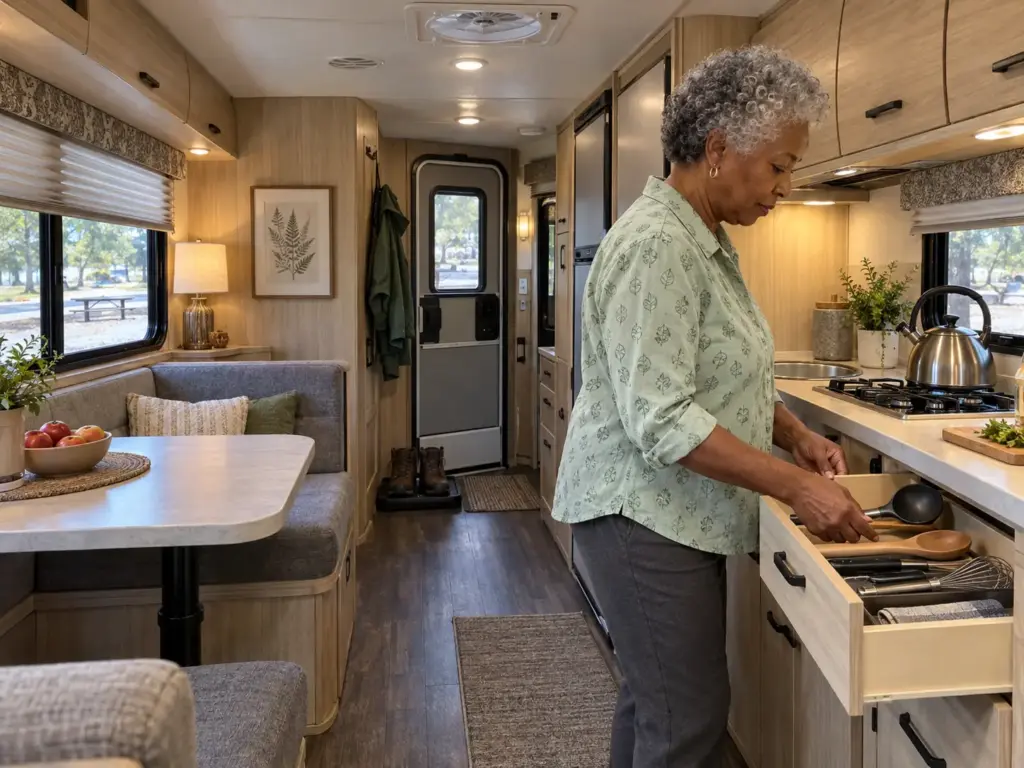
The Galley Gets the Daily-Use Items Only
Stored by “wherever it fit,” the can opener is lost by the second day of a trip. Zones fix that: one home for each item, set by where it is used. In the galley, that means daily tools within reach and everything else somewhere less convenient. Knives and glass are the items to secure first, since they do the most harm when they move.
A small fridge adds its own puzzle, and fitting a small fridge when standard bins do not fit shows how to work around the depth.
Full guides for RV kitchens, RV bathrooms and RV closets, and for tiny-home storage, are in the works for this site. This section gives you the zone logic; those will take each room much deeper.
The Bathroom Is a Wet Cabinet and a Moving One
An RV bathroom is tight, damp and in motion. Anything that tips needs a lip or a caddy, and anything that rolls needs a corner to roll into. The same measure-first rule applies to the vanity and the under-sink area, only with less room for error. A small cabinet that steams also has its own demands, and keeping a small cabinet readable when it steams covers how to arrange it.
Sleeping Area, Wardrobe and Under-Bed
Under-bed storage is the largest hidden volume in most rigs, and the under-bed clearance is often shallow and hard to reach, while a dinette bench with a lift-up seat hides a second pocket. Whether it is usable depends on one question: can you get at it without taking the mattress apart? That is what decides between whether a rolling drawer or a flat box fits under there. Hanging space in a wardrobe is usually short, so folded clothes in shallow bins do better than long hangers.
Entry, Outside Bays and the Loft
Near the door, set aside a boot-and-mud buffer: a tray, a mat, a hook. The interior stays cleaner, and the zone nearest the door is the one that collects everything with no home. Call it a zone and give it a boundary, or it becomes a pile. Exterior storage bays take the heavy and the dirty items.
In a tiny house, loft storage is limited by standing clearance. If you cannot stand up there, it is for weekly-access items only (off-season clothes, spare bedding), and the daily items stay below.
Pick Containers That Fit the Cavity

Rectangular Beats Round in an Odd Space
Rectangular baskets and stackable clear bins with straight sides fit a straight-walled cavity, and nothing else does as well. Round and curved shapes leave gaps at the corners and tip when the coach tilts. Fabric bins flex a little against a curved wall, which is their one real advantage over rigid plastic.
Clear, Fabric or Latched: Choose by the Surface It Sits On
Clear plastic shows the inventory without opening a lid. Fabric gives against a curved wall. A latched lid is the one that stays shut when the road moves, and it matters most on a shelf where the bin can slide. In a dry cabinet that never travels, a shoebox does the same job as any of them, so start there.
For a cabinet that does travel, the IRIS USA 32 Qt Latching Clear Storage Box (4-Pack) gives you one clear, lidded size across several cabinets. Measure the cavity first, since 32 quarts is a lot of box for a shallow upper. On this style the handles and latches are the parts that give out, so pull on a latch with your hand before you trust a full four-pack to a bumpy road.
Stack Only What You Can Still Reach
Stack two high at most, and only where the top bin comes out one-handed. A shelf with a low lip will not hold a stack in place, so a tall stack on that shelf slides at the first hard brake. If you have to unstack three bins to reach the bottom one, the system is already losing.
Go Vertical Without Loading the Wrong Wall
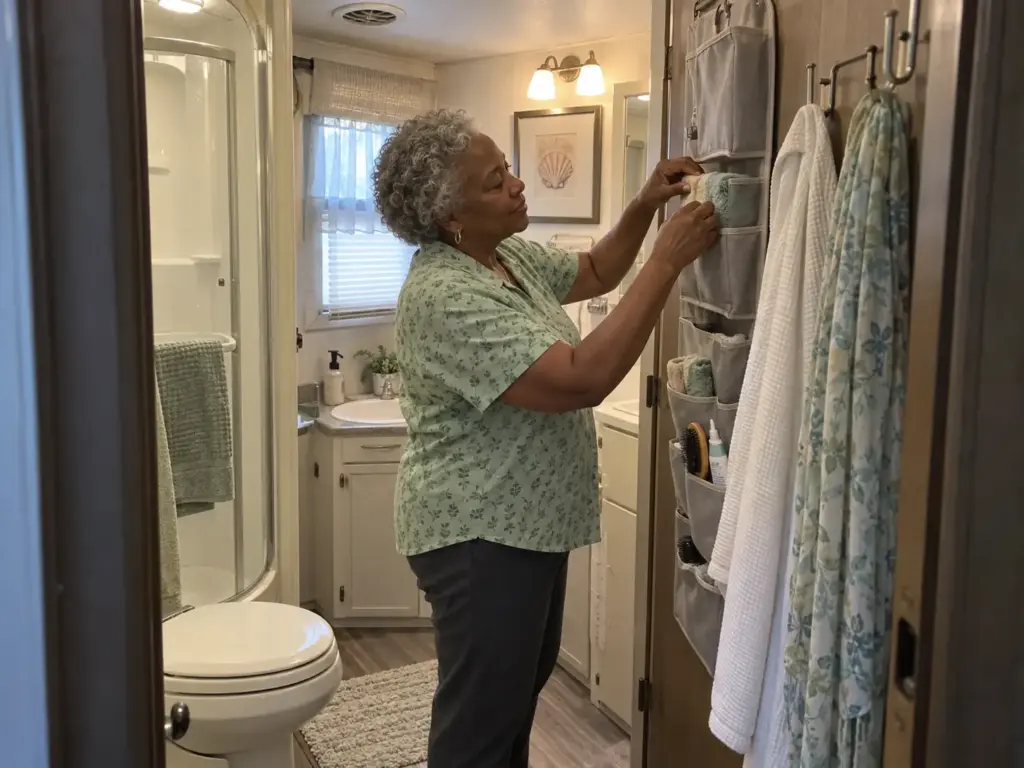
Hooks and Over-the-Door Organizers
Before spending anything, check the back of the cabinet door and the inside of the closet door. Both are usually empty, and both are free. After that, adhesive hooks and over-door organizers are the fast, no-drill ways up, and there are more places to go up in a small home than most people try. Each one comes with a weight rating, and the rating is the limit, not the target.
A loaded hook on a moving home tugs on its anchor every time the road shakes. Lighter items and a shorter drop keep the anchor in place longer.
Tension Rods and Shelf Risers
A tension rod spans an opening and works as a shelf for light things. Weight near the rod’s limit is where it slips, and in a rig a slipped rod is a spill. Shelf risers double the usable height of a shelf, but only if the upper level has headroom when the door closes.
Match the Fixture to the Surface Behind It
The wall behind decides the fixture. A thin panel, a paneled wall and a cabinet frame take different fixings, and adhesive on a textured surface fails first. Test a hook with a light load for a few days before you trust it with anything you care about. If the surface is thin enough to flex under your thumb, put the weight lower and let the hook carry only what a thumb could hold.
Secure Everything That Can Move

Latch Every Door and Drawer
Cabinet doors pop open when the coach rocks, and a full overhead cabinet with a weak catch empties itself at the first washboard road. The stock gas strut is sized to hold up an empty door, and a door loaded with cans can overpower it. The remedy is a positive-catch cabinet latch, a catch that holds without a reset step and does not depend on the strut.
The ACIMONE RV Drawer Latches and Catches (8-Pack) is one such option, and the 8-count lets you fit a latch to each door and drawer in the galley. It is molded from ABS plastic, and on any plastic latch the catch is the weak point. The pull-force figure on the listing is printed two different ways, so judge the catch by hand rather than by that number. If you have fewer doors to cover, the 4-pack does the same job on a smaller count.
Money-saving fixes exist, and some of them are what people actually run in older rigs: a small bungee cord hooked between two handles, a thick rubber band across two knobs, a Velcro strip with a pull tab, or a wood slat screwed inside the opening as a bumper so the door stops against it. They hold a light door. A heavy one needs a real catch.
Give Wire Shelves a Liner and Give Open Shelves a Lip
The wire shelf is the usual shelf in an RV cabinet, and small items slide through its gaps. A liner stops that. The Gorilla Grip ShelfGuard wire shelf liner comes as a set of four 14 x 36 inch pieces. Some sheets do not lie flat and some run slightly large, so cut each one to fit the shelf before it goes in.
An open shelf with no lip needs a raised edge tray or an added lip, or the lip becomes a thing you wish you had put on in the driveway.
Release at Camp, Latch Before the Road
Release every latch when you park and set them again before you leave. It is a ten-second habit, and a short checklist taped inside a cabinet door makes it stick. A pantry slide-out or a fridge drawer that rides low deserves a second look, since a heavy mass that shifts under hard braking is the one that hurts.
Take a Short Test Drive Before the Long One
On a first load, drive to a nearby stop and look again. Catches loosen, a screw backs out a quarter turn, a bin that sat flat now sits crooked. A short shakedown drive finds what a long first drive would have broken. Then re-tighten, re-seat and go.
Run the first short drive with the cabinets loaded for real, not with towels as stand-ins. Stand-ins do not slide, strain a strut or dent a catch the way a stack of cans does.
The Overhead Load Rule: How to Check a Cabinet Before It Goes Up
No Published Rating Is the Real Answer
The question everyone asks is how much a cabinet will hold, and for most built-in RV cabinets the honest answer is that no rating is published. The hinge parts that suppliers sell state no weight limit, and the maker usually prints none for the box either. The GVWR on the data plate is a different number. It is the vehicle’s total, not the cabinet’s, and treating one as the other is how an overhead shelf ends up overloaded in a rig that is technically under its limit.
So the reader needs a method, not a figure. A load a vehicle can carry is not automatically a load a cabinet can hold while the vehicle is moving, because travel works fasteners loose long before it breaks a box.
Four Checks Before Anything Heavy Goes Up
Run these in order, any time you load an overhead cabinet.
- Read the owner’s manual for any note about the cabinet or the storage above the bed.
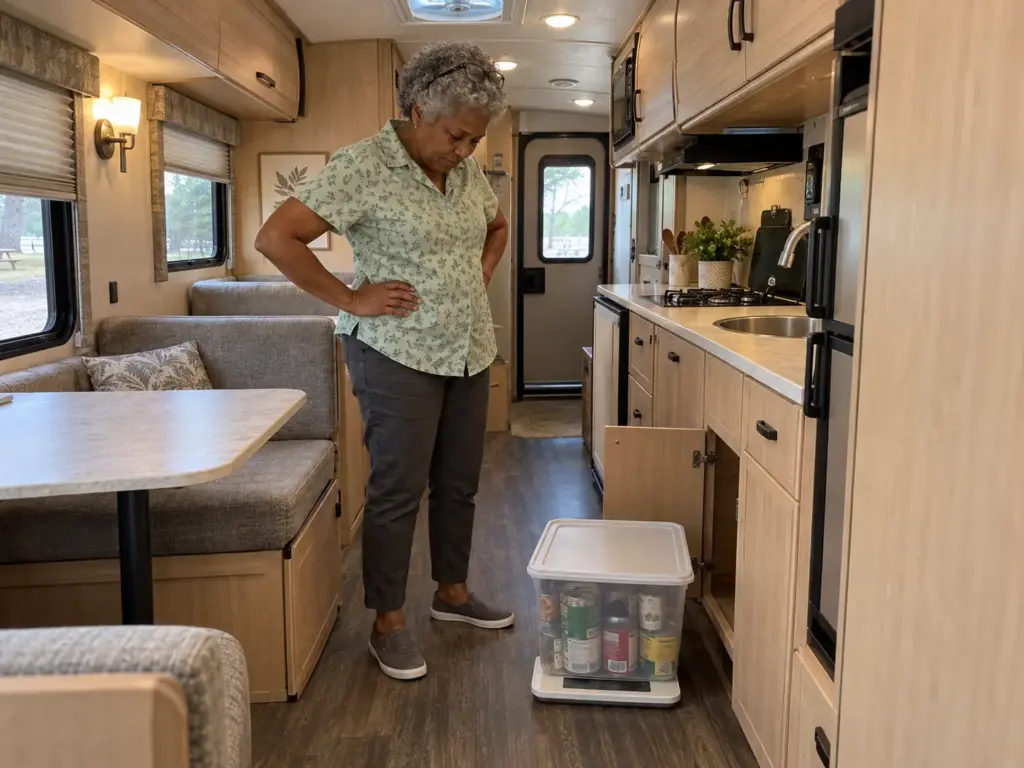
- Weigh the bin on a bathroom scale before it goes up, so you know what you are asking the mount to hold.
- Keep heavy items low and light items high. Weight distribution and a low center of gravity are the whole point: canned goods, tools and water belong at floor level.
- Look at the fasteners and the glue line where the door meets the cabinet, and where the cabinet meets the wall.
The failure usually starts at the mount, not at the box. A door held only by glue along its edge, a screw that backs out in travel and a gas strut too weak for a loaded door are the three that keep showing up. An upper door has come off and struck a person, and the cause was a lid held on by glue and not sitting flush. That is a plain hazard, and a thirty-second look at the glue line is the cheapest way to avoid it.
Re-Check the Fasteners After the First Trips
Travel loosens fasteners before it breaks a cabinet. After the first few trips, look at every screw you can reach on a loaded upper cabinet, and press on the door edge to see if it flexes. If in doubt, put it lower. A floor-level cabinet or the bay below takes weight without risk and costs you only a longer reach.
Keep a bathroom scale in the rig and put each full bin on it once. The weight you guess is almost always lighter than the weight you find, and a number on a sticky note inside the cabinet door saves you from guessing again.
Does Your Home Move or Stay? The Answer Changes the Storage
A Rig Needs Every Item Held Down
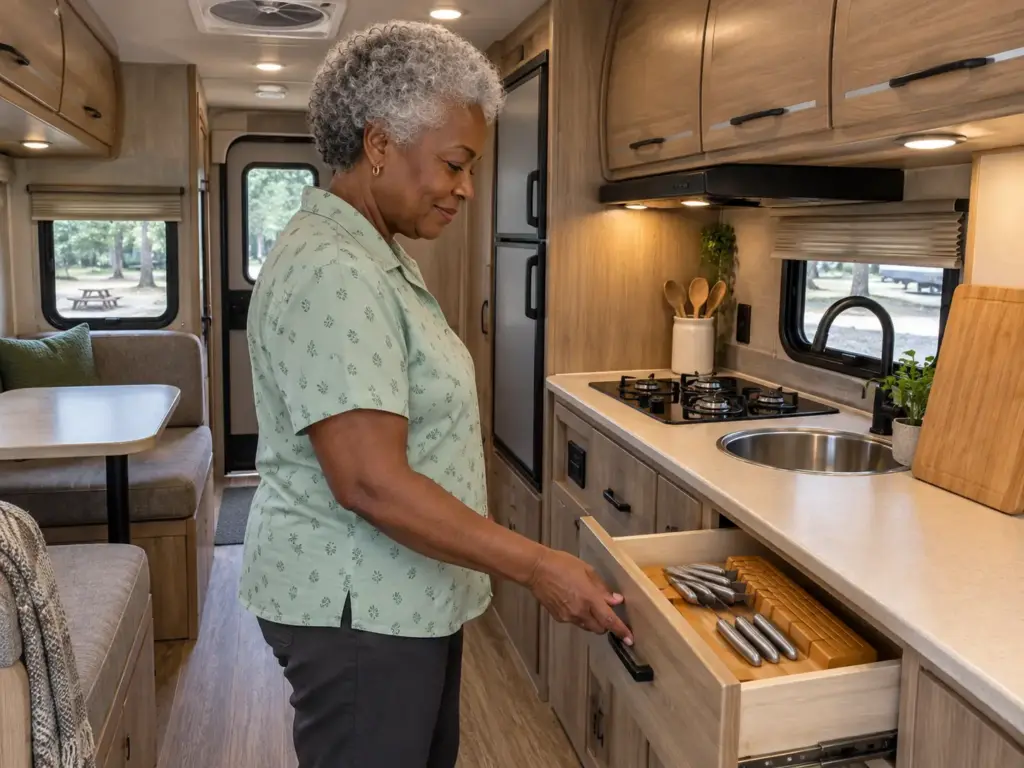
In a rig, the rule is simple: everything stays put at highway speed. In-drawer organizers, latched bins and grip liners all do that. Knives are the sharpest case. They live inside a drawer, because a magnet on a wall in a coach is a risk on the road.
The Bambusi In-Drawer Knife Block Organizer measures 17 x 5.3 x 2 inch with 16 slots, and it is bamboo with no assembly. As noted above, the drawer length decides how many knives fit, so measure the drawer first. Some owners find the knives do not stay in the slots, which is another reason to pair it with a drawer latch.
A Fixed Tiny House Can Take Wall Storage and Anchored Furniture
In a house that stays put, wall storage is back on the table. A magnetic strip frees counter space, and the Ninonly 12 Inch Magnetic Knife Strip is meant for that: a wall, a stationary home, nowhere else. Magnet strength and adhesion get mixed results, and some strips fall off within weeks, so mount it to a solid backing and not just to the paint. It does not go in a rig, whatever the listing says about RVs.
Tall furniture needs an anchor. The U.S. Consumer Product Safety Commission says it plainly: “CPSC recommends that consumers anchor furniture, including dressers, securely to the wall.” Read the full text at the federal consumer safety agency’s anchoring guidance.
For a tall unit that stands in a fixed home, pick one of the freestanding shelves built so they will not tip and anchor it anyway.
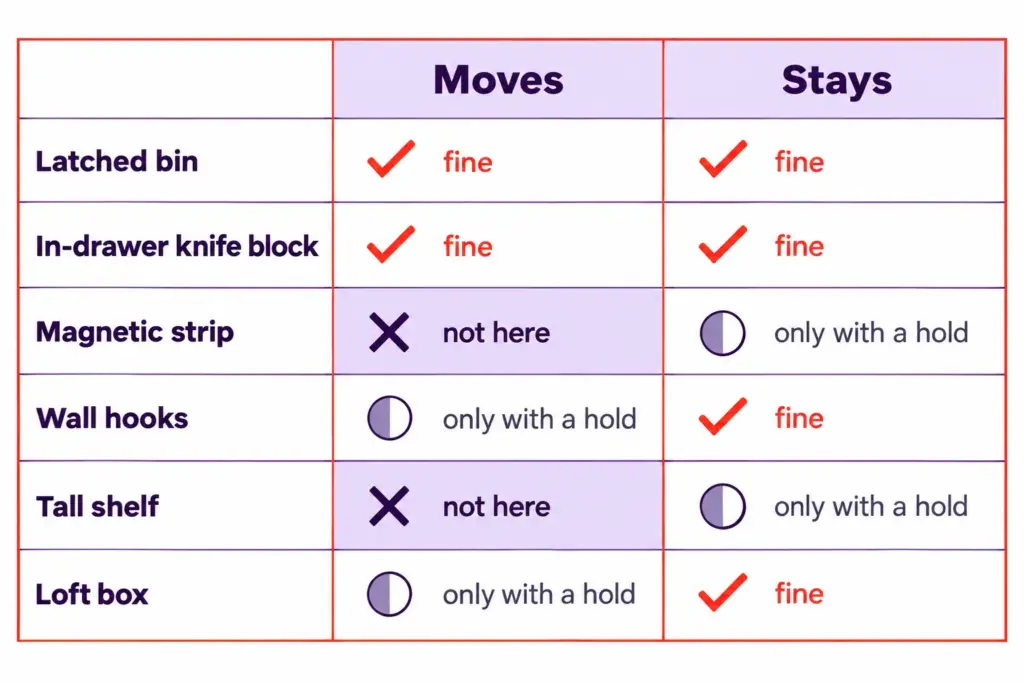
The Same Item Can Be Right in One and Wrong in the Other
A 12-inch magnetic strip is a smart counter-saver in a house and a hazard in a coach. A tall shelf is fine against an anchored wall and a tipping risk on a road.
A loft box is a good use of overhead height in one and a falling weight in the other. The product is the same. The home is what changed.
And a house that sits still still gets moved: a storm, a relocation, a tow. A tiny house on wheels is the middle case: it stays put most of the year but is built to be towed, so it should be stored like a rig.
Cheap, Mid and Custom: Where Each Budget Tier Fails
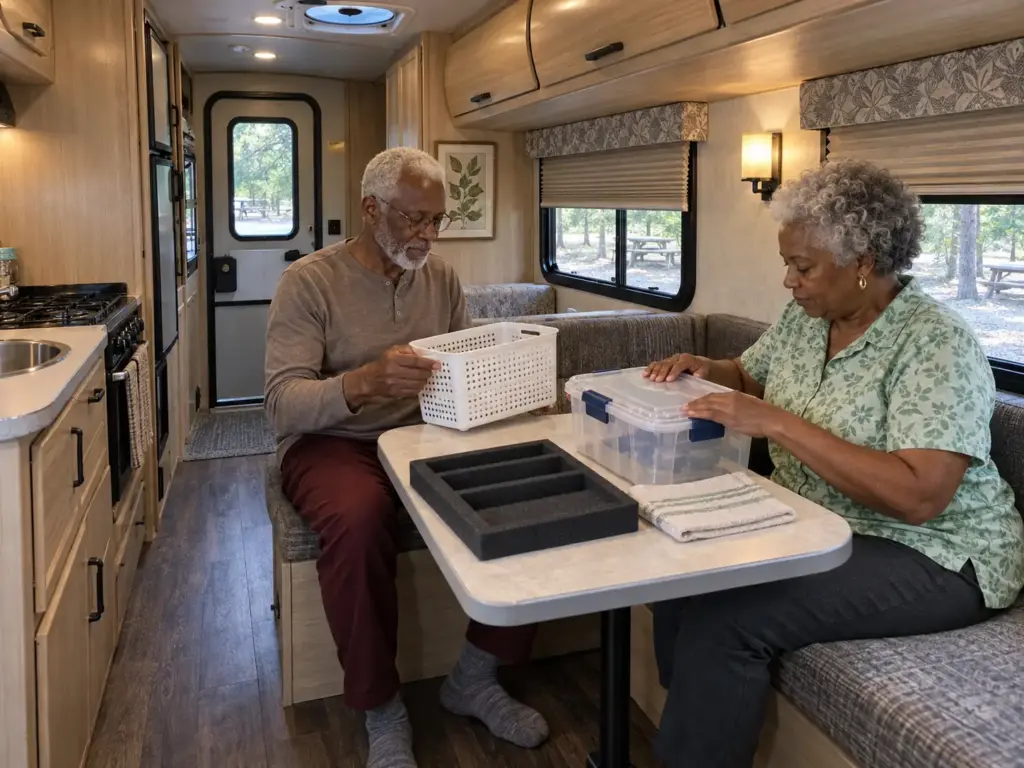
Dollar-Store Bins and Hooks: What They Do Well and Where They Quit
The cheap tier works in dry cabinets with light items, and it does that job well. Where it quits is predictable: bins flex on a curved wall, their feet do not grip a sloped floor, and the latch on a bargain lid gives way first. A shoebox, a cut-down cereal box and a hand towel in a drawer stop the rattle for nothing, so try those before you buy anything.
Mid-Priced Bins and Latches: The Sweet Spot for Most Rigs
A mid-priced latched box with a catch you have hand-tested handles most travel. Test one latch before buying the set; if the first one feels loose, the other three will too. Pair it with a positive-catch latch on the door, and a typical galley is covered.
Custom Foam and Fitted Inserts: When the Extra Cost Is Worth It
Custom foam is for items that must never shift: knives, glass, tools. It costs more and gets cut to the item, so it makes sense only after the item list is final. Cut foam for a set of dishes you are about to replace and you will be cutting it again.
Spend where the failure costs you something. A weak bin wastes an inch of space; a weak latch on a knife drawer or a heavy overhead door costs far more. Put the better money on the latch and the foam, and use the cheap tier for everything else.
Check the Catches After the First Few Trips, and the Bins After the First Season
Measure first, carry less, give each item a zone, fit the bin to the cavity, go up without overloading the wall, and secure whatever can move. Check the load by method, since no number will do it for you, and sort your advice by whether the home moves. In RV organization, a rig lives or dies on the latch and the weight; a house lives or dies on the cubic inch.
The check for later is short: after the first few trips, look at every fastener and catch on the cabinets you loaded, and after the first season, look at which bins you actually reach for and which sit untouched. The ones that sit are the ones to cut.
Today, pick the single cabinet that spills first. Take out the heaviest item, move it to the floor level, and give the door a hold. Then watch whether it still holds after the next move.
Frequently Asked Questions
01Can an RV be considered a tiny home?
An RV can work as a tiny home when someone lives in it full time, though the two are built for different jobs. A rig is engineered to travel and carries a weight limit; most tiny houses are built to stay put.
02What are the best ways to organize a small camper?
Measure every opening, cut what the camper cannot carry, and give each remaining item one zone, then buy containers to match. Keep heavy items low, put a latch on every door and drawer, and recheck the fasteners after your first short drive.
03How can I organize my tiny house?
Decide what the house is allowed to hold, then give every item a zone and use the vertical space. Keep daily items below the loft, anchor tall furniture to the wall, and follow one in, one out.
04How do I keep RV cabinets from flying open while driving?
Fit a positive-catch latch on every door and drawer, because the stock catch is built for a parked home, not a rough road. Keep heavy loads low, and add a bumper or strap on a heavy door.
05How much weight can an RV overhead cabinet hold?
Most built-in RV cabinets carry no published weight rating, so there is no number to quote. Read the owner’s manual, weigh each bin, keep heavy items low and check the fasteners after your first trips.
Disclaimer: ClutterlessNest is a participant in the Amazon Services LLC Associates Program. As an Amazon Associate we earn from qualifying purchases. This article may contain affiliate links — if you buy through them, we may earn a small commission at no extra cost to you. We only recommend products we have tested or genuinely believe in.