The cabinet gives itself away at the first fuel or grocery stop of the trip. You climb back inside and the pantry door is swinging, a bag of ground coffee has gone over on the shelf, and the stack you balanced so carefully in the driveway is now a pile.
RV kitchen organization fails here for mechanical reasons, not messy habits: a short run of cabinets, a three-foot aisle, and a fridge that cools by moving air. An RV galley set up for a parked rig meets a road that shakes everything in it, and travel vibration finds every loose object.
This guide walks the kitchen in the order you cook, then splits it into the version that works parked and the version that has to survive the drive. If you want the method for the rest of the rig first, start with the guide on organizing a whole RV or tiny home.
Quick Answer
A small RV kitchen holds up on the road when it is organized for two states, cooking and driving. Work through it in this order:
- Cut the galley down to what actually gets cooked.
- Set the cabinets in cooking order: stove, sink, counter.
- Move knives and spices off the counter and onto a wall.
- Measure each cabinet against the cookware that goes in it.
- Split the kitchen into what stays out parked and what rides, heavy low and light high.
RV Kitchen Organization Starts With What You Actually Cook
A packed-for-everything galley fails before the wheels turn. The whole rig can be around 150 square feet, so RV kitchen storage has no spare cabinet for a second set of anything, and a cabinet that is full by default makes every other thing you own harder to reach. Cutting comes first, before any bin or rack enters the picture, and it costs nothing.
Track a Few Real Cooking Days Before You Pack
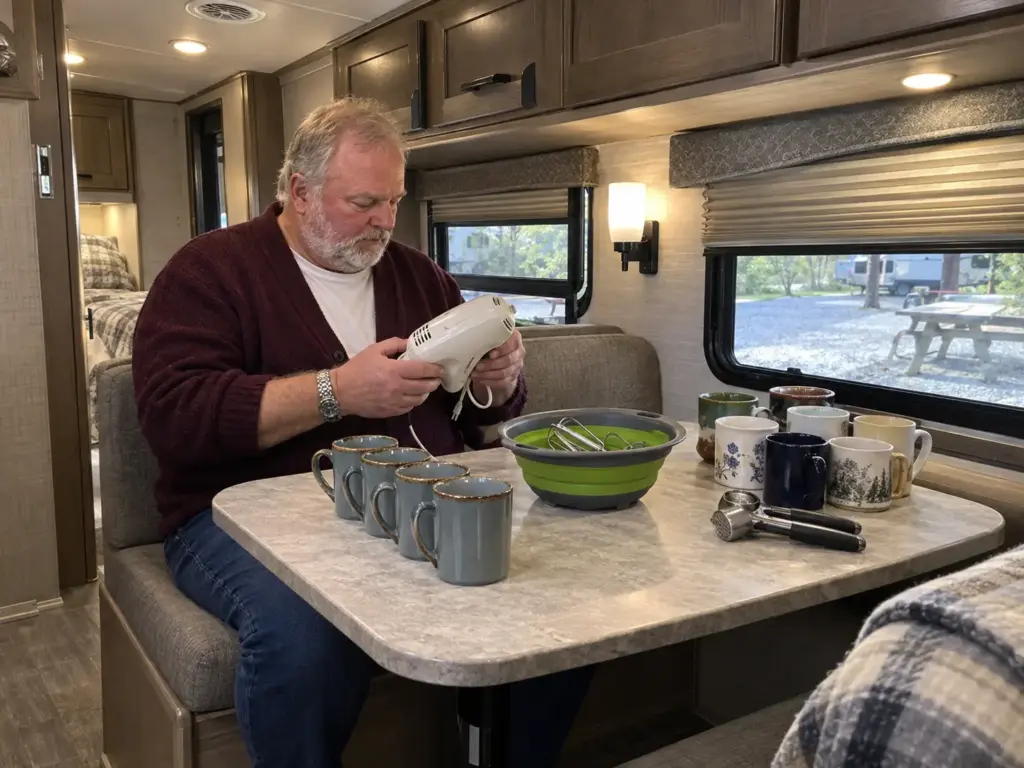
Keep a running note for a few days of normal cooking. Write down what comes out of the cabinets, and let everything that never left its drawer or shelf earn a decision: stays, goes to a storage bay, or leaves the rig. The note matters because memory lies about kitchens. People remember the pan they used twice at a holiday and forget the one they use every morning.
Tape the note inside a cabinet door and add a tally mark each time something comes out. Three tallies in a week means it has a permanent spot; zero means it is a candidate to leave behind.
One of Each Per Person Is Plenty
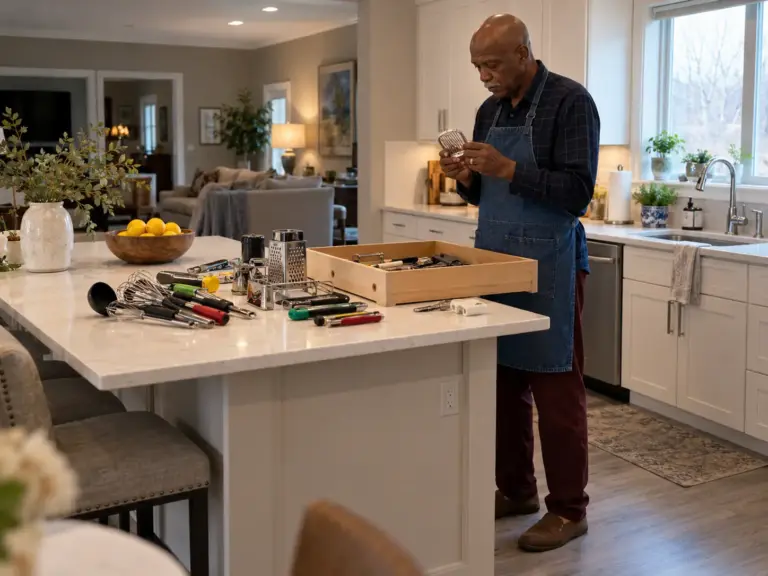
Crew size changes the answer more than rig size does. For a full-time RV couple or a weekend camper pair, one pot, one skillet, one baking dish and a short stack of plates is a full kitchen; for a family of six, the same rule means one place setting per person and a low shelf at kid height, so small hands never need the upper cabinets. A second skillet that rides in a cabinet all season and never comes out is the classic galley mistake, because it takes the depth the first skillet needs. The same sorting logic that works in a house applies here, only with less room to be wrong, and the guide to decluttering kitchen gadgets shows how to call it for the tools that make the most noise in a drawer.
What Leaves the Rig and What Moves to a Bay
The cut list has three piles. Daily tools stay in the galley. Seasonal or occasional items (the big stockpot, the waffle iron) move to an outside bay or a tote under the bed, and duplicates leave for good.
Drawers in a rig are usually too short for a box of anything and cabinets too deep for the same box, so things get lost in both; the approach in organizing a small kitchen with few drawers applies directly, because a galley is that kitchen with a seat belt.
Set the Cabinets in the Order You Cook
Storing by type feels logical: all the cans together, all the baking things together. In a galley it sends you up and down an aisle with no room to turn. Storing by the step of cooking keeps every reach short, and it is the single change that makes a small kitchen feel bigger without adding an inch.
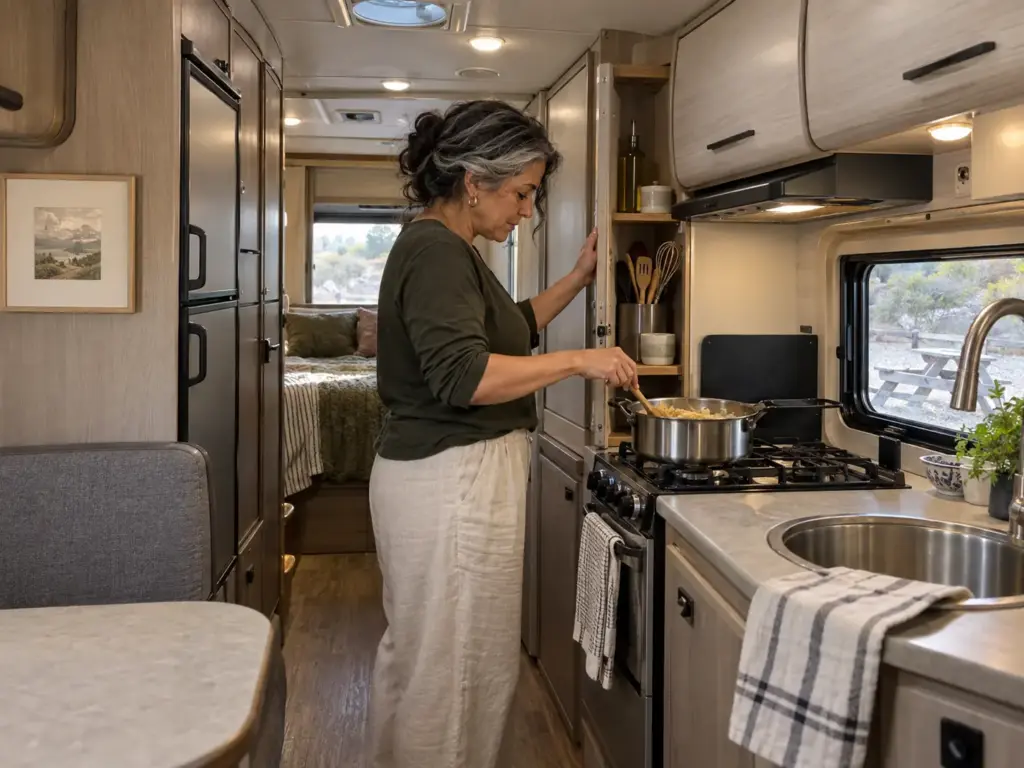
Stove, Sink, Counter: The Three Stops of One Cooking Line
A galley is usually one line, so the three stops sit in a row and you walk it end to end. What you touch at the stove lives in the cabinet next to the stove: oil, a spatula, the pot you use most. What you touch at the sink lives in the cabinet above the sink: the dish soap, the colander, the mugs.
The middle counter holds the one thing you are working on, so oil never lives two cabinets away from the burner. For the counter itself, the problem is the same one tackled in organizing a kitchen with no counter space, only the galley has less of it.
Where the Coffee Maker and the Small Appliances Live
Give the appliance you use daily a fixed home with its cord end reachable, so it never needs digging out. The rest ride low and get loaded last. Heavy goes to the bottom because a low cabinet that shifts does less harm than a high one that swings open, and that rule comes back in the last section. For ways to fit the bulky ones, the guide to small kitchen appliance storage covers the tight-space versions.
Keep the Counter for the Work, Not for Storage
The galley counter has a rule: on a travel day it holds nothing, and on a cooking day it holds one working object. That sounds strict until you see what it replaces, a small stack of mail, a fruit bowl, the coffee maker and a knife block fighting for the width of one cutting board. The reasoning in keeping kitchen counters clear carries over. One more placement detail: a paper towel holder in the splash zone behind the stove goes greasy within a week, so it belongs at the end of the line, away from the burners.
A Knife Strip and a Spice Wall Clear the Counter
A knife block and a spice carousel take counter width the galley does not have. A wall takes neither. Moving both up and out is the cheapest way to hand back a cutting board’s worth of space.
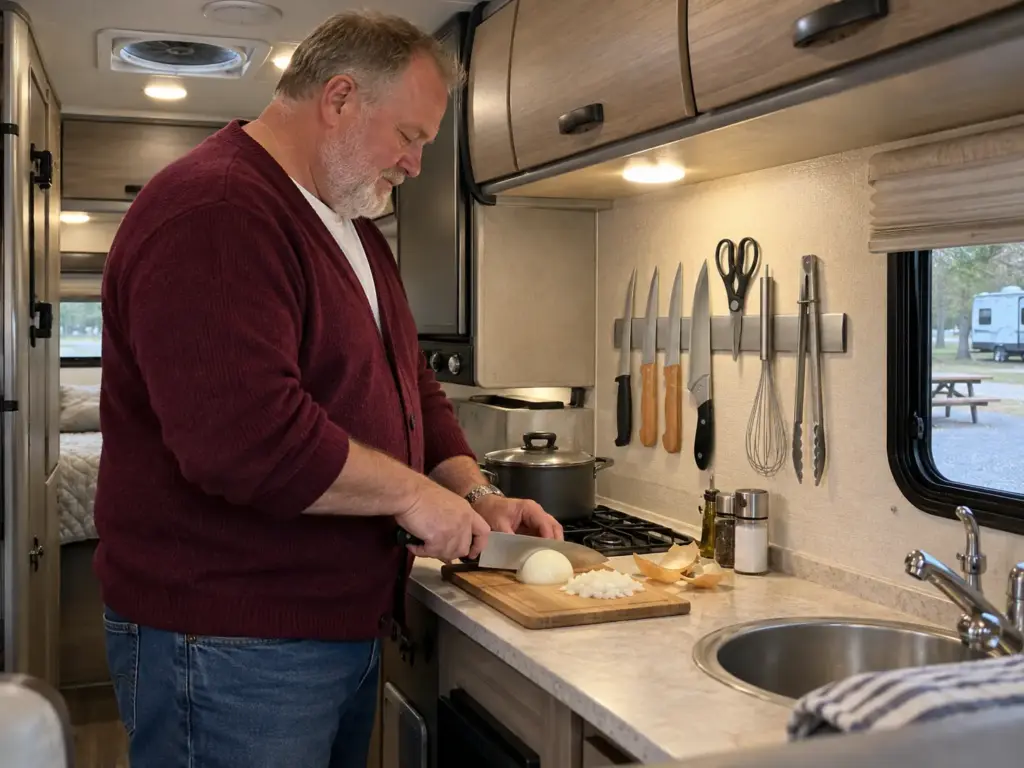
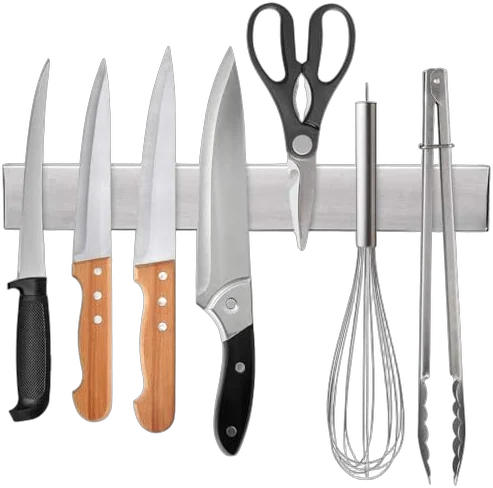
A Magnetic Strip Keeps Knives Off the Counter and Out of the Drawer
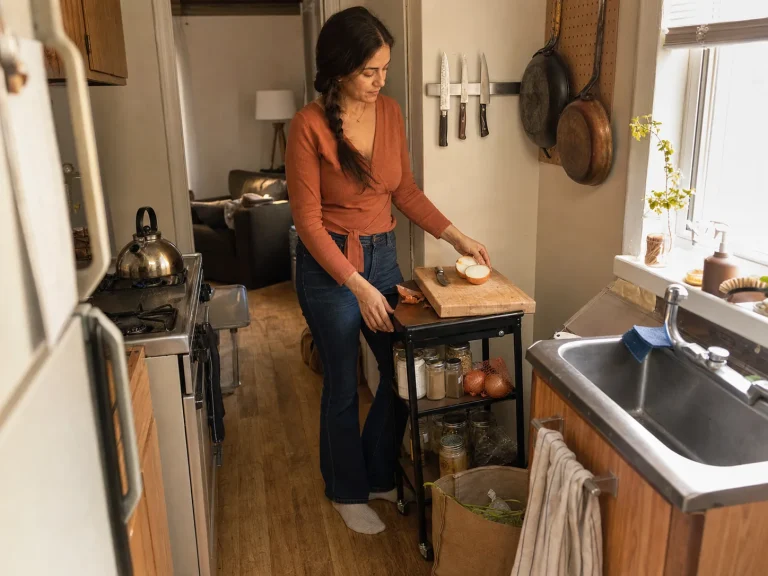
A drawer of loose knives is slow and hard on the blades, and a block eats a third of a short counter. A magnetic strip fixes both: blades visible, handles out, mounted on a wall you can reach from the stove without leaning. Three or four knives you actually use are enough. A full set is another version of the second skillet problem.
Twelve Spices and a Wall: What Fits
A wall-mounted spice rack holds about a dozen jars, and a dozen is a sensible ceiling for a galley anyway. Put it where the splash zone does not reach, which rules out the backsplash behind the stove. In a moving rig a tall jar on a plain shelf ends up on the floor, so look for a rack with a lip or a rail across the front.
If the wall panel cannot take screws, adhesive mounting is the choice, with the trade-off that it holds less weight, which is another reason to keep the jars few. If a wall is not available at all, choosing between a spice drawer and a rack comes down to a tape measure, and the drawer is the right call when you have one to spare.
Travel Day: What Comes Off the Wall
On a travel day the knives come off the strip, because a rig on a rough road throws them, and the jars stay only if the rack has a rail. Everything else on the wall (a hook rail, a towel) gets the same question: if it can swing, it comes down. The wall is for parked days.
The Sink Wall: Under the Sink and the Tension Rod Fix
The sink wall is the wettest part of the galley, and it needs no product to work. A method does the job, built from a bar, a bin and a tape measure.
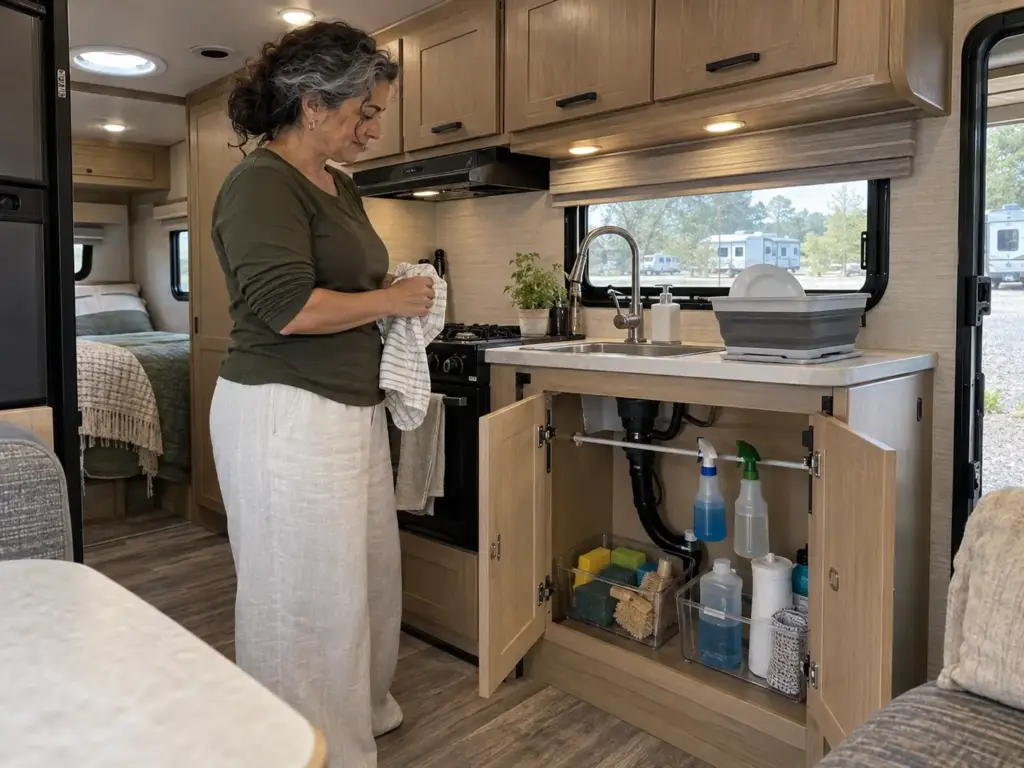
What Belongs Under an RV Sink, and What the Pipes Take
The cabinet under an RV sink is shallow and cut around the plumbing, with a drain, a shut-off and rarely a flat floor. A house-size under-sink organizer does not fit, and the instinct to fill every inch backfires because the pipes own the middle.
Measure the opening, not the cabinet, since the opening is what anything has to pass through. Keep the heavy items low and to the sides of the pipes, and let the plumbing set the layout. For fitting an organizer around real pipes, the walk-through in under-sink kitchen organization shows the method.
Skip the expandable under-sink organizer that stretches to fit. The expanding joint flexes apart on a bumpy road and the whole tier slumps. A fixed bin with a bar across the front holds its shape.
Tension Bars Against the Frame, Not the Thin Wall
A tension bar costs little and holds light things: spray bottles, sponges, a roll of bags. Where it presses matters. A bar that braces against the thin wall panel instead of the cabinet frame pops the staples out of it, so the bar goes against the frame, and what hangs from it stays light. Heavy cleaners go on the floor of the cabinet, not on the bar.
A Dish Bin That Folds Away
A collapsible dish bin and a drying mat stay out while you cook and fold flat for the road. Plan the slot for a collapsible bottle as if it were full-thickness: it is over an inch thick even when empty, so a gap that looks generous in the driveway is gone once it is in. The budget answer here is a bar and a bin you can pick up anywhere; nothing in this section needs a special purchase.
Measure the Cabinet Before You Stack the Cookware
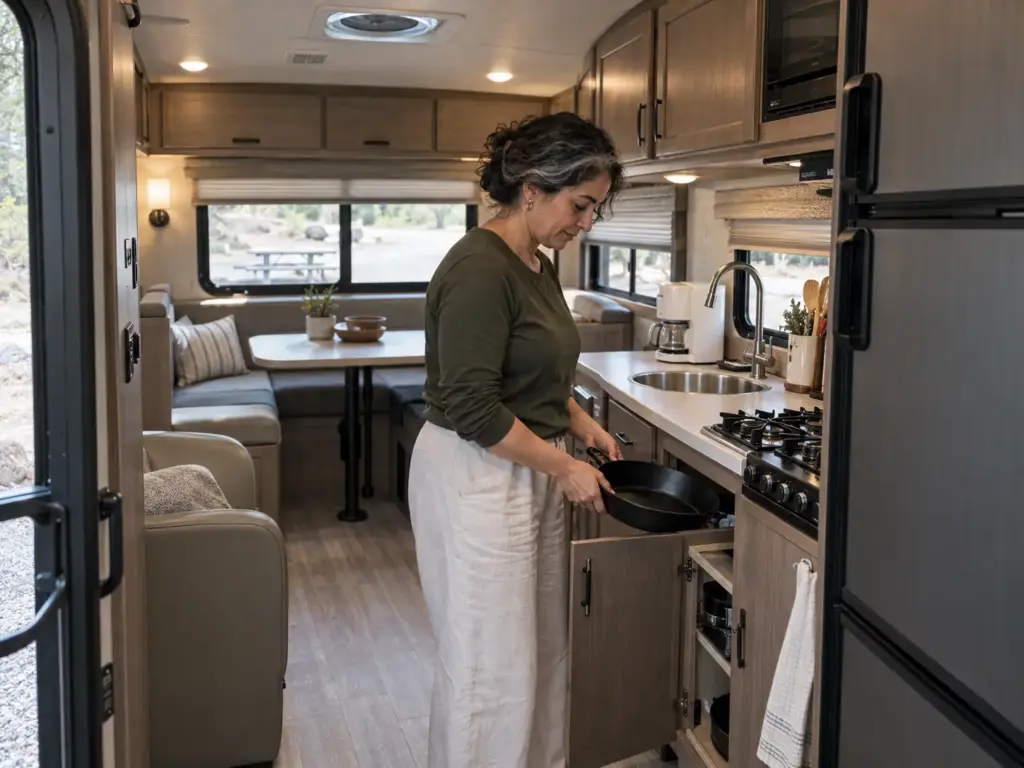
Cookware storage is where RV kitchens fail quietly. In a 2-foot-deep cabinet, a 10-inch skillet and a medium saucepan end up at the back, and the stack gets pulled out whole to reach the one pan at the bottom. The fix starts with a tape measure, because the number on the pan’s box is not the number that matters.
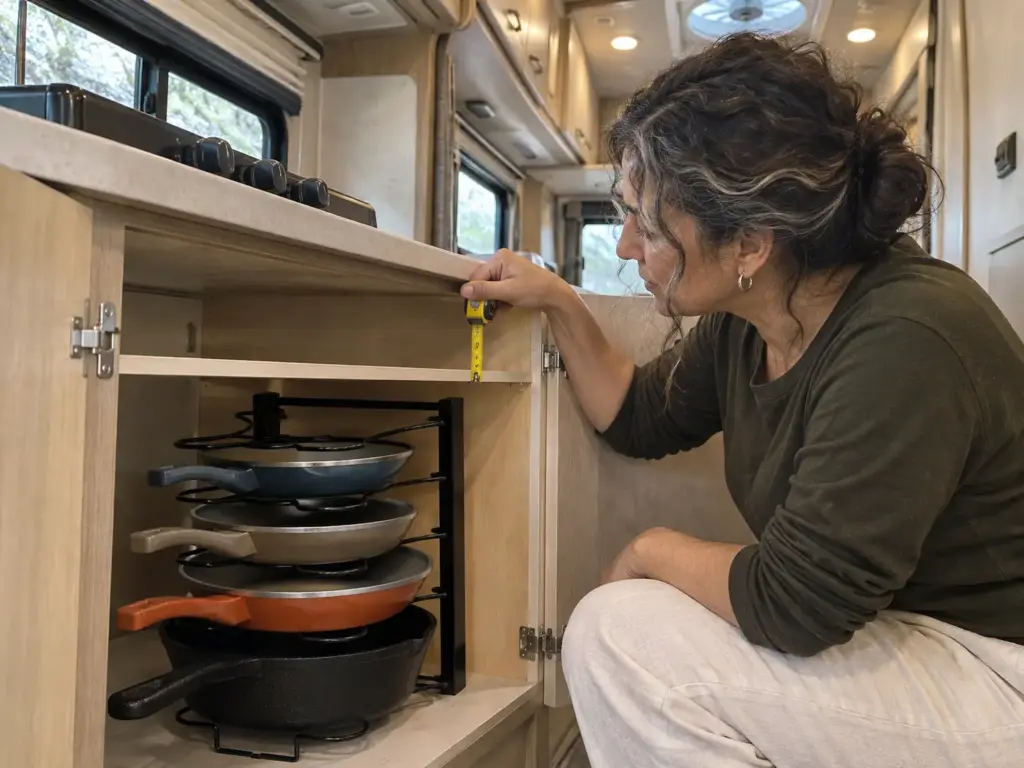
Three Measurements: Clear Height, Depth, and the Door Gap
Take three numbers. First, the clear height: the space between the shelf and whatever sits above it, whether that is the next shelf, a lip or a wire run. Second, the depth, measured from the door opening to the back wall, not to the cabinet’s front frame.
Third, the gap the door leaves when it opens, since a pan that clears the shelf can still catch the hinge. The tallest cookware plus a finger’s width has to clear all three.
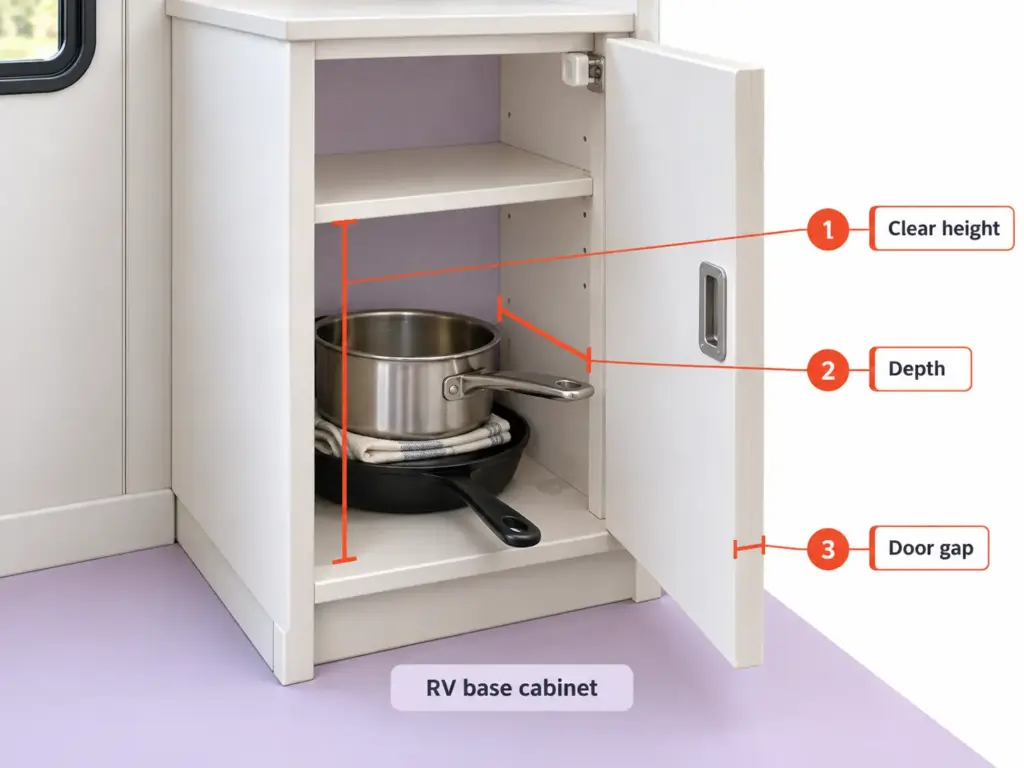
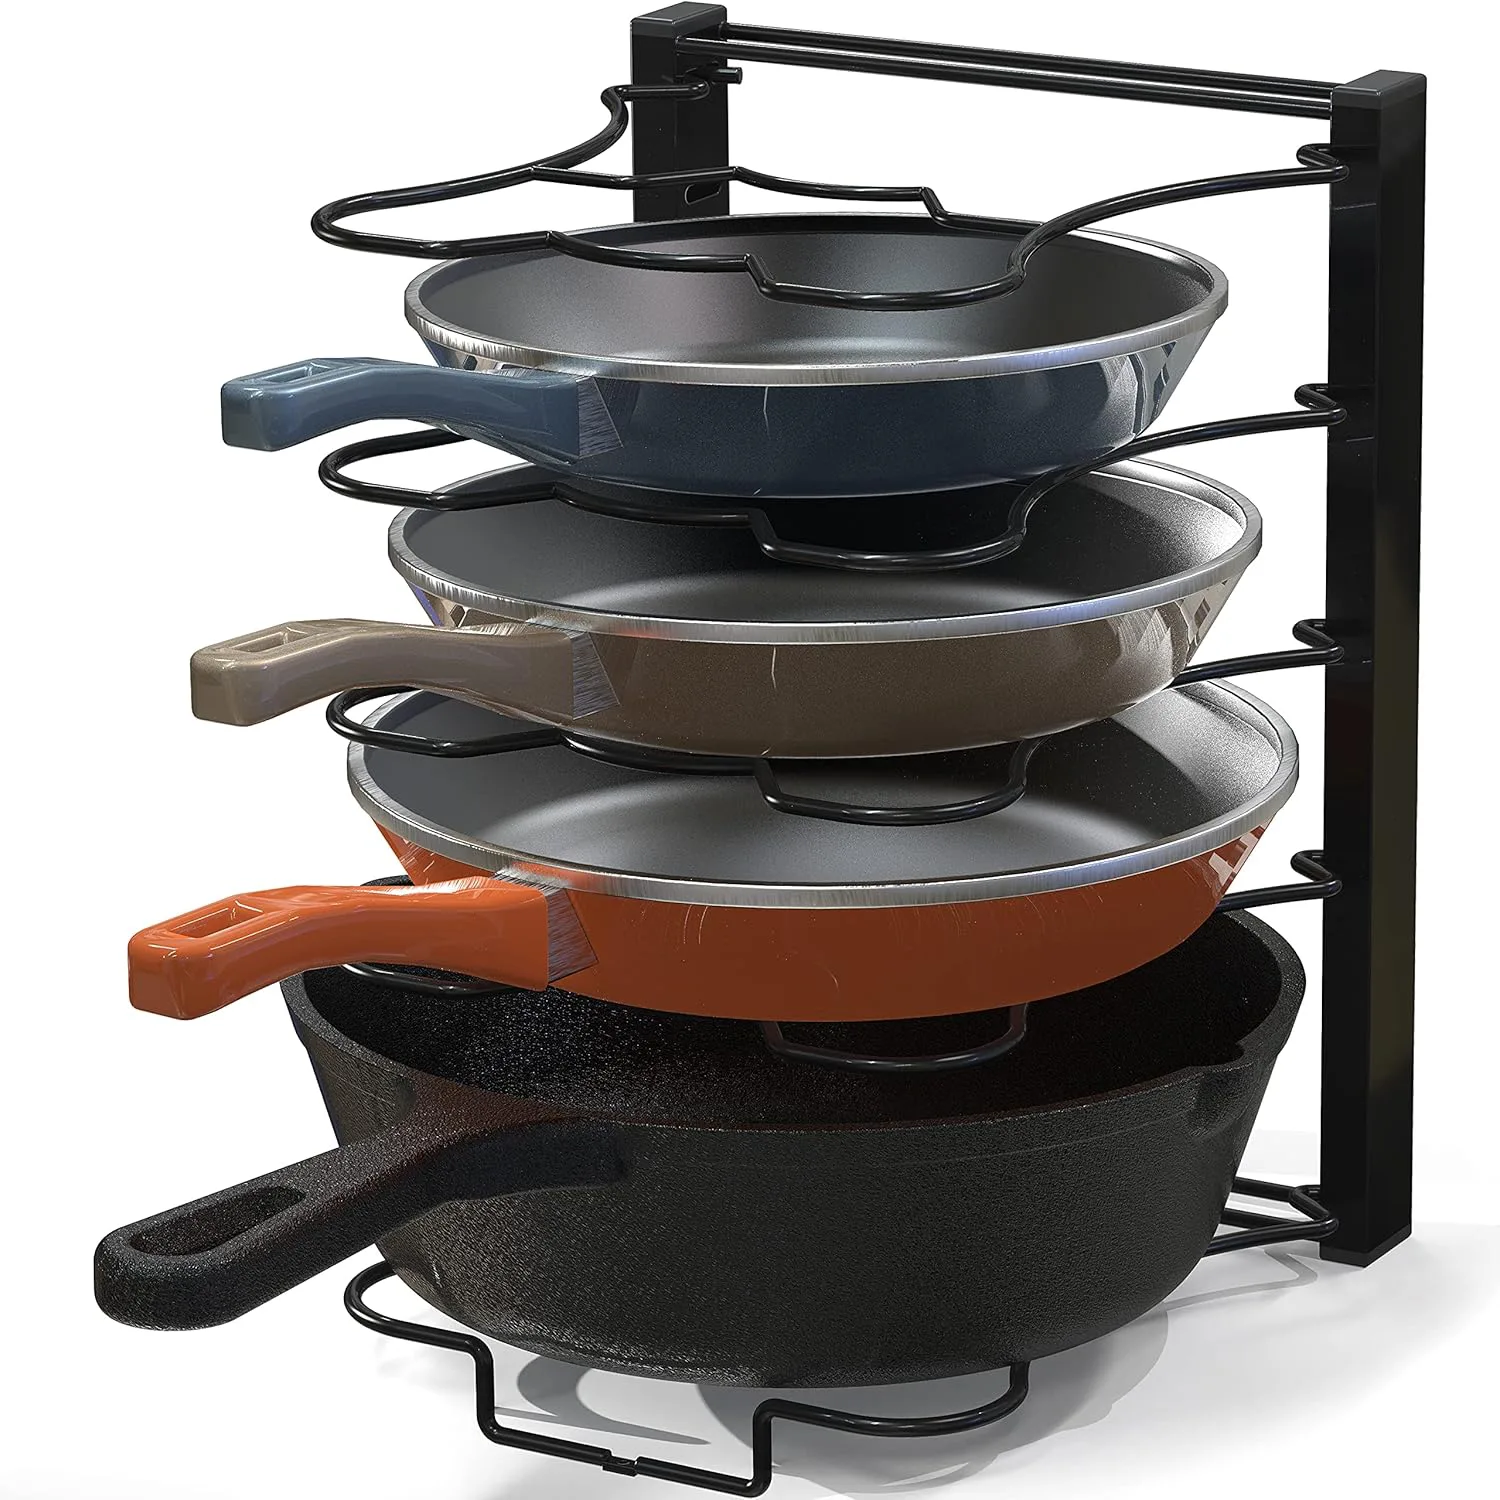
Tiered inserts fail on non-standard openings, and RV cabinet openings rarely follow a standard, so measure the opening before buying one. The same three numbers apply to the drawer under the oven, where a rig has one. The pan rack below is a good test of the method: it stands the pans on edge so each one comes out alone, and the number to check is your clear height against its 11.5 inches.
Why the Back of a Deep Cabinet Is Where the Skillet Goes to Hide
Depth is the quiet failure. A cabinet that is deep enough for the skillet is deep enough to bury it, because the front item always blocks the back one, and in a rig you do not rearrange casually. The free fix comes first: a tension bar and a bin, from the sink-wall section, stand pans on edge for no cost. Reach for a rack only after the free version proves the idea.
Stack by Height Without Moving the Whole Stack
Order the stack by height, not by when you bought things: the pan you use daily on top, the tallest piece at the back, the heaviest lowest, and the stack height kept under the shelf lip. A stack that works in the driveway and a stack that works on the road are different stacks, because the second one clangs and creeps. A cloth between pans quiets it, and the breakdown in why a pots-and-pans system falls apart explains what keeps one honest after the first month.
The Fridge: Airflow, Level, and the Dry Goods Beside It
This section is about absorption fridges, the kind that run on propane or 120-volt power and take air in at a low vent and push it out at a high one. A compressor fridge or a residential unit works by different rules and goes by its own manual. Most of what follows comes from the makers of two absorption models, so treat it as how those fridges are built, not a law for every RV fridge.
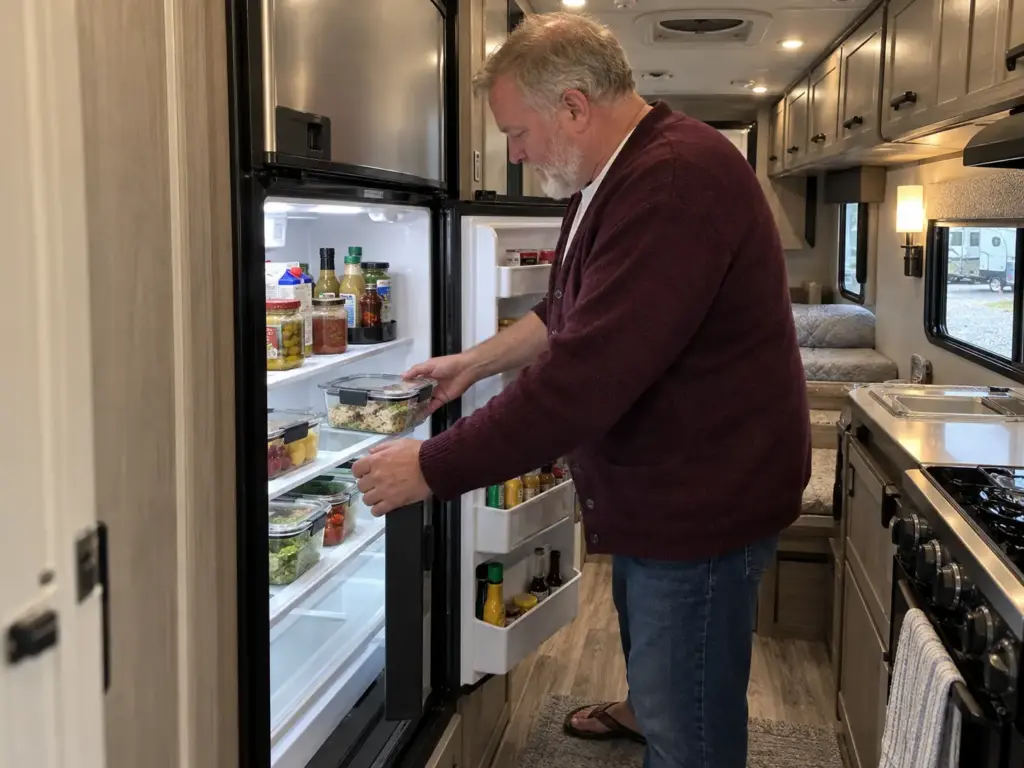
Keep the Air Moving, Behind the Fridge and Inside It
An absorption fridge cools by natural draft. The Norcold manual for its 322x says the clearances plus the lower and upper vents create the draft the unit needs, and that if the air flow is blocked or decreased, the refrigerator will not cool correctly. The Dometic manual for the RM2191 and RM2193 says the flow of combustion and ventilation air must not be obstructed. The same logic applies inside: Dometic’s manual says not to “stack food or food containers too closely” because it interferes with the circulation of cold air, never to put hot food in, to start the fridge the day before, and to load it with precooled food.
A packed fridge is one easy way to end up with a warm one. Leave gaps between containers, and pull the back of a shelf forward instead of stacking things in front of it. A 9-inch non-skid turntable like the Copco Non-Skid Turntable does that for a corner shelf, so the jar at the back comes around without anything moving; it is round, so it leaves the shelf corners empty, and the shelf has to be at least 9 inches in each direction. For fridges that are small to begin with, the bin logic in fitting a small fridge when bins do not fit applies.
The safety line is plain: never block or cover the vents or the gas and service compartment. Norcold says the lower intake vent is also the service access door, set at or just below floor level so any leaking propane escapes outside.
RV Travel, in a July 2024 answer by Dave Solberg, describes the lower vent cover as both the intake and the access to the control module, gas valve and burner assembly, and says a panel installed over the upper vent of an absorption fridge blocks the exhaust. Dometic adds that the vent area should be kept free of combustible material, gasoline and flammable vapors. No bin, board or box belongs on a refrigerator vent or on the compartment behind it.
Park Level, and Know That Moving Is Different
Fridge level matters for an absorption model whenever the rig sits. Dometic’s manual explains that if the unit runs out of level with the vehicle stopped, liquid ammonia can pool in the evaporator tubing and slow the circulation that does the cooling.
It says to level the vehicle when stopping for more than an hour, or the cooling unit could be permanently damaged by overheating if it is left on. While moving, leveling is not critical, because the rolling of the vehicle keeps the liquid from collecting. That guidance is for those Dometic models, so check the manual for your own, and the broader view of organizing a fridge before buying bins sits one level above this.
Travel day has its own steps. Tightly covered containers, crumpled paper between bottles so nothing shifts, and the door catch engaged before the rig moves.
Seal the Dry Goods Against Pests
The fridge is not the only thing mice want. Dry goods in open bags and boxes invite pantry pests, and in some wildlife areas food storage in the vehicle in a sealed tub is the area’s own rule. A lidded, sealed container stops most of it; a locking bin stops the determined cases.
A set like the Rubbermaid Brilliance 10-piece containers (3.2 cup, 7.9 x 5.4 x 2.5 inches each) is the right size for pasta, rice and snacks, and their tight lids matter for the road as much as for pests. A full bag of flour will not fit, so flour needs a bigger bin.
Two Kitchens in One: What Stays Out Parked and What Rides
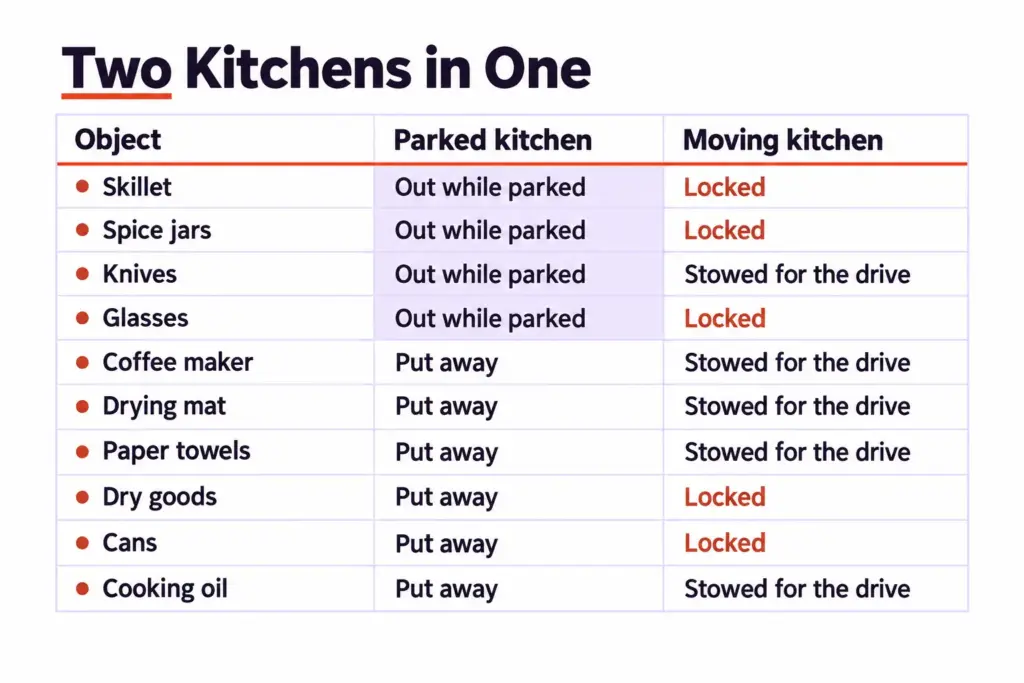
This is the part the driveway setup never tests. A galley has two states: parked, when it is a kitchen, and moving, when it is a cargo hold. Sorting by object removes the guesswork.
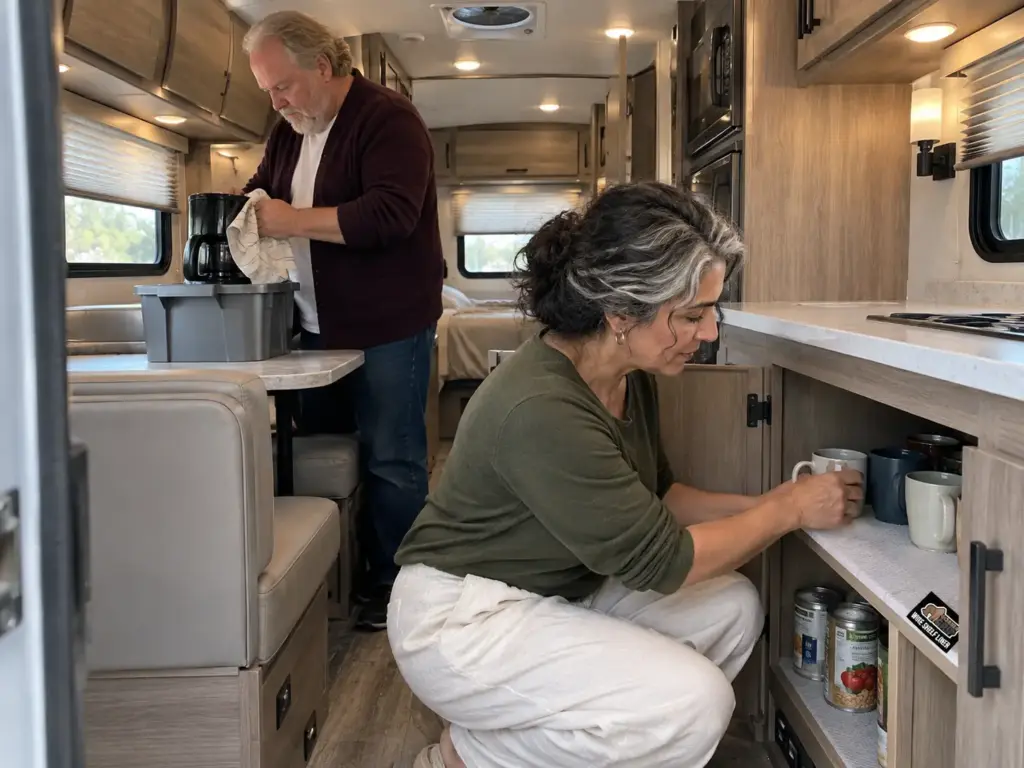
The Parked Kitchen: What Is Allowed Out
Parked, the working set is allowed out: the coffee maker on the counter, the drying mat down, the paper towel roll on its holder, the knives on the strip, spice jars on a railed rack, and the dinette table doubling as prep space. A short list works better than a rule. If an object has a home and a reason to be out, it comes out; everything else lives in a cabinet.
The Moving Kitchen: Heavy Low, Light High, Everything Held
Before a drive, the coffee maker and knives go into a cabinet or drawer, the drying mat folds, the paper towel roll is stowed, and sealed flour rides in its lidded bin. Heavy items go low and light items high, so that when something does shift, it is a roll of bags and not a cast-iron pan swinging a door open. A full cabinet shifts less than an empty one, so fill empty space with something light, like towels or a bag of napkins, rather than leaving it open.
Cans roll. Small plastic bins keep them in place and in rows, so one grocery stop does not turn the pantry into a floor of tin.
Shelf liner holds what rests on it. The Gorilla Grip Shelf Liner (14 x 36 inch, set of 4, clear) goes under cans, mugs and plates, and you cut it to the shelf. It stops sliding, not flying, so it does nothing for a door that has opened: that is a latch job.
Bungee, Velcro or a Hidden Lock: A Trade-Off, Not a Rule
The roller catch on an RV cabinet is the weak point, and a dry catch is weaker still. A drop of oil on a rusted roller-latch spring restores most of its hold, which makes it the first fix to try.
After that the options split by rig. Velcro ties or a small bungee cord across the handle work in some rigs and fail in others, since they depend on a handle that can take the pull. A hidden magnetic baby lock, fitted inside so nothing shows from outside, works where the cabinet door is tight to the frame. A second latch is the sturdier fix.
A full cabinet makes any of them work better. The full case for latches and clear bins that keep a galley shut lives in its own guide, so it is not repeated here.
What to Look At After the First Long Drive
A galley fails because it is built for two states and organized for one. The fixes in this guide are the same move at different scales: cut to what you cook, cook in a line, measure the cabinet, park level, and let every object have a parked place and a moving place. Nothing in them needs a purchase to start.
The check comes at the end of the first full trip, not on a calendar. Look at which cabinets opened, which cookware moved, and whether the fridge held its cold. Each one points at a specific fix: a latch, a stack, a vent.
Today, with nothing bought: park level and look at the fridge’s vents from outside to confirm nothing is on them, or pull out one cabinet and measure its clear height, depth and door gap. Then watch what happens on the next drive.
Frequently Asked Questions
01How do you organize a small RV kitchen?
Cut the galley to what you actually cook, set the cabinets in cooking order, then measure each cabinet against its cookware. Put knives and spices on a wall to free the counter, and split the kitchen into what stays out parked and what rides.
02How do you store pots and pans in an RV with shallow cabinets?
Measure the clear height and the depth first, then stand pans on edge instead of stacking them. Keep the heaviest pan lowest, and put a cloth between pans so the stack does not clang on the road.
03How do you keep RV cabinets from flying open while driving?
A second latch or a hidden magnetic lock usually holds better than a stretch cord, though bungees work in some rigs. Keep heavy items low, fill empty space with something light, and oil a rusted roller catch before replacing it.
04Do you need to level an RV fridge while driving?
For Dometic’s RM2191 and RM2193 absorption models, the manual says leveling is not critical while moving, but the vehicle should be level when stopped for more than an hour. Other fridges differ, so read your own manual.
05How do you keep pests out of RV food storage?
Keep dry goods in lidded, sealed containers, not open bags. Where wildlife is a concern, a locking bin is the step that stops a determined mouse, and some areas require sealed storage in the vehicle.
Disclaimer: ClutterlessNest is a participant in the Amazon Services LLC Associates Program. As an Amazon Associate we earn from qualifying purchases. This article may contain affiliate links — if you buy through them, we may earn a small commission at no extra cost to you. We only recommend products we have tested or genuinely believe in.