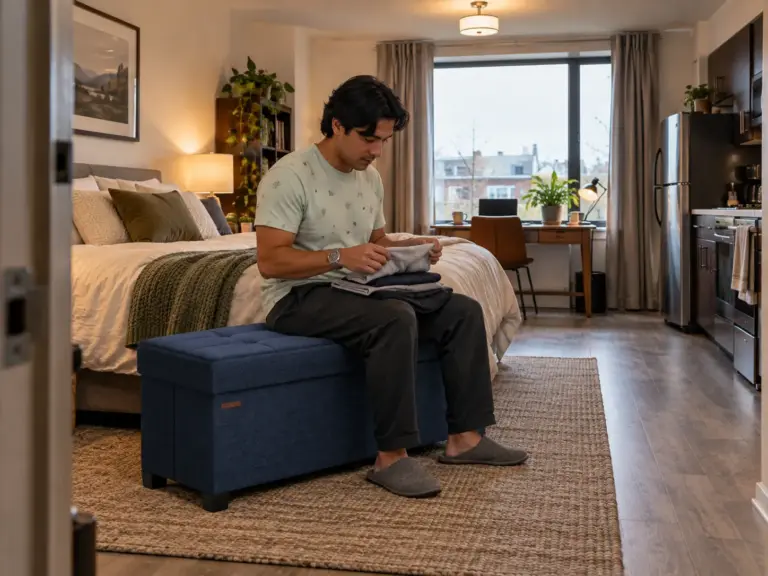
You slide the sofa a foot to the left, turn the desk toward the window, and the room still reads as one room: from the chair where you work, the unmade bed sits in the corner of your eye. A zone that moves the furniture but leaves the sightline, the noise and the reach untouched is a rearranged room, not a zone. That is why learning how to create zones in a studio apartment comes down to naming what each spot still gets wrong.
The method below is built around that leftover problem, and it is checked against product listings, a federal safety agency and the complaints that keep repeating. Zoning a studio this way gives you studio apartment zones that hold, because it maps the jobs, finds what is left, picks the cheapest fix, splits the renter and owner routes, and ends with a month-three check, as one chapter of the whole-studio order of work.
Quick Answer
Zones hold when each one has a job, a spot and a fix matched to the problem it still has.
- Give each job in the room one spot, and keep one walkway open.
- Name the one problem each spot still has: what you see, hear or reach.
- Fix it first with something you already own.
- Buy a divider only for what is left, and anchor anything that can tip.
- Re-check at month three and move whatever drifted.
How to Create Zones in a Studio Apartment Before You Buy Anything
Zones start on paper. Before a piece of furniture moves or a cart fills up, the room needs a list of its jobs and one spot for each.
Count the jobs the room does, not the pieces it holds
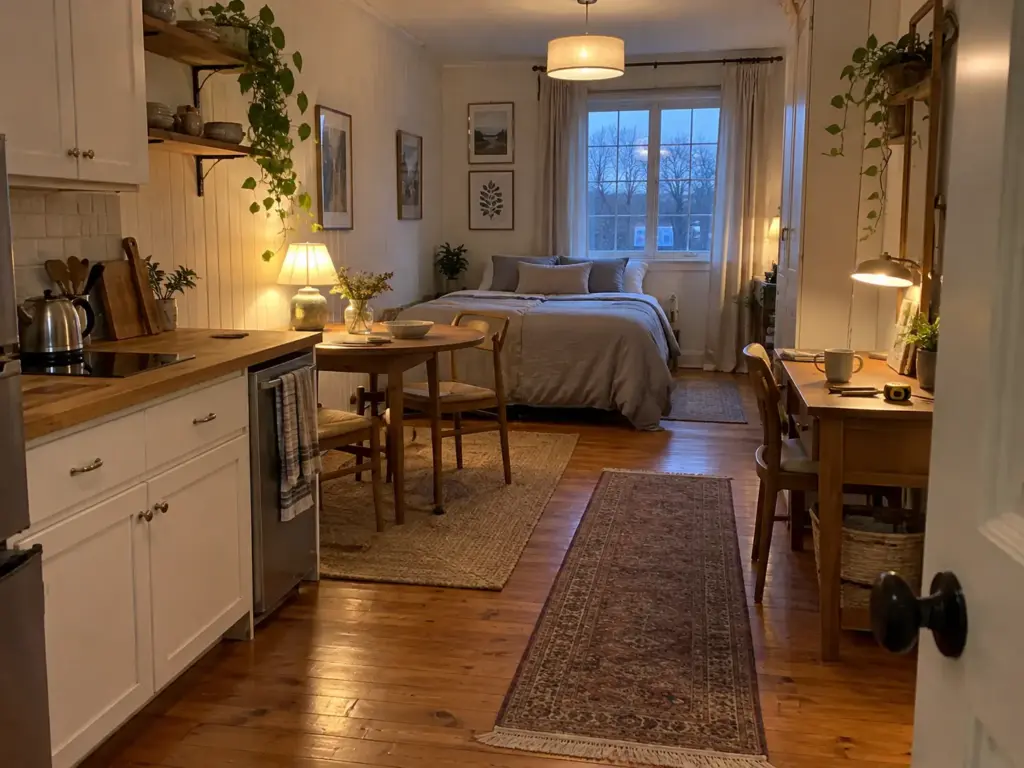
Stand in the doorway and list what happens in this room in a normal week, not what is in it. Sleeping, working, eating, lounging and cooking are the usual five, which gives you a sleep zone, a work zone, a dining zone, a living zone and a cook zone, and the kitchenette wall has already settled the last one for you. Most studios are an open-plan space that holds four of those jobs and has fewer than four natural spots for them, so two jobs will share. Eating and working at one table is a fair trade; working within sight of the bed is the pairing that needs a plan.
Many people want to separate spaces but stop there, which is where this section starts: the separating is the easy part, and something is always left over. The bed zone and the split between two people have their own walkthrough in how to organize a studio apartment in the right order, so this guide stays on the zone decision itself.
Give every job one spot and keep the walkway open
A zone is a job plus a spot, and the spot includes where the stuff for the job lives. A desk zone whose charger lives in a drawer across the room is a desk with a long commute, and it folds the first week you get tired of the trip. Distinct areas come from that pairing of job and spot, not from the furniture.
Draw the walkway before you place any zone: the open line from the door to the window and the kitchenette. Zones sit beside that line, not on it, because a path through the desk zone means someone walking through your work every time they cross the room.
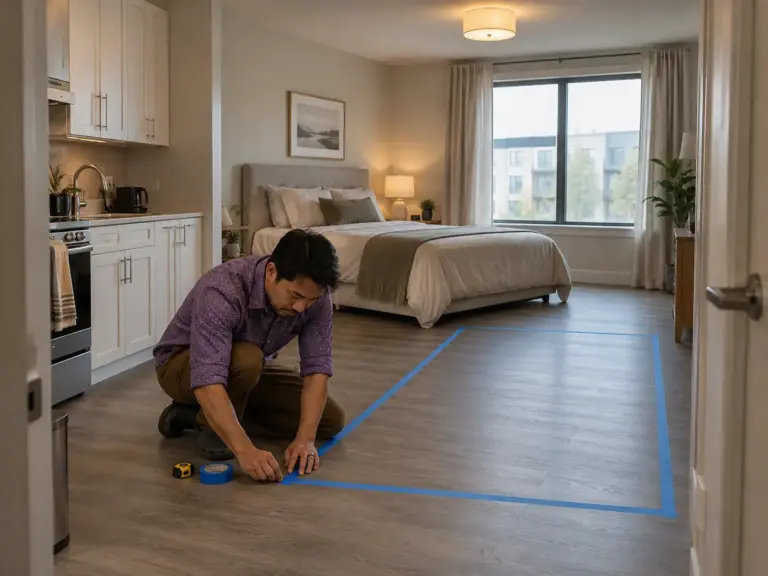
Sketch a rough floor plan first, with a tape measure for the walls and the walkway. The floor-tape test and the fixed-wall clearances belong to the studio layout guide built around fixed walls, so that procedure is not repeated here.
Write down what each spot still gets wrong
This list is the hinge of the method. For each zone, ask three questions from the spot where you will actually sit or stand there.
Can you see the bed from here? Can you hear the kitchen? Can you reach what the job needs without crossing another zone?
Seeing, hearing and reaching are three different problems, and a divider gives visual separation and little else.
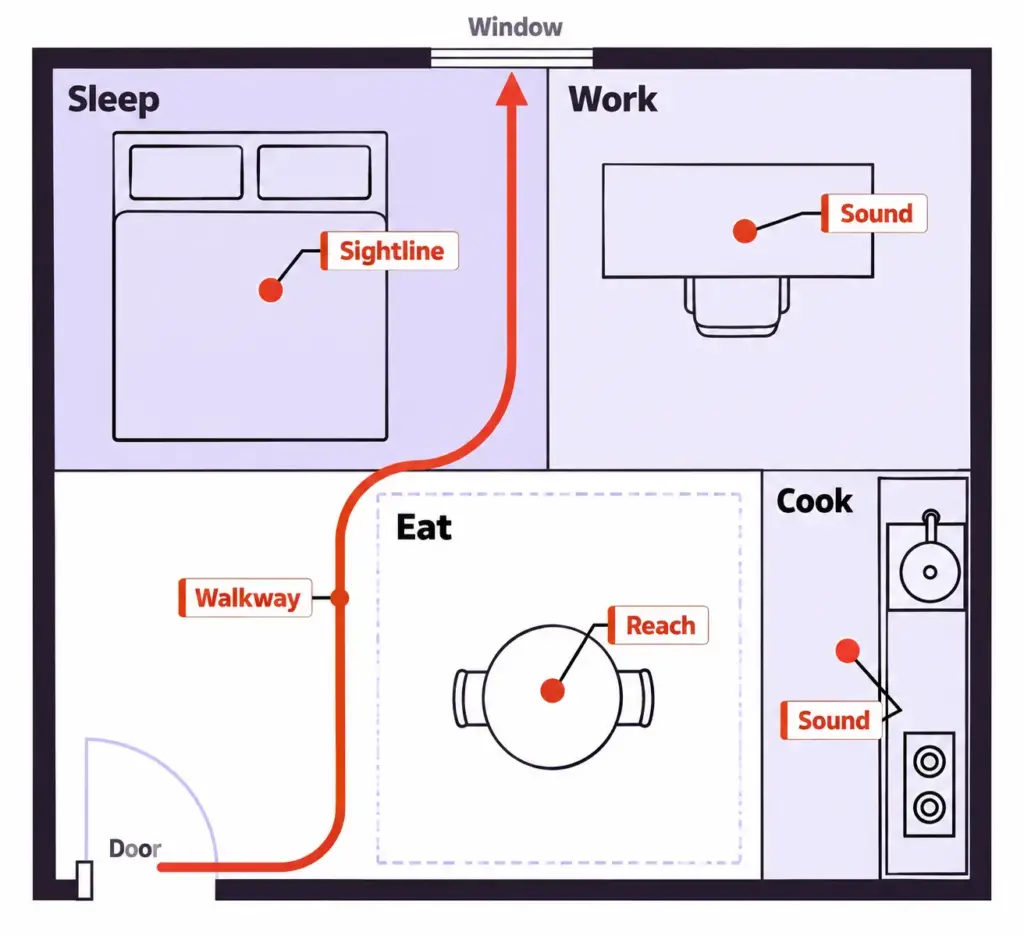
Write the answers down per zone, even as three lines of scribble. The desk zone might see the bed and reach everything; the sleep zone might hear the fridge and see the stove. That list, not the furniture plan, decides what you spend money on, and for some zones it comes back with nothing to buy.
Take a studio where the bed sits against the wall opposite the door and the desk stands under the window. Run the three questions from the desk chair and then from the bed pillow.
The desk can see the bed and cannot hear the kitchen, so it needs a sightline fix and nothing else. The bed hears the fridge and sees the stove, so the fix there is about sound and a lamp, not a taller divider. Two zones, two different problems, and neither calls for the same product.
Match the Divider to the Problem That Is Still Left
A divider is an answer, so it only helps once you know the question. Seeing, hearing and reaching each ask for a different kind of fix.
When the problem is what you see from the bed
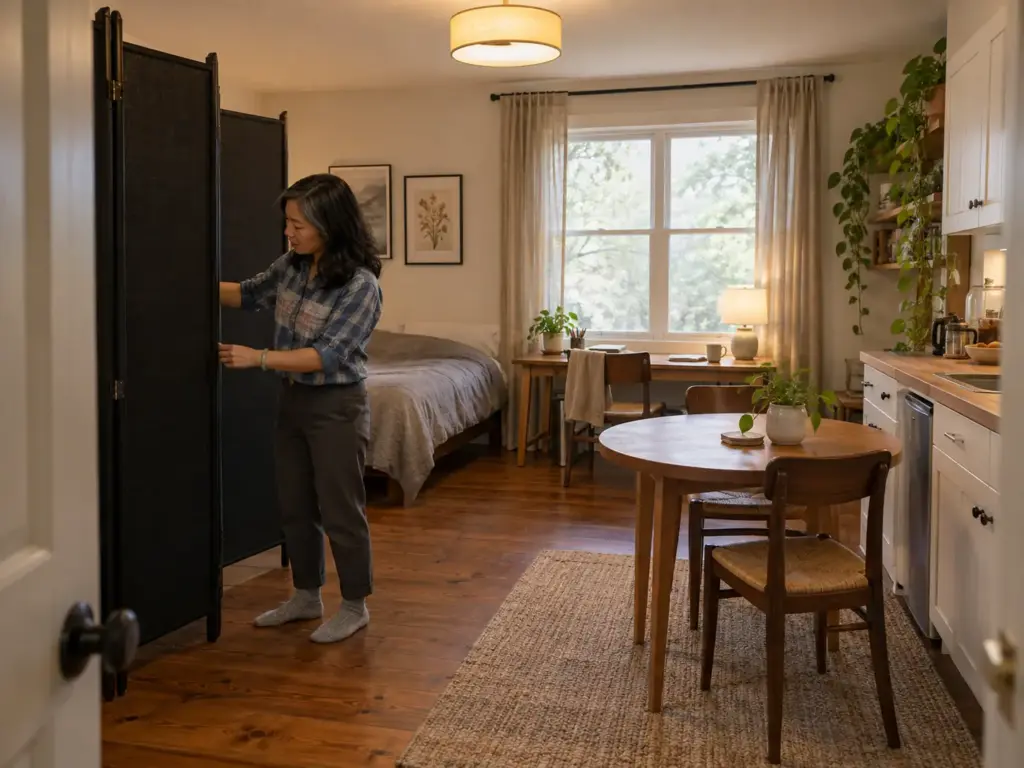
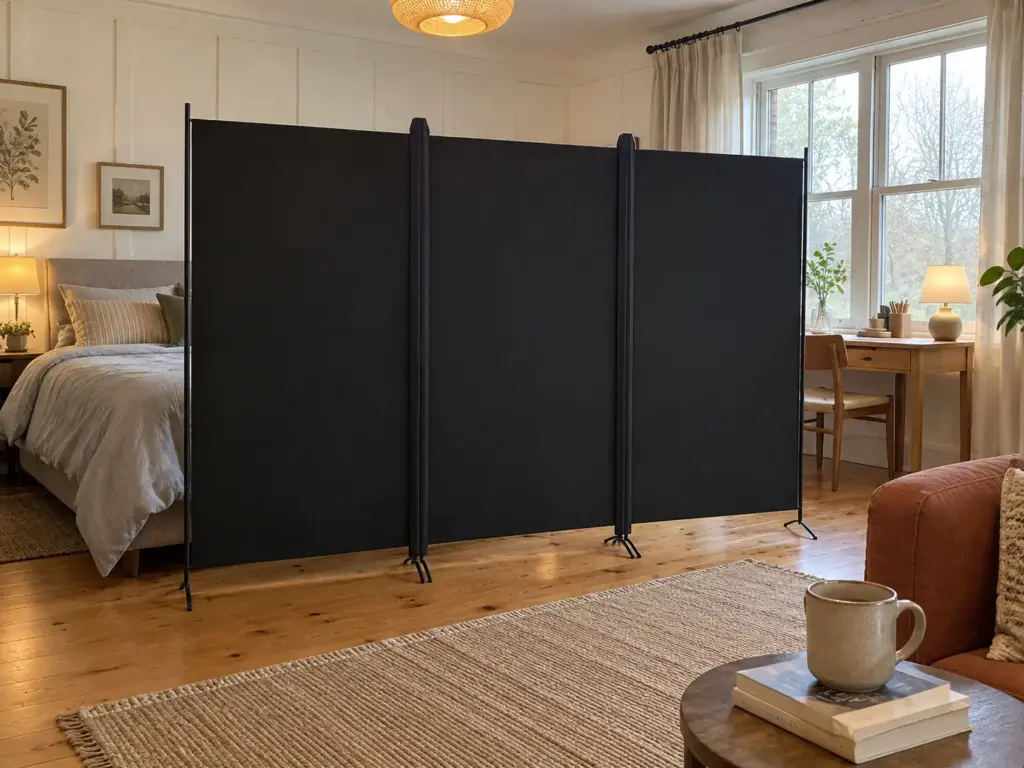
A screen is the purchase most people make for privacy, and it solves the view and little else. Where the problem is the bed in sight from your desk chair, height and fabric are the right tools, and the Kokorona 3 Panel Room Divider is a freestanding divider, a folding screen of three 34-inch panels, 102 inches wide and 71 inches tall by its listing. It never touches a wall, which suits a lease. Under a typical 8-foot ceiling, 71 inches leaves a gap over the top of roughly two feet (that is arithmetic on a typical ceiling, so check yours; under a low ceiling the gap shrinks), and the gap is where light, air and some sound get through.
Stability is its weak point: falling over is the most common complaint about this kind of rack, often because the feet spin in place and never sit straight. The larger sizes from the same maker feel flimsy at four panels, a six-panel bar can arrive without a screw hole, and the assembly runs long with unclear instructions. Read these weak points as a pattern to watch for, not a verdict on this model.
Open the panels in a zigzag instead of a flat line, and stand the screen where nobody brushes it on the way to the kitchen. A zigzag spreads the weight over more points on the floor than a straight run balanced on its feet.
When the problem is light and sound
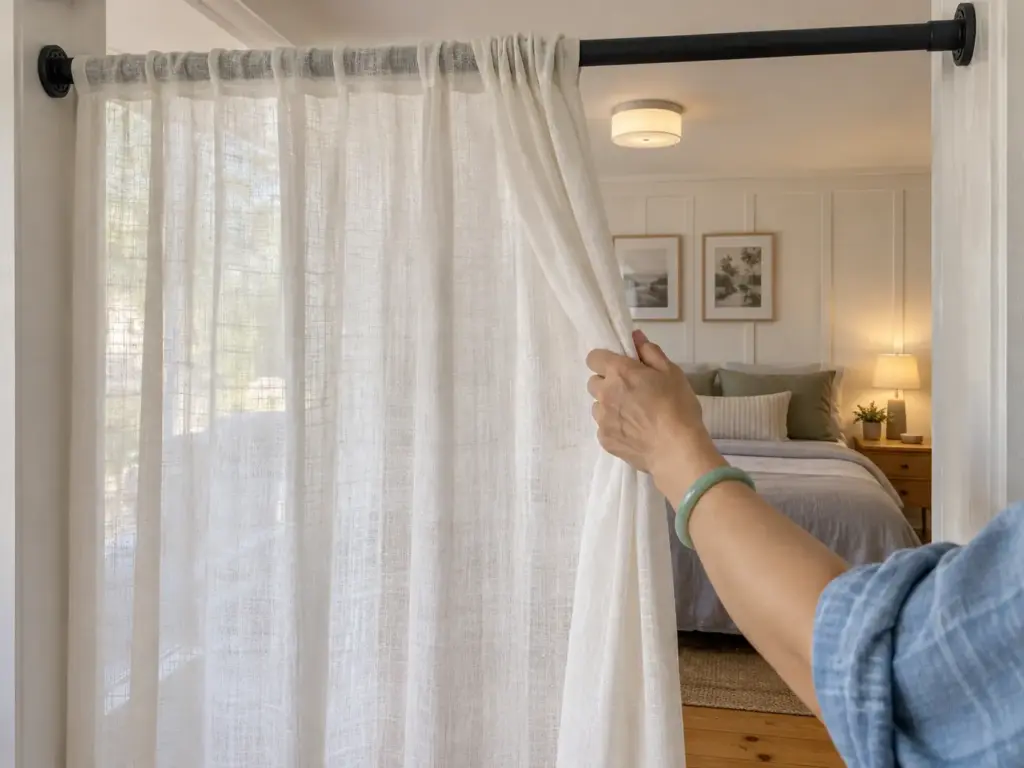
A screen that fixes the sightline can still leave the zone too bright and too loud. Light comes in through the gap above it, and sound goes over and around it. A light curtain softens a room; it does not soundproof one, so if the real problem is sound isolation, the fridge or the neighbor’s television, no divider here is the answer. Where the problem is light at the foot of the bed, a tension-mount curtain divider is the cheaper and more flexible tool, and the divider types compare cleanly by how much light each lets through in room divider ideas for studio apartments compared by light.
The Umbra Anywhere Expandable Curtain Rod and Room Divider mounts by tension with no drilling, spans 35 to 66 inches, and Amazon lists it for rental apartments and studios. Its recommended load is 22 pounds, which rules out a heavy blackout drape and fits a light curtain. Apartment Therapy’s writer learned the same lesson the hard way: old tension rods had “come crashing down over and over again”, and a flimsy rod “couldn’t bear” heavier blackout drapes. Pick the fabric for the rod, not the other way round.
When the divider has to move every day
Ask how often the divider has to move. A curtain at the foot of the bed gets pulled back every morning and drawn every night, so it has to be light enough for one hand. A screen hiding a work setup might fold away only on weekends, so footprint matters more than weight. A divider that is awkward to move gets left where it was, and a half-open curtain is a zone that has quietly folded (more on that by month three).
Start With What You Already Own, Then Spend on the Gap
The cheapest divider is the one already in the room. Spend only on what that leaves unsolved, and spend in order.
The no-cost moves that fix half of it
If your cart is already full, move the sofa a foot first. Turn the desk to face the wall, so the screen, not the room, fills your view. Push the sofa to the sleeping edge, so its back becomes the boundary and its seat faces the other way. Furniture as dividers starts with pieces like these: a sofa, a daybed or a sofa bed already has a back to turn toward the bed, and convertible furniture of that kind costs nothing extra if you own it.
Move the lamp, since a lit desk zone with real task lighting next to a dim sleep zone separates a room by light alone. These are judgment calls, not sourced findings, and the sightline from the desk chair often disappears when the chair turns.
Budget zoning follows plain tiers: what you already own, what is cheap and removable, and what is a real purchase. The renter-friendly, no-drill toolkit for the cheap tier is laid out in how to organize a small apartment that stays neat. Walk the tiers in order and stop the moment the leftover problem is gone.
When a tension rod and a light curtain are enough
A tension rod and a light curtain are the bridge between what you own and a bought divider. Where the opening is wider than the Umbra’s 66 inches, like the alcove at the foot of the bed, the ALLZONE Heavy Duty Tension Curtain Rod covers 83 to 123 inches and has a locking mechanism. Apartment Therapy reports that the shorter 28 to 46 inch model did not slip over several weeks. Several weeks is not three months, though.
The rated load is where the sources disagree: Apartment Therapy says up to 30 pounds for the 28 to 46 inch model, while BGR gives 20 pounds for the same brand without stating a size. Sag on a long span is a general tension-rod risk, not a complaint read about this particular rod, but it is the reason to keep the curtain light. A sheer curtain or thin fabric suits a rod; anything lined or heavy does not, which is the same lesson as the Umbra’s 22-pound limit.
What to check on the rod before you hang anything
Before anything hangs, check four things:
- The rated load for the exact length you are buying, not the brand’s range
- The weight of the curtain, which a kitchen scale will tell you in seconds
- Two solid, parallel surfaces for the rod to press against, with nothing soft or curved between the rod ends and the wall
- A day with the rod up and nothing on it, to see whether it holds its place
Then hang the curtain and look again after a week. A rod that holds on day one is the easy case.
Renter or Owner: Pick the Route and Anchor Anything That Can Tip
A tall divider raises two questions the cheaper ones skip: whether you can fix it to the wall, and what happens if it tips.

The renter route without drilling
A renter cannot screw a bookcase into the wall, which takes the usual anti-tip strap off the table. Two routes remain. The first is the freestanding screen from the section above, or a shelf short enough to stand alone. The second is a no-drill anchor: the No Drill Anti Tip Furniture Anchors, six pairs, with 2.8-inch adhesive plates and a gap of 0 to 2.04 inches from the wall.
The listing says they leave no residue. It also says they are “Not Suitable For … Rough Surface, Poor Wall Surface, Wet Surface”, and the rating is 3.7 out of 5.
Do a lease check before you order, since adhesive on walls can need landlord approval, and look at the wall itself. A smooth, sound surface is the case the listing covers; a textured or flaking one is the case it rules out, and there the answer is the screen. And the anchors only matter if you picked a bookcase in the first place, so make that choice first.
The owner route with an anchored bookcase
A shelf used as a divider is furniture that can tip. The U.S. Consumer Product Safety Commission’s Anchor It! campaign says anchoring furniture that has drawers, doors or shelves to the wall prevents tip-over injuries.
The commission’s notice on a 2024 CPSC recall of an unanchored bookcase makes it concrete: the unit, 35.5 inches wide, 16 deep and 73 tall, is “unstable if it is not anchored to the wall”. A 16-inch-deep, six-foot bookcase standing alone is exactly the shape that tips.
Which furniture earns the anchoring is covered in what to buy first for a studio, and the anchoring of freestanding shelves in general in vertical storage ideas for apartments that last.
The VASAGLE 5-Tier Bookshelf is the open-shelf bookshelf divider: 60.2 inches tall, 22.5 pounds on its own, up to 18.3 pounds per tier, with an anti-tip kit in the box. The kit is part of the purchase, not an extra, and heavy books belong on the lower tiers. The flaws are on the assembly side. Amazon’s customer summary says several customers report problems with hole alignment, with pre-drilled holes missing or in the wrong places, and the unit can feel wobbly without the wall strap.
A bookcase looks like the solid answer, and it is the weakest of the options at hiding the bed unless it is loaded. One common suggestion is to section it off and hide it a bit with a bookcase or shelving unit that also serves as a room divider. Open shelves don’t block off light as much. That is the trade: open shelves keep the light and give up privacy, and what you stack on them decides how much privacy comes back.
Check the boundary from where you actually sit and lie
One recommended divider height cannot fit everyone, because eye level changes with the person and with the position. A height that blocks the view from a seated chair may not block it from a bed. So test your own room. Sit on the sofa, lie on the bed, and have someone stand where the door opens.
From each position, mark with painter’s tape on the divider, or on the floor behind it, where the line of sight crosses it.
Where the tape lands above the divider’s top edge, the divider is too low for that view; where it lands well below, you have height to spare. No number from a chart beats your own eyes at your own heights.
No helper for the door-side check? Prop your phone on the pillow with the camera facing the zone and take a photo. It shows exactly what the bed sees, and you can mark the problem spots on the screen.
Keep the Zones From Folding Back Into One Room by Month Three
The first week proves the plan; month three proves whether the zone holds.
The rug that walks and the curtain that stays open
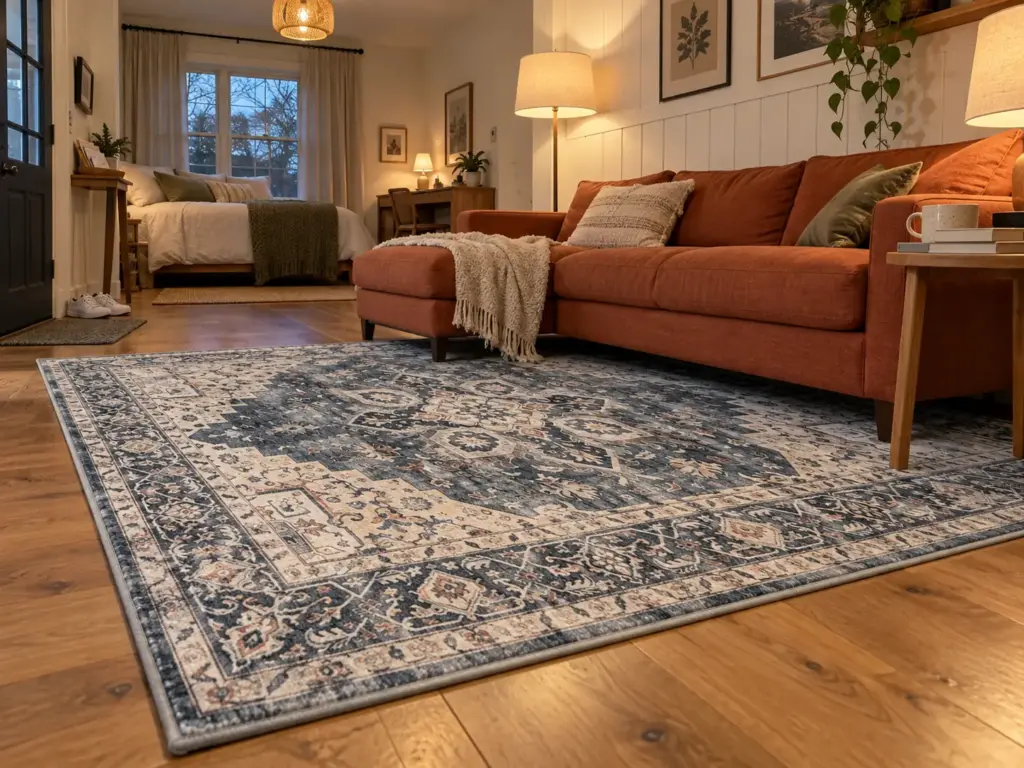
Reversion is the default: a zone that survived move-in weekend can be a pile of mail and a pushed-aside curtain by the second month, and the rug is usually the first thing to go. Rug zoning is the lightest way to mark a spot, because the rug is the zone’s footprint, the thing that says here is where the bed or the seating sits, and a rug that slides resets the zone without anyone deciding to.
The AMADA HOMEFURNISHING 8×10 Washable Area Rug has a low profile and a non-slip backing, per its listing. Amazon’s customer summary says it “stays in place well, particularly on vinyl flooring”, and nothing in it covers carpet or hardwood. The same summary is mixed on one point: customers say it is too thin to be vacuumed.
Put the rug under where the bed or seating actually sits, not centered on the room, because a rug that sits off the bed corner is the one that creeps. The living-room version of that logic is in small living room layout ideas for renters. A curtain pushed to one side stays there if it is also the only way past it, so keep the walkway open the way the first section set it up.
The surface that becomes the dumping ground
Any flat surface inside a zone turns into a shelf with no job: the desk corner that collects mail, the bedside table holding a week of cups. The reason is storage access. When the stuff for the job lives somewhere else, the surface nearest the job fills with whatever has no home. Put what the job needs where the job happens, and decide what the surface is for.
Why storage fails by month three, and how to catch it, is in studio apartment storage ideas that fail by month three, which covers the shelves and bins this article leaves alone.
When someone else lives or sleeps in the zone map
Add a second person and the map gets tested by someone who did not draw it. A partner who eats at the desk, a roommate who cuts through the kitchen zone to reach the bathroom, kids’ toys that drift into every zone, a guest who sleeps on the sofa you made the boundary: none of them read the plan.
Ask what they actually do in each zone, not what the map says they should, and move the map to match. The map is allowed to change. The three questions are not.
Run the same check in a household of two: each person walks their own day through the map while the other watches, and the places where one person has to enter the other’s zone get a second look. Those crossings, not the furniture, are usually where a shared studio folds first.
Photograph each zone on day one from the bed and from the door. At month three, stand in the same two spots and compare. Drift is easier to see in a photo than in a room you walk through daily.
The Leftover Problem Decides the Fix
Three things carry the method. Every job in the room gets one spot, and one walkway stays open. The problem each spot still has, whether it is seeing, hearing or reaching, decides what you move, hang or buy, and the cheapest fix that answers it goes first. And every fix gets looked at again, because zones fold back into one room on their own schedule.
When month three arrives, sit in each zone where you actually sit, ask the three questions again, and move one thing per zone that has drifted back; if every question comes up empty, the system held.
Today, with nothing you have to buy, turn the chair you work in so it no longer faces the bed, and notice over the next few evenings whether you still want the screen in your cart.
Frequently Asked Questions
01How do I create division in a studio apartment?
Give each job its own spot, then block only what is still wrong there: a screen or shelf for sightlines, a light curtain for glare, a rug to mark the footprint. Move furniture before you buy anything, and keep one walkway open.
02How do I create two zones in one room?
Draw the walkway first, then put one job on each side and fix whatever each side can still see or hear of the other. A sofa back, a shelf or a curtain can mark the edge between them.
03How do I lay out my studio apartment?
Start with what cannot move, the door, the window and the kitchenette wall, then give each job one spot around an open walkway. Tape the footprints on the floor before you move furniture. The full procedure is in the studio apartment layout guide.
04Is 400 square feet small for a studio?
There is no official cutoff, and 400 square feet is roomier than the 230 to 300 square foot studios that are commonly zoned into separate areas. Square footage matters less than whether each job gets a spot of its own.
05Can you zone a studio without drilling?
Yes, a freestanding screen, a tension-rod curtain and a rug all work without touching a wall. A bookcase divider needs adhesive anchors, which only suit smooth, sound walls; on a rough wall, stay with the screen.
Disclaimer: ClutterlessNest is a participant in the Amazon Services LLC Associates Program. As an Amazon Associate we earn from qualifying purchases. This article may contain affiliate links — if you buy through them, we may earn a small commission at no extra cost to you. We only recommend products we have tested or genuinely believe in.