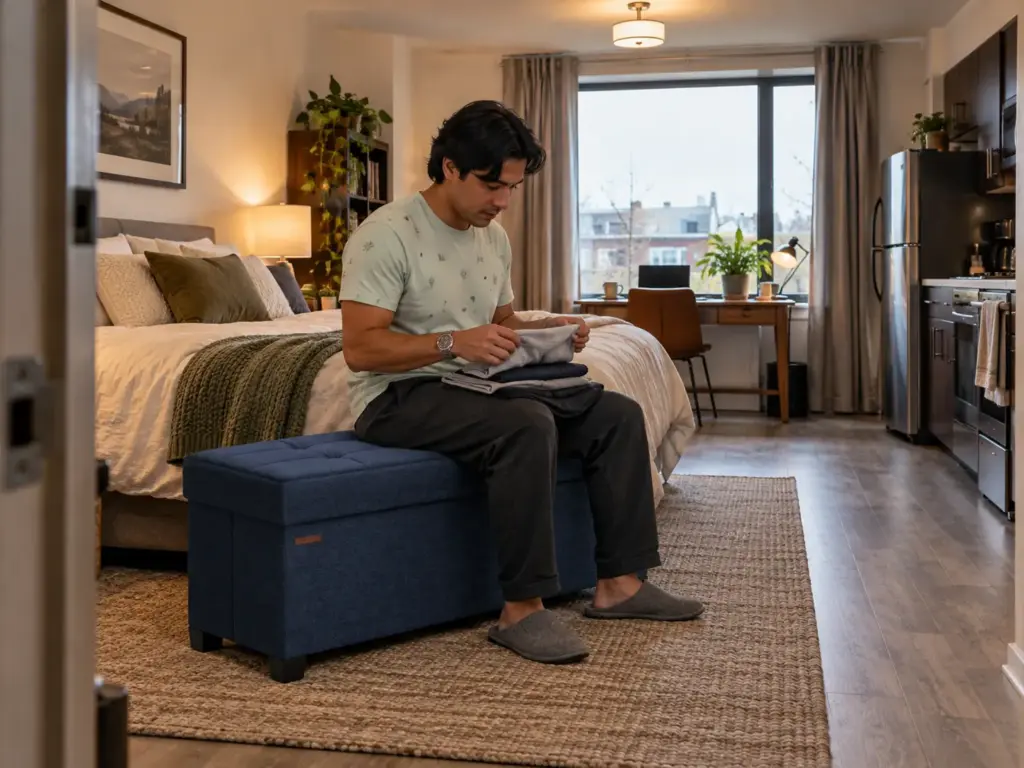
Picture the end of an ordinary day in one room: the bed is also the sofa, the clean laundry has no door to sit behind, and the desk shares a wall with the stove. You bought a few cute plastic bins and a shelf from a big-box store, and a month later the overflow is back, because a studio has no second room to dump it in, so it lands beside the bed first. People who live in studios keep landing on the same frame for this: treat the room like a boat, where every bit of space has a job.
This guide to studio apartment organization follows that idea, from zones and a walkway you can measure to the walls, the furniture, the kitchen, the wardrobe and the reset that stops the slide. A small apartment with a real bedroom door can shut the overflow away, and a studio cannot, which is why this guide starts from zones.
Quick Answer
A studio holds together when every part of the room has a job and a clear path runs through it.
- Draw sleep, cook, work and store zones, and keep a walkway clear.
- Measure the room and cut what you do not use before buying.
- Use the walls and the backs of doors first.
- Put closed storage under the bed and inside the seating.
- Give the kitchen and the wardrobe one wall each.
- Run a short nightly and weekly reset so the sleep zone stays clear.
Studio Apartment Organization Starts With Zones, Not Storage
Stand in the doorway and the bed, the desk and the stove are all in view at once. That view is the problem: nothing in the room says where one job ends and the next begins, so every object settles on the nearest flat spot, and no amount of studio apartment storage fixes that. A zone is only a decision about which things stay in which corner, and it has to come before any bin does. Think of a studio like a boat, where every bit of space has to earn its place.
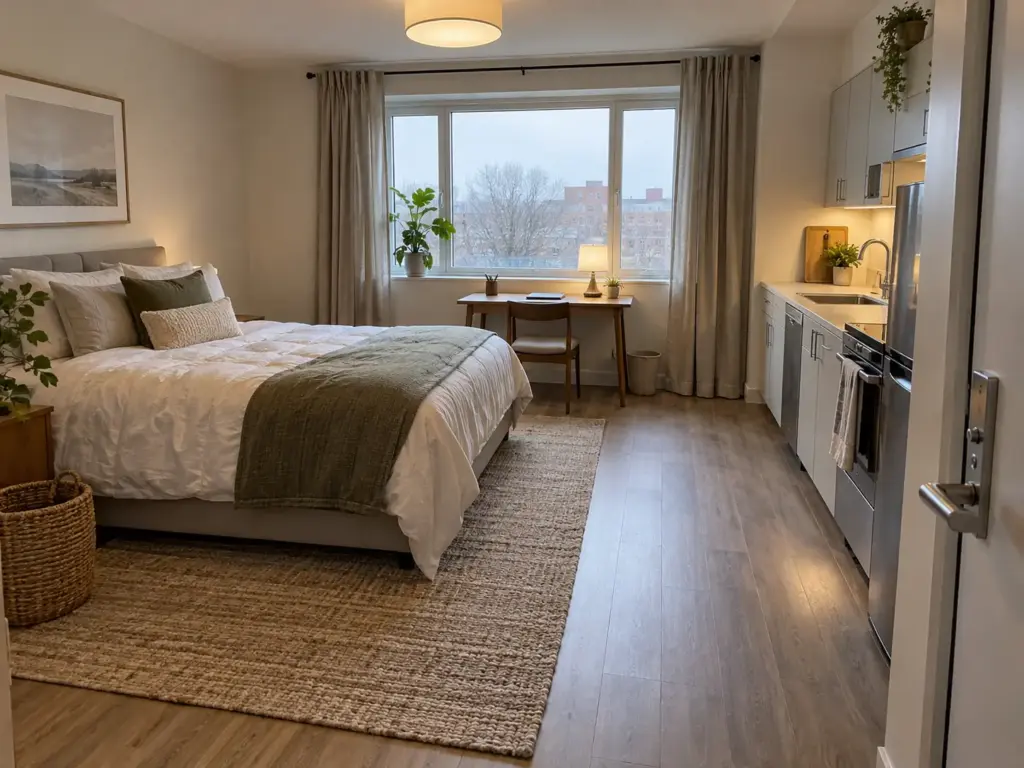
Draw the room before you move anything
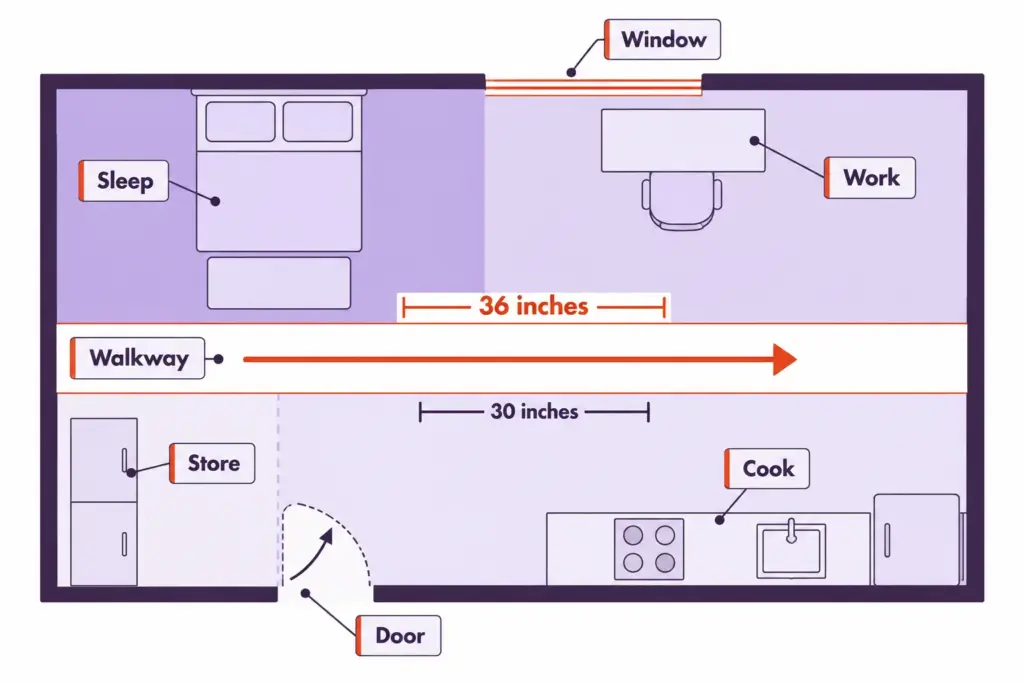
Take a sheet of paper and draw the outline of the room, then add the door swing, the windows and anything that cannot move, such as a radiator or the kitchen wall. Cut small paper rectangles to the scale of the big items (the bed, the sofa or ottoman, the desk, the table) and slide them around before you slide any real furniture. Whatever floor is left over is the storage you can actually have.
Then sort the room into four zones: sleep, cook, work and store. The activity zoning in how to maximize space in a small apartment still holds here, and this guide adds the two things a studio needs on top of it, a drawn plan and a walkway.
Set the walkway first
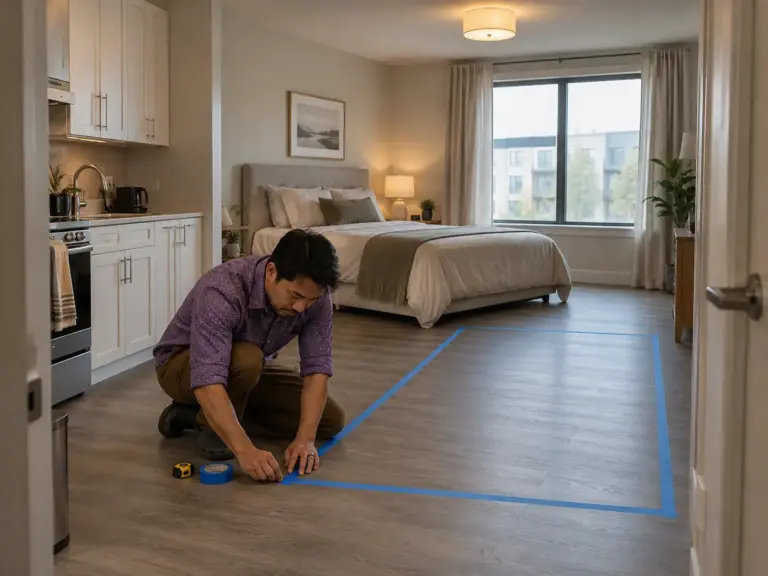
Draw one band from the door to the window, the path you walk all day, and treat that walkway clearance as untouchable. Thirty inches is the usual least a single person needs to pass, and design software allows 30 to 36. I would treat 30 as the floor and plan on 36 inches, which is also the number behind the 36-inch entry rule used on this blog. The smaller figure is the one that gets quoted, and in a room this size it is the wrong one to plan around, because a pulled-out desk chair or an open oven door eats thirty inches before you have carried anything through.
Count the clearance at the ends of any sofa or ottoman too, about 30 inches at each end. The small living room layout ideas show how that plays out when the living zone is also the guest bed. A chaise sofa with storage under it is one way to make that zone earn its footprint.
Give each zone an edge without building a wall
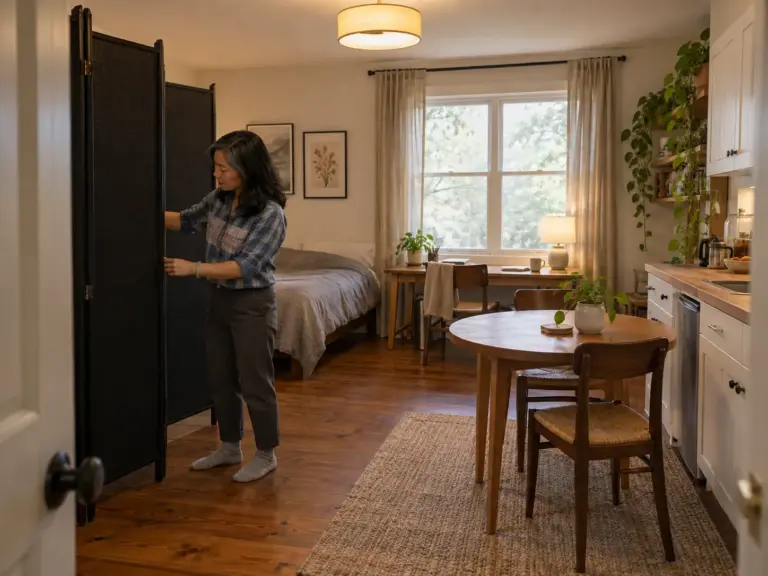
A zone needs an edge the eye can read, not a partition: the edge of a rug, a shelf set at right angles to the wall, an ottoman at the foot of the bed. These boundaries tell you where the sleep zone ends without costing you a square foot of floor.
Each zone also gets its own rule for open and closed storage. Closed storage (doors, lids, drawers) belongs where the eye rests, which means the sleep zone. Open storage (a shelf, a rack, a rail) belongs where you reach daily, which means the cook zone. The work zone has the same puzzle as a work zone in a bedroom-sized room: it shares air with a bed, so it needs a place where the laptop and papers can disappear at the end of the day.
And the sleep zone is the one that fills first. It is the only zone with a flat surface within arm’s reach of the bed, so the nightstand quietly becomes the drop point for everything, and the rest of the guide keeps coming back to that.
Measure and Cut Before You Buy Anything
Most studio dwellers know the cart: a dozen cheap bins ordered at once, and an empty bed frame that turns out to sit lower than the tape would have said. The bins come back in the box. The fix for that cart is a list of measurements and one honest pass through what you own, done before the cart exists.
Cut first, because storage multiplies what you keep
Storage makes a studio feel organized and quietly raises the amount you hold on to. A long budget-storage thread puts the trap plainly: a lot of people fall into spending money on storage for things they will never use again. In a room with no spare corner, that is not a minimalism lecture, it is a budget rule.
So pull out what you have not touched, downsize before you shop, and decide what stays. The approach in declutter first and zone by function works the same way in one room as in a bigger one. Then reuse what is already in the place: a crate, a shoebox, a drawer organizer from another drawer. Buy only for the gap that is still there after that.
The measurements to take before any cart
You can take every one of these in ten minutes with a rigid tape and a notes app:
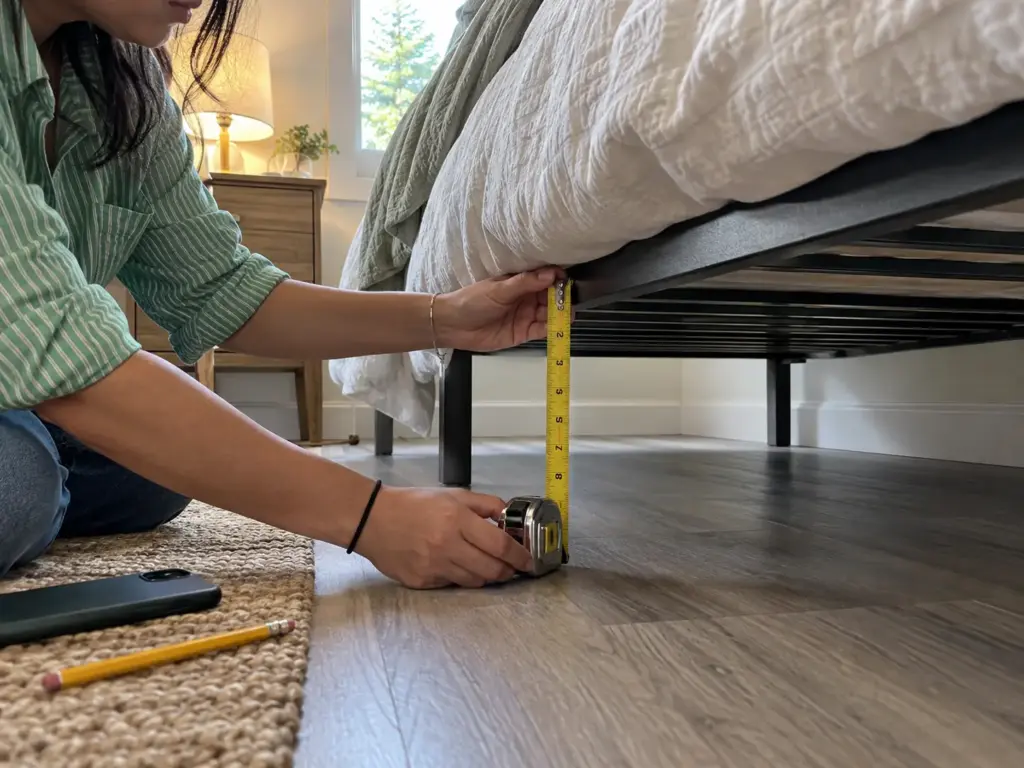
- Under-bed clearance at the lowest point of the frame. That means the center beam or the brackets, not the side rail, and in several spots, because slats can sag.
- Depth of the sleep zone, wall to wall, so you know what a dresser or a shelf can take from the walkway.
- Bed height, and what it becomes with a riser, since a riser changes both the clearance and how you get into bed.
- Wall type, and whether drilling is allowed, which settles every shelf question before it starts.
- Depth of the door an over-door unit will hang on, plus the gap above it.
- The gap under the sink, measured to the item you plan to put there.
Nothing in an odd-shaped studio is standard, and the numbers get small. One person in a 164 sq ft studio found that whether they could have a dresser at all came down to whether one existed at 15 inches wide, and the bookcase had to be the same width. The width decided the furniture. The same rule works in reverse: measure the space against the item before you buy it, since a pack of paper towels either fits under the sink or it does not.
Keep the measurement list in your phone, one line per number, and check every cart against it before you pay. A list you can open in the store beats a number you half remember.
Why “it should fit” is how bins get returned
A bin that is close to the right height is the most expensive kind, because it feels like a win until it is loaded. A mattress on slats can bow under weight, and under bed bins that touch the slats when full push up against the mattress. Leave about three-quarters of an inch between the top of the bin and the slats, and measure that gap against the lowest spot you found, not the rail.
The same rule covers everything else on the list. A door that is a little too thick for the hook, a shelf a little too deep for the walkway: each one is a “should fit” that was never checked, and a studio has no spare corner to absorb the mistake.
Go Up the Wall and Behind Every Door
There is a wall of empty paint above the desk, and a door that holds nothing at all. When the floor has nothing left to give, going up is the cheapest advice there is. The budget advice is simple: think up, and use the backs of all your doors.
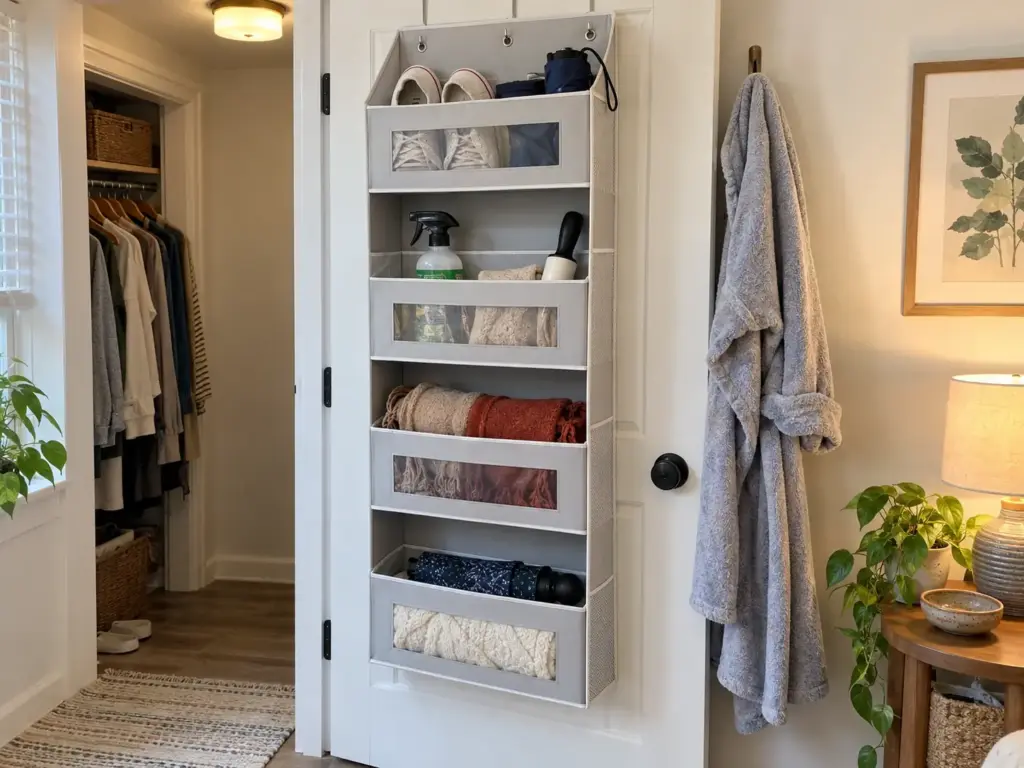
The free version: hooks you already own and the backs of doors
Start with what you already have: screw-in hooks left over from a move, a tension rod across a narrow gap, a crate set on its side to make a shelf. The best first purchase here is nothing, and the first thing to hang is whatever currently lives on the chair.
Back of door hooks are the usual no-drill answer, and Command Large Wire Hooks are the adhesive kind for bags, a robe and a hat on the back of the sleep-zone door. Read the weight rating printed on the pack before you hang anything heavy, and follow the clean-surface step on the pack, because an adhesive hook is only as strong as the surface it sticks to.
An over-door organizer where a door is free
The SimpleHouseware Over-The-Door Organizer gives you five pockets on the back of a free door, with no drilling, and it suits the kitchen, bath and sleep zones equally well. Any over the door organizer hangs from the top edge, so check the hook depth against the thickness of your door and the gap at the top; a door that is too thick will not close behind it.
Where you hang it matters as much as what it is. A back-of-door unit stops working when the door is one you use every hour, so put it on the closet door, not the entry or bathroom door. Otherwise the pockets swing and bang all day, and you stop using them.
Wall shelves, and when drilling changes the answer
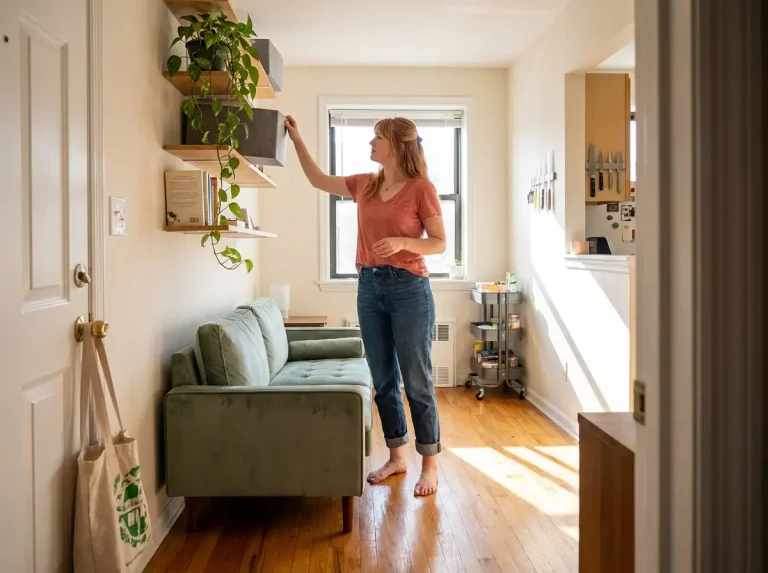
A wall shelf wants anchors or screws, which makes it an owner’s decision in an owned home or a renter’s permission decision. If drilling is not an option, a freestanding tall unit or more hooks is the renter friendly route to most of the same height. The deeper guide, vertical storage ideas for apartments, covers shelving in detail, so I will not repeat it here.
Use the Space Under and Inside Your Furniture
The bed is the biggest piece of furniture in the room and also the one with the most air beneath it. That makes it the largest hidden storage you have, as long as the bin you buy clears the frame.
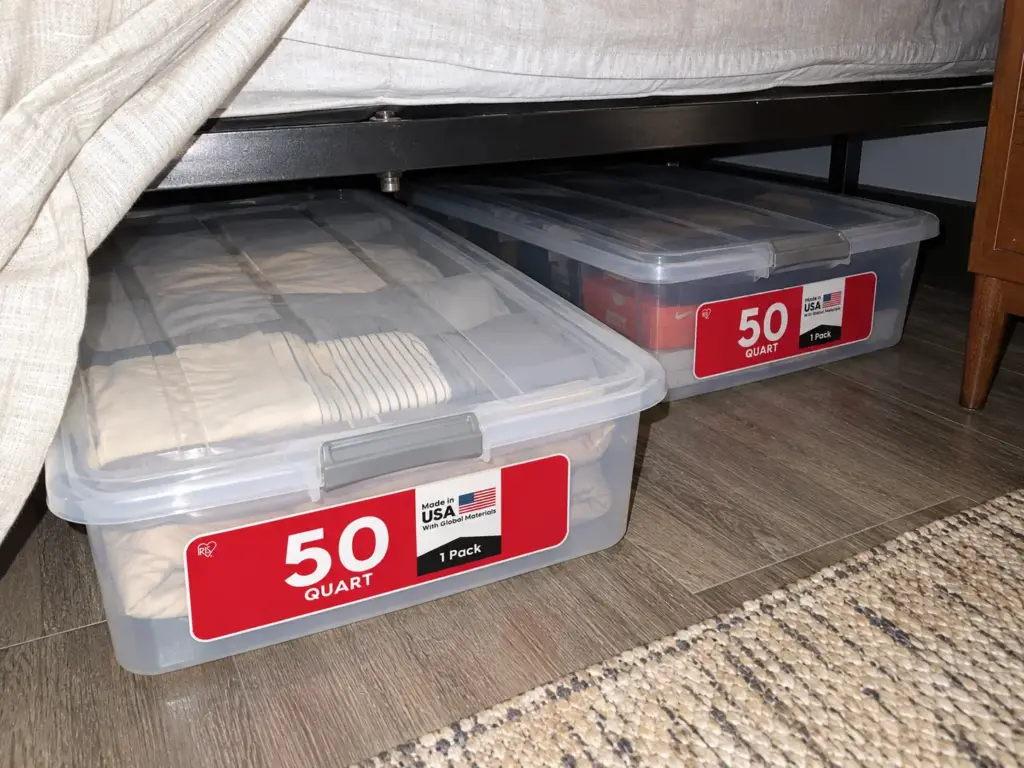
Measure the clearance, then choose riser or bin
Start with the free number: get on the floor with a rigid tape and measure from the floor to the lowest point of the frame. If that is not enough for the bin you want, a riser lifts the bed to buy the height.
The EclatBain Bed Risers come as a set of four with 3, 5 and 8-inch settings, and a renter can use them without touching the frame. A standard bed riser adds about 6 inches, which is worth checking against your bed height. Their weak point is that risers can slip when weight shifts side to side, so keep the frame on all four feet and do not sit hard on one corner.
A taller bed is also harder to climb into for shorter or less mobile people.
The arithmetic is straightforward. The IRIS USA Under Bed Storage Box with Lid is 32.5 by 17.88 by 6.5 inches on the outside. Add the three-quarter-inch gap above it and you need about 7.25 inches of clearance.
Say your frame sits 4 inches off the floor: the 3-inch riser setting gets you to 7, a quarter inch short, and the 5-inch setting gets you to 9, with about 1.75 inches to spare. On a metal frame with 7.25 inches or more of clearance the bin fits as is.
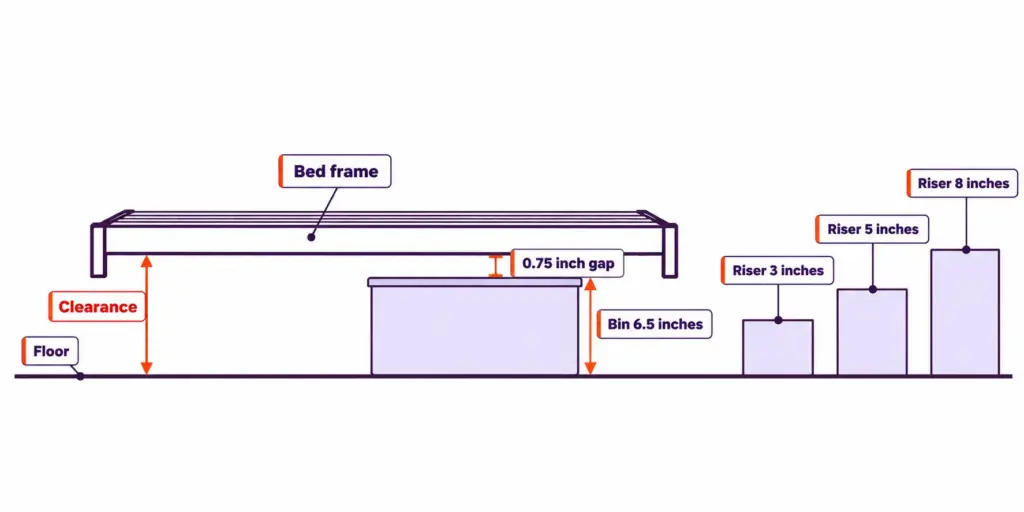
The long lidded bin is the obvious pick, and on a low platform bed it is the wrong one without the riser. If you would rather not lift the bed, look at containers matched to the clearance of a low bed before you buy this one. For the full setup, the pillar on how to set up under-bed storage that stays organized walks through it.
Before you order anything, slide a hardcover book flat under the frame at its lowest spot. If it jams, the center beam is your real limit, not the side rail you measured first.
Keep clothes out of loose under-bed storage
Clothes stored under a bed collect dust, and people who have tried it say hair and dust seem to be drawn to it, and that bugs can nest in there depending on your climate. A snap-on lid does not make the bin airtight, so dust drifts in over months.
Put clothing in a closed bin or a drawer, and use the space under the bed for what tolerates dust: shoes in a box, linens in a lidded bin, off-season bedding. The lid on a bin is a cover, not a seal, so plan around that.
Furniture that stores: the ottoman and the storage bed
A trunk or a crate you already own is the free version of a storage seat, and it works well at the foot of the bed. When you want something that matches, the SONGMICS Storage Ottoman Bench is 43 by 15 by 15.7 inches, so it gives you closed storage plus a guest seat in one piece. Hold that 43-inch width against the walkway you drew, because at the foot of a bed that is exactly where it will sit.
Bigger versions exist. A day bed with storage underneath, a storage bed or a Murphy bed lets the bed itself do the work, and people who live in studios add a bed skirt that hides a low frame and everything under it.
Wheeled platforms with plastic baskets can hold whatever does not fit under the bed, and a rolling cart does the same job without the building. A loft bed with a desk underneath is the other studio classic. The fuller picture of multi-function furniture is in multi-functional furniture for small apartments, and the one-category rule for an ottoman is in living room storage ideas for small spaces.
For budget storage, a riser plus plastic tubs is the cheapest version, and furniture that stores is the upgrade. One thing fails in practice: a storage ottoman used as a coffee table is a poor home for things you reach for every day, because the lid has to be lifted each time. Keep what you need monthly in it, and leave the daily items on open storage.
Give the Kitchen and the Wardrobe One Wall Each
The two highest-traffic zones, cooking and getting dressed, each get one wall. A kitchen that is a single wall and a closet that is a single rod cannot be fixed with cabinets bought for a larger room.
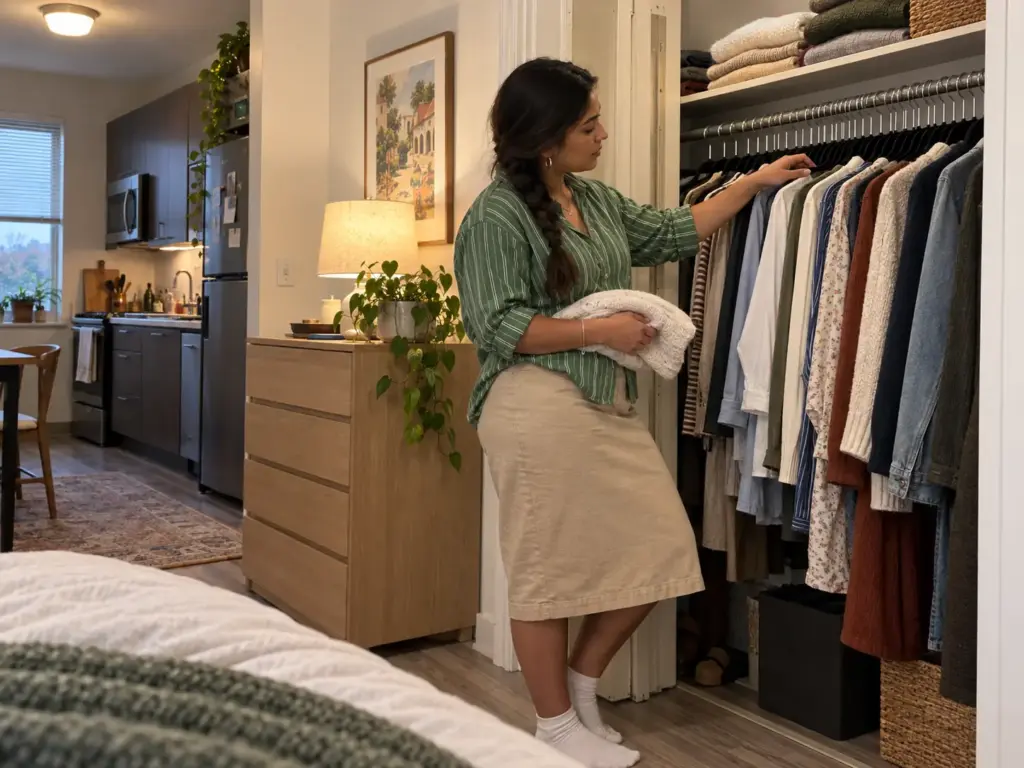
The kitchen wall: rack, rail and the cabinet you measure
Put a kitchen wall rack or rail to work for the things you use daily, keep dry goods in counter containers or baskets, and measure the one under-sink cabinet to what lives in it. That is the lesson of the six-roll paper-towel pack from earlier: the cabinet is fixed, so the item has to fit the cabinet. If you add an under sink pull out unit, measure that cabinet first for the same reason. For pot storage, how to organize pots and pans covers the systems that hold up.
The wardrobe wall: rod, dresser and slim hangers
The closet is your main hanging storage, so it is worth reading about closet organization that still works in three months before changing it. The cheapest step costs nothing: swap out the thickest hangers you own first and see how much rod you get back.
If you want a slim, uniform set, the ZOBER Premium Velvet Hangers are 0.2 inches thick, so fifty of them take about 10 inches of rod, which is arithmetic you can check against your own rod. Each is 17.5 inches wide, built for adult shirts and jackets, so measure your rod before you swap everything. Why a small closet gets messy again has the hanger math in more detail.
The dresser question comes down to width, and a studio rarely has room to be generous.
Choose the dresser by width and the walkway, not by drawer count, as the 164 sq ft studio above showed with its 15-inch dresser. If no dresser fits, a dresser alternative such as a storage ottoman or a storage bed takes the folded clothes instead. And keep the dresser top clear. A studio wardrobe fails there, because it is the nearest flat surface to the bed, and everything eventually lands on it.
Anchor the dresser, and buy secondhand with care
Anchoring matters in a room where you sleep a few feet from your dresser. The federal Anchor It! campaign’s furniture tip-over materials say that since 1 September 2023, clothing storage furniture sold new has to meet stability standards and include anchor kits, and that renters can anchor furniture and repair the wall in minutes afterward. So check that a new dresser includes its kit, and use the manufacturer’s instructions to install it.
Secondhand furniture is a real budget route. Curbside furniture is the cheapest version, and a dresser with the drawers taken out and felt pads added is one option. But be careful with free couches and other furnishings unless you know the source, because bedbugs happen. A dresser you can inspect inside and out is a much safer bet than a couch off the street.
Why a Studio Slides Back, and the Reset That Stops It
The same room a month later, with the same bins in the same places and the same pile on the nightstand. The system was not wrong. It had no step for the thing that keeps arriving.
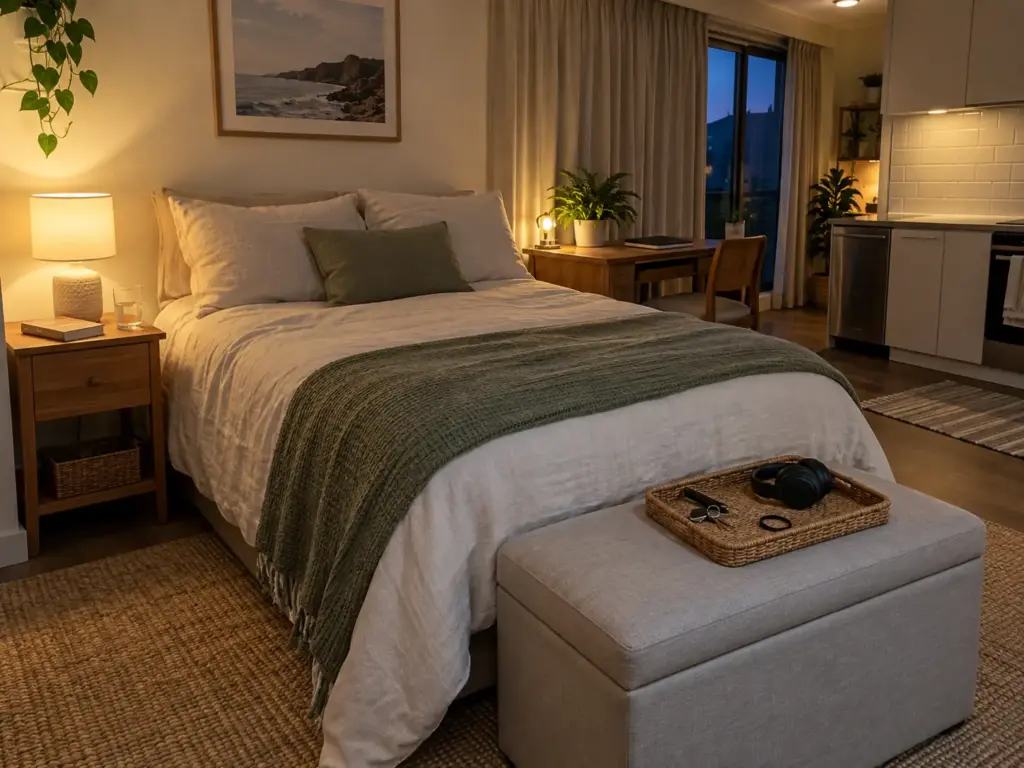
The sleep zone fills first, and why
A one-bedroom uses the bedroom door as a firewall, and the overflow stays on the far side of it, which is why one-bedroom apartment organization tips can treat the living room as a separate problem. A studio has no door, so the overflow lands on the nearest flat surface, which is next to the bed. The system fails at the nightstand and the dresser top, not at the shelf.
Watch which surfaces catch things and you will find the same three: the nightstand, the dresser top and the ottoman lid. Each one is flat, each is a step from the bed, and each reads as temporary. A flat surface nobody has assigned becomes the default drop point, so the cure is to assign it: a tray on the nightstand, nothing on the dresser top, and a lid that stays closed.
That is also why a rule like “put everything away at night” breaks down: in one room there is no away. The reset routine has to send each stray back to its zone, and it has to expect that the same few things will return. That is the revert cycle: the system is set up, the strays arrive, nothing sends them home, and the room drifts. Why a seasonal closet rotation fails every time is worth reading for the same reason: a plan with no step for what keeps arriving will slide back.
A reset that fits one evening
Give each pass a bounded task and an end point, not a time:
- Nightly: carry the day’s strays back to their zones, and stop when the nightstand and the dresser top are clear.
- Weekly: walk the path from the door to the window and check that it is still clear to the planning number.
- Monthly: look at the cut pile from earlier and decide what leaves the room, then take a one-in, one-out look at whichever zone grew.
The monthly reset is where the trap gets caught: spending money on storage for things never used again returns when nobody looks.
If a week slips, do not redo the room. Run only the nightly pass for three nights, because the pile that formed sits on those same three surfaces, and the walkway check can wait for the weekend.
Give the nightstand one small tray as its edge. Anything that sits past the rim of the tray is a stray, and the nightly pass has an obvious start.
Two people or a pet in one room
This is a method, not a rule from any study. In a two person studio, split the zones into “your side, my side, shared zone,” with the walkway shared and the shared zone the smallest of the three. The same split works for roommate storage in a shared studio. A shared closet that stays neat follows the same logic, and the guide covers it for the hanging side.
A pet adds items to the zone map as well: the feeding spot and the pet litter box each need a place and a clearance from the walkway. Treat them as zone items, not as an afterthought, or they end up where the walkway was.
The no-drill version of this guide works whether you own or rent. A loft bed or a wall shelf is an owner decision or a permission decision, and everything else here works without a drill.
Check the Walkway in Three Months, Then Change One Thing
Three ideas carry the whole guide. Zones decide where everything lives, and the walkway decides which zones you get. Measure and cut before you buy, because a studio has no spare corner to absorb a wrong guess. And the sleep zone fills first, so the reset starts there.
In three months, walk the path from the door to the window and see whether it still clears the planning number, whether the bins under the bed are still the ones you reach for, and whether the dresser top is still empty. The answer tells you which of those three is the weak link.
For today, clear the one flat surface within arm’s reach of your bed, carry what is on it back to its zone, and watch over the next few days which items return first. Those are the strays your system has no place for, and the next hook, bin or tray belongs wherever they keep landing.
Frequently Asked Questions
01What is the best way to organize a studio apartment?
The best way to organize a studio apartment is to draw its zones first, keep a measured walkway clear, and measure before you buy anything. Then give each zone’s things a fixed place, closed storage where the eye rests and open storage where you reach daily.
02How do you structure a studio apartment?
Structure a studio apartment as four zones, sleep, cook, work and store, laid out on a drawn plan with a walkway running between them. Put closed storage where the eye rests, like the sleep zone, and open shelves or racks where you reach daily, like the cook zone.
03What are the best organizers for a small apartment?
The best organizers for a small apartment are the ones that fit a measurement, such as the under-bed clearance, the door depth or the closet rod. A bin, an over-door unit and a slim hanger each earn their place only after the tape says they fit.
04What are the must-haves for a studio apartment?
The must-haves are storage you can close in the sleep zone, a measured walkway, a dresser that fits its wall, and hooks behind the door. That is my judgment, not a rule. Add one set place for the day’s strays and the room holds its shape.
05Can renters anchor furniture in a studio?
Yes, renters can anchor furniture in a studio, and the federal Anchor It! campaign says repairing the wall afterward takes only minutes. Since September 2023, new clothing storage furniture has to include an anchor kit, so check that your dresser has one.
Disclaimer: ClutterlessNest is a participant in the Amazon Services LLC Associates Program. As an Amazon Associate we earn from qualifying purchases. This article may contain affiliate links — if you buy through them, we may earn a small commission at no extra cost to you. We only recommend products we have tested or genuinely believe in.