
You pull every shirt, mug and cable out to sort it, and the only flat surface wide enough for the pile is the bed. Now the bed is the pile, you still have to sleep somewhere, and by evening everything drifts back to where it came from. In a studio, one room does the work of four, and a room like that leaves no neutral ground for a decision, which is why one-room organization needs an order before it needs bins.
This guide shows how to organize a studio apartment in the order that holds: what leaves first, the zone that gets settled before everything else, the step where a lease or a mortgage changes the answer, the sequence when two people share the room, and the fit check that comes last. It sits on top of the six-step studio guide, which owns the zones and the measuring for studio apartment organization, so this one sticks to the sequence.
Quick Answer
Work the room in this order, because each step sets the size of the next one.
- Clear what is leaving first, and set its exit before you sort.
- Settle the bed zone first, then fit everything else around it.
- Check what your lease or ownership allows, then use what you own before buying.
- Give each person one zone if the room is shared.
- Measure the gap under the bed last, then buy the one missing piece.
How to Organize a Studio Apartment Starting With What Leaves First
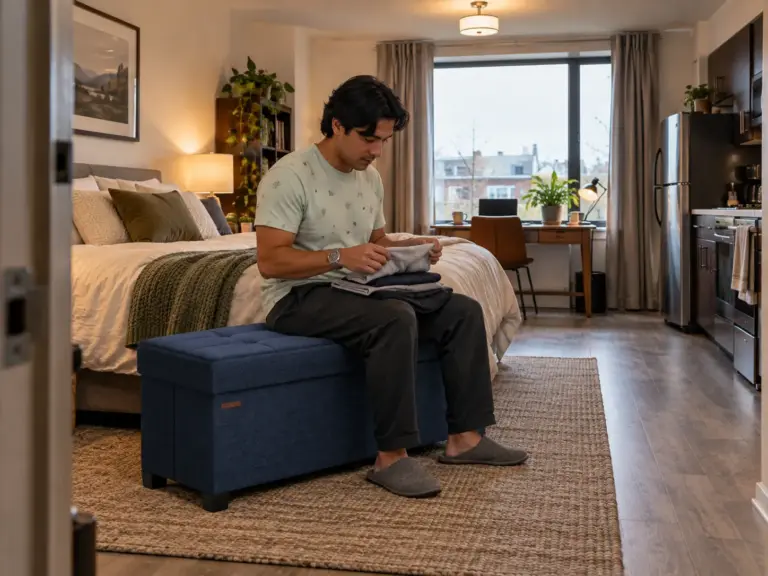
A studio has no spare room, which means it has no spare place for a decision. The purge needs a staging area, and in one room the only candidate that is flat, clear and big enough is the mattress. So the first job is not a drawer or a shelf. It is choosing where the pile lives and where it goes next, because you declutter before organizing, never after.
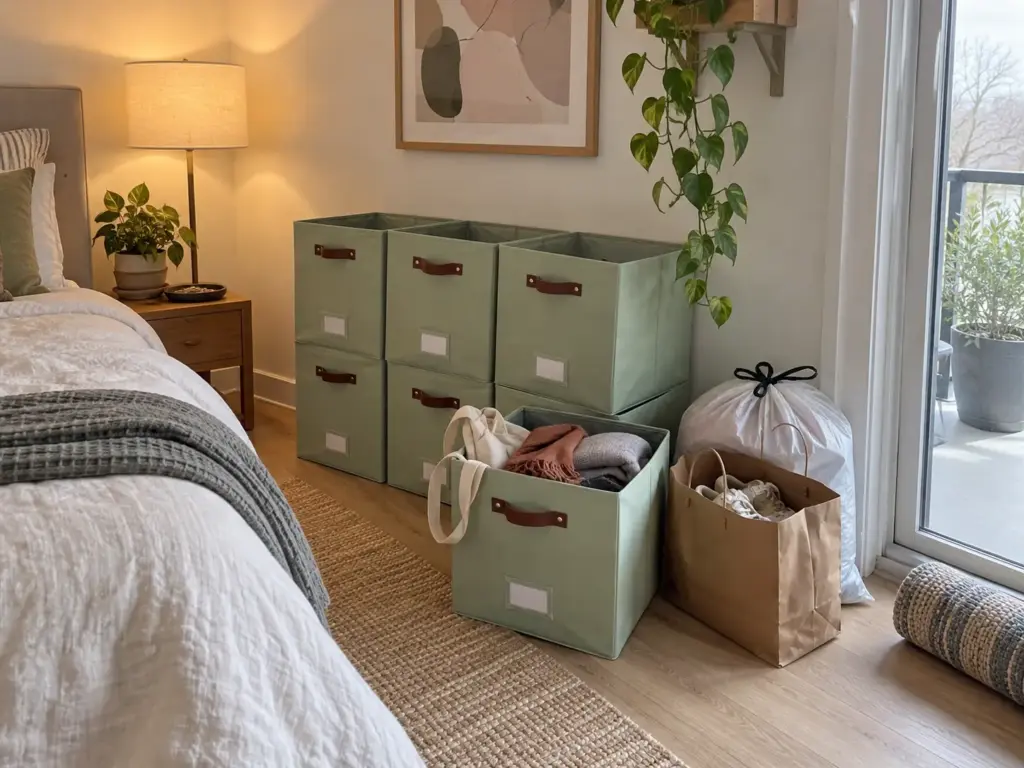
Why the sorting pile always ends up on the bed
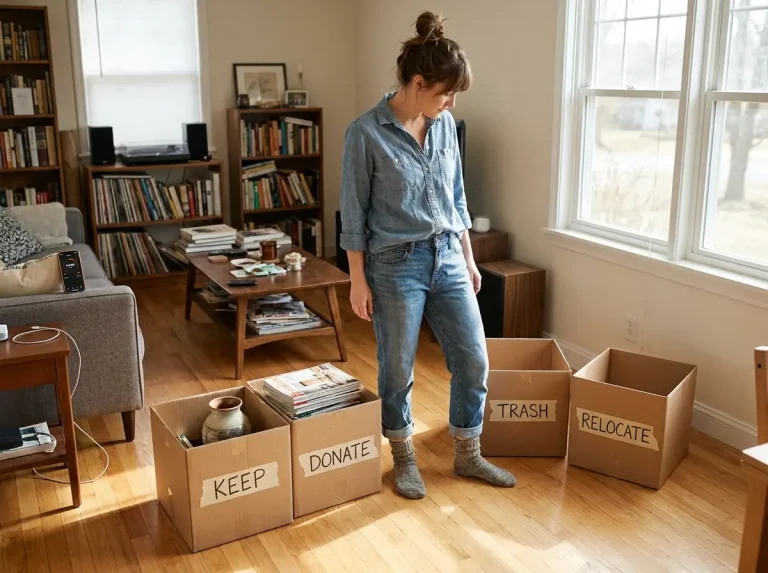
Sorting runs on three piles: keep, go and undecided. With a spare room that is easy. In a studio the floor is the walkway, the table is the desk and the counter is where dinner happens, so the piles land on the bed by default.
Then comes a loop you can predict: you move them to the floor to sleep, they block the path to the bathroom, and by the second night they have gone back into the drawers “for now.” That is not a discipline problem. It is a room with one flat surface.
The extreme version is a studio where the dining area doubles as a makeshift nursery weeks before a baby arrives. The room had taken on a second job before any storage was in place, so the sort had nowhere to stand. Decluttering one room at a time is standard advice for a big home; in a studio it is simply the situation, which makes the staging spot the part that matters.
Set the exit before you sort
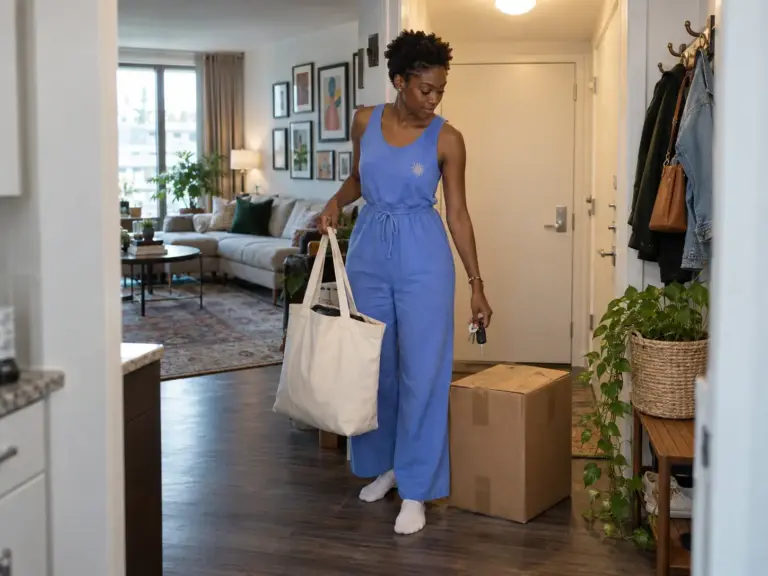
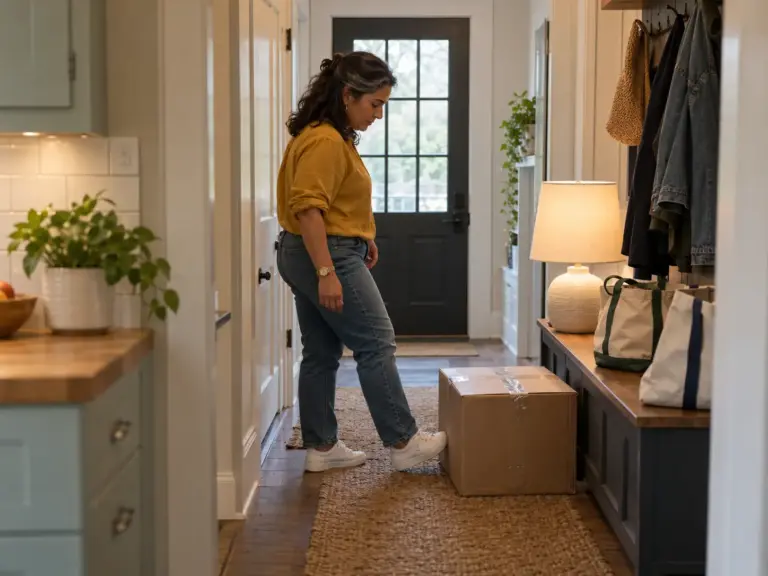
Choose one staging corner, by the door or by the window, as a holding zone for the sort, and use it for nothing else. Then decide the exit for each pile before you start: donate, sell or hand down, each with its own bag standing by the door and a day to take it out. The door matters because the bag has to sit in the path out (a bag in the closet is a bag that walks back into the room). After the sort, what to do after decluttering so the pile actually leaves walks through getting it out on a set day, and for the things nobody wants, where leftover stuff can go covers the options.
Write the pickup day on the bag itself with a marker. A bag with a date on it leaves; a bag without one slowly becomes furniture.
The one box for “I’ll decide later”
Some things will not sort in one pass: the jacket you might still wear, the cables for a device you might still own. They need a home that is not the bed, and the first choice costs nothing, a storage box or tote you already own. Minimalism and buying only as you need can make a world of difference, and an empty tote from the closet is that idea at its cheapest.
If nothing at home fits, the DECOMOMO fabric storage cubes give the pile a labeled home: six cubes at 10.5 x 11 inches each, with labels to say what is inside. They are soft-sided, so they suit light things such as clothes, paper and cables, and they sag under anything heavy. (A rigid tote is the better call for books or tools, so match the container to the weight of what is undecided.) Then set a cap: whatever is still in the box after about two weeks gets one review, and anything that survives it earns a permanent home while the rest goes out the door.
When the sort stalls
Some sorts stall. The box refills as fast as it empties, or every weekend ends at the same drawer. A professional is a real option at that point. According to the National Association of Productivity & Organizing Professionals, “Organizing professionals and productivity consultants do so much more than help rid you of ‘too much stuff.'” The association lists more than 2,000 members worldwide, so someone who works in small homes is findable.
If you would rather keep going alone, pick one of the decluttering methods, KonMari or another, and let its rule make the call so your mood does not have to. A method turns “do I need this” into a question with a fixed answer, and in a room this small a fixed answer beats good intentions.
Settle the Sleep Zone First, Then Fit Everything Else Around It
Buy bins before the bed has a place and you buy twice, because the bins were sized to a floor plan that no longer exists. The bed goes first, and everything else gets measured against what it leaves.
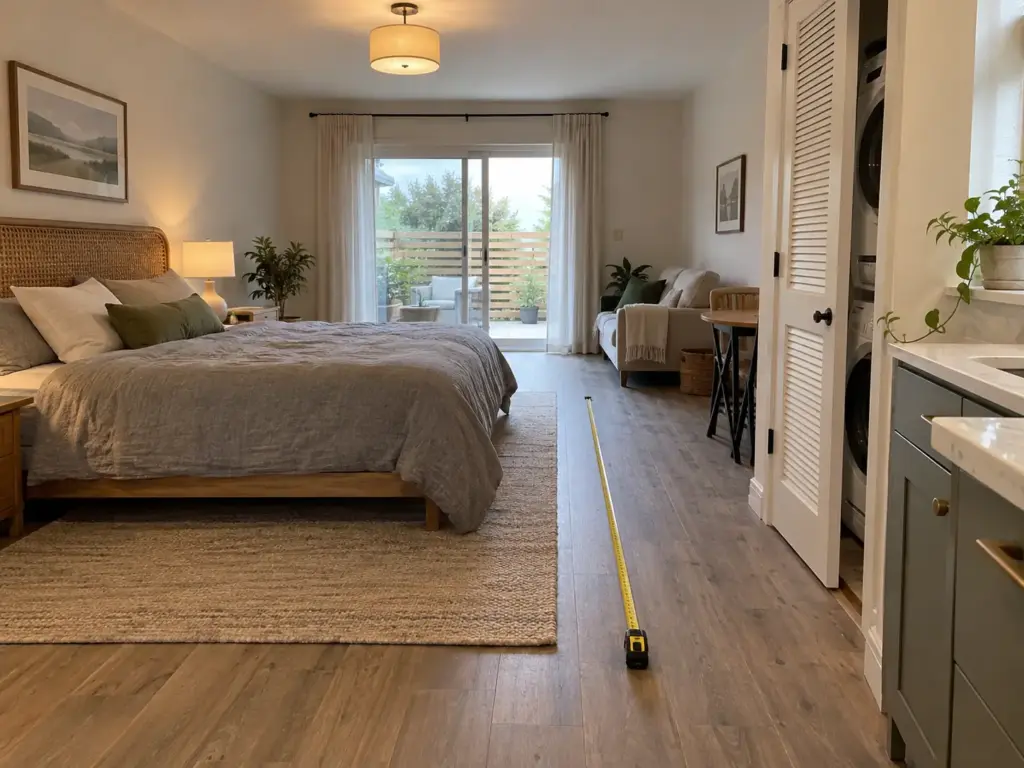
Why the bed comes first
The bed is the largest object in the room that cannot be stacked, folded away or moved daily (a loft bed, a Murphy bed or a sofa bed changes the shape of the answer, not the logic). Where it sits sets the footprint every other zone has to fit around. The usual pick is a corner, to free the middle of the floor. In a studio with a single window I would not take that automatically, because a corner can bury the light and the path to it, and the longest free wall tends to leave a cleaner line from the door to the window.
If the bed is a loft bed or a Murphy, the first zone to settle becomes the one under or in front of it, since the largest fixed thing is now the frame or the wall unit. Arranging a small bedroom goes through the sleep zone in a room this size.
Furniture first, then the big items, then the small ones
The sequence fits into two sentences: place your furniture first and then large items, then work down to smaller items, and it will naturally fall into place.
It works because each size class sets the limits of the next. Furniture decides the floor, big items such as a dresser, a clothes rack or a bookcase decide the walls, and small things go into whatever room is left, in containers you can now measure for. The zone model and the measuring in the studio guide cover how to do each of those; this order only tells you when.
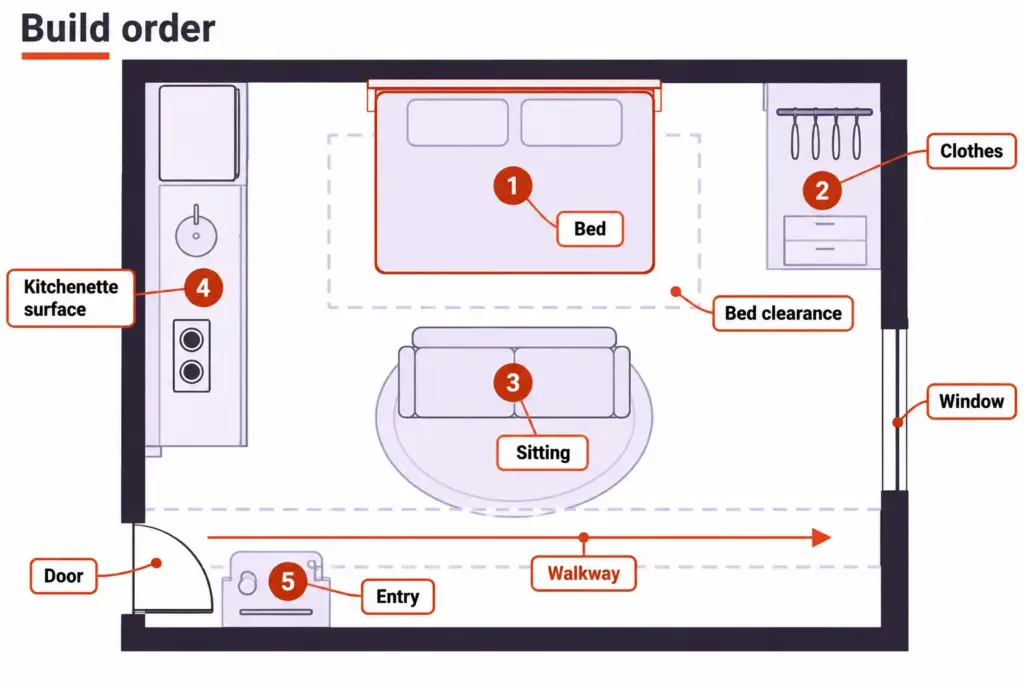
Keep a walkway clear before you add anything else
Keep a clear line from the door to the window or the kitchenette. Any zone that blocks it moves, however good the corner looks on paper. A raised bed shows what that line can buy back: under it, a studio can keep basically anything you don’t use on a weekly basis, such as camping gear, extra blankets and out-of-season clothes. The floor under the frame does the work of a second closet, and it is how you reclaim floor space without moving a wall.
Check the clearance now only to learn how much of the off-season store will live there. The full fit check comes last, after the free steps, so it does not slow the order down.
Mark the footprint of each big piece on the floor with painter’s tape and live with the outline for two days. If you keep stepping around a rectangle, the walkway has just told you where it does not fit.
Where Renting or Owning Changes the Answer, and Why You Spend Last
Somewhere between the sort and the shopping cart, the lease starts to matter. The first steps (sort, move, use what you own) cost nothing and need no permission. The step where a landlord or a mortgage changes your options arrives only when something has to attach to a wall, and until then renters and owners follow the same order.
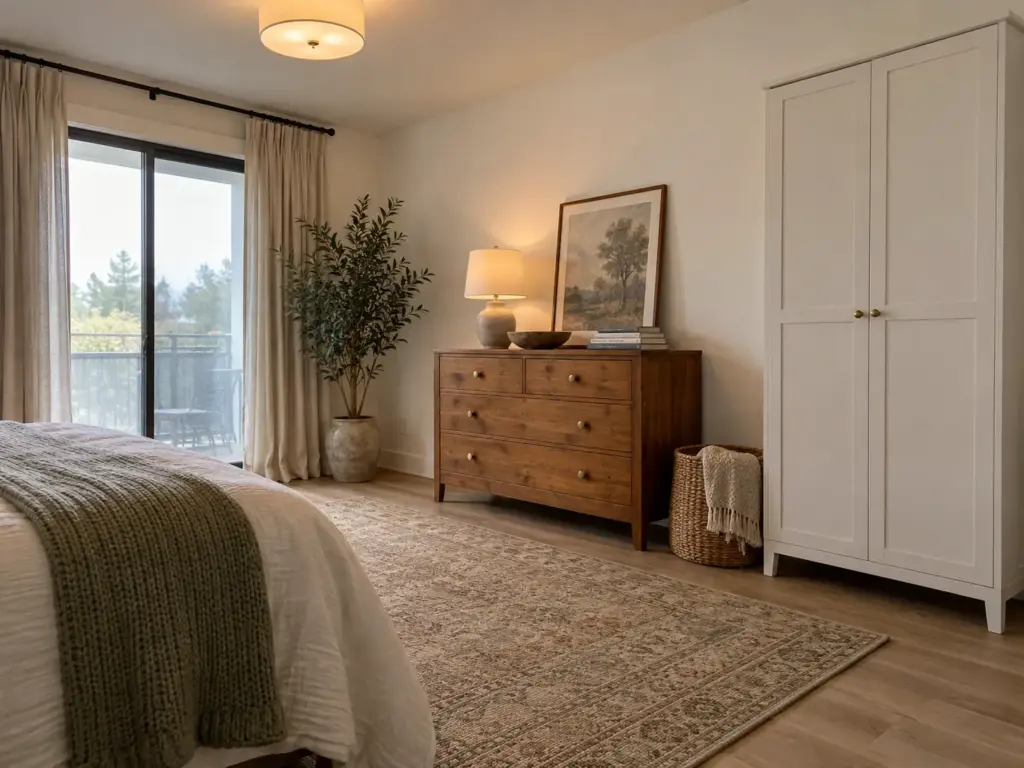
If you rent
Zones that want a wall are where a lease bites: closet systems, shelves, hooks, anything with a screw. Freestanding and no-drill options hold the same job without risking the deposit, and closet storage that leaves the deposit alone shows the versions that work.
Many of the best ideas need no tools at all. A freestanding bookcase with doors can hold a pantry, small appliances, dishes or clothes. A shelf pulled away from the wall behind the sofa leaves a gap for suitcases and packed-away seasonal clothes. A trunk used as a coffee table swallows bulky things, such as a Christmas tree.
And if the lease is ending soon, the sensible move may be to build nothing. When the room has to serve as a nursery for now, make it work as it stands, and save the rebuild for the next address.
If you own
Owners get the one thing a studio is short of, vertical space: built-ins, wall-mounted shelving and floor-to-ceiling cabinets take storage off the floor altogether. What decides it is how long you will stay. A built-in pays back over years, so if a move is two years out, a freestanding unit that travels with you is the better call, even though it eats a little more floor. But if this is the place you are keeping, the wall is the cheapest square footage you own, and a tall cabinet along one wall can do the work of a dresser and a bookcase together.
The order that keeps spending last
The sequence is short: sort, rearrange, use what you already own, then buy the one missing piece. The set bought before the sort is the expensive mistake in a studio, because it was sized to a pile that gets smaller once you decide.
Budget moves follow the same order. A secondhand bed frame picked up for next to nothing can give the height for under-bed boxes, and a thrift store or a local marketplace listing is where that kind of frame usually turns up. Paper towels taken out of their pack lay flat on top of a cabinet instead of eating a shelf. Toolboxes and tackle boxes took the rarely used items and the medication.
None of these needs a store. When you do reach the buy step, studio apartment storage ideas by category sorts what to buy by what it has to hold, which keeps the cart from filling with containers for things you have not decided about yet.
Plan the Order Around a Second Person in the Same Room
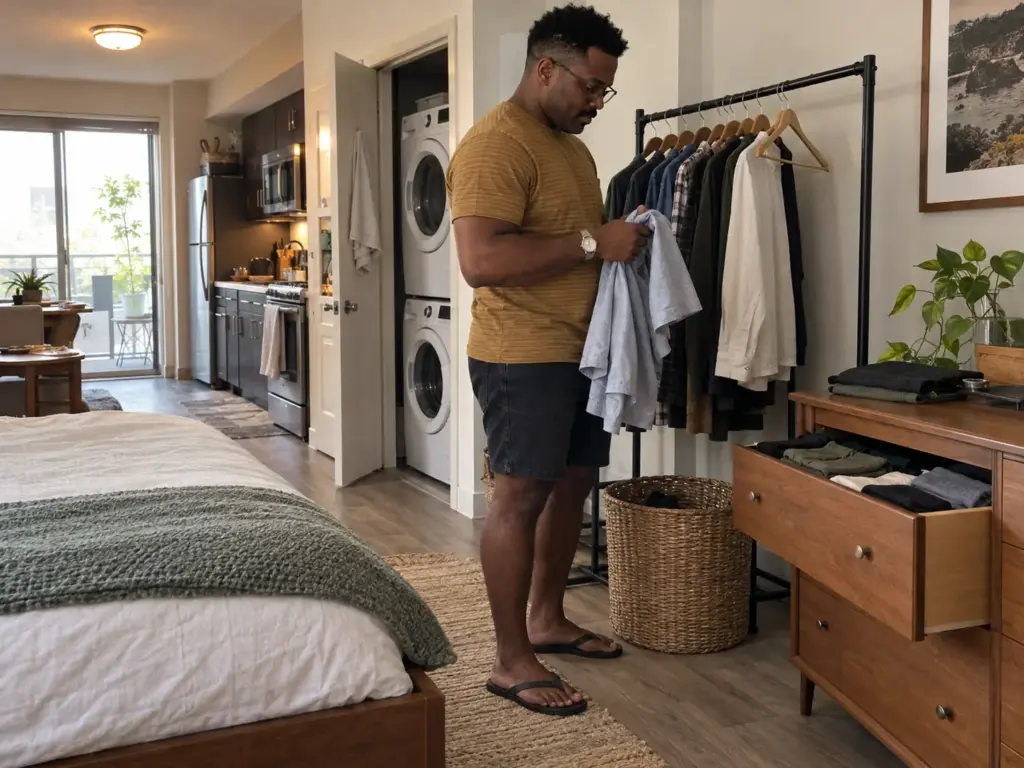
One closet, two people (a partner or a roommate, the order is the same). The system the first person builds is the one the second person refuses to follow, because nobody asked them where the line goes. In a shared studio the order of work has to survive a person who was not at the planning meeting.
Agree on one zone each before anyone buys anything
Before any shopping, each person gets one zone: a rack, a dresser, one side of the closet. Add one shelf or bin for shared things, so the arguments have a single place to happen. A closet with one rod and two people needs a visible dividing line, a divider or a change of hanger, otherwise the border drifts toward whoever hangs things first. Organizing a closet two people share goes through the details.
Do this before the buying, not after. A rack bought for one person’s clothes is hard to resell when it turns out the other person needed the rod, and nobody is happy about the second purchase.
When the room takes on a second job
The nursery case shows the pattern at full size: a 560 sq ft studio, one clothes closet, and a dining area converted into a makeshift nursery for the last weeks before the baby. A new use for part of the room needs its own zone settled before the stuff arrives, or it takes over the bed zone. The same goes for a desk added to a corner or a pet’s bed and bowls. Settle where the new job lives, mark its edge, and only then let its things in.
Sort your own pile first
Sort each person’s things in the same weekend but separately, so nobody is deciding about the other’s belongings. Two staging corners work, and so does one corner used in turns. Anything of theirs you come across goes into a box marked with their name, untouched. If one of you holds on to everything, decluttering with a partner who hoards covers how to keep the weekend from turning into an argument about who is the tidy one.
Measure the Gap Under the Bed Last, Then Buy the One Missing Piece
The under-bed box that was bought first and does not slide in is an easy mistake to make. The size on the box was the mattress, and the clearance is the frame. That is why this check sits last: it only makes sense once the bed is placed and the free steps are done.
Read the clearance at five points, not one
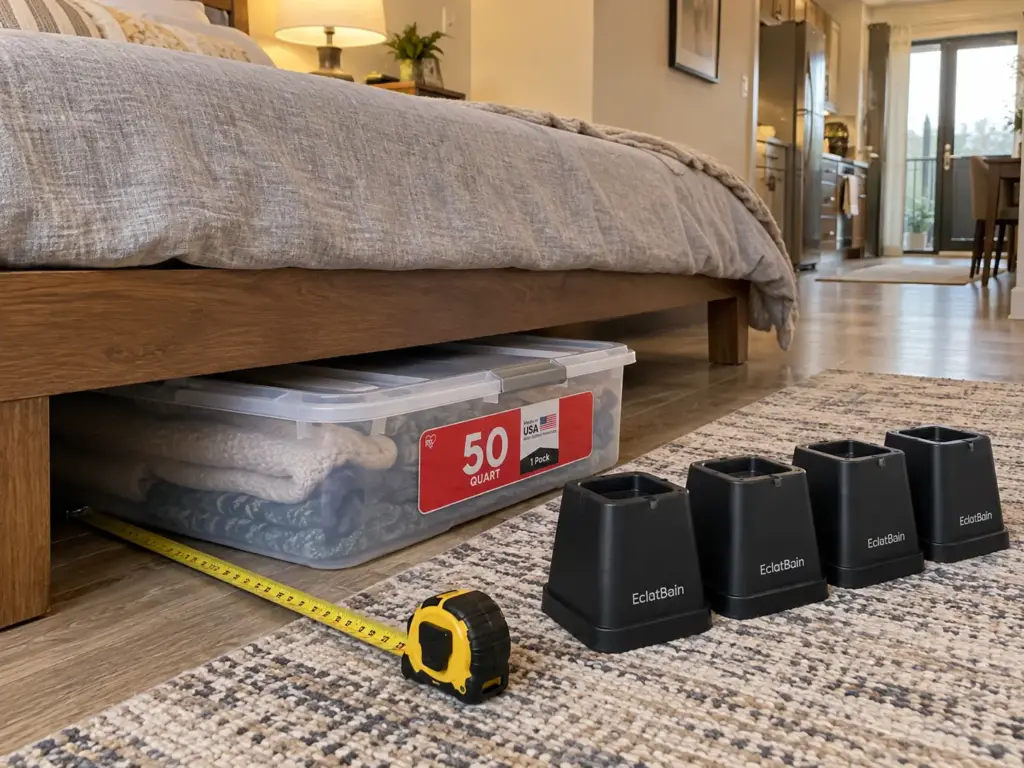
A frame sold as Queen or Double sets the mattress size only, and it says nothing about the gap beneath it. Measure at the four corners and at the center, and treat the smallest reading as your limit, because the lowest slat or center rail sets it, not the side rail. Then take about an inch off every dimension, since a box that matches the gap exactly will stick. Setting up under-bed storage covers which containers suit which gap.
Use the outside height, not the inside figure
Standard frames often give about 8 inches underneath. Platform beds can give only 4 to 6, which is where most under-bed boxes fail. So the number everyone quotes can be the wrong one for your frame, and the tape measure decides, not the average.
Use something free first: a flat box or a few totes you own that already clear the gap. If you are buying, the IRIS USA 50-quart long clear under-bed box has a clear lid and buckle latches. Its listing gives 28.25 x 14.25 x 5.75 inches inside and 32.50 x 17.88 x 6.50 inches outside, and the outside height is the one that has to clear the frame. Wheels or casters on any rolling box add to that figure.
At 6.5 inches it clears a standard frame comfortably and does not fit under a 4 to 6 inch platform bed. It is also 32.5 inches long, so it needs an open run under the bed, not a drawer base or a center support in the way. The listing sits at 4.4 of 5 across more than 1,700 ratings.
Cut a strip of cardboard to the outside height of the box you are considering and slide it under the bed at each of the five points. If it catches anywhere, the box will too.
When the bed sits too low for a box
An extra inch is sometimes all the gap needs. The EclatBain adjustable bed risers lift a frame by 3, 4.3 or 5.3 inches, and the listing describes a non-slip TPU base. Bases can turn out less slip resistant than stated, and narrower than the pictures show. So check the riser’s footprint against the foot of your bed before you commit, and do not trust the grip alone.
Bed lifters can break under use, which is a reason to buy only the lift you need and no more. Risers work for the bed and the couch both.
Once there is room underneath, vacuum bags for out-of-season clothes and blankets make good use of it.
The back of the closet door and the inside of the closet
The last pieces of the fit check live on the closet side: back of door storage and the closet interior. The walls-and-doors step of the studio guide covers those fixes, so this guide leaves them there. If the sort and the bed zone are settled by now, you will know exactly how much closet you are short, and that number is the shopping list.
Run the Order Again When the Room Slips Back
The order is the system. Clear what is leaving and give it an exit date. Settle the bed zone and let the rest fit around it. Use the free steps first, spend last, and put a measurement next to anything you buy for the gap under the bed.
In three months, open the undecided box and walk from the door to the window. If the box has filled again or something now stands in the walkway, the room has drifted, and the response is to run the order again from the first step, not to buy a larger container.
Today, take every pile off the bed, put it all into one box by the door, and look at the room. How much bed and floor you get back is a fair measure of what the rest of the sort will do. And if your place has a separate bedroom, the guide to small apartment organization that stays neat picks up from there.
Frequently Asked Questions
01What is the best way to organize a studio apartment?
Work in order: clear what is leaving first, settle the bed zone second, then fit the clothes, the sitting spot and the kitchen side around it. Buy last. The six-step studio guide covers the zones and the measuring.
02What is the perfect layout for a studio apartment?
No single studio apartment layout fits every room, but the one that works puts the bed against the longest free wall and keeps a clear walkway from the door to the window. Everything else follows from those two. The studio guide shows how the zones fit around them.
03What are the must-haves for a studio apartment?
A bed with usable clearance underneath, one clothes plan that holds everything (a closet, a rack or a dresser), and a box for the undecided pile are the must-haves. Anything beyond that waits until the room is sorted.
04How do I set up a small studio apartment?
Set up in this order: exit for the sorted pile first, bed zone second, a rent-or-own check third, each person’s zone fourth, and the under-bed fit check last. Skipping ahead means buying containers for a floor plan that later changes.
05How do I organize a studio apartment on a budget?
Sort, rearrange and use what you own before buying anything. A secondhand bed frame for height and a box you already own for the undecided pile cover the two jobs most budget setups start with.
Disclaimer: ClutterlessNest is a participant in the Amazon Services LLC Associates Program. As an Amazon Associate we earn from qualifying purchases. This article may contain affiliate links — if you buy through them, we may earn a small commission at no extra cost to you. We only recommend products we have tested or genuinely believe in.