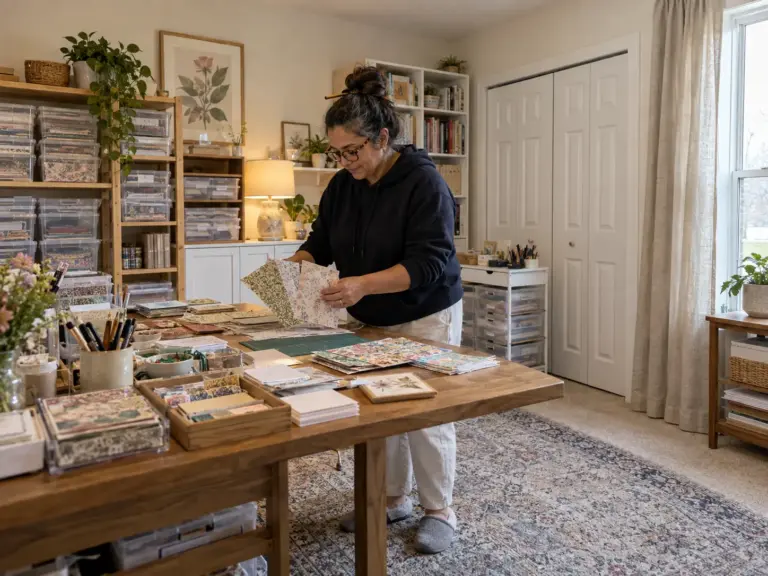
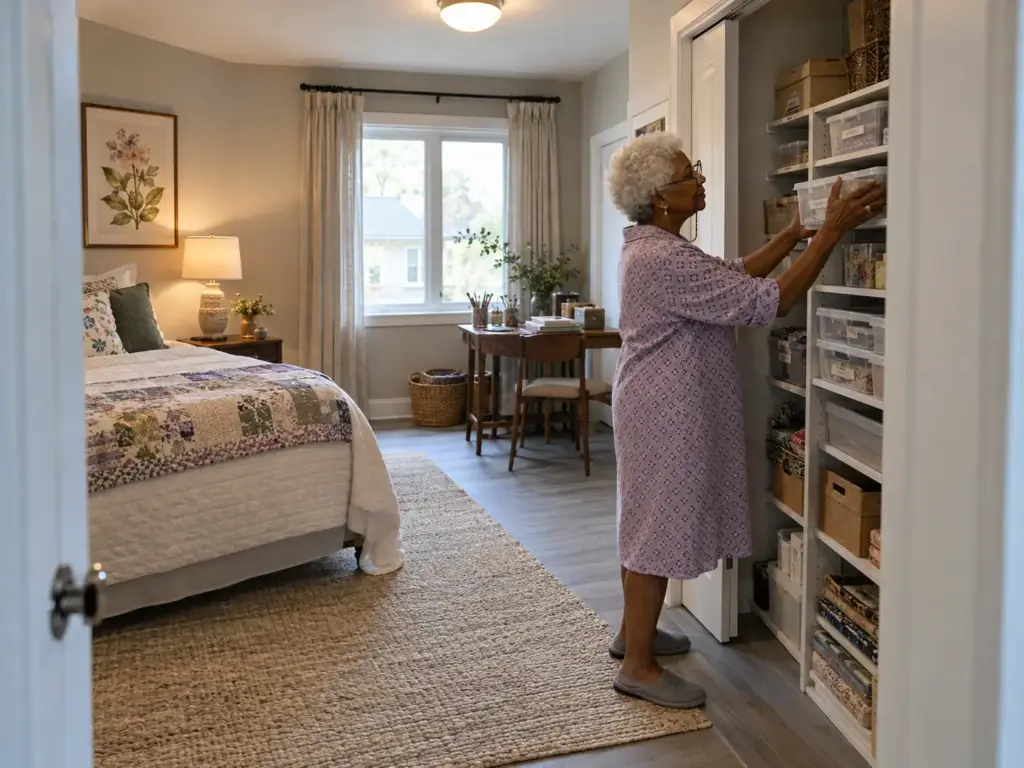
Picture a bedroom craft corner where the bins live: the top lid won’t close, a stack of 12 x 12 paper has slid sideways off the shelf, and the hot-glue tool is somewhere under the fabric scraps. Or picture the table you work at, which is also the table you eat at, with the project spread across it and dinner an hour away. Learning how to organize craft supplies in small spaces gets easier once you stop counting bins and start counting inches, because most small-space failures come from containers that don’t fit the space, not from owning too much.
Crafters in the r/crafts community who make a tight setup work keep landing on the same moves: size every box to the shelf, put light tools on the wall, close what you don’t touch daily, and make the table clearable in minutes. This guide takes them in that order, starting with a tape measure, and if you have a full room to give the stash instead, begin with how to set up a whole craft room.
Quick Answer
Fit comes before containers, so work in this order:
- Measure the real shelf depth, minus door clearance, before buying anything.
- Sort by how often you use each craft, then size every box to the shelf.
- Hang light, daily tools on the wall with no-drill hardware.
- Put the rest behind a door and label every box.
- Keep a project box or cart for the table and a lidded catch-box for messy weeks.
Organizing Craft Supplies in a Small Space Starts With Its Real Depth
Why the back row disappears
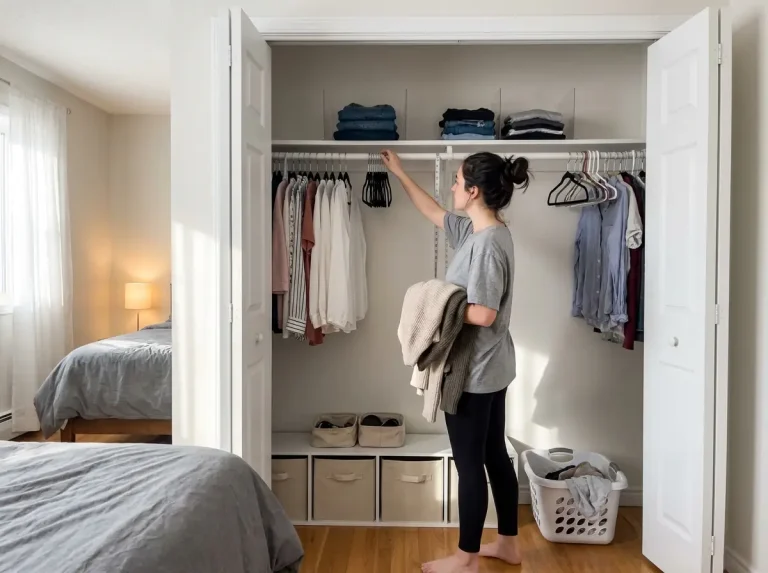
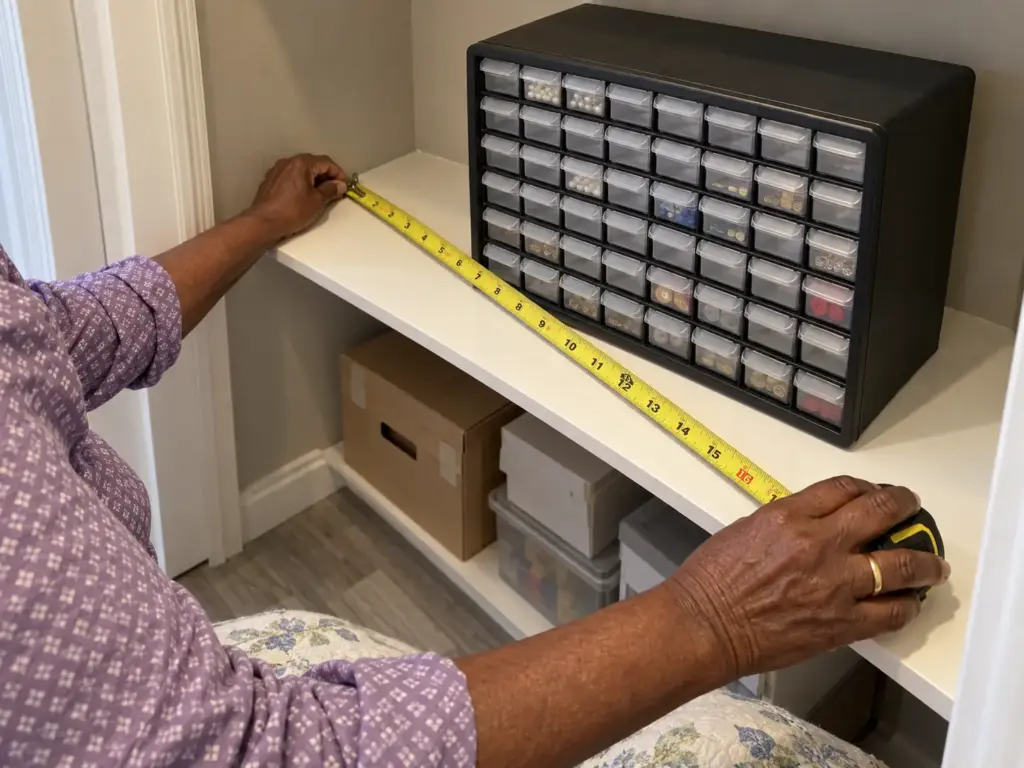
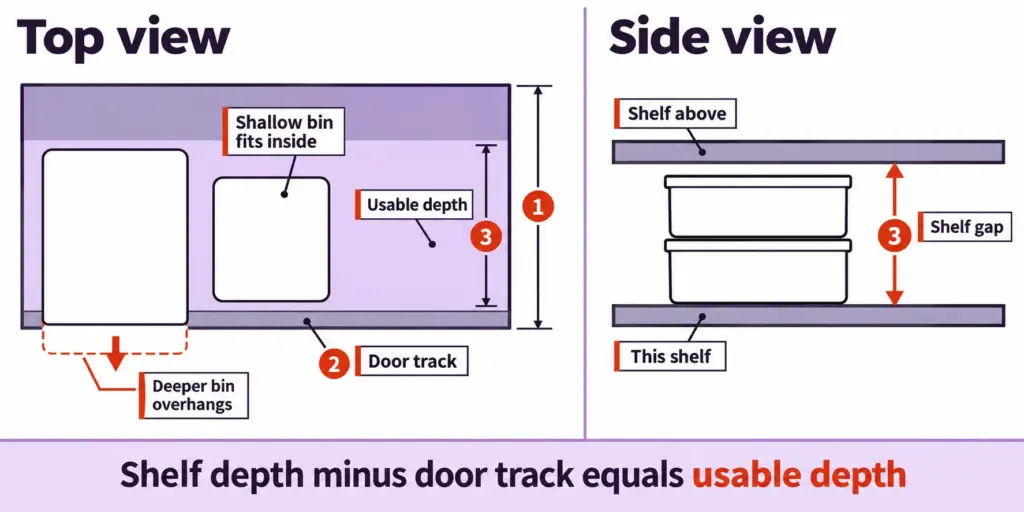
A box that fills a shelf front to back hides its back row behind the front one, and whatever you can’t see you stop using. A typical reach-in closet is about 24 inches deep, and a sliding closet door takes roughly one to two inches of that for its track, so the depth you can really use is whatever is left over. Those are typical figures, not yours (a tape measure beats any typical figure), which is why the measuring comes before the shopping list.
A bin cut to the full nominal depth overhangs the track, the door stops closing, and the stash ends up living half out of the closet. That overhang is dead space you are paying for twice, once in the box and once in the items you can’t reach. The reach-in closet guide goes through where that lost depth hides.
The person who started the r/crafts thread describes the same squeeze from the other side: every hobby mixed on one shelf, the stash spilling past its space, and a request for “renter friendly systems that work for them to stay organized and at least somewhat tidy.” The instinct in that picture is to fit it all in. Fitting it in is exactly what pushes the box past the door track.
The three measurements: shelf depth, door clearance, shelf gap
Write three numbers on a sticky note before you open a shopping tab:
- The usable depth: shelf depth minus the door track and any front lip.
- The shelf gap: the height between this shelf and the one above, which decides how many layers fit and whether a lid can lift.
- The width in whole box-widths: on a shelf that is 30 inches wide, two 14-inch boxes leave 2 inches of slack (a made-up shelf, but the arithmetic is yours to repeat), and that slack is the room you need to get a box out.
A worked fit from the same thread makes the point. One crafter’s narrow bookcase takes magnetic-fold boxes that are 5 inches high, 14 wide and 10 deep: “They fit 2 per shelf, so 12 per case.” The count of twelve is arithmetic from the shelf, not a wish about how many boxes she owns. Do the sum for your shelf and the shopping list writes itself.
Run this fit test before you buy anything: put a strip of painter’s tape along the shelf at the usable depth, right where the door track ends. Slide any box you own or plan to buy against it. If the box crosses the tape, it is the wrong box for that shelf, whatever the label on the package says.
What fits when the depth is short
Start with what costs nothing: a shallow shoe box per drawer-sized group, or the small pencil-case boxes from a craft store’s dollar section, both of which commenters in the r/crafts thread use. When you want drawers that stay put and sort small things, the Akro-Mils 10764 64-Drawer Parts Cabinet is the one with a depth number worth comparing to your shelf. It measures 20 W x 6 D x 16 H inches, so a 6-inch depth tucks into a shelf or closet corner where a deep bin sticks out. Its 20-inch width and 16-inch height need a shelf at least that wide and a gap taller than that, so the sticky-note numbers settle the question before you order.
Sort by How You Use It, Then Size Every Box to the Shelf
Open the shelf and count the gaps: an inch above one container, two beside another, a lid that a taller neighbor won’t let lift. Mismatched containers each waste a little, and a shelf that wastes a little everywhere holds noticeably less than it could. Sort by use first, and the sizes follow.
Group by how often you reach for it
The grouping rule from the r/crafts thread is a good one: think about how you actually use the supplies, keep the ones you grab most in the container that is easiest to reach and easiest to open, and sort by type first with subgroups by use after, so each craft gets its own zone. For the long version, sorting by medium for rolls, beads and paper goes much deeper than there is room for here. The question here is smaller: once the groups exist, what size is each box?
The usual instruction is one box per category, and on a shallow shelf it breaks. The box sized for all the yarn won’t fit, so the category ends up scattered across whatever does.
Split it on purpose: two shallow boxes for one category, divided by how often you use each half, beat one deep box that hides its back half. Boxes sized to the label instead of the shelf also leave gaps, and gaps fill up with loose supplies, which is usually where a tidy system starts to slide.
Paper and 12 x 12 sheets: box sized to the shelf
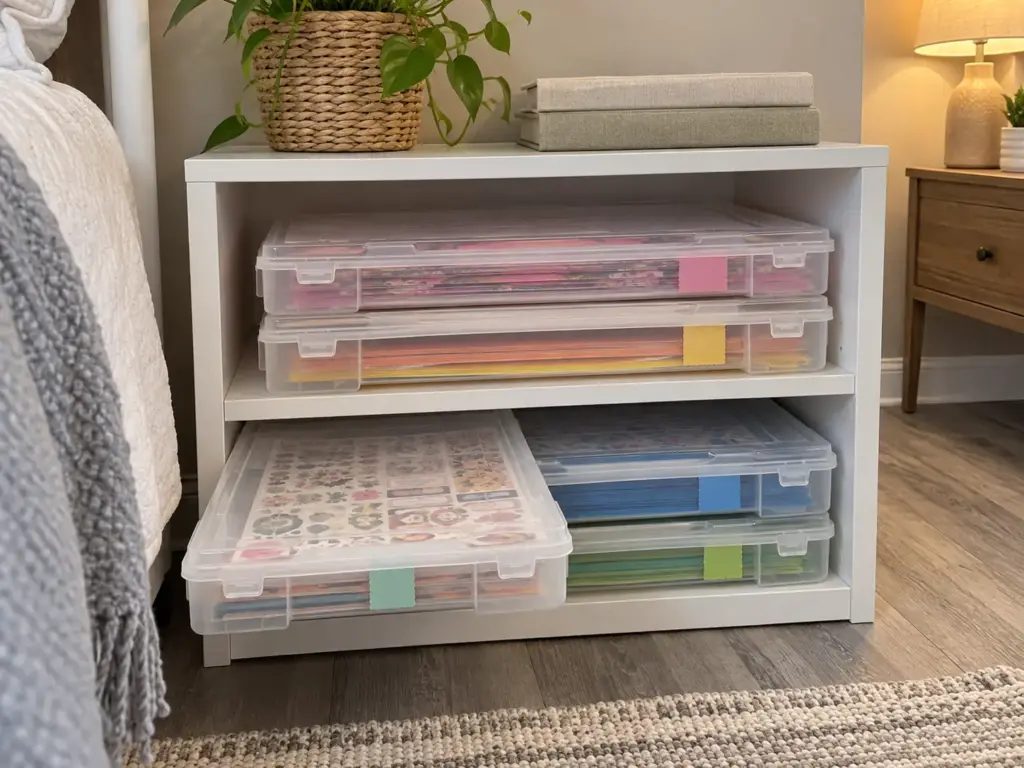
Paper is where the mismatch bites hardest, and 12×12 paper is the usual culprit. A 12 x 12 sheet sits inside a case that is bigger than the sheet: IRIS lists its slim 12 x 12 scrapbook case at 14.3 x 14.2 x 1.6 inches on the outside, and a medium case at about 3.1 inches tall. Measure the shelf against the outside of the case, not the paper, and use the case height to count the layers that fit in the shelf gap you wrote down.
The free route for paper is a cube grid with zip ties attaching the grids inside it, so the paper slots come out about an inch wide (anastasia315 describes this in the thread), and cardboard cut to fit works too, covered just below.
If you’d rather buy cases, the IRIS USA Scrapbook Case 12 x 12 inch 6-Pack is the ready-made option. Mind the version: the listing sold under that link is titled as the thick one, and the footprint numbers above belong to the slim one, so measure a thick case before you give it shelf space. On the latches, a review of the slim version on IRIS’s own page says “The latches are not very good.” The thick listing’s reviews weren’t read, so check them for latch comments before stacking cases you plan to open every day.
Free first: cardboard cut to fit
This is the budget route that fits any shelf, which is why it comes before any purchase.
“If you can cut, glue, paint you can do anything with cardboard,” one commenter writes, and for a shelf with an odd depth that is practical advice rather than a consolation prize. Repurpose a shoe box or a glass jar the same way. Measure the usable depth, take an inch off so a hand can lift the box out, cut and fold to that size, and label the front. A cardboard box is also a free prototype: if it works for a month, you know the exact dimensions to buy, and if it doesn’t, you lost a box you were about to recycle.
Let the Wall Carry the Light, Daily Tools
The floor is spoken for, the table is spoken for, and the wall above the table is just paint. Wall storage can carry more than people expect, as long as what goes on it is light and gets used often.
What belongs on the wall
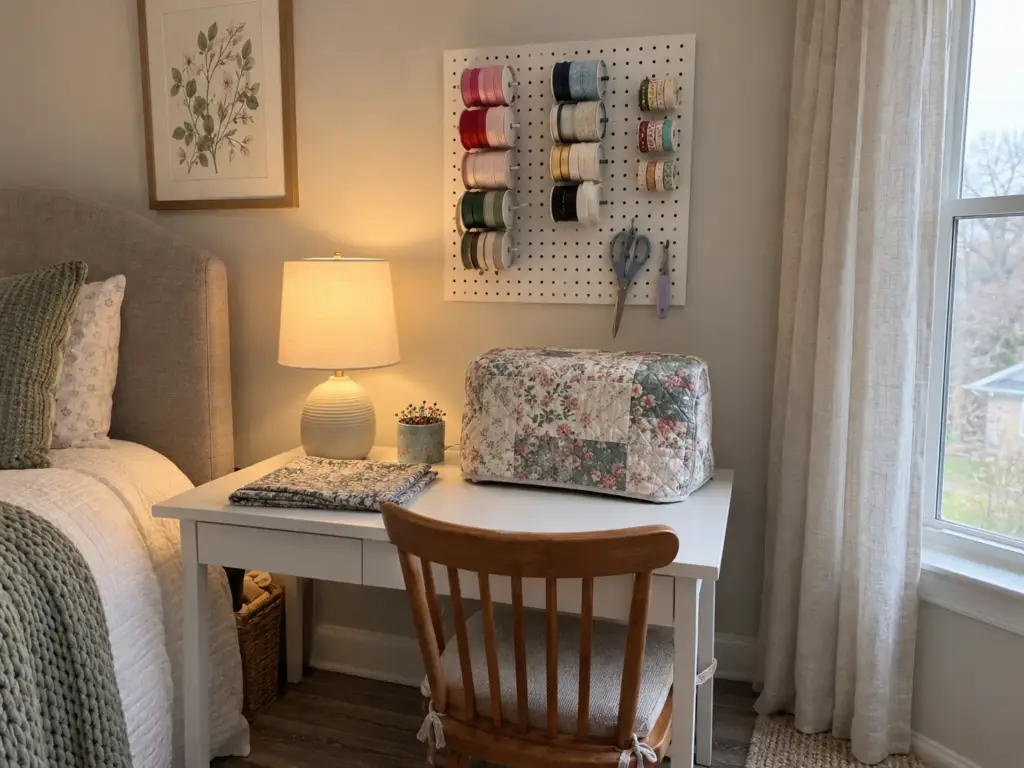
The versions in the thread are simple. One crafter hangs ribbon and washi tape on a section of pegboard, running vertically, which ends the bulky stacks. Another found a board of heavy cardboard with little dowels glued into a grid.
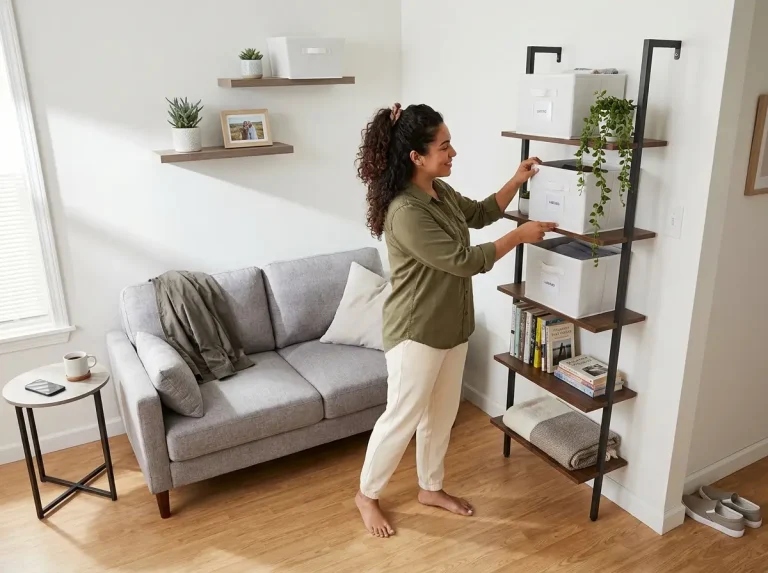
For what goes up, the rule is scissors, tape, ribbon spools and anything light that you reach for every session. Heavy or fragile things stay on a shelf, where gravity isn’t negotiating with an adhesive strip. Things on the wall are also things you can see, which matters more than it sounds. For more ways to build upward without drilling, these vertical storage ideas work in a small apartment.
A no-drill pegboard for rentals and for walls you would rather leave alone
The renter question is the hard one. The thread’s original poster asks for renter friendly systems, and few of the replies answer that part directly.
Pegboard hardware that mounts with adhesive strips is the one no-drill answer in the mix, and Just Hanging Pegboard Wall Mounting Hardware is built for exactly that, Command-strip compatible. Pick the strips by the weight rating on their own packaging and hang only light things. I’d rather see scissors and tape on that board than a hot-glue tool.
Hang only the three tools you reach for without looking, then live with the board for a week before filling it. The tools you move off the wall in that week were never wall tools, and the empty pegs show you what actually earned the space.
When you move around the house, the wall is the wrong answer
The obvious pick stops being obvious once you stop working in one spot. One commenter tried pegboard and kept a wheeled cart instead, because she works wherever in the house there is room that day. For her the wall is the wrong place, and she is right: a wall system assumes a fixed work spot. If that sounds like you, skip ahead to the table section.
Keep the Stash Out of Sight in a Bedroom or Living Room
Some corners have to stay a bedroom or a living room, and you want to conceal the stash behind a door while still finding the scissors in ten seconds. Those two goals pull in opposite directions, and the answer is a door plus a label.
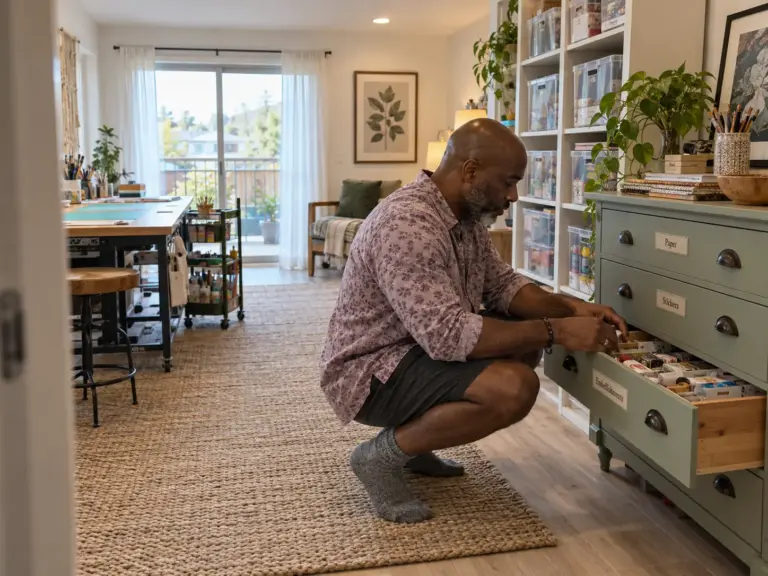
Doors turn a craft shelf into furniture
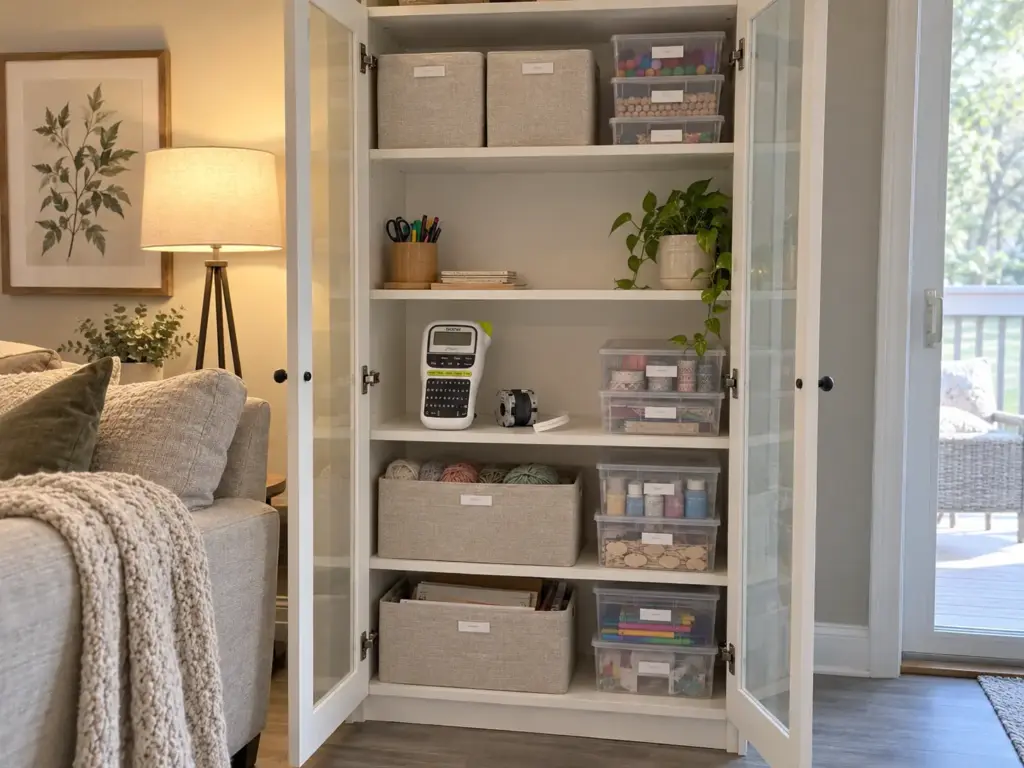
A poster in a Facebook craft group says it outright: they don’t want their bedroom to look like a craft store. A few of the replies visible in that post suggest a bookcase with doors, baskets on top of a cabinet, a curtain across a shelf, even a vintage suitcase.
On Reddit, a knitter keeps two bookcases with doors side by side, everything hidden but organized and labeled so “where is it?” doesn’t follow when the doors open. A china hutch or a clothing wardrobe with shelves added also holds a surprising amount, according to other commenters in the thread. If the corner has to hold a desk too, a home office in the bedroom uses the same logic of closing the work away at night.
Label what you cannot see
Closed storage fails when nothing says what’s behind the door. One commenter puts the failure in a line: she needs to see what she has, or she forgets it exists, and another asks new crafters how their object permanence is before choosing between clear boxes and closed ones. Out of sight, out of mind is the failure here, so every closed box needs a label, and one shelf needs to stay visible for current projects (more on that next). The free version is painter’s tape and a marker, which is the community’s standing advice to label everything, and colored masking tape is easier to spot from across the room.
If you’d rather print them, the Brother P-Touch PTH110BP Label Maker bundle gives uniform labels you can read at arm’s length and reprint when a box changes jobs.
Put the label on the face that shows when the door opens, then test it: open the doors, count to ten, and look for the scissors box. If you can’t find it in that time, the label is on the wrong side or too small to read from where you stand.
The visible shelf you still allow yourself
Closed doors can erase projects that are still alive. Give one shelf, or half of one, to whatever you are working on this month, and keep the rest behind the doors. It’s a compromise that keeps the room reading as a bedroom, not a craft store, while the active project stays in sight, and capping it at one shelf’s width stops it from spreading back across the room.
Clear the Shared Table by Dinner
A project that lives on the dining table has one real deadline: the table is needed back. Everything about the setup should be built around that moment, not around how nicely the supplies sit when nobody is using them.
Why the working surface drifts to the kitchen table
The original poster in the r/crafts thread puts it plainly: “Yeah my working surface has transferred over to the kitchen table because it got too messy.” The partner isn’t jazzed about it, and putting everything away would mean the gifts don’t get done in time. The table wins on size, light and comfort as a work surface, but the real cause is that putting away takes longer than the evening allows. A table that takes a long time to clear never gets cleared, and a project that can’t be paused becomes a standing occupant.
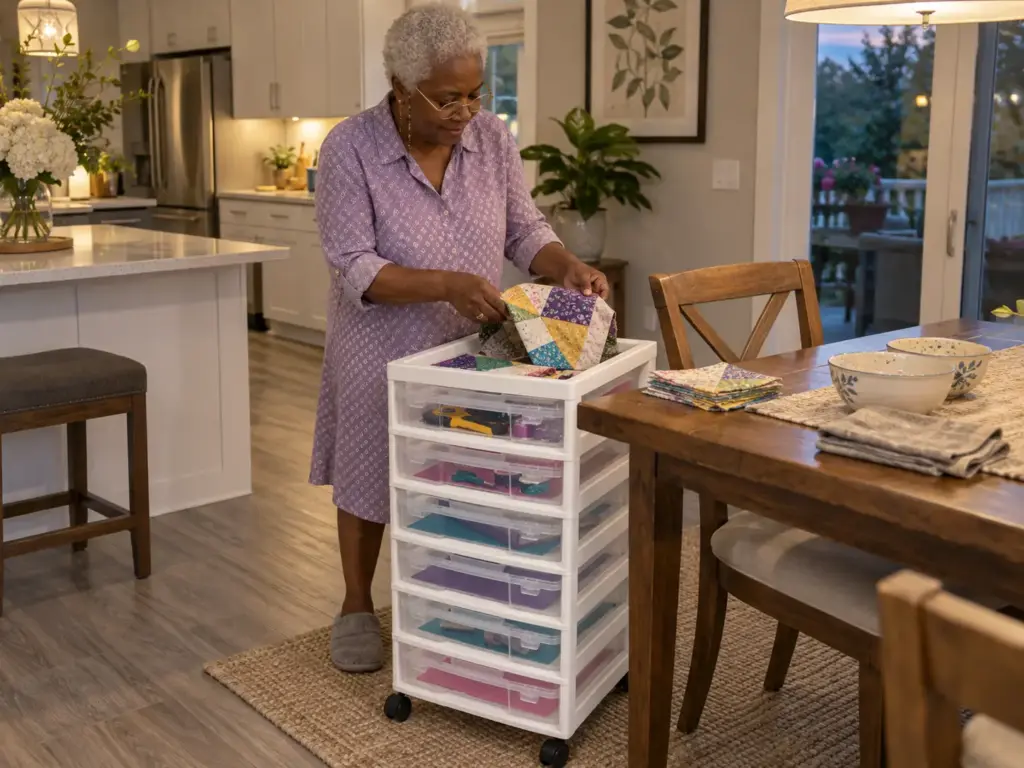
A project box or a rolling cart that takes the whole project
The rule here is this blog’s own, not a finding from a study: build for the clear-down, not for the tidy state. One box per active project that takes everything (tools, scraps, the half-finished piece) turns clearing into a single motion. A lidded cardboard box works for free, and a project in a box can wait on a shelf for a week and stay a project instead of turning into a pile.
If you work in several spots, a cart does the same job on wheels. One commenter chose a wheeled three-tier cart for her hot-glue tool and scissors because she moves around the house, and a cart with cases lets the whole project tuck away.
The IRIS USA Rolling Cart with 6 Cases in white is that setup ready-made. Its dimensions weren’t read, so measure where it will park before you order, and note the cheaper route from the thread: plastic three-drawer containers from Walmart or Big Lots.
The five-minute clear-down
Aim for five minutes from “dinner is soon” to a bare table, so you can clear the table without a negotiation. A working sequence:
- Stop ten minutes before the table is needed, not when you finish a step.
- Sweep the scraps into the box lid or a catch tray before anything else.
- Put the tools in the project box in the order you can reach them.
- Close the box or roll the cart, and carry it out of the way.
- Wipe the table, so it reads as a table again.
If it takes longer than that, the box is too big or too sorted: the project box is for speed, and sorting happens on the reset day. This is the same idea behind a work setup that clears off the dinner table: everything has one carry-away container, and the table goes back to being a table.
Plan for the Messy Week With a Catch-Box and a Reset
A system built for the tidy state fails the moment a burst of projects begins, because the tidy state is the one you spend the least time in.
The burst-then-put-away cycle
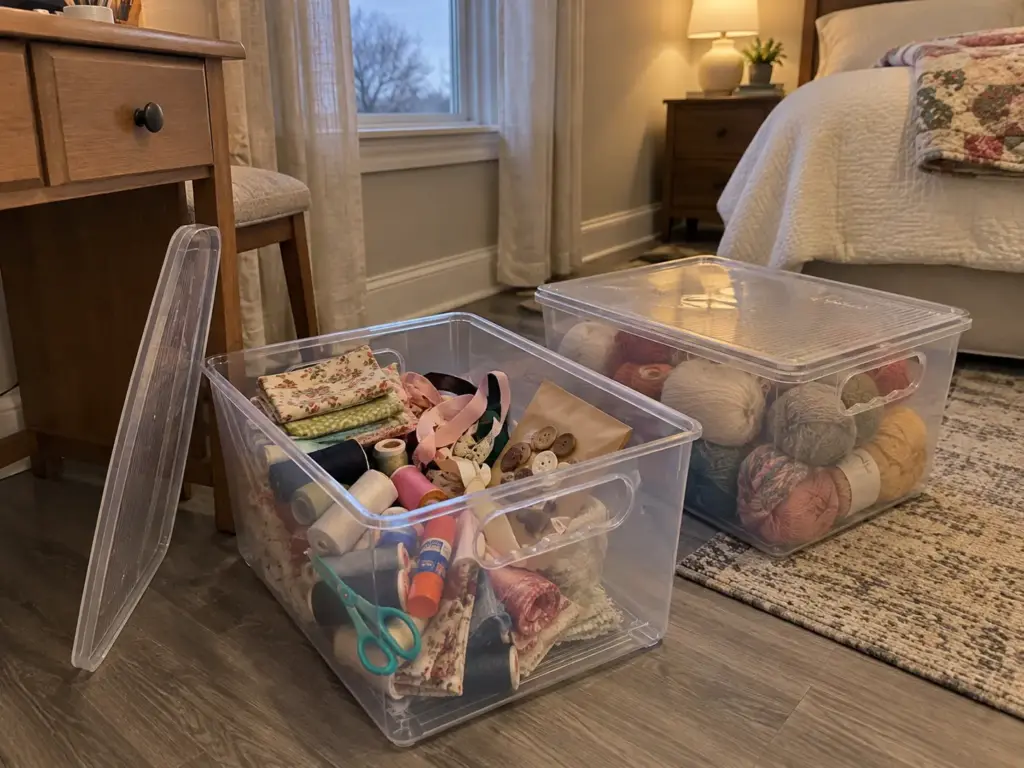
One commenter describes a huge crafty mess that runs for days or weeks, then everything gets put away into labeled spaces, not perfect but working reasonably well. That cycle is normal, and storage that depends on never leaving the mess stage is storage built for someone else’s life. Another commenter describes a craft room that turned into “the dump”, where the room itself is the mess, not the person using it. The way out is to design the put-away to be short and the mess to have a place.
A lidded catch-box for the week of projects
A lidded catch-box takes whatever came out during the week (thread, fabric scraps, a stray glue stick) and closes on it, so the room reads tidy while the sort waits for the weekend. On the reset day, sort the box and empty it. For free, a plain shoe box with a lid does it, and one commenter in the thread reaches for plain clear shoe boxes. If you want clear bins that stack, the Vtopmart 6 Pack Clear Stackable Storage Bins with Lids and Handles closes with a lid and shows what’s inside through the clear base.
Clear means the lid closes the bin but doesn’t hide it, so in a living room or bedroom set it behind a door. The clear storage bins guide compares more options by shelf size.
The monthly cap on the box
Treat the catch-box as the limit on mess rather than a bottomless drawer: when it fills, it gets sorted or something leaves. That cap is what keeps a catch-box from quietly becoming the dump all over again, and the sibling guide on sorting by medium explains the container-as-limit idea in more depth.
Measure Once, Build for the Clear-Down, Check Again in January
Three things carry the rest. The usable depth, not the label on the box, decides what goes on a shelf. The system has to survive the clear-down and the messy week, because a setup that works only in the tidy state fails the first time a project runs long. And the light, daily tools go on the wall while the rest of the stash stays behind a door or a lid, with a label saying what’s inside.
Look again in three months: if the table still clears in about the time it takes to heat dinner and the catch-box still gets emptied on the reset day, the setup is holding. A catch-box that never empties means the stash has one container too few somewhere in the flow, not that you need to try harder.
Today, hold a tape measure to the shelf you use most, mark the usable depth on a strip of painter’s tape along the edge, and slide your current boxes against it. Notice which ones overhang and which ones you have been working around; those are the first to replace, and they are probably the ones you will find you can do without. If that shelf sits in a small apartment where every inch is shared, the measuring pays off twice.
Frequently Asked Questions
01What is the best way to organize craft supplies in a small space?
Measure the usable depth of your shelf first, then sort supplies by how often you use them and size every box to fit. Put light daily tools on the wall and the rest behind a door or lid, labeled.
02How do you store art supplies in a small space?
Store art supplies in shallow, labeled containers sized to your shelf depth, with scissors and tape on the wall and paper flat in slim cases. Keep each active project in one box so it clears the table quickly.
03How do you organize a lot of stuff in a small space?
Sort by how often you use things, then give each group a container sized to the shelf rather than the label. Use the wall for light items, and cap each container so that when it fills, something gets sorted or goes.
04What are some good storage options for craft supplies?
Shallow drawer cabinets, slim paper cases, a rolling cart, lidded bins and a no-drill pegboard cover most small-space needs. Choose by how you use the supplies and how deep your shelf really is. Cardboard cut to fit is the free option.
05Where do you start when you have more than one craft?
Start with one craft at a time, beginning with the one you use most. Sort it, box it, label it and check how it fits the shelf before moving to the next. One crafter in the r/crafts thread works this way.
Disclaimer: ClutterlessNest is a participant in the Amazon Services LLC Associates Program. As an Amazon Associate we earn from qualifying purchases. This article may contain affiliate links — if you buy through them, we may earn a small commission at no extra cost to you. We only recommend products we have tested or genuinely believe in.