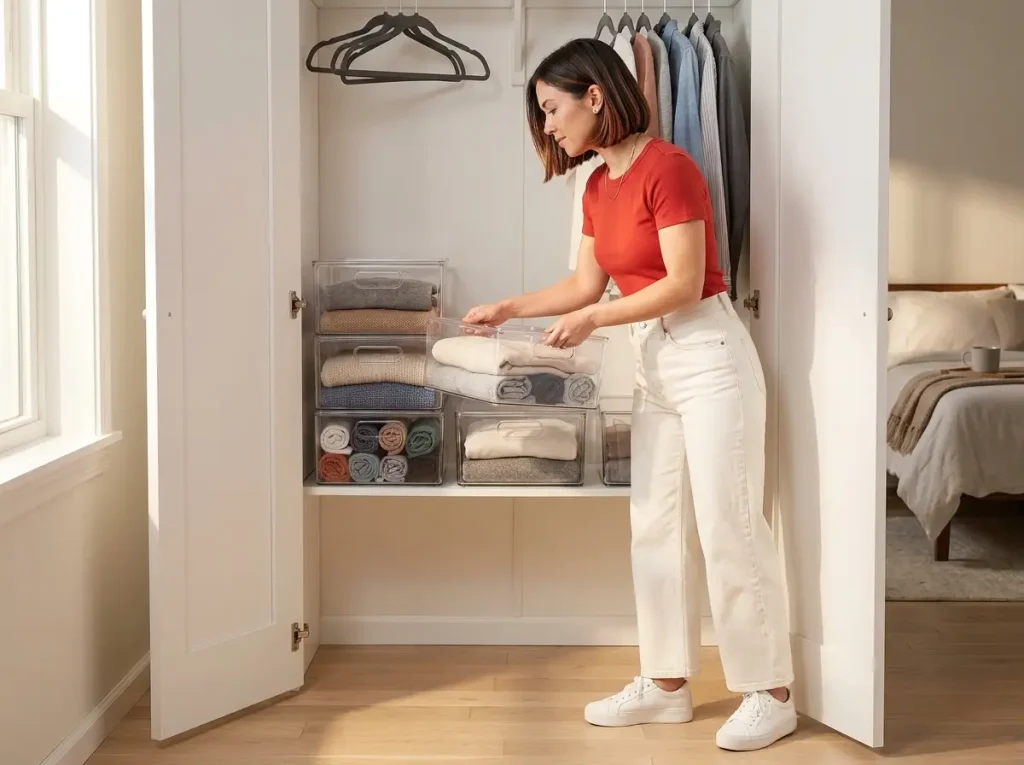
You buy a set of bins because the box says stackable. Three weeks later the tower leans, the lid you actually need is buried on the bottom, and two bins from two different packs slide off each other like they were never meant to touch. The word “stackable” on a label means almost nothing on its own. What matters is the interlock, the sizing, and whether you’ll ever reach the bottom bin without dismantling the whole stack. This guide covers the bins that genuinely lock and stay accessible, matched to the space you’re filling, plus the two questions nobody answers: open-front or lidded, and why stacks quietly fall apart by month three. If you want the wider view first, start with the broader guide to storage bins and containers.
Quick Answer
The best stackable storage bins lock with a real interlocking lip, not a flat lid you balance things on. Buy identical bins so the rims nest, choose open-front for daily-access stuff and latching lids for sealed long-term storage, and keep the heaviest bin on the bottom.
What Makes Stackable Storage Bins Actually Stack
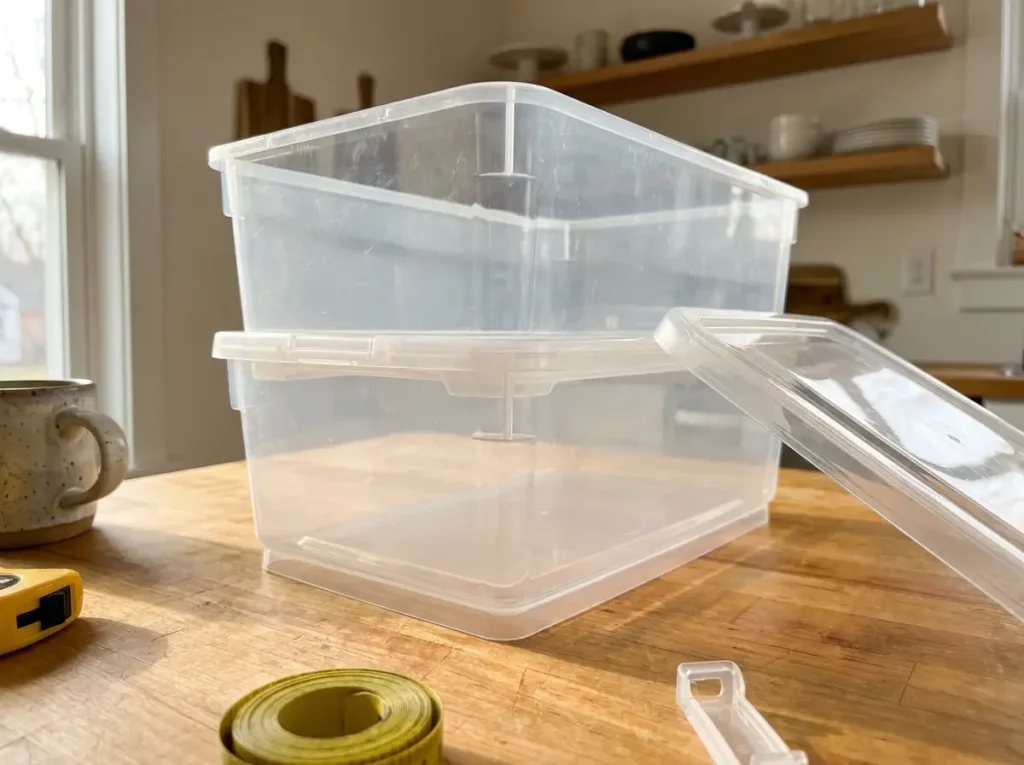
Most people learn the difference the hard way, usually around the time a tower of mismatched bins slides apart and dumps folded sweaters onto the closet floor. The fix is almost never a different brand of plastic. It’s understanding the one feature that does the work.
The Interlocking Lip
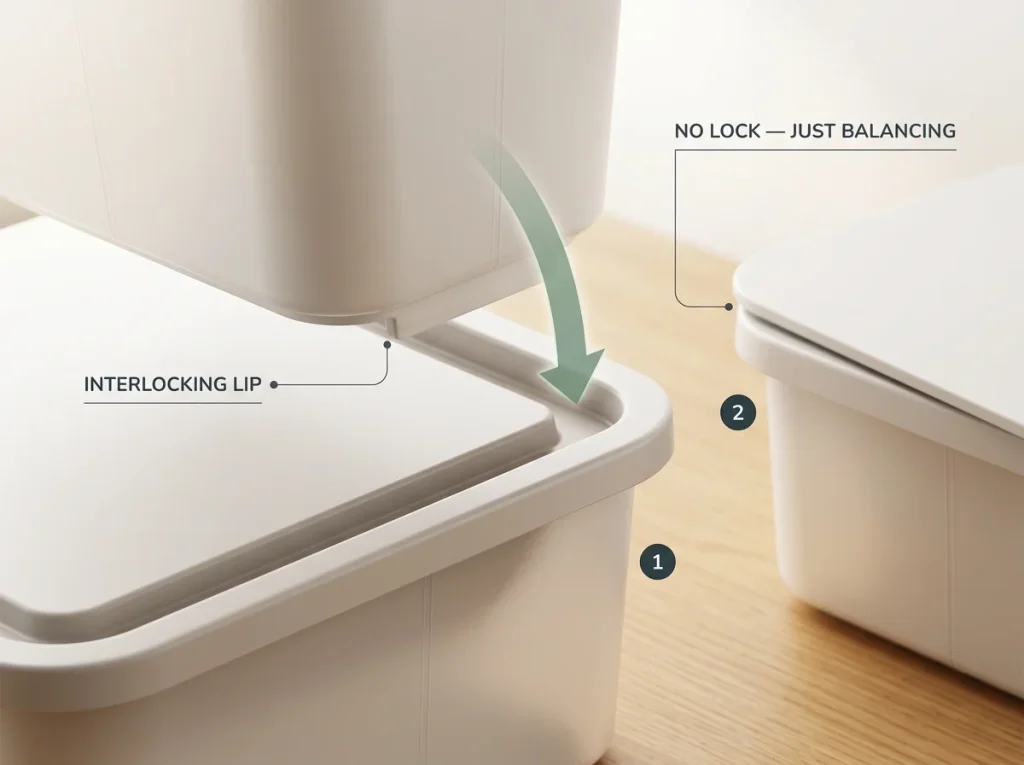
A bin stacks securely when its base drops into a recessed groove on the lid or rim of the bin below. That ridge-and-groove interlock is what holds a stack together. Bins that just sit flat on top of one another have nothing locking them in place, so the top one wanders every time you bump the stack. Before you buy anything, look at the underside of the bin and the top of the lid. If the base is shaped to seat into the rim, it stacks. If both surfaces are flat, you’re balancing, not stacking.
Why Mixing Brands Breaks the Stack
Here’s the trap nobody warns you about. You buy a four-pack, it works, and a year later you grab two more bins from a different store to expand. They look close enough. They are not. The rims are molded to different dimensions, so the lips don’t nest, and now your tidy column has a wobbly joint in the middle. Buy identical bins from the same line, and buy a few more than you think you need while that exact model is still sold. The multipack is also the better value, and it guarantees every rim matches. This is the most repeated complaint in organizing threads about bins that “don’t actually stack” — almost always it’s two products from two makers that were never designed to meet.
Plastic Type and What It Can Hold
Not all bin plastic behaves the same, and it matters more than the marketing suggests. High-density polyethylene (HDPE) carries more weight before it bows, which is what you want for a garage stack loaded with tools. Polypropylene handles cold better and resists cracking in an unheated attic or a freezing storage unit. Both are commonly BPA-free. For most indoor closets and pantries either one is fine, so don’t overthink it. Save the material question for the bins doing heavy or extreme-temperature duty.
Open-Front or Lidded — The Choice Nobody Explains
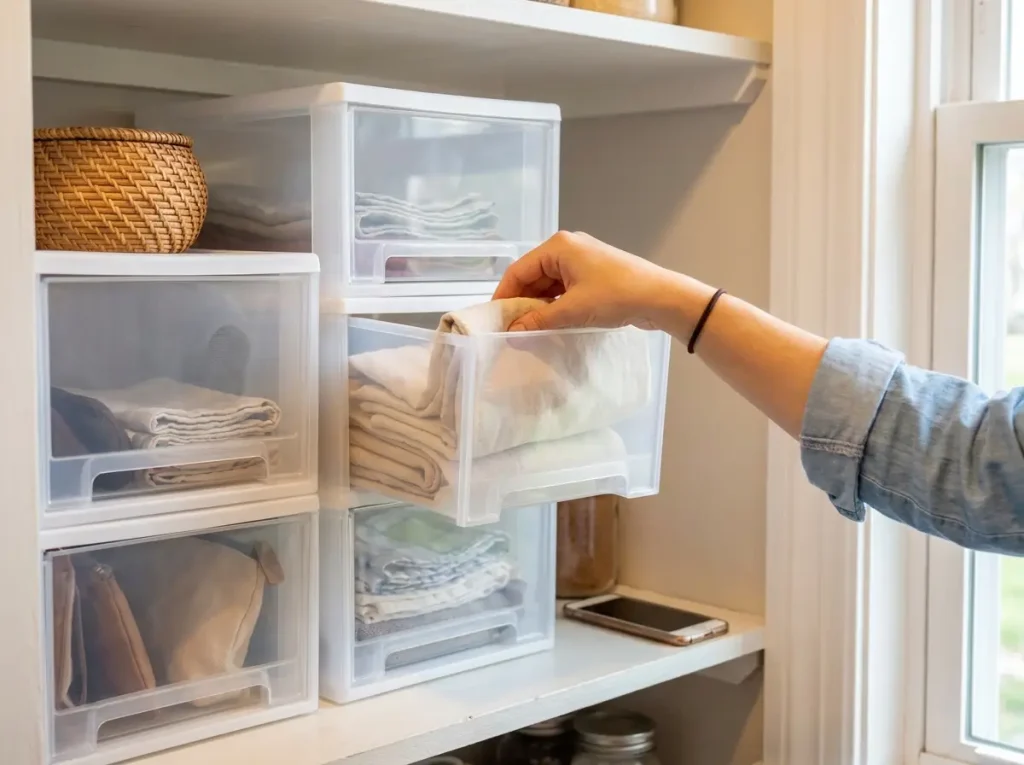
People stall on this decision for no reason, because the answer is a single question: how often will you actually open this bin? Get that right and the rest follows.
When Open-Front Wins
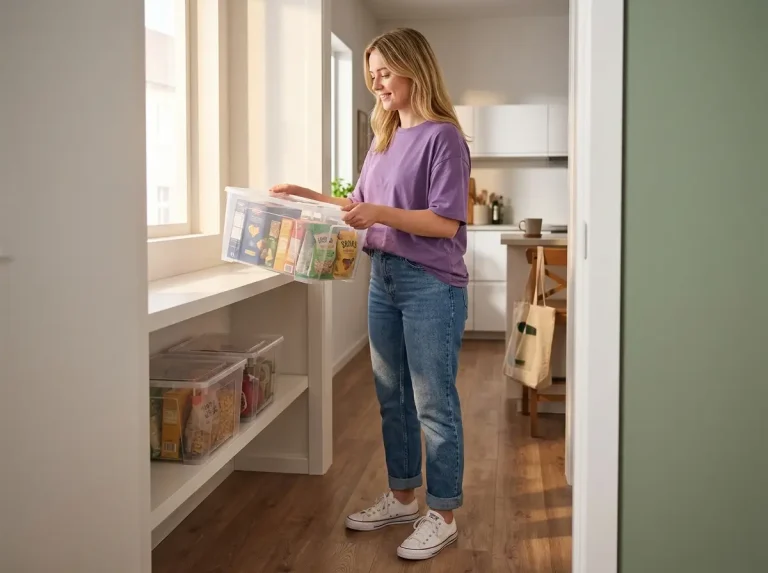
If you reach into a bin most days, it should be open-front. The cutout on the face lets you grab what’s inside without lifting the bins stacked above it, which quietly solves the single biggest frustration with stacking. Think about the actual rhythm of your week before you choose. A bin of current-season clothes, craft supplies you’re mid-project on, or the pantry overflow you raid for dinner gets opened constantly, and every one of those openings is a chance to knock a lidded stack out of alignment. Open-front skips that entirely, because nothing comes off the top to reach the middle. The IRIS USA Open Front Stackable Bins come as a large four-pack that stacks by interlocking rim while leaving the front open, so a bin in the middle of the stack stays reachable. The tradeoff is real, though: an open front means no dust seal and no clean top surface, so these aren’t the bins for anything you’re storing long-term or in a dusty space.
Put your daily-access bin at the top of the stack or make it the open-front one. The rule that keeps a stack usable: the more often you open it, the higher and more accessible it lives.
When Lidded Wins
For anything you touch a few times a year, a lid earns its place. It seals out dust, gives you a flat top to stack on, and lets the column go a little higher without the contents spilling. The Vtopmart Clear Stackable Bins with Lids come in a six-pack of roughly shoebox-sized clear plastic bins, which works well in a pantry, a bathroom, or an under-sink cabinet where you want to see what’s inside and keep the tower sealed. The catch is the one every lidded stack shares: getting to a lower bin means moving whatever sits on top of it first.
The Honest Answer
Most homes need both, and that’s not a cop-out. Use open-front for the closet shelf you raid every morning and lidded for the seasonal things parked up high. Clear sides used to strike me as a gimmick on top of all this. Then the same complaint kept surfacing in storage threads (people lose real time reopening opaque bins to find the one thing they mislabeled), and it stopped looking optional. When you genuinely can’t remember what’s in a bin, see-through helps either way, which is exactly when clear bins make sense over opaque ones. And if you’re only ever going to own one type, go open-front. The daily annoyance of unstacking outweighs a little dust on the things you barely use.
The Best All-Around Stackable Bins for Everyday Storage
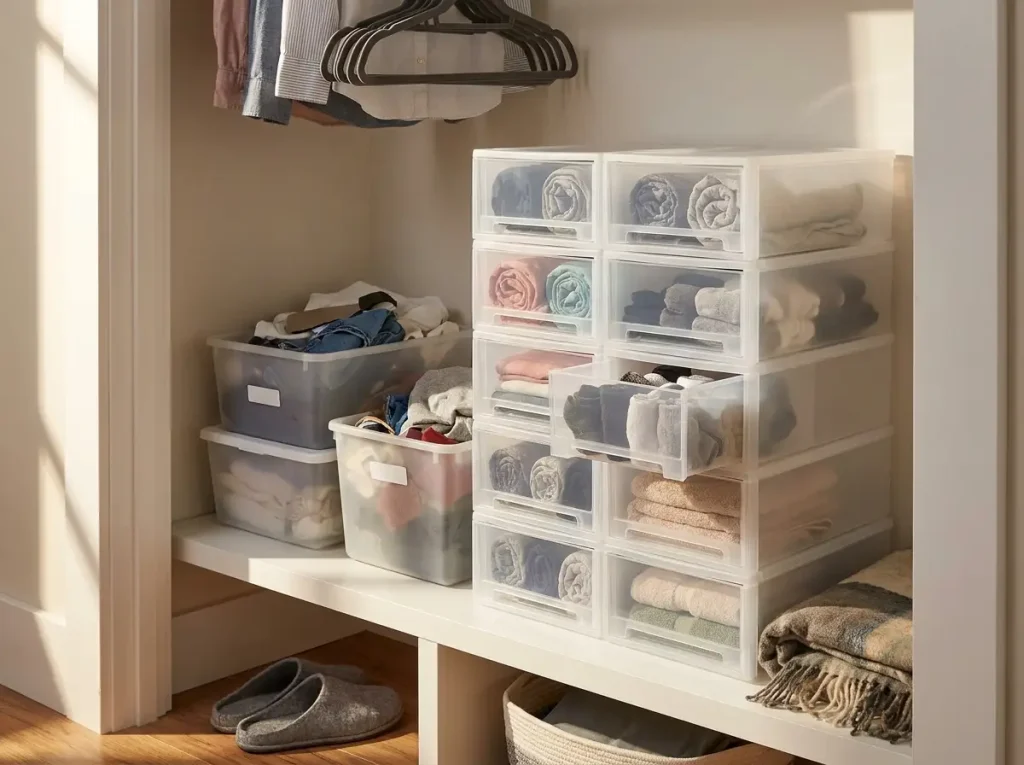
If you want one set that handles the closet, the cabinet, and the open shelf without a spreadsheet of decisions, this is the section to read. The everyday workhorse needs two things: grab access so you’re not lifting bins all day, and a stack that stays plumb instead of leaning toward the floor.
What to Use It For
For general daily storage, an open-front bin that nests to stack is the default that rarely disappoints. It suits a reach-in closet shelf, a deep cabinet, or an open shelf in a hallway, and the nesting rim keeps the column straight.
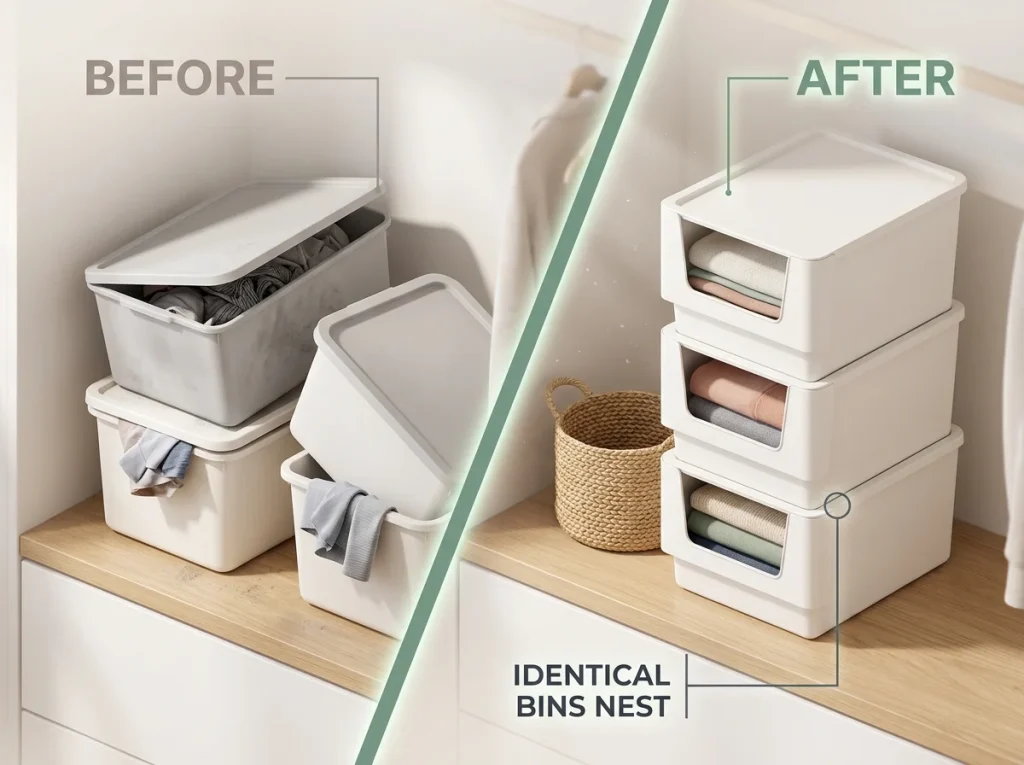
Where It Falls Short
No bin is perfect, and pretending otherwise is how listicles lose your trust. An open-front bin won’t seal, so it’s wrong for long-term or dusty storage. It also isn’t the bin to build a head-high tower with. Open-front bins are happiest in a low, stable stack you reach into, not a precarious column near the ceiling.
Getting the Sizing Right
The most common return is a bin that doesn’t fit the shelf. Measure the shelf depth before you order, because a bin that juts past the front edge stops the door from closing. A bin that’s an inch too deep isn’t “close enough.” It’s a daily irritation you’ll resent for the life of the lease.
Sized for Your Space — Closet, Pantry, and Under-Bed
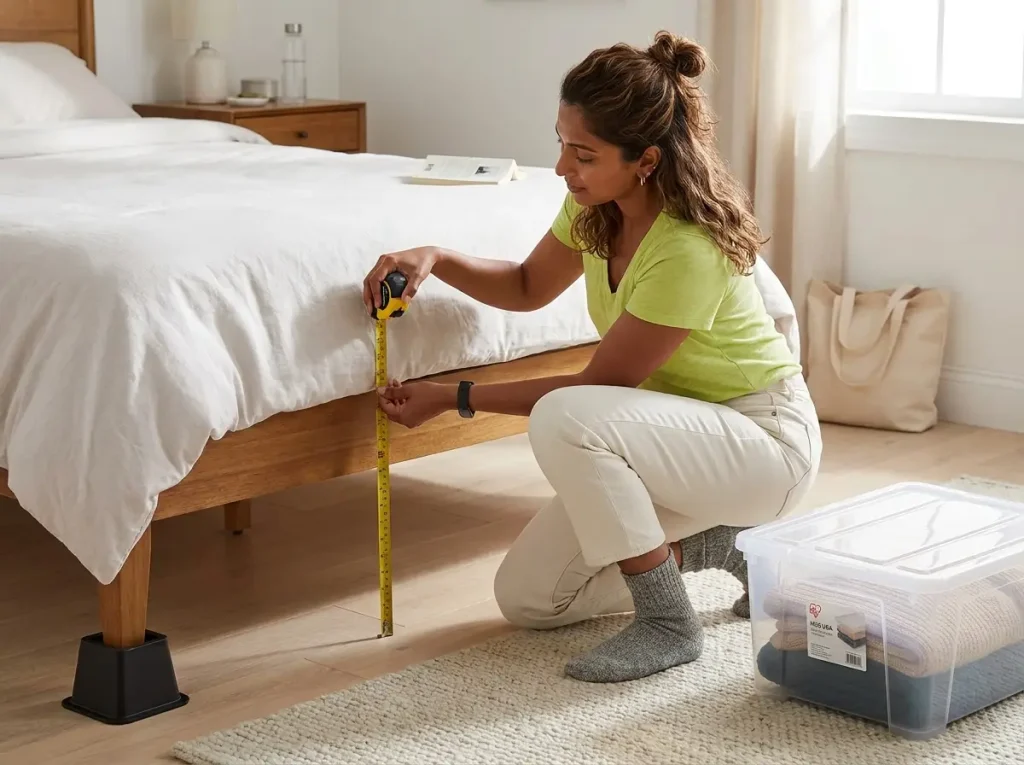
The bin that’s perfect in the pantry is the wrong bin under the bed. Size is the real decision, and it’s the one most people skip on the way to the checkout. Pull out a tape measure first. Always.
Closet Shelves
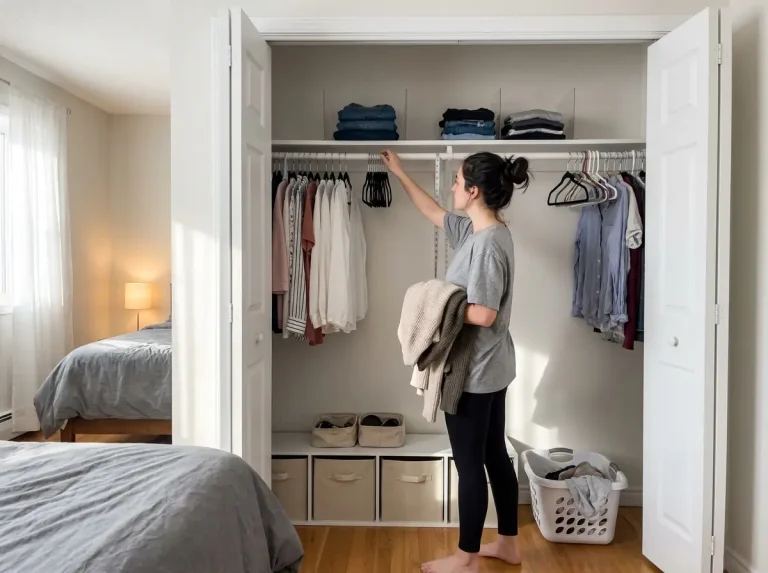
Reach-in closet shelves are shallower than people assume, often around twelve inches, while shoe and linen shelves run a bit deeper. A bin sized for a deep pantry will stick out past a shallow closet shelf and block the door. You also need vertical headroom for a stack: a short gap between shelves fits one bin, not a tower, so check the height as well as the depth. A shallow reach-in closet really does have its own rules, and bin sizing is the first one. Get the footprint right and the rest of the closet falls into line.
Under the Bed
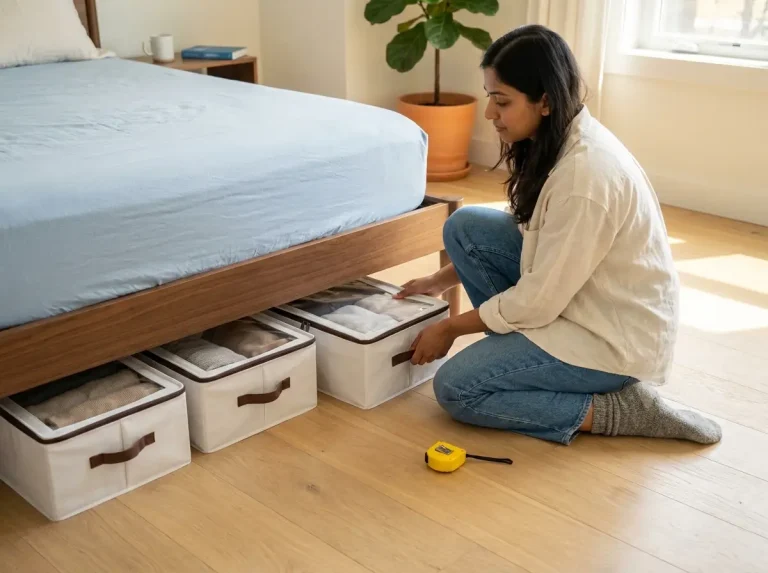
Under-bed storage is its own size class entirely. You need a low-profile box that clears a low frame, not a standard-height bin you’ll have to wrestle out every time. The IRIS USA 40 Qt Nestable Clear Storage Boxes come as a three-pack of wide, shallow boxes (23.5 by 16.25 by 6.25 inches each) that slide under most bed frames and nest or stack when not in use. If your frame sits especially low, add bed risers to buy yourself a couple of inches of clearance, which is the renter move that turns dead floor space into real storage. One limitation worth naming: a flat shallow box holds less per unit than a tall bin, so under-bed is for low, wide things like off-season clothes, not bulky gear.
For a deeper look at this whole category, the rundown of under-bed storage containers goes further than there’s room for here.
Pantry and Cabinets
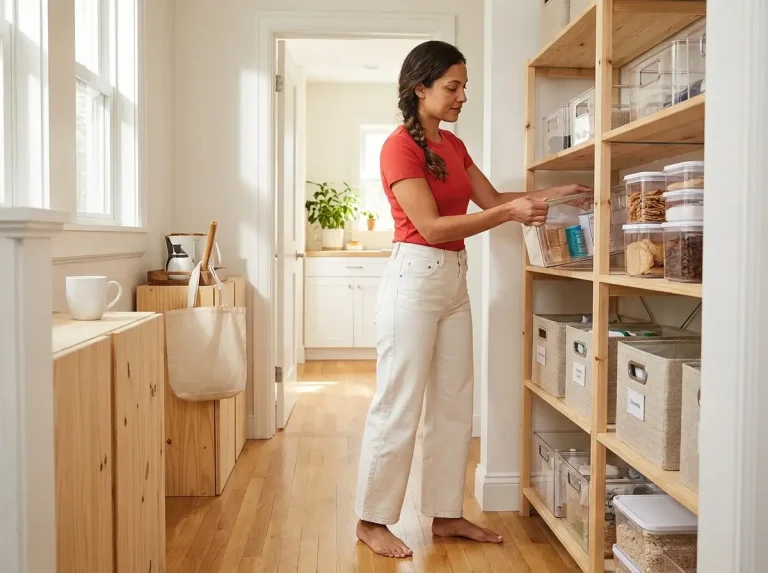
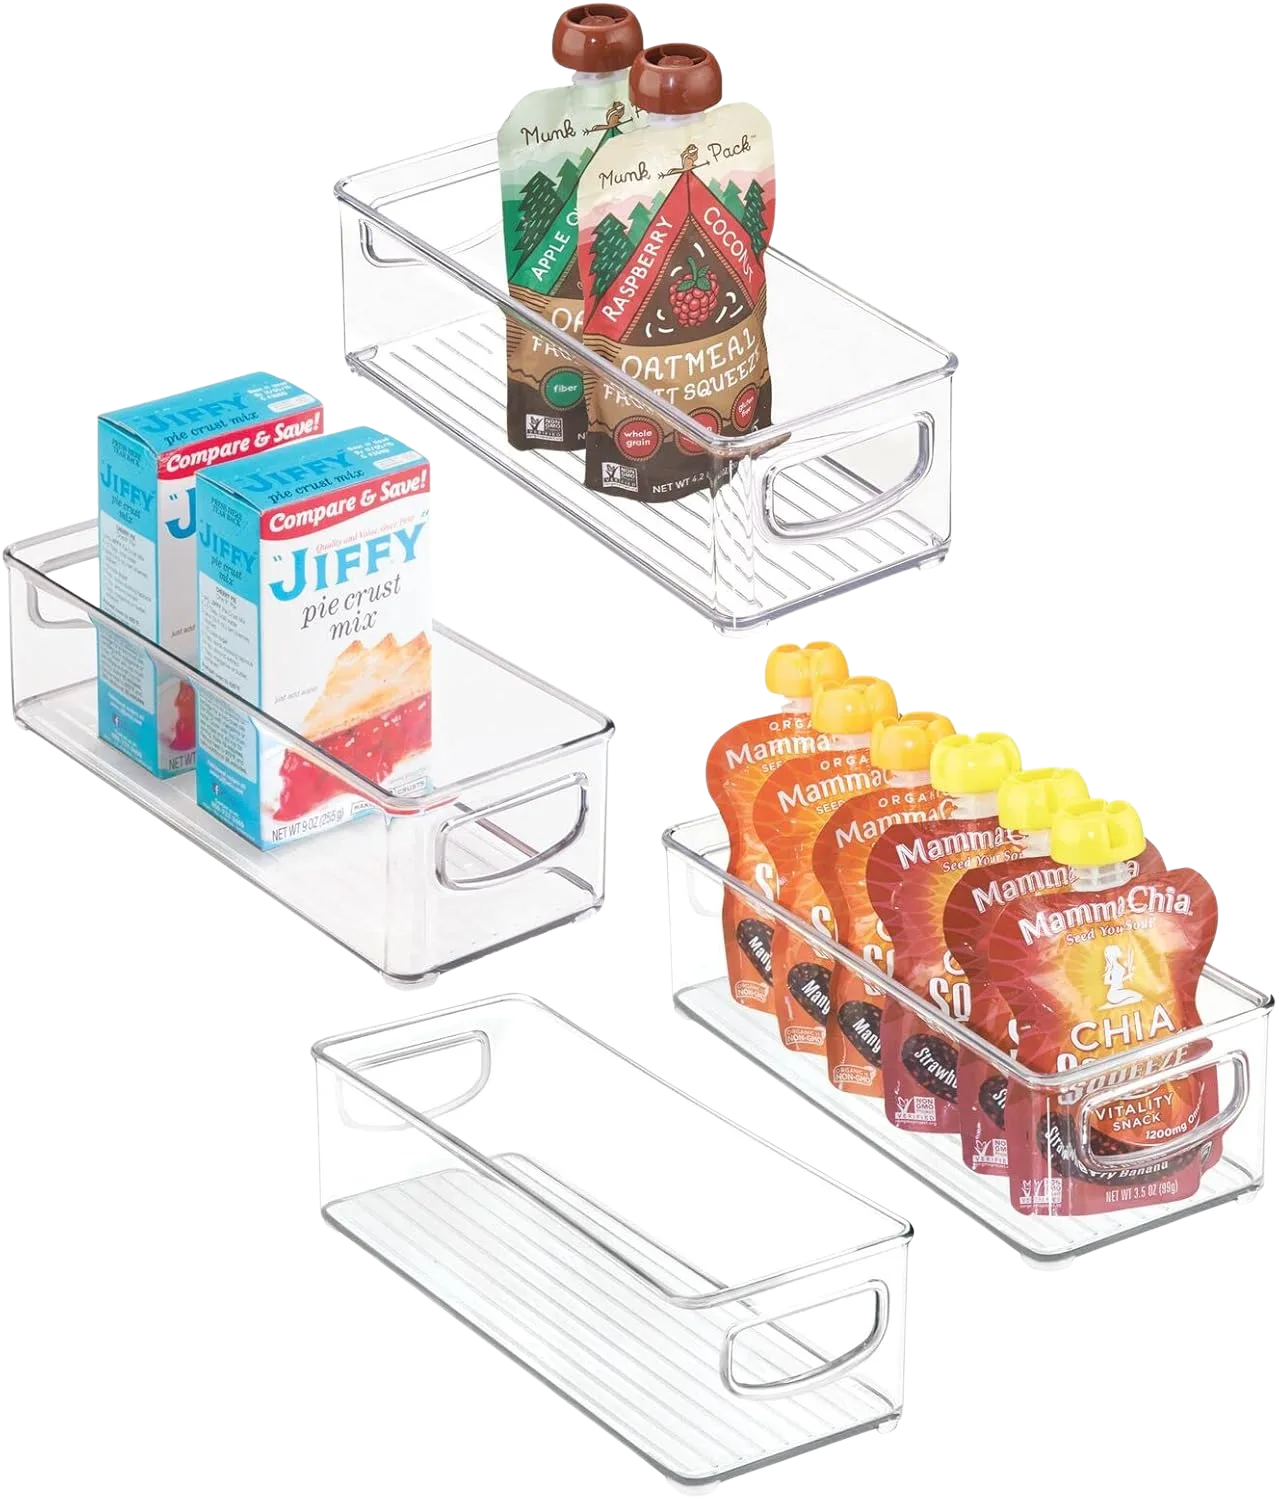
In the pantry, see-through and uniform wins. When you can’t see the back of a shelf, the rear twelve inches becomes a graveyard of forgotten cans, which is the confession that fills every deep-pantry thread. Clear, identical bins let you pull the whole row forward and actually see what’s hiding behind the front. Uniform sizing also means the bins nest if you ever stack them on a tall cabinet shelf.
The Best Bins for Long-Term, Sealed Storage
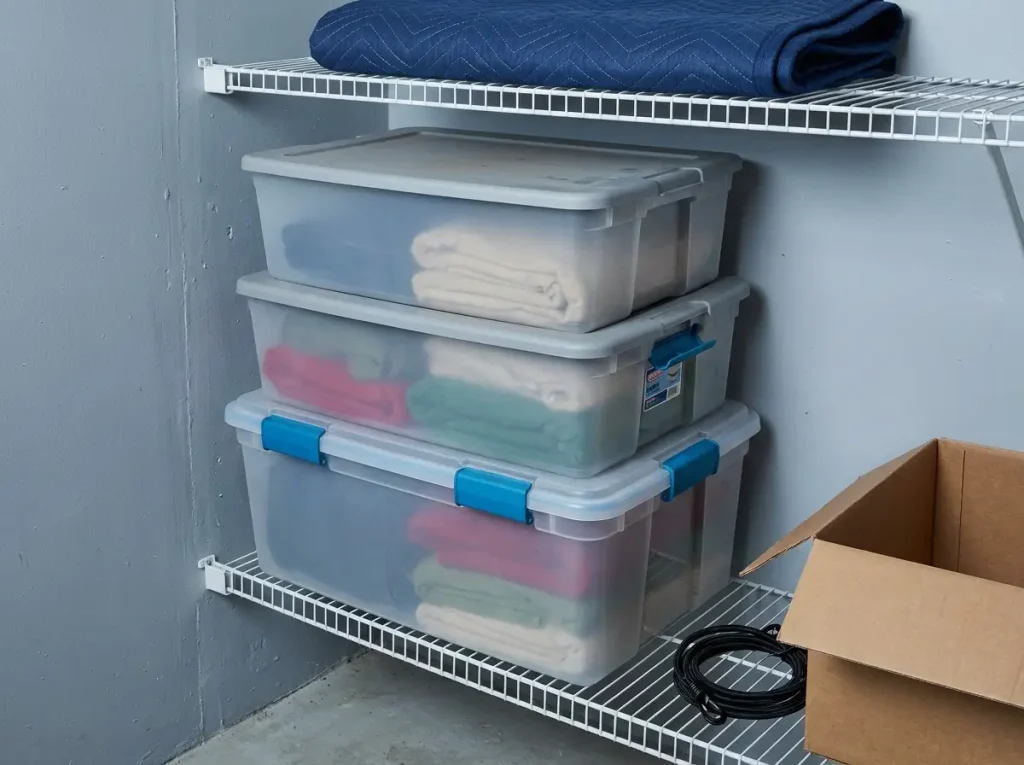
For the things you touch twice a year, you want a different bin than the one you raid daily. Holiday decorations, off-season clothes, keepsakes. These need a real seal and a flat, stable top you can stack on.
What “Sealed” Should Mean
A loose snap-on lid that rests on top isn’t a seal. It pops off when you move the bin and lets dust drift in over months of sitting still. What you want is a lid that latches or clips down on the sides, so it stays put and keeps the contents clean. In hands-on durability testing, organizers consistently rank the latching IRIS Weathertight line among the most stackable options because the low, wide shape and the clamping lid hold a column steady. The four-pack below is the everyday version of that idea.
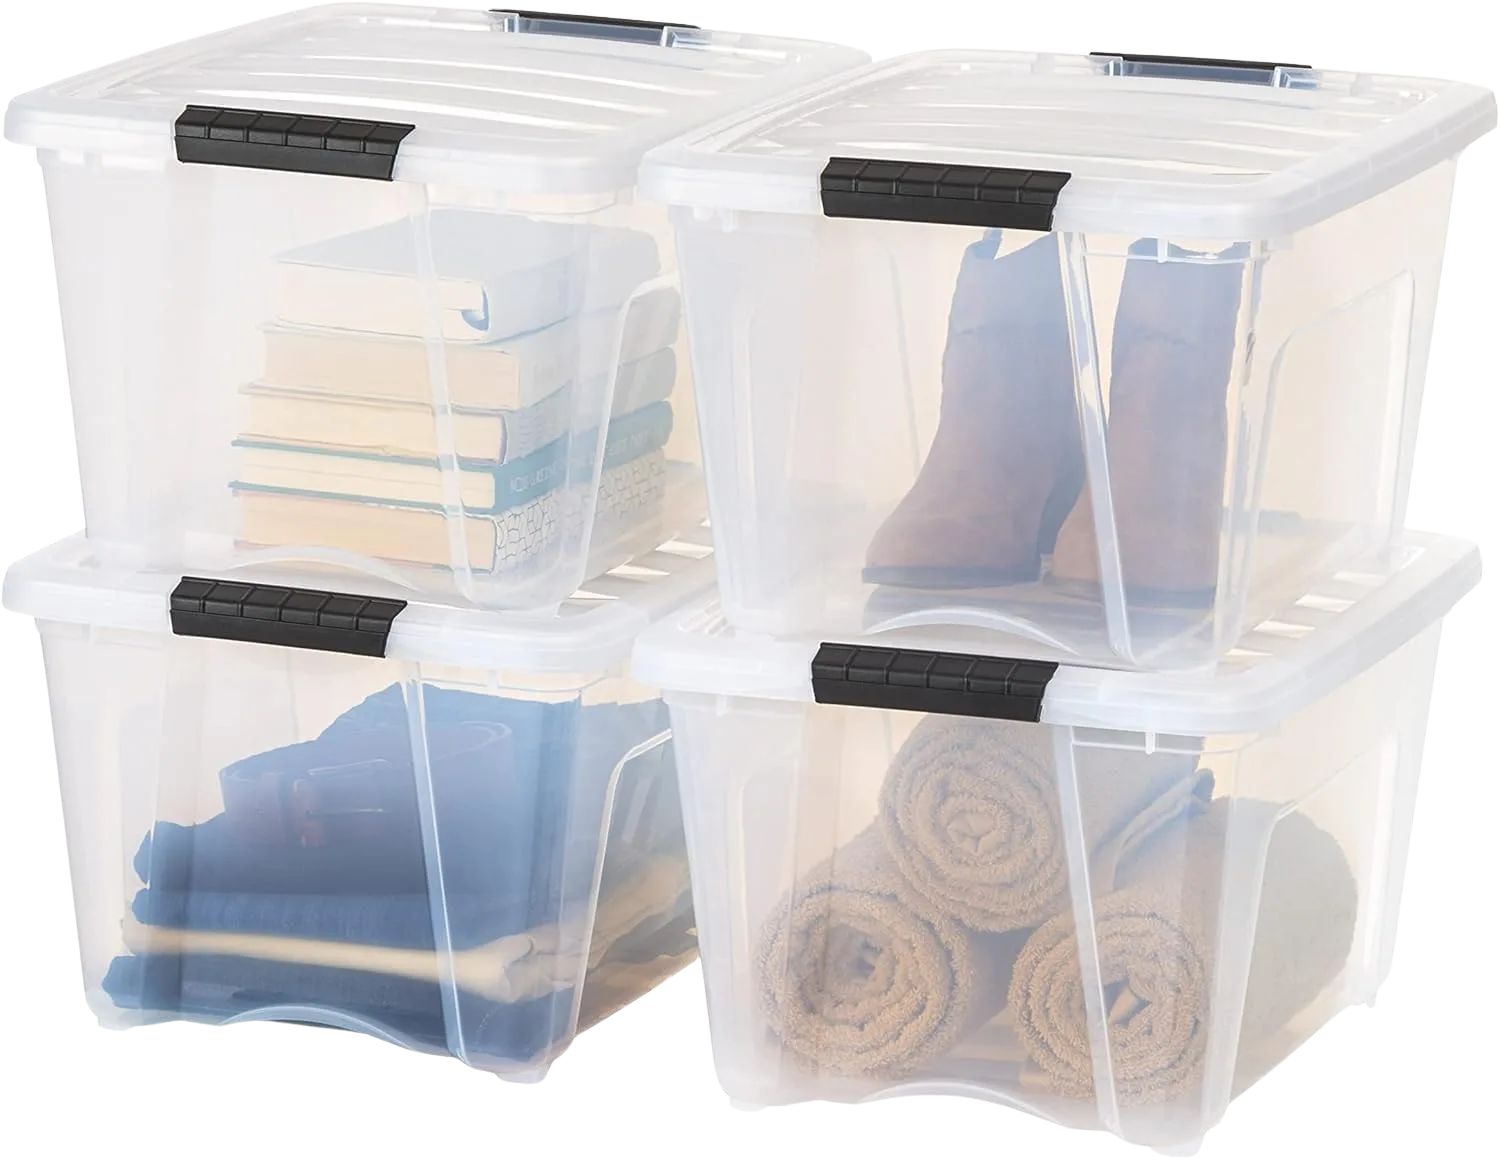
The Budget Pick That Still Seals
Before you spend on the premium option, know that a simpler clip box does the sealed-and-stackable job for less. The Sterilite Clip Box six-pack gives you large boxes with side clips that actually close and lids flat enough to stack square. It won’t seal quite as tightly as a gasketed weathertight box, but for closet-stored clothes and household overflow that distinction rarely matters. I used to point everyone straight to the heavy-duty latching boxes for all long-term storage. After seeing how often a basic clip box handled indoor closet duty just as well, I started recommending the cheaper option first and saving the gasketed boxes for damp basements and garages.
Stacking Heavy Bins Safely
Sealed bins get heavy fast, especially once you fill them with books or winter coats. Weight distribution is the whole game here: keep the center of gravity low, with the heaviest box on the bottom and lighter ones climbing up from there. It’s the same principle behind federal tip-over safety guidance, which advises keeping the heaviest items on the lowest level. A top-heavy stack is the one that tips when someone brushes past it. For food specifically, the rules shift toward airtight pantry containers rather than general storage boxes.
Load a long-term stack by season, not by category. Put the bin you’ll open next (the one with the coats, if winter’s coming) on top, and the one six months out on the bottom. You’ll thank yourself when you’re not unstacking four boxes in October.
When Fabric Bins Beat Plastic
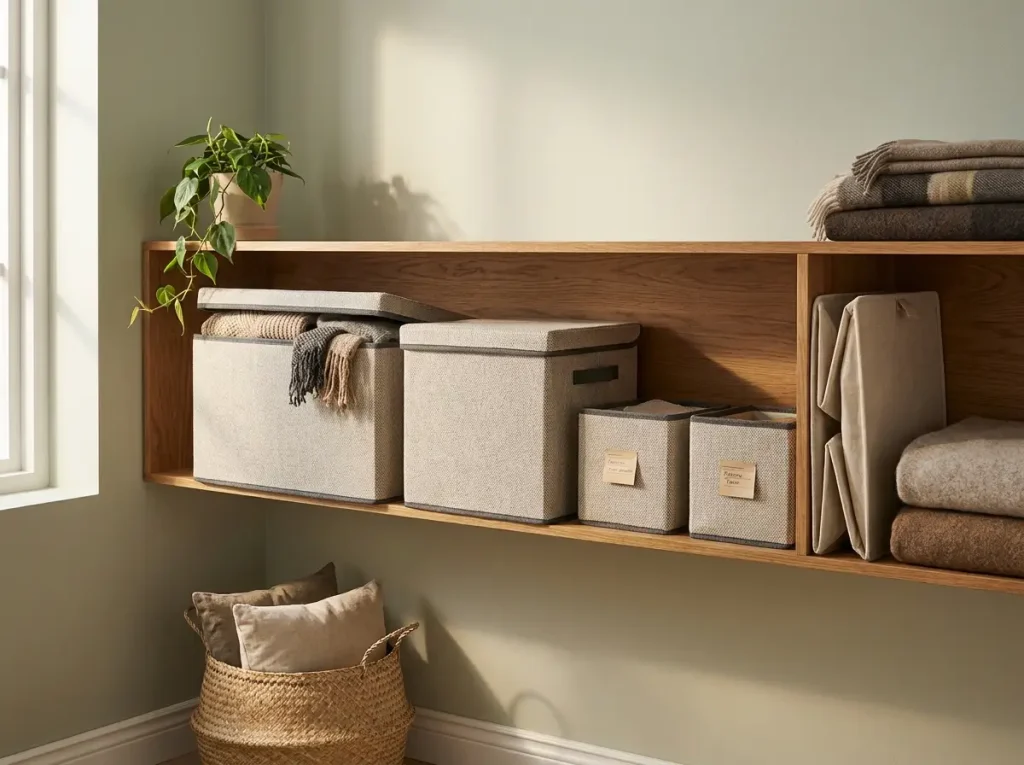
Plastic isn’t always the right call, and the stackable roundups that only show rigid bins skip half the picture. For some jobs, soft foldable fabric bins are the smarter buy.
Where Fabric Wins
Fabric bins line up in a tidy row on an open shelf, weigh almost nothing, and fold flat when you’re not using them, so the storage itself doesn’t eat space off-season. For renters they’re gentle on shelves and easy to move between apartments. A rigid-lid fabric bin like the PRANDOM Large Collapsible Storage Bins, sold as a three-pack with structured lids, even allows light stacking for seasonal clothes and textiles. The limit to remember: fabric sags under heavy or sharp items and offers no dust seal, so it’s for soft goods, not tools.
The Stacking Limit of Soft Bins
Be honest about what fabric can and can’t do. A lidded fabric bin handles a gentle stack of two, maybe three, with light contents. Plain lidless cubes don’t stack into a tower at all, and that’s fine, because they’re not trying to. They’re for lining up in a row, not building up a column. Asking a soft cube to behave like a rigid latching box is how you end up disappointed in a product that was never the problem.
The Budget Set That’s Usually Enough
For straightforward shelf organizing, a basic labeled fabric set is often all you need, and it costs a fraction of a plastic system. A six-piece option like these fabric storage bins with labels tidies a shelf into clear zones without any stacking ambition at all. They won’t tower and they won’t seal, but for a closet shelf of folded clothes or a bookshelf cubby, that’s not a flaw. It’s the whole job, done for less.
Why Stacked Bin Systems Fail After Three Months
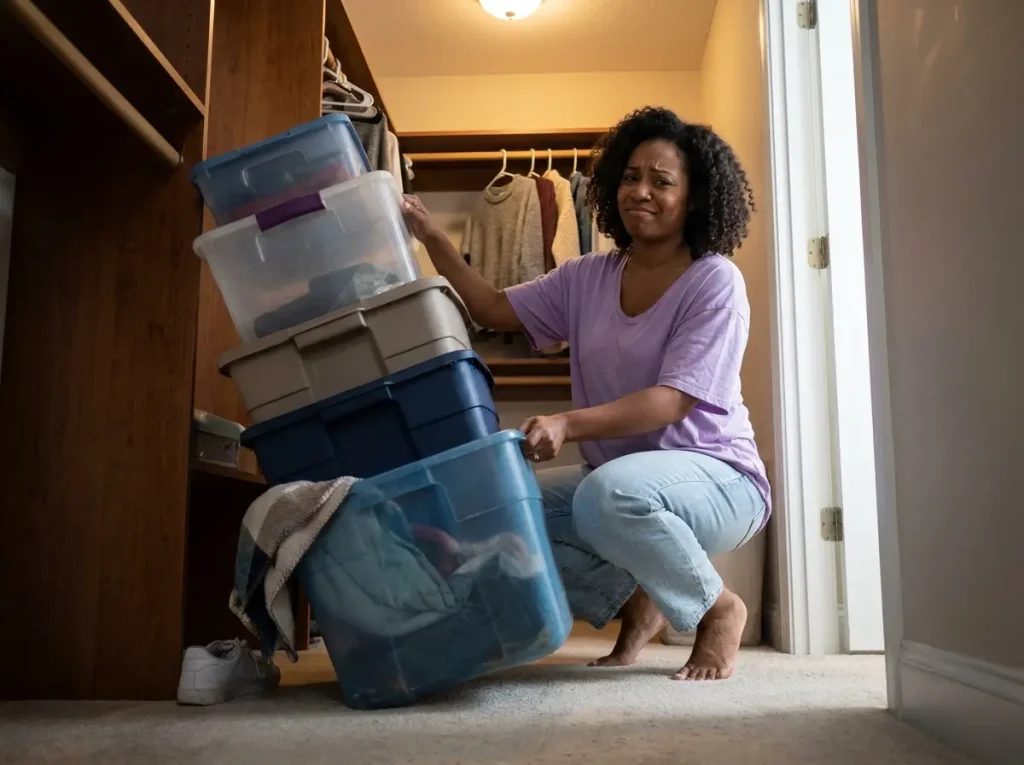
The stack looks great on day one. By month three it leans, the bottom bin is sealed off by everything stacked on it, and someone in the house has restacked it wrong. This is the section the “after” photos never show, and it’s the difference between a system that sticks and one you redo every season.
The Bottom-Bin Problem
The single most common failure is also the most predictable: the thing you reach for most ends up on the bottom, and getting to it means lifting everything above it. So you stop. The bin you need becomes the bin you avoid, and the system dies of friction. The story that fills organizing threads is some version of the winter sweaters trapped in the bottom bin under three others nobody wants to move.
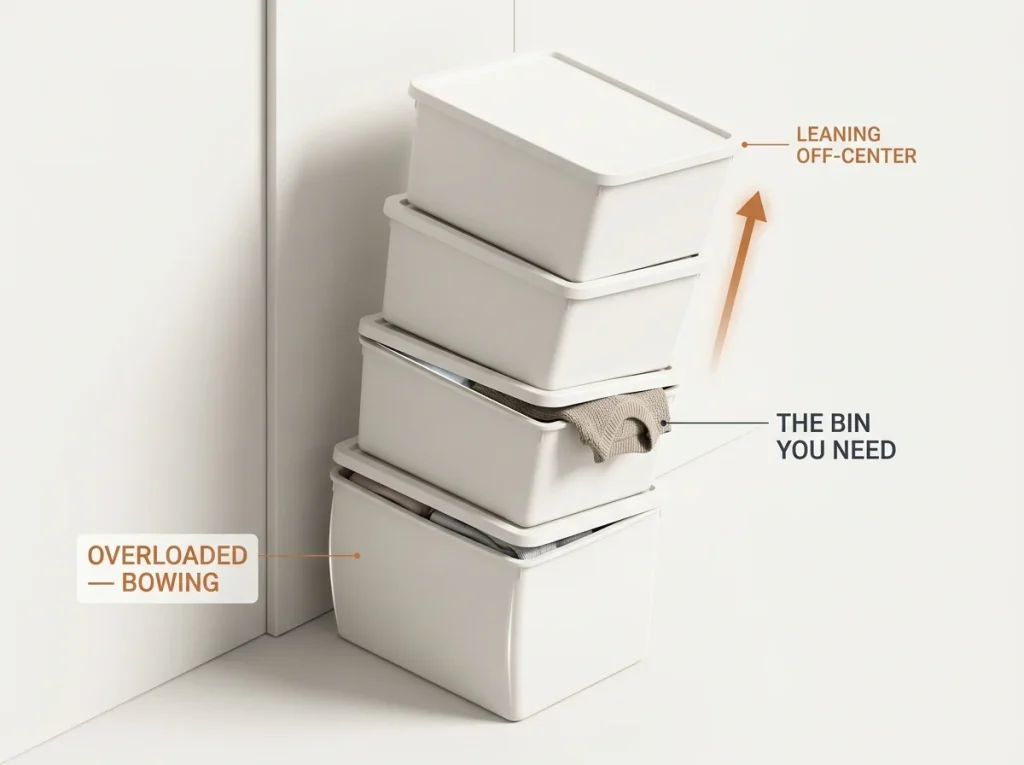
The fix is ordering by access, not by category. Daily items go in an open-front bin or at the top of the stack. Seasonal and rarely-touched things sink to the bottom, where being hard to reach doesn’t matter. And if two things you both use daily can’t both live at the top, that’s a sign you have one stack too few, not one bin too few.
Picture a typical closet shelf with three bins: everyday tees, gym clothes, and holiday decorations. The instinct is to stack them alphabetically or by size, which is how the holiday bin ends up in the middle and the gym clothes land on the bottom. Flip it. Holiday decorations go on the bottom because you open them twice a year. The tees and gym clothes you touch daily move to an open-front bin or split into a second short stack beside the first. It costs you a few inches of shelf width and saves you the daily lift, and that trade is almost always worth it. The systems that survive a full year are the ones built around how often you actually reach in, not how the bins look lined up on day one.
Overloading and the Leaning Tower
The second failure is weight, and its cousin, overstacking. Overfill the bottom bin and it bows in the middle, so the bin above no longer sits level, and the whole tower starts to lean toward toppling. Plastic that’s flexing under load can’t hold an interlock. The tower that looked solid in spring is the one tilting against the closet wall by summer. Leave a little breathing room in each bin, and put the heaviest contents in the box that sits on the floor, not three bins up.
The Ten-Minute Seasonal Reshuffle
Here’s the maintenance reality no product solves for you. Twice a year, spend ten minutes swapping the stack: bring the bin you’re about to need to the top, send the one you’re done with to the bottom. That’s it. The systems that survive aren’t the ones with the most expensive bins. They’re the ones with a tiny habit attached, and this is the smallest habit that keeps a stack honest.
When NOT to Buy Stackable Bins
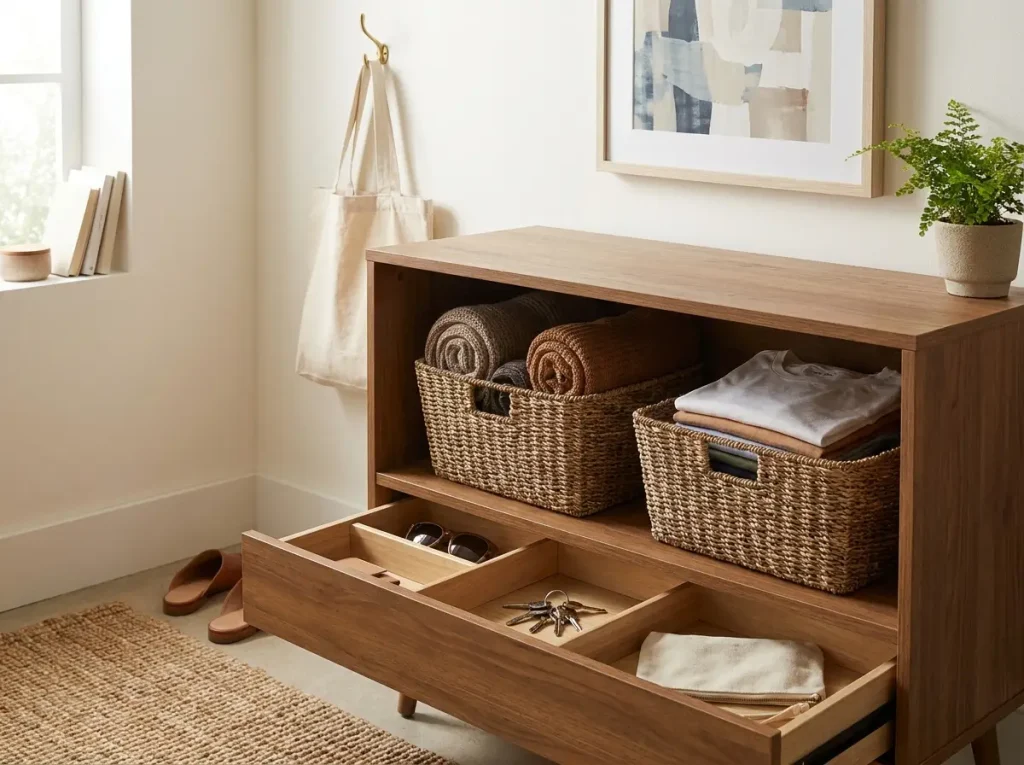
Stackable bins are the renter’s best vertical storage move (no-drill, fully removable, and gone when you move out), and they’re still the wrong tool for some jobs. Saying so is how you avoid buying something you’ll fight with daily.
Daily-Access Items
If you open it every single day, don’t stack it. Every reach into a buried bin is a small tax, and you’ll pay it until you give up and leave the contents on the counter. Daily things want open access: a single open-front bin, an open basket on a shelf, or a drawer. Stacking is for storage, not for the stuff in constant rotation.
When Free Beats Bought
Sometimes the best fix costs nothing. If you already own a drawer that’s half empty, or a basket sitting unused on a shelf, that’s your daily-access solution and no purchase required. Declutter first, too, so you’re not buying stackable storage containers for things you’re about to toss anyway. Buy bins to solve a real problem, not to feel organized. The anti-sell holds here as everywhere: if what you own already works, keep your money.
Before buying a single bin, do a quick walk-through and pull out the empty containers you already own. Most homes have at least two or three baskets or bins doing nothing in a cabinet. Solve the easy spots with those first, then buy only for what’s left.
Keep Stacks Low and Stable
Even when stacking is right, height has limits. A stack above head height or on an unsteady surface is a spill waiting to happen, and a heavy bin coming down from up there can hurt. Keep towers low, on a flat base, with the weight at the bottom. A two- or three-bin stack you can see into and reach beats a wobbly column you need a step stool to manage.
Conclusion
The bins worth buying come down to a few honest rules. Check for a real interlocking lip and buy identical bins so the rims nest. Choose open-front for daily access and latching lids for sealed long-term storage. Measure your space first, and keep stacks low with the heaviest bin on the bottom.
In three months, look for the two warning signs: the tower starting to lean and the bin you need trapped at the bottom. Swap seasonal to the bottom, daily to the top, and the system resets in ten minutes.
Start with the one stack you fight most. Get the sizing and the lip right there, prove it holds, then repeat it everywhere else.
Frequently Asked Questions
01How do you stack storage bins so they don’t fall over?
Use identical bins with an interlocking lip, keep the heaviest one on the bottom, and stop at a low, stable height. The interlock keeps each bin seated, and a low center of gravity keeps the tower from tipping when someone brushes past.
02Can you stack bins from different brands together?
Usually not well. Different brands mold their rims to different dimensions, so the lips don’t nest and the stack wobbles at the joint. Buy uniform sets from one line, and grab extras while that exact model is still sold.
03Are open-front or lidded stackable bins better?
It depends on access. Open-front bins let you grab from a mid-stack bin without unstacking, so they win for daily-use items. Lidded bins seal out dust and stack higher, which makes them better for long-term and seasonal storage.
04What is the best material for stackable storage bins?
High-density polyethylene carries more weight without bowing, so it suits heavy garage loads. Polypropylene resists cracking in cold spaces like an unheated attic. Both are commonly BPA-free, and for everyday indoor use either one works fine.
05What’s the most important step before buying stackable storage bins?
Measure the space first, both shelf depth and the vertical gap between shelves. A bin that’s too deep blocks the door, and a short shelf gap fits one bin instead of a stack. The tape measure prevents the most common return.
Disclaimer: ClutterlessNest is a participant in the Amazon Services LLC Associates Program. As an Amazon Associate we earn from qualifying purchases. This article may contain affiliate links — if you buy through them, we may earn a small commission at no extra cost to you. We only recommend products we have tested or genuinely believe in.