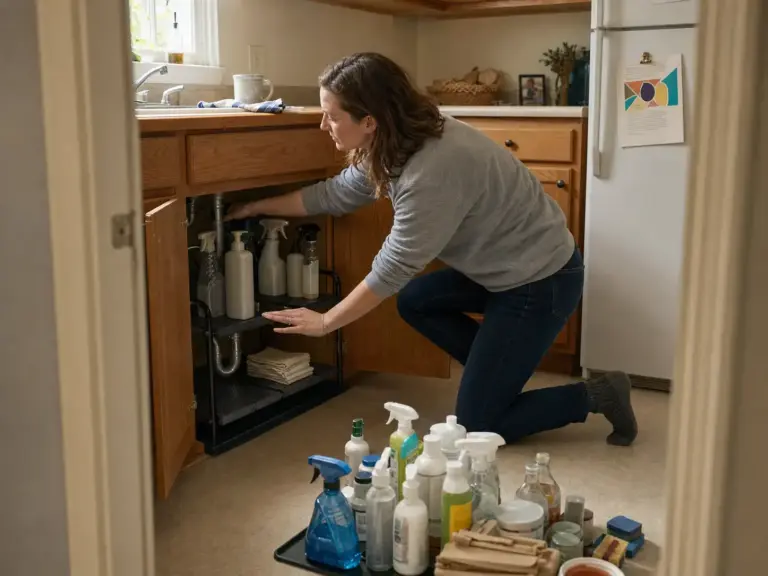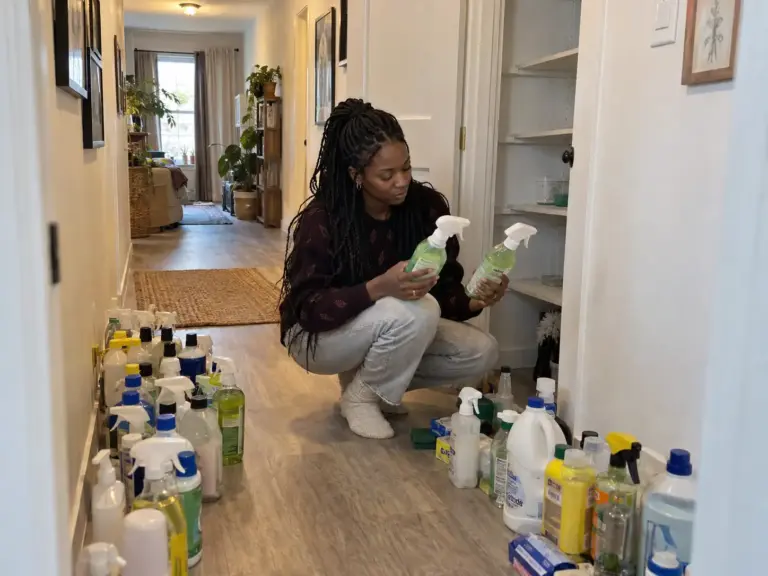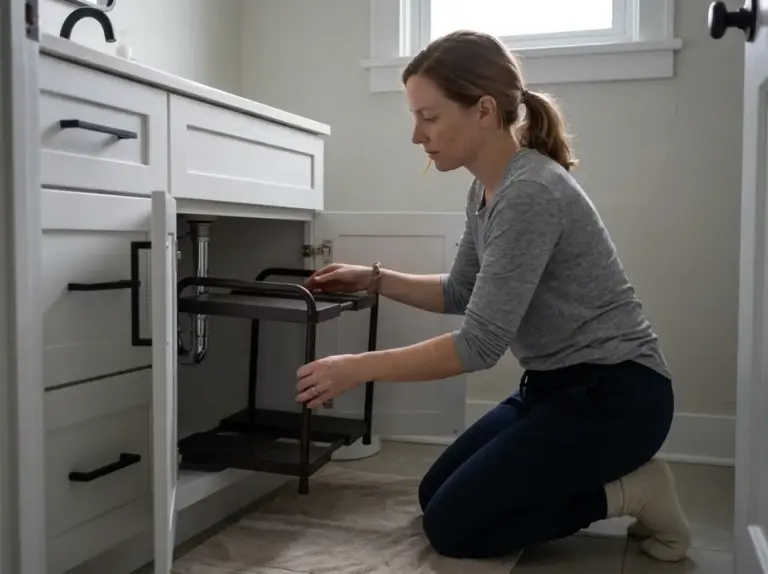
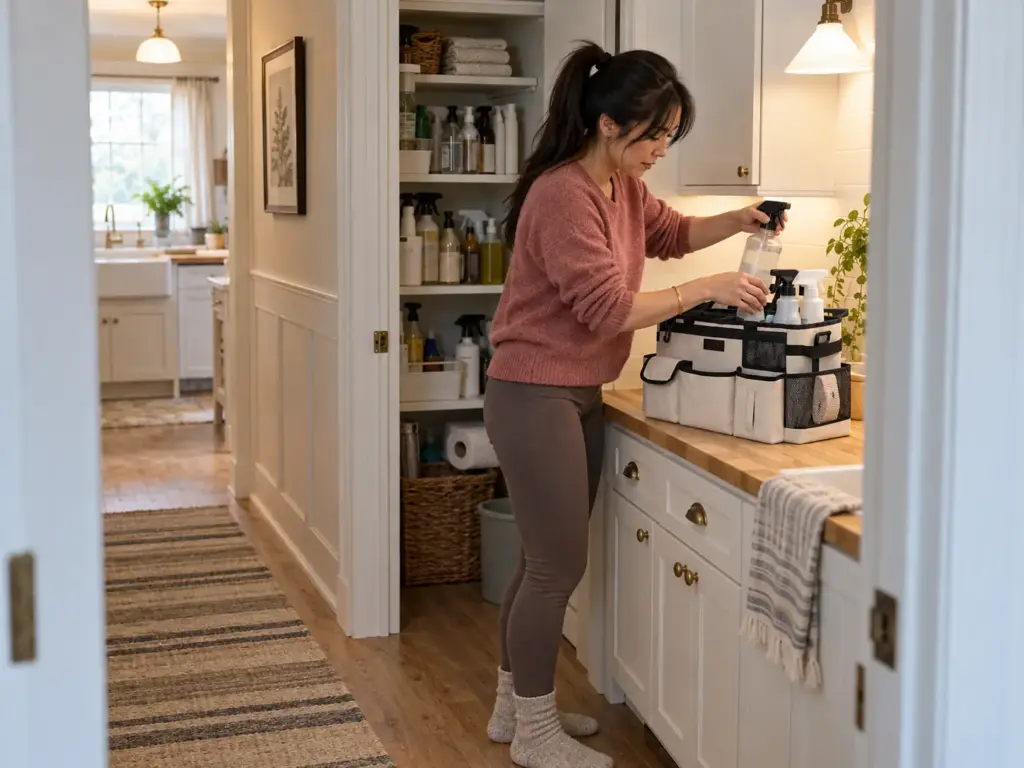
You bought an organizer for the cleaners and it does not suit the spot it went to: the drawers stop halfway against a pipe, the rack keeps the closet door from shutting, the caddy lives on the floor because nothing at hand height will hold it. The best cleaning supply organizers are the ones sized to the spot, and each of those failures has the same cause, the container was picked before the spot was measured. Health agencies tell households to keep cleaning products high or locked away, so where a cleaner lives is a safety choice before it is a space choice, and the space has its own arithmetic: one plumbing guide puts the usable depth of a cabinet sold as 12 inches at about 10.5. Below, you measure the spot first, then meet six container types in the order you walk the house, see why each one fails by month three, and settle the budget and kids-and-pets calls, while the reason a closet slides back into chaos sits in the utility closet guide.
Match the container to the spot first. This table shows which of the six types fits where, what it carries and what to watch for.
| Organizer type | Fits this spot | Carries | Watch for |
|---|---|---|---|
| Handled or wearable caddy | A shelf at hand height, or a hook or chair back | The daily set of sprays and cloths | Loading it past the daily set |
| Under-sink pull-out | A cabinet with usable depth past the pipe | Sprays and sponges on two tiers | The pipe, the disposal and drawers that slip out |
| Rolling cart | A floor lane in a laundry nook, garage corner or wide utility room | Backstock and heavier tools | Drawers that stick |
| Over-the-door rack | A door thin enough, with a gap to spare | Light and mid-weight bottles | The door’s limit, not the rack’s |
| Broom and mop holder | A wall that takes hooks, or a door that takes a no-drill holder | Broom, mop and dust pan | Matching the mount to the wall |
| Clear bins with handles | A shelf with the height to stack | Backstock you can see | Lids that do not snap on |
How to Choose Cleaning Supply Organizers by the Space You Have
Picture the box on the hallway floor again: the drawer slid in halfway, stopped against the drain pipe, and the return label is already printed. The number on the box is where the buying went wrong, because it describes the cleaning supplies organizer, not your cabinet. Everything below starts with the space, since no container on this list rescues a spot it does not fit.
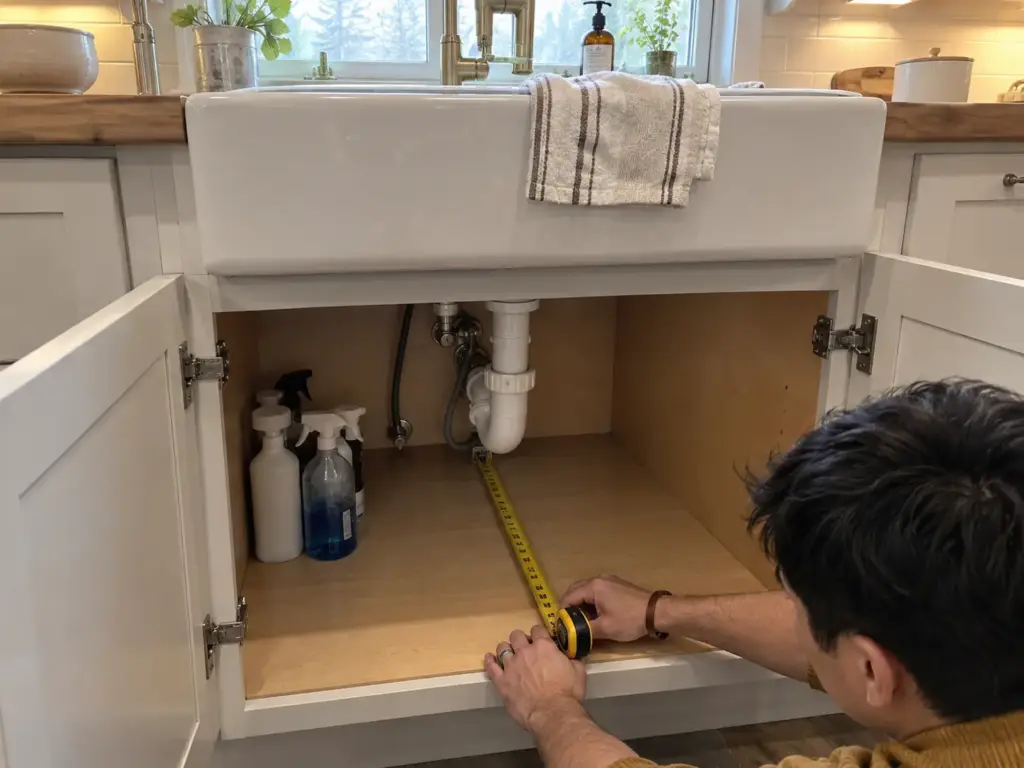
Measure the usable depth, not the number on the box
One plumbing guide puts the usable interior of a cabinet sold as 12 inches deep at about 10.5 inches, so a 12-inch organizer starts out too big before the pipe even enters the picture. A standard P-trap sticks out 3 to 4 inches from the wall, and a cabinet shallower than 12 inches has a hard time with it. Standard under-sink depth runs about 21 inches in kitchens and 18 to 21 in bathrooms, which means a short drawer fits the typical cabinet and a long one only fits a deep one.
The free version of this step takes a tape measure and a sheet of paper. Measure from the back wall to the pipe and between the side walls, cut the paper to that footprint and set it on the cabinet floor. What is left around it is the room an organizer actually has.
Write the usable depth on the paper footprint and tape it inside the cabinet door. When you compare listings on your phone, the number is already there, and a drawer longer than it goes back in the cart instead of into a box you will return.
Height, the pipe and the garbage disposal
Depth is half the problem; the other half is height. With a garbage disposal, the vertical drop under the sink is about 9 to 12 inches, against about 6 inches for a standard P-trap, so a tall caddy or a second tier needs your setup checked before anything else. Keep 2 to 3 inches of horizontal space on either side of the drain as well, because the wrench and the bucket need the gap that a full-width shelf takes away (one plumbing guide).
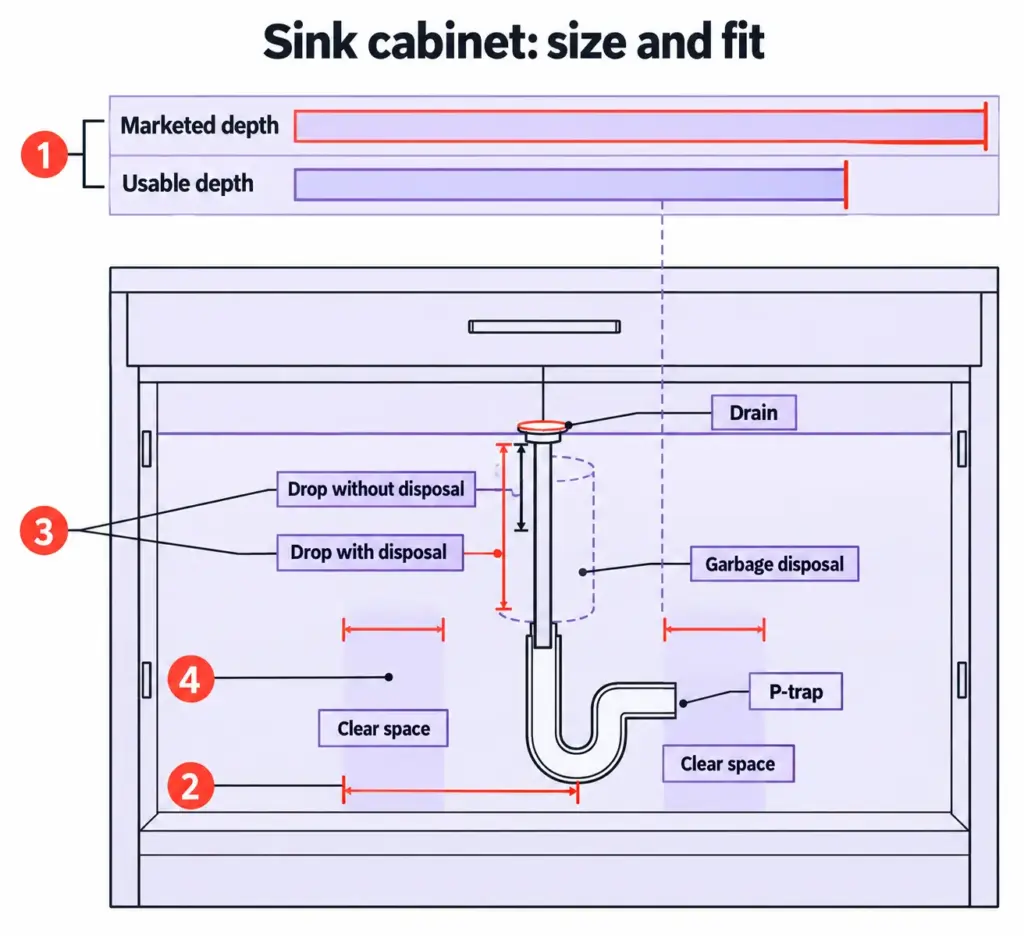
Bottles can sit beside the pipe. They should not wall it in. If you want to see how an organizer gets built around real plumbing, fitting an organizer around real pipes works through the kitchen cabinet piece by piece.
Decide the spot first, then the container
“Store things where they are used,” one commenter in an r/organizing thread says, and for cleaners that settles the cabinet before the shelf: bathroom cleaners go in the bathroom, kitchen cleaners in the kitchen. Another commenter’s line, “The container is the limit,” works in reverse here. A container that will not close or slide is telling you to take stock out, not to shop for a bigger one.
So the order is the room, then the spot in the room, then the one container that fits it. A tape measure and one sheet of paper are the whole budget for the first two steps.
In a large utility room or a garage the problem flips. Depth is plentiful there, so stock piles up out of sight at the back of a deep shelf, and the question becomes which container keeps it within reach. A cart, a row of clear bins or a caddy on a hand-height shelf all answer that better than another deep shelf does, and the rest of this guide sorts cleaning supply storage by the space it suits rather than by the size of the home.
Portable Caddies for the Kit You Carry Room to Room
You are carrying six loose bottles down the hallway in your arms, and you set them on the floor to open a door. A cleaning caddy with handle ends that, but only if it has a home shelf and only if the kit really needs to travel.
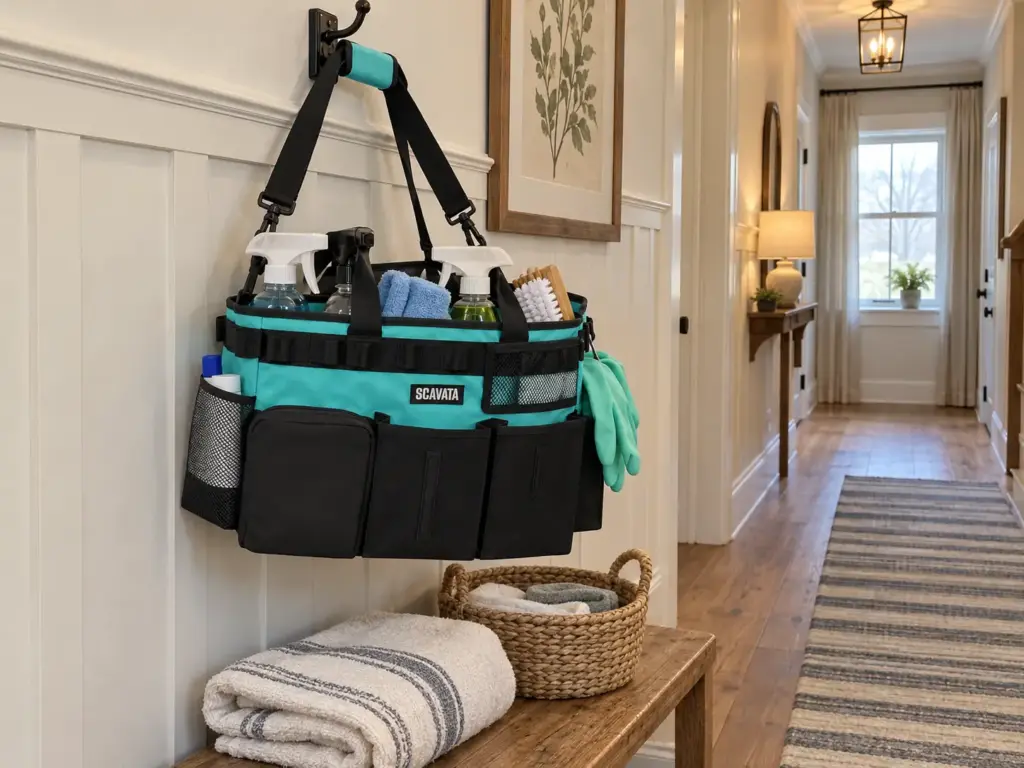
Handled caddy or wearable bag
The first fix costs nothing. One commenter’s budget answer is to “build a dedicated cleaning kit for each bathroom, and one for the kitchen,” so nothing has to be carried at all. The same commenter keeps three brooms and four spray bottles where each one gets used, and the cleaning runs in five-minute bursts. A caddy earns its place when a single kit has to move, and a plain bucket with a handle does a similar job if you can do without compartments.
When it does have to move, the Cleaning Caddy Organizer with Handle measures 15 x 8 x 10.5 inches and carries the daily set room to room by its handle. It needs a shelf at the height of your hand to live on, so measure that spot before you order it.
If both hands stay busy on the job, a bag on the shoulder works better. The SCAVATA Wearable Cleaning Caddy Bag measures 15.4 x 9.8 x 9.1 inches by the listing, and opinions on its size are mixed, with some buyers finding it smaller than expected, so hold those numbers against your tallest bottle instead of trusting the photo. It needs a hook or a chair back when parked.
The daily set, and what stays on the shelf
The daily caddy holds what you reach for every clean: a spray or two, a few cloths, a scrub brush. Gallon refills are not part of it. I’d keep them on the shelf or the cart below the caddy, because a handle that carries a jug and six bottles gets used one trip a week and avoided the rest. Sorting what goes in the set and what stays out is its own step, and sorting the stock before choosing a container covers it so you do not buy a container for stock that should have left the house.
One kit or one per room
The test that settles where a shared kit lives is the one a commenter quotes from organizer Dana K. White: “Where would I look for this if I need it?” Ask it of everyone in the house, not just the person who does the cleaning. A single caddy suits a household where one person cleans room to room; a kit per bathroom suits one where two people clean at the same time and nobody wants to go looking for the caddy.
Under-Sink Pull-Outs, Where the Cabinet Decides First
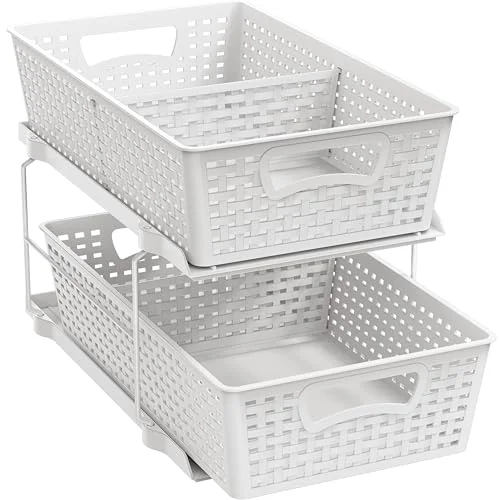
You reach into the cabinet for the spray among your under sink cleaning supplies, past the pipe and a jug, and three other bottles come out with it. An under sink organizer should fix that, and the pull out under sink organizer is the usual pick. Whether it can depends on the cabinet before it depends on the drawer.
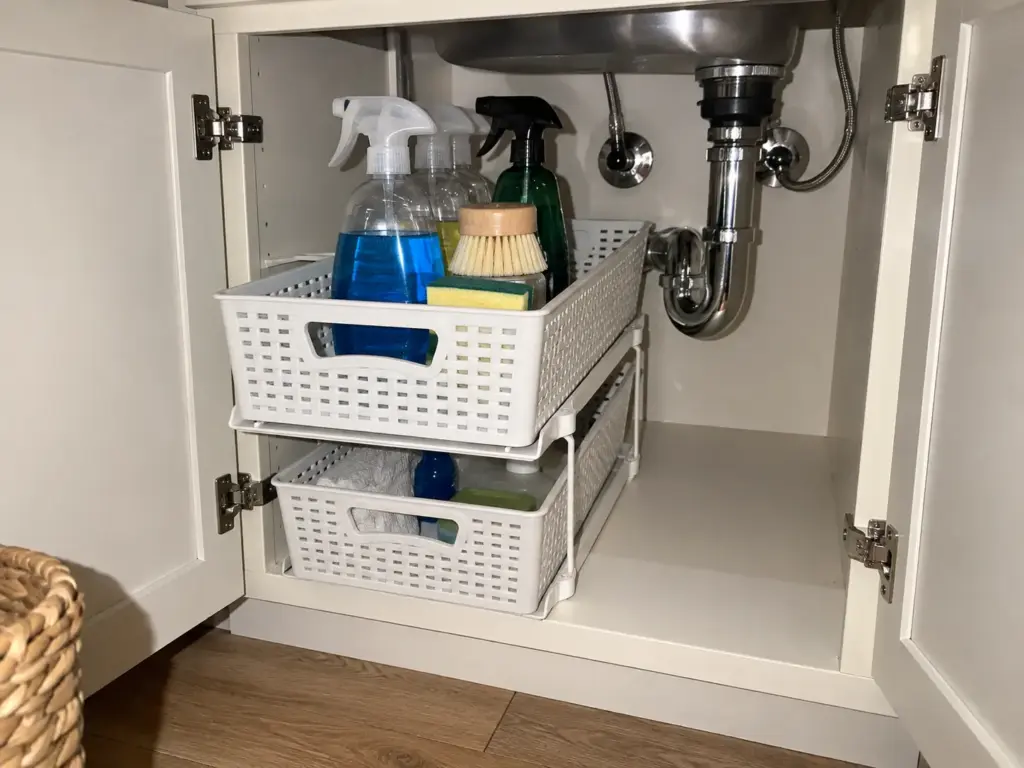
Which setup is under your sink
Go back to the numbers from the first section in a single line: a standard P-trap, a garbage disposal and a shallow cabinet each change the P-trap clearance, so each asks for a different pull-out, and the listing’s length has to clear the cabinet depth you measured. The pull-out is the obvious pick when reaching in is the daily problem and the cabinet is deep.
With a disposal or a shallow cabinet it is the wrong one, and a flat bin on the cabinet floor holds the bottles upright for the least effort. Try that first. If the bin still leaves you reaching past the pipe, the pull-out has earned its place. For a bathroom cabinet with the same pipe in the middle, organizing the bathroom cabinet around its pipe shows the access zones.
One drawer or two tiers
Two tiers hold more in the same footprint, but each tier takes height, and under a disposal height is what you do not have. One tier is the safer call there; two tiers suit the cabinet with a standard trap and room above it. Either way, check the Simple Houseware pull-out’s listing for its length and height, and hold both against your usable depth before it goes in the cart.
When a child or a pet lives there
Cleaning products storage is riskiest under the sink in a house with a small child or a pet. A basic latch is a speed bump to a determined toddler, not a lock. According to Wisconsin’s guidance on storing household chemicals, “Store products high out of the reach of children or in locked cabinets.”
That puts a real child lock, or a higher shelf, ahead of any pull-out in the decision, and it keeps the kitchen cleaners in the kitchen cabinet where the pull-out belongs. The commenter’s line, “Store things where they are used,” applies: the pull-out is a kitchen tool, and the bathroom’s cleaners belong in the bathroom.
Rolling Utility Carts for Backstock and Heavy Tools
The jug of floor cleaner lives on the floor in front of the closet because the shelf is too high to lift it down from. A cart gets that jug up off the floor and puts it where you can slide it out, as long as the lane for it exists.
What belongs on a cart
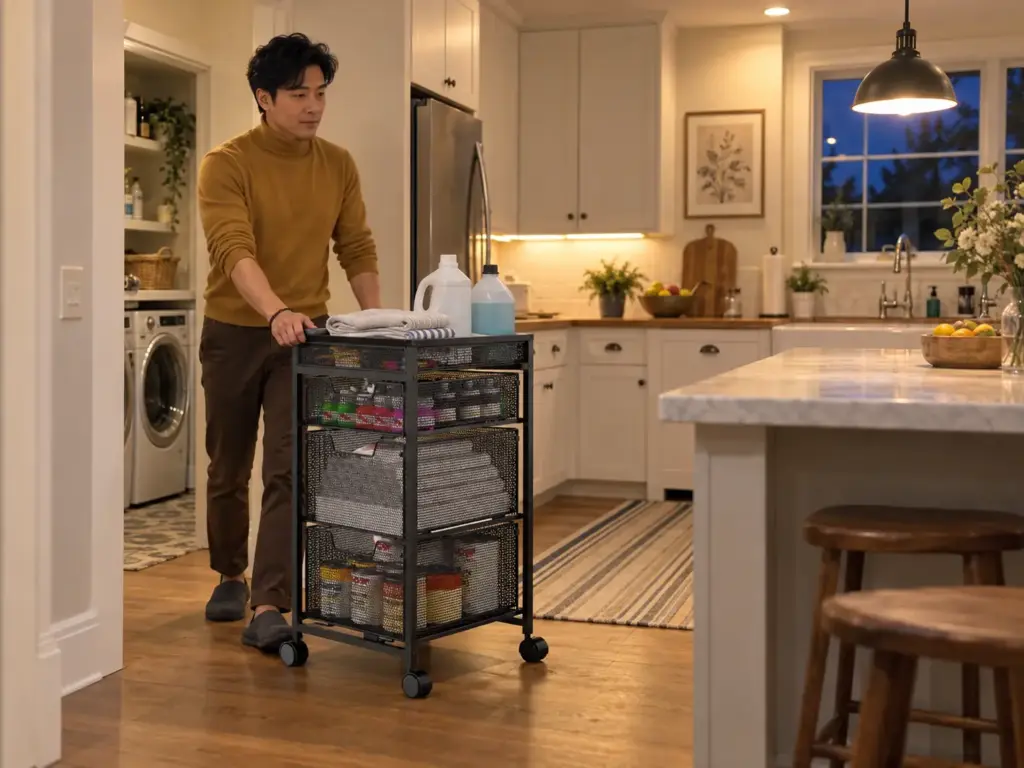
A cart holds the backstock and the heavier tools that do not fit the caddy, with locking wheels to keep it where you park it. It needs a lane on the floor, so it suits a laundry nook, a garage corner or a wide utility room better than a narrow hallway closet. One commenter describes a garage too shallow to pull in, close the door and still unload the groceries, which is the lane problem in its plainest form: the storage was fine and the depth was the trouble. Measure the lane before the cart, and park the cart “near where stuff ends up,” as the same commenter puts it, at the laundry or the garage door where the supplies get used.
Mark the cart’s footprint on the floor with painter’s tape, using the listing’s dimensions, and leave it for a day. If people step over the tape instead of around it, the lane is in the wrong spot, and that is far cheaper to find out before the cart arrives.
The drawer catch
On a cart with drawers, the drawers are where the complaints land: some buyers find them hard to open and close, and a drawer that fights you is one you stop using. That leaves you with a cart that is really an open shelf with a stuck box on it. A plain three-tier cart with no drawers removes the catch entirely, and it is the budget version of the same job.
Cart or shelf
A shelf wins when the closet, or the garage shelving beside it, already has one that holds the weight and reaches no higher than your shoulder. A cart wins when you would otherwise lift jugs overhead, or when the supplies need to move to where the mess is. If the lane exists, the Rolling Utility Cart with 3 Drawers, DIY Divider and Lockable Wheels is the drawered option, with the drawer feedback above in mind. If you are leaning toward a shelf instead, picking a freestanding shelf that holds weight is the next thing to check.
Over-the-Door Racks, and the Door You Hang Them On
The over the door organizer is up and loaded, and now the closet door will not close all the way. The organizer did what it was sold to do. The door is the part nobody measured.
The door’s limit, not the rack’s
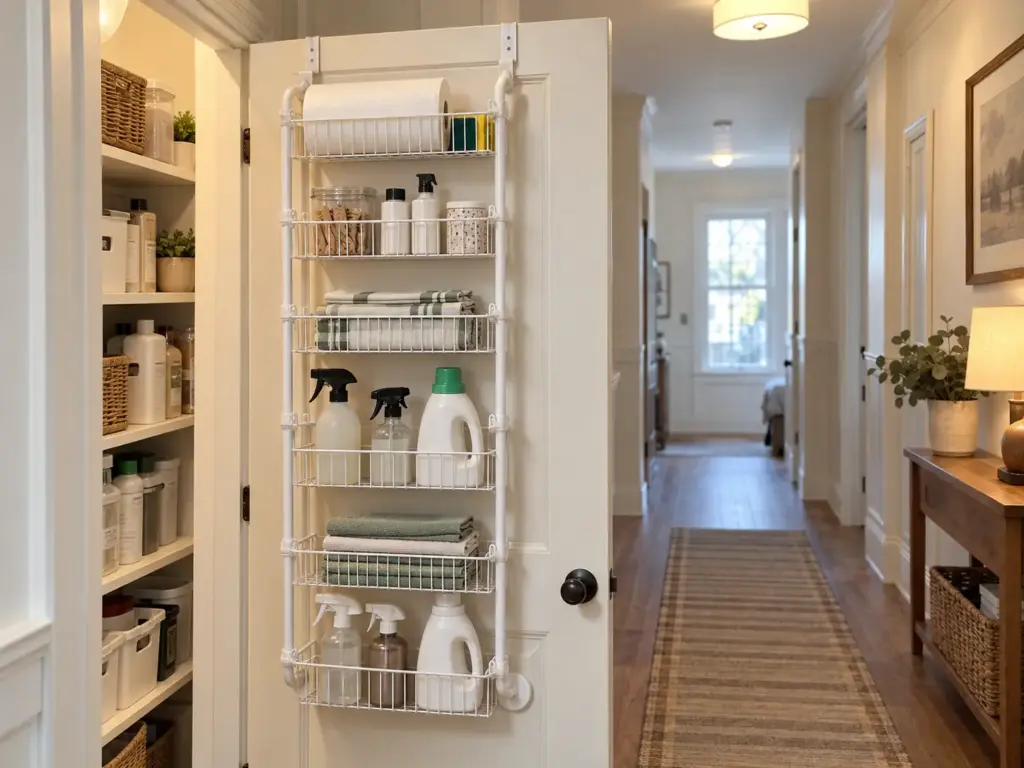
A hollow-core door typically supports about 20 to 30 pounds (one door-weight guide). The Delamu rack’s listing gives 10 pounds per tier and 60 pounds in total, so a full rack carries double the upper end of what such a door takes. The rack’s own weight capacity does not raise the door’s. The door sets the load.
So do the sum before the purchase. Count the bottles you would actually hang on it, treat 30 pounds as the ceiling for a hollow-core door rather than the target, and remember that a rack rarely stays half empty for long (a free hook is easier to be honest with). If the total comes out near that ceiling, the rack belongs on a different door or the wall.
An over the door rack is the default advice for anyone who cannot drill, and on a hollow-core door the better call is a different one. A hollow-core door sounds hollow when you knock on it, and a basic hook on that door, or on the wall beside it, carries light items at no clearance cost. Keep the rack for a solid door. Before you buy anything, checking the door before buying a rack gives you a short method for that.
For a solid door that can take the load, here is the rack to measure first.
The gap and the thickness
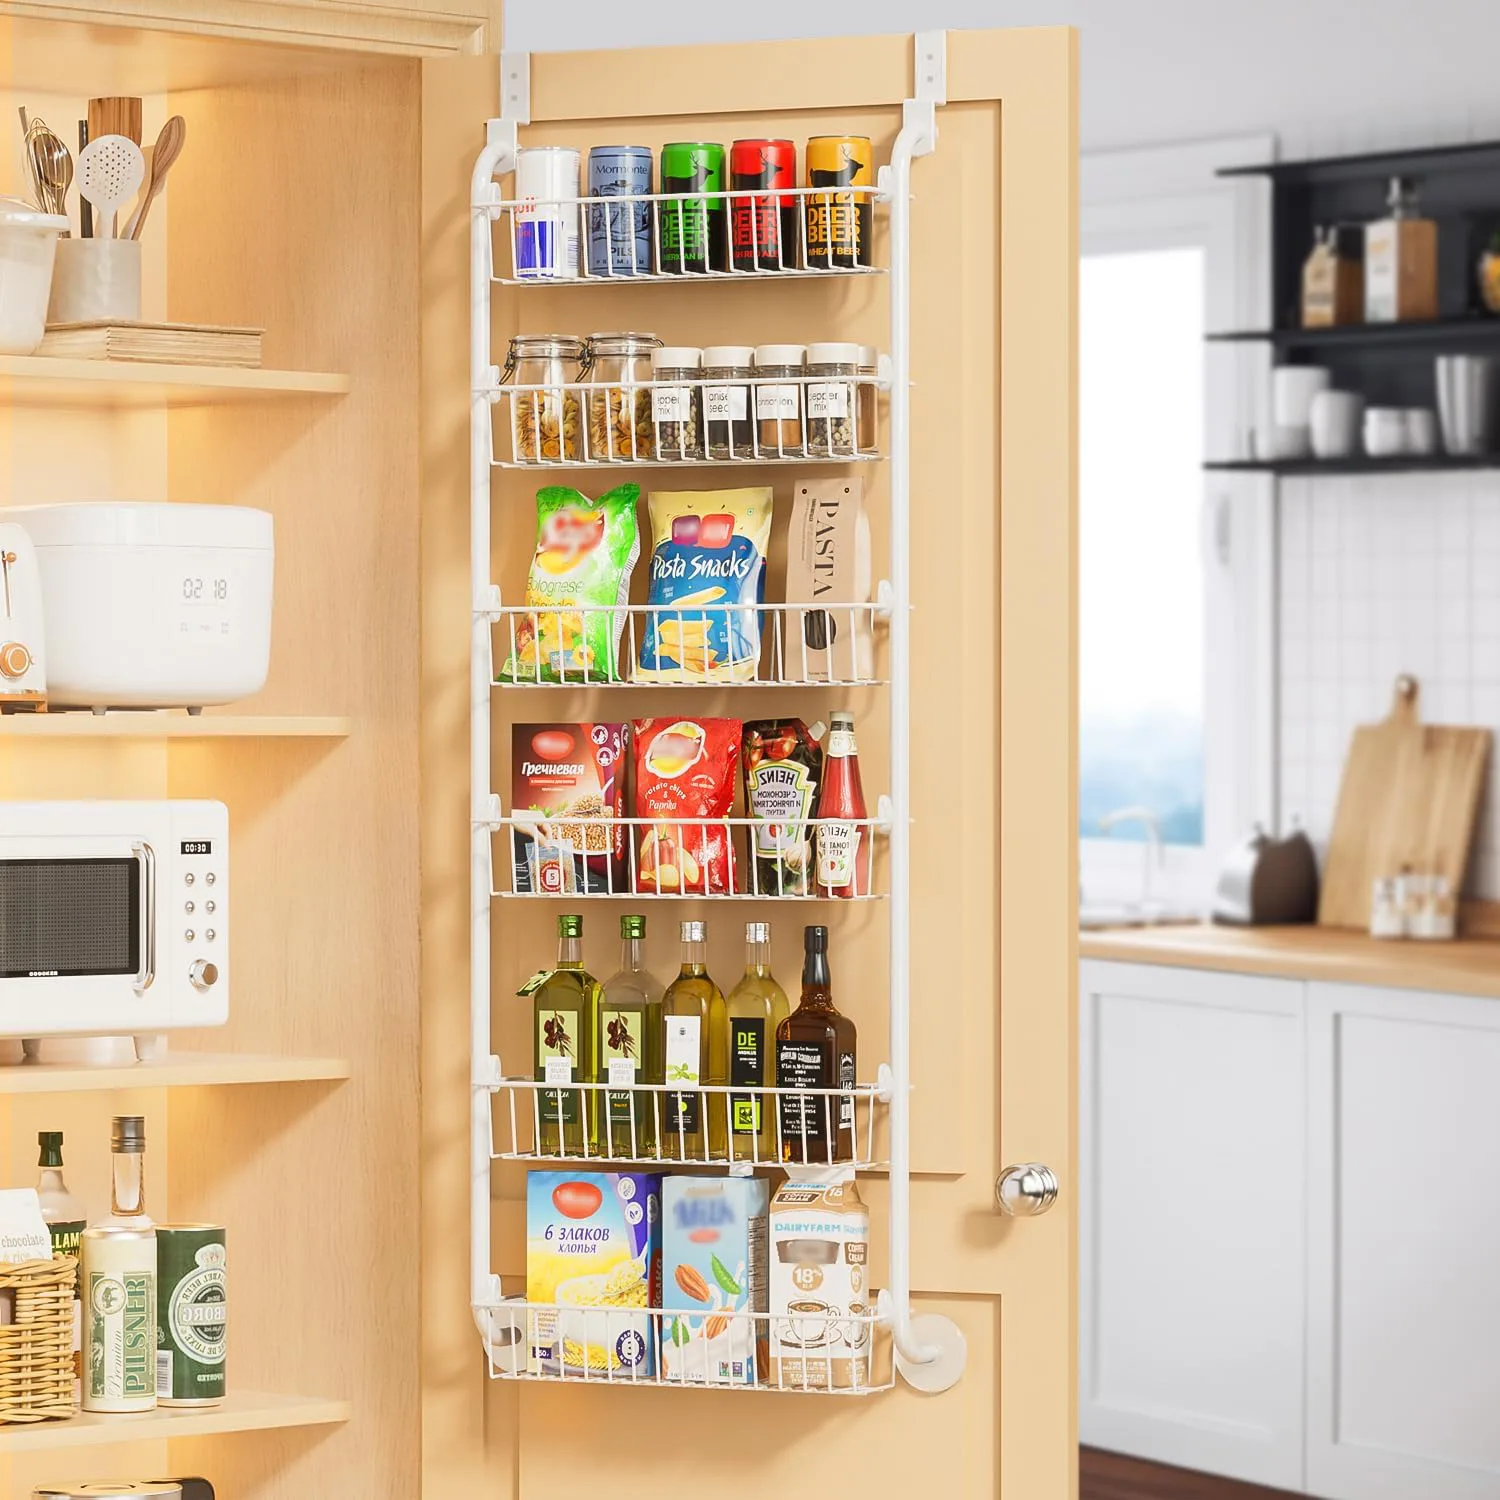
Door clearance comes first, and the listing’s own rules give the numbers: the door has to be thinner than 1.6 inches and leave a gap of more than 0.06 inch, or the rack stops it shutting. Those are this listing’s figures, not universal ones, so read your rack’s product page for its numbers. For the closet side of the same check, the closet door still shutting covers door swing and what sits behind it.
Which bottles go on it
Light things go high and heavy things go low, and the heaviest go somewhere else. A full gallon jug on a top tier is the load that makes a rack bounce. Light spray bottles, a roll of paper towels and a sponge belong on the upper baskets, a couple of mid-weight bottles lower down.
And a rack on the back of a closet door is still within reach of a child unless the door itself locks; the full rule is in the last section. For more on matching a rack to a given door, over-door organizers that fit a given door goes through the options.
Broom and Mop Holders, From Wall Hooks to No-Drill
The broom leans in the corner of the broom closet until the first person who opens the door knocks it over. A wall mount broom holder ends that when the wall takes screws, and a no-drill one when it does not.
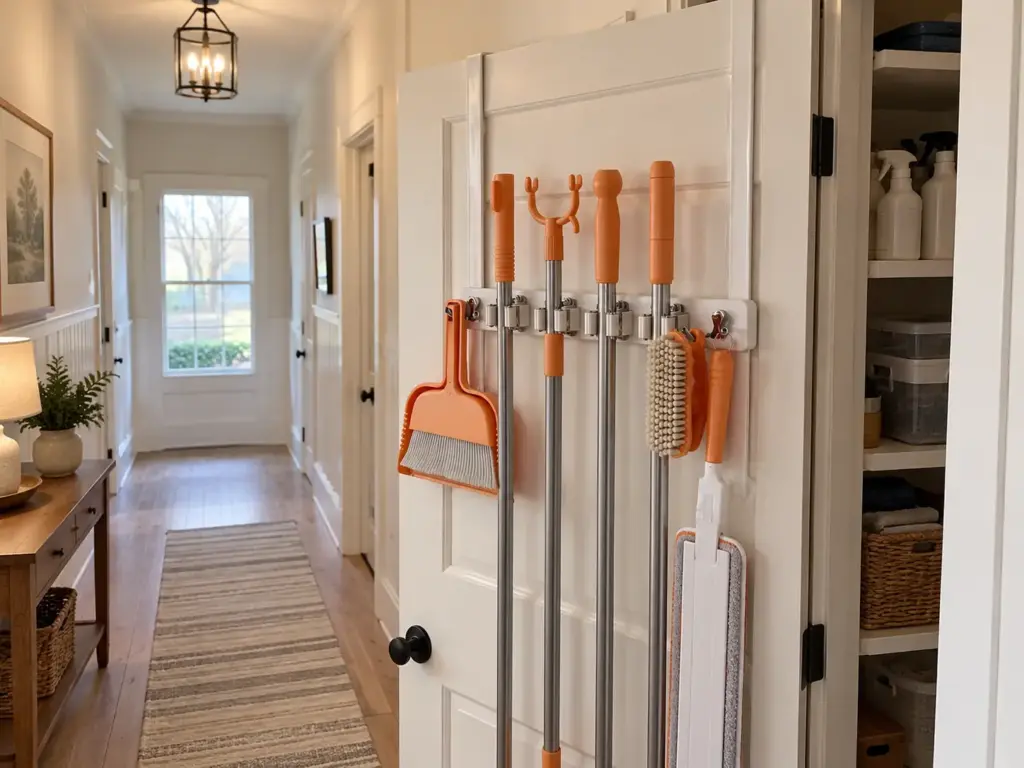
Wall hooks when the wall takes them
If the wall takes screws, mop gripper hooks or a hook rail hold a broom and a mop upright off the floor, and either beats a corner. A hook on the wall is also the budget version of every holder in this section. Hooks only work when they are anchored properly, so hook ratings and finding the wall studs is the place to check the numbers. One commenter keeps the stick vacuum downstairs near the kitchen for easy access, which is the same rule applied to a tool: the holder goes where the tool gets used.
The no-drill route
When the wall cannot take hooks, the Vosturdy Mop and Broom Holder hangs over the door with no drill, a renter friendly route, and the Amazon summary says it works on hollow doors. It is the answer for the one tool you cannot always screw to a wall, and it needs no stud to hang from.
Clear Bins With Handles for Backstock You Can See
You buy a second bottle of glass cleaner because the first one sat behind a closed box. Clear storage bins, and stackable bins in particular, suit backstock, the one category where seeing the stock matters more than hiding it.
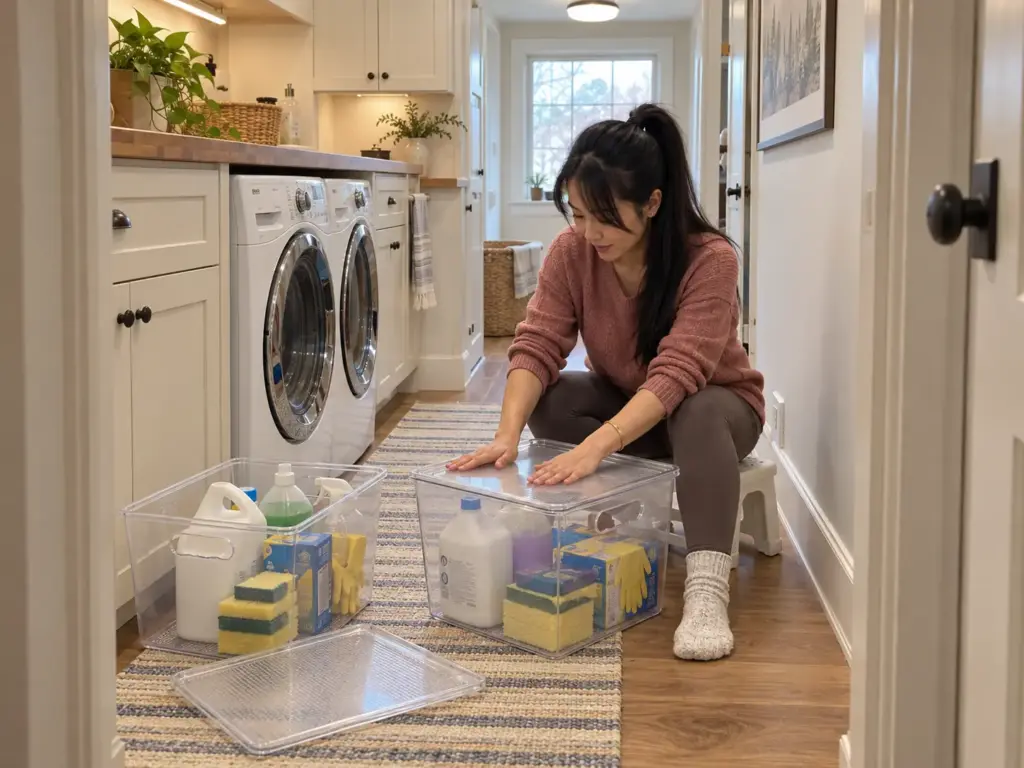
Why clear beats opaque for backstock
One commenter puts it plainly: “Being able to see exactly what’s inside eliminates the ‘out of sight, out of mind’ problem perfectly.” A clear bin shows the backstock without opening it, which stops the duplicate purchase. The other commenter’s rule that the container is the limit applies to the bin too: one bin per job, never the bin that turns into the catchall. Bins also stack, so the limit is the shelf’s height and the load the shelf takes, not the bins.
The Vtopmart 6 Pack Clear Stackable Storage Bins with Lids and Handles are the stackable, visible version. Customers report that the lids do not snap in place and can fall off easily, so check the bin height against your tallest bottle and expect to press each lid down by hand.
The lid and the handle
Clear and lidded is the obvious pick. But on a shelf that gets pulled out and pushed back daily, open-top bins with a handle are the better call, because there is no lid to fall off. The handle helps a bin come out; it does not fix the lid.
Lidded bins suit a shelf that is opened a few times a month. Open-top bins suit one you reach into every week. For the shelf load before you stack a full set of bins on it, what a shelf can carry is worth a look.
Why Organizers Fail by Month Three, and the Label That Prevents It
The organizer looked right on installation day, and three months on it is one more pile of things nobody put back. The container did not change. What went into it did.
The container is the limit
Each type fails in its own way, and each failure is tied to what the type carries. The caddy fails when it holds more than the daily set. The door rack fails when it is loaded past what the door takes.
The cart fails when its drawers stick. The pull-out fails when it sits against the pipe, and the bins fail when the lids do not close.
The mechanism is the same each time, the load grew past what the container was built for, and so is the answer: when the container stops closing or sliding, stock leaves. The container does not grow. “The container is the limit,” as that commenter puts it, and a container that will not close is a decluttering prompt, not a storage problem.
Cleaning cloth storage is not the problem with microfiber: the cloths go wrong in the wash, not in the bin. The same thread’s advice is to wash them by themselves on a cold setting, never hot, so a cloth that has stopped working is usually one that was washed with towels.
Label the refill, not only the shelf
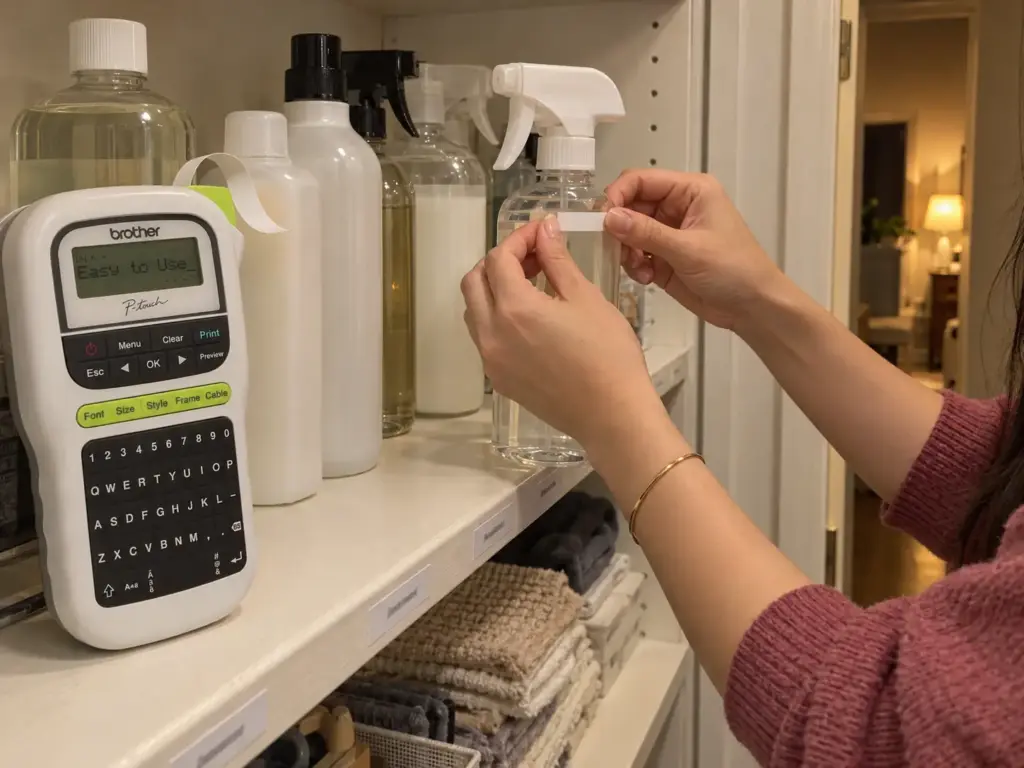
A shelf label tells the next person where a bottle lives. Refill labels on the refill and the bottle top tell them which refill goes to which bottle, and that closes the loop that lets the system survive a busy week.
The Brother P-Touch PTH110BP Label Maker does the labeling. Batteries are not included, and the Amazon summary says battery life gets mixed feedback, so buy the batteries with it. Masking tape and a marker do the same job for free, and they are the version I would try before the machine.
Put the label on the shelf edge as well as on the bottle. The bottle label says what is inside; the shelf-edge label says where it goes back, and the second one is what keeps a shelf from drifting.
A five-minute check in month three
Three months after you set a container up, ask one question of each: does it still close, slide or hang flat? If not, find which stock has crept past it and send that out. It takes five minutes, and it is the cheapest repair a container will ever get.
When a container fails the check, there are three honest moves. Send stock out until it closes again, move the heavy bottles to a lower or sturdier spot, or swap the container for one that suits the spot better. Buying a bigger version of the same container is the move to avoid, and it is the one the household reaches for first, usually because someone swears the next bottle will be put back where it belongs.
Budget Versions, Boutique Versions, and Homes With Kids or Pets
A toddler can open every cabinet latch that is not a real lock, and the rack that is easy for an adult to reach is easy for a small hand too. Before any comparison of what to buy, there is the question of what the household will do with it.
The cheap version that does the same job
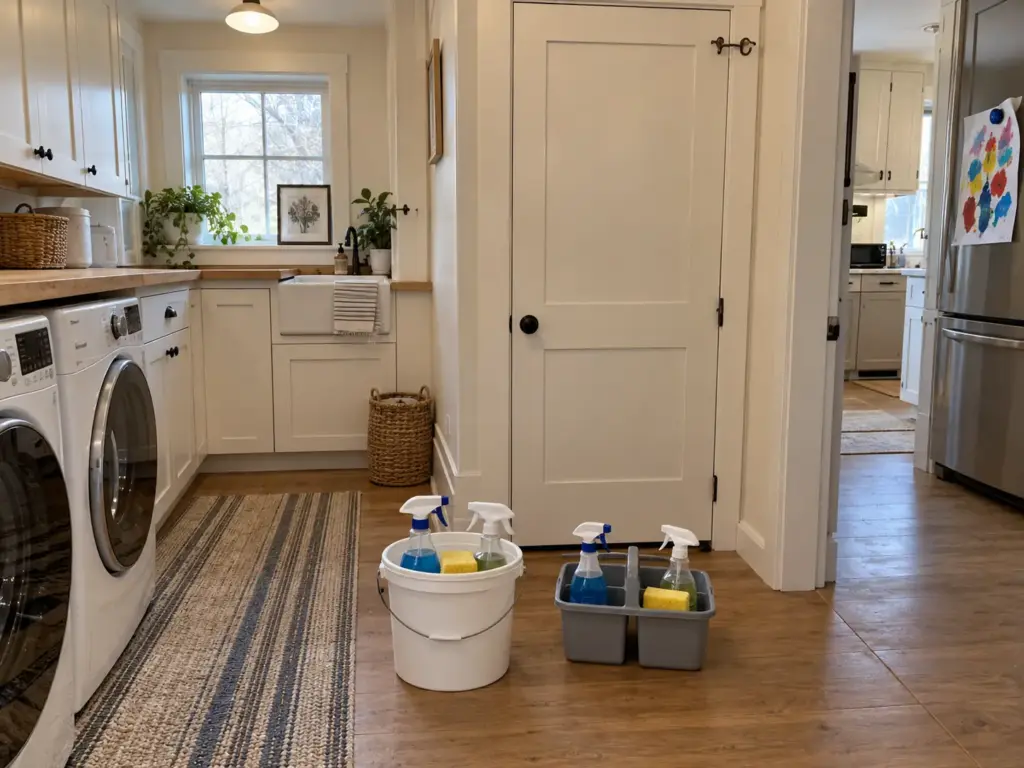
Compare by type and tier, never by price. A plain bucket with a handle does what a handled caddy does for someone willing to carry a bit more. A flat bin on the cabinet floor does what a pull-out does for a cabinet where reaching in is not the daily problem.
A hook does what an over-door rack does for light things, open-top bins do what lidded ones do without the lids that fall off, and masking tape does what a label maker does for free. The dearer version buys convenience. The cheaper one does the same job for a reader who is willing to lift, carry or label by hand.
That does not make the dearer version a waste. A compartmented caddy is worth having when the kit travels every week and loose bottles tip over, and an over-the-door rack is worth it on a solid door where the cabinet is already full. The question to ask is whether the convenience gets used every week. If it does, buy it; if it only looks tidier, the cheap version has the same job covered.
When a child or a pet shares the home
According to the EPA’s poison-prevention release, a 2006 release, “Poisonings can occur when adults are distracted for just a few moments by the telephone, the doorbell or other household events.” That is why a lock or a higher shelf comes before any container, for a pet safe cabinet as much as a child’s: the moment is short, and a latch that works only when you are paying attention is not much of a latch. The over-the-door rack and the under-sink pull-out are exactly the two containers a child reaches first, which is why their sections carry the lock and height notes. For storing the bottles safely once the cabinet is sorted, storing cleaning supplies under a sink safely is the follow-up.
Shared homes
The same placement question as before, “Where would I look for this?”, decides where a shared kit lives. One kit per bathroom and one for the kitchen also avoids the argument over whose caddy it is, since nobody has to carry it anywhere to use it.
Pick the Spot First, and Check the Container Again in Month Three
Three things carry the rest. Measure the spot before you look at a container, because the number on the box is not the room you have. Match each container to the load of the door, the cabinet or the shelf it hangs from or sits in. And keep the kit in the room where it gets used.
About three months from now, look at each container and ask whether it still closes, slides or hangs flat, and whether stock has crept past it. That tells you whether the system held.
For today, take a tape measure to one cabinet, cut a sheet of paper to the usable footprint and set it on the floor. Notice how much of the container you were about to buy would be left outside the paper.
Frequently Asked Questions
01What is the best way to organize cleaning supplies?
Pick the spot, then a container that fits it: a caddy for the daily set, a pull-out or flat bin under the sink, and bins or a cart for backstock. Keep heavy refills low, and label the shelf edge so each bottle has a place to return to.
02What is a good cleaning supply organizer for a closet?
A rolling cart or clear bins with handles hold backstock best in a closet, with a caddy for the daily set. Check the door gap and thickness before an over-the-door rack, and keep heavy bottles low so the door still shuts.
03How much room do I need under the sink for a pull-out organizer?
Measure the usable depth, which may be about 10.5 inches in a cabinet sold as 12, and the height under a garbage disposal, about 9 to 12 inches. Leave 2 to 3 inches beside the drain too. These figures come from one plumbing guide, so check your own cabinet with a tape.
04Can I put an over-the-door rack on a hollow-core door?
Yes, but only lightly loaded, because a hollow-core door typically supports about 20 to 30 pounds, which a full rack can exceed. Check the rack listing’s door thickness and gap first, and keep heavy bottles on the lowest tiers or off the door.
05Is one cleaning caddy enough, or should each room have its own?
One caddy is enough when the kit has to travel; otherwise a separate kit for each bathroom and one for the kitchen saves the carrying. One commenter in an organizing thread builds exactly that, so a clean runs in five-minute bursts.
Disclaimer: ClutterlessNest is a participant in the Amazon Services LLC Associates Program. As an Amazon Associate we earn from qualifying purchases. This article may contain affiliate links — if you buy through them, we may earn a small commission at no extra cost to you. We only recommend products we have tested or genuinely believe in.