







In this article
You cleared the counters last month. For about a day, the kitchen looked like the photo you saved: empty butcher block, nothing out, calm. Then the keys landed by the toaster, the mail started a pile, an onion you meant to put away just sat there, and by week six the counter was a mess again. The reason it reverted is almost never that you needed more bins. Minimalist kitchens fail on the system, not the stuff, and this is how to build one that survives a Tuesday night, a grocery haul, and a roommate who never read the plan, including the no-drill versions for renters and the three measurements that stop you from returning half of what you buy.
Quick Answer
Minimalist kitchen organization works when you do it in this order:
- Declutter and audit first, before you organize a single shelf
- Measure shelf depth, shelf height, and drawer width before buying
- Keep only daily-use items on the counter, one to three max
- Give every item one fixed home, grouped by how you cook
- Add a no-drill staging zone for incoming groceries and mail
- Run a ten-minute weekly reset so the system survives real life
What Minimalist Kitchen Organization Actually Means
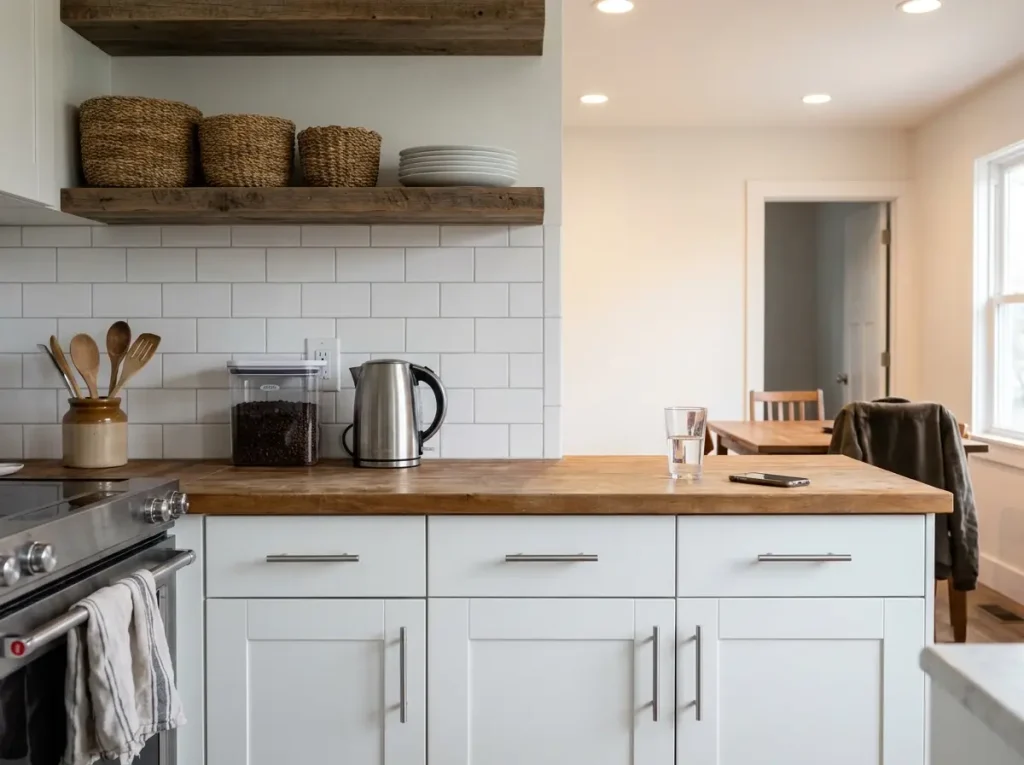
Minimalism in the kitchen got hijacked by a photograph. You know the one: all-white cabinets, a single sprig of eucalyptus in a vase, three things on a counter that runs ten feet. It’s a beautiful image, and it tells you almost nothing about whether that kitchen works when someone has to pack a lunch and prep dinner in the same forty minutes. The version worth chasing is the same principle behind minimalist organization everywhere in the home: keep what earns its space, lose the friction, and stop managing things you don’t use.
The photo kitchen vs the Tuesday-night kitchen
The photo kitchen and the working kitchen are not the same room. The photo was staged for the minute the shutter clicked. The working kitchen has a cutting board leaning by the stove, a mug of utensils within arm’s reach, and a coffee setup that lives out because you use it every single morning. That’s not a failure of minimalism. That’s minimalism doing its actual job, which is reducing the number of decisions and steps between you and a meal.
Organizers have a phrase for the gap between those two kitchens: the “after photo lie.” The after photo is real for exactly as long as it took to shoot. What it can’t show you is the same counter on a Thursday with groceries half put away. If your standard is the photo, you’ll feel like you failed every day by 6 p.m. Drop the standard.
Functional minimalism keeps what earns its space
Functional minimalism is not about owning the fewest possible objects. It’s about every object justifying the space it takes. A stand mixer you bake with weekly earns its counter spot. A bread machine you used twice in two years does not, no matter how minimal it looks.
The air fryer is the honest test case here. Plenty of people keep it on the counter, and the reasoning that comes up again and again in kitchen threads is blunt: if it goes in a cabinet, it never gets used. That’s the right call. Placement should follow how often you reach for something, not how the shelf photographs.
Why the “after photo” is the wrong finish line
The finish line for a minimalist kitchen is not the day you finish organizing. It’s three months later, when the system either held or quietly collapsed. A kitchen that looks empty but makes you open four cabinets to make breakfast is not organized. It’s just hidden. And hidden clutter has a way of migrating back onto the counter the first busy week you have, because the system was fighting how you actually move through the room. Function first. The look is a byproduct of a system that works, never the goal itself.
Why Your Minimalist Kitchen Reverts in Three Months
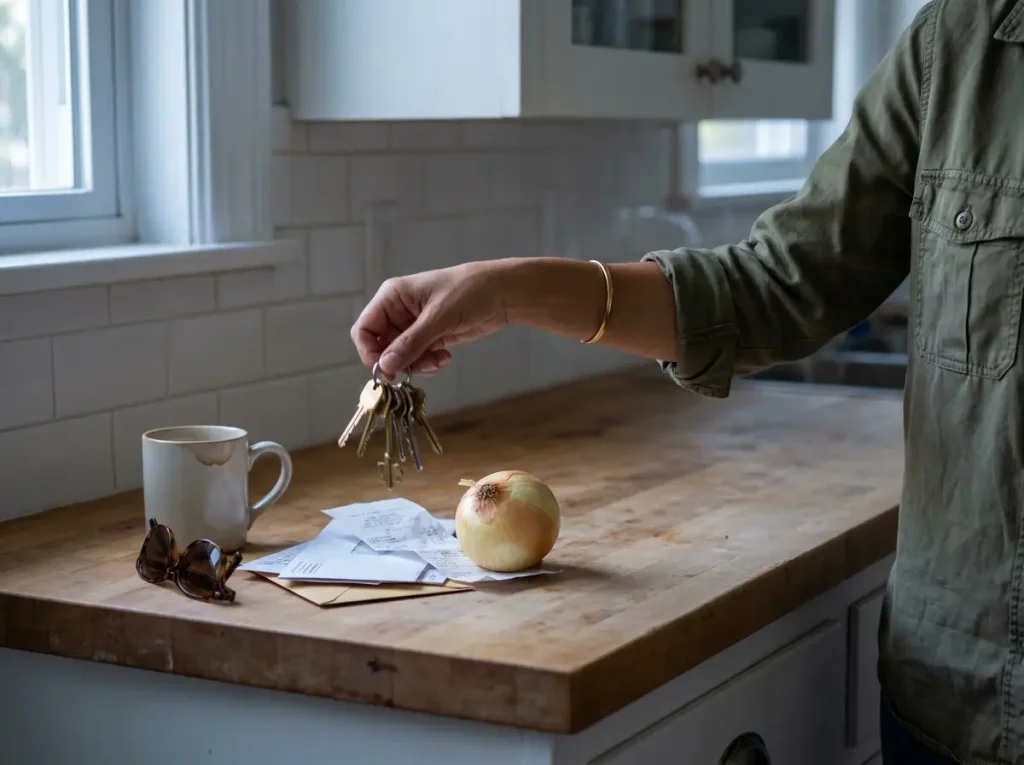
Here’s the part nobody writing about minimalist kitchens wants to admit: most of these systems don’t survive the season. The counters get cleared, the photo gets taken, and within a few weeks the same surfaces are loading up again. This isn’t a discipline problem. It’s a design problem, and it shows up in the same handful of ways. Understanding them is the whole reason this article exists, because the fixes only make sense once you’ve named the failure.
The counter becomes a landing pad again
Walk in the door, and your hands are full. Keys, mail, a receipt, the thing you carried in from the car. They land on the nearest clear surface, which is almost always the counter closest to the entry. Organizers call that the “landing pad,” and it’s the single most common reason a cleared counter reverts.
You organized the counter. You never organized the intake. As long as daily-arriving items have no assigned home, they’ll keep colonizing the flattest empty space you own, and a cleared counter is the flattest empty space in the house.
You organized by category, but you cook by routine
This one is subtle and it wrecks more systems than any other. You group everything by category, all the baking supplies together, all the spices together, all the mugs together. It looks logical. Then you go to actually make breakfast and discover the routine crosses three cabinets: coffee here, mug there, the spoon in a fourth spot. A system that takes three cabinet openings to start your morning gets abandoned in about two weeks.
Real people don’t cook by category. They cook by sequence, and a system that ignores the sequence is friction you’ll route around until it falls apart. This is the same bin-trap that derails minimalist organization in every other room: the containers look organized, but they don’t match how you live.
The back of the pantry is where food goes to expire
Reach-in pantry shelves and deep cabinets run roughly twelve to sixteen inches front to back, sometimes more. Your arm reaches the front. Everything past the first row goes dark. The back eight to twelve inches of a deep shelf turn into a graveyard where cans expire unseen, get repurchased, and expire again.
Deep-pantry threads are full of the same confession, jars and cans found years past their date, hiding in plain sight behind the front row. The minimalist audit you did doesn’t stick because that back zone keeps refilling silently, out of view, every grocery trip.
Nobody else in the house knows the system
You built the system. You know that the spatulas go in the drawer divider and the snacks go in the second bin. The person you share the kitchen with knows none of that. So they put the spatula in the utensil jar, the snacks wherever there’s room, and the groceries on the counter. The system resets to chaos after one shared grocery unpack, and it’s the most-reported failure professional organizers see in shared kitchens. A system only one person understands is a system that’s already failing.
It’s worth saying that this isn’t only an aesthetic problem. According to NAPO-affiliated organizers, a cluttered kitchen drives noticeably more snacking, something like 44% more than an organized one. The clutter isn’t just sitting there looking bad. It’s changing how you eat. So when the system reverts, you’re not just losing tidiness. You’re losing the calmer, more deliberate kitchen that made you reach for the snack drawer less.
Before you reorganize anything, spend three mornings just noticing where things land and which cabinets you open most to cook. Build the system around that real path, not the layout that looks tidiest on paper. The kitchen you actually use will tell you where things go if you watch it for a few days.
Declutter and Audit Before You Buy Anything
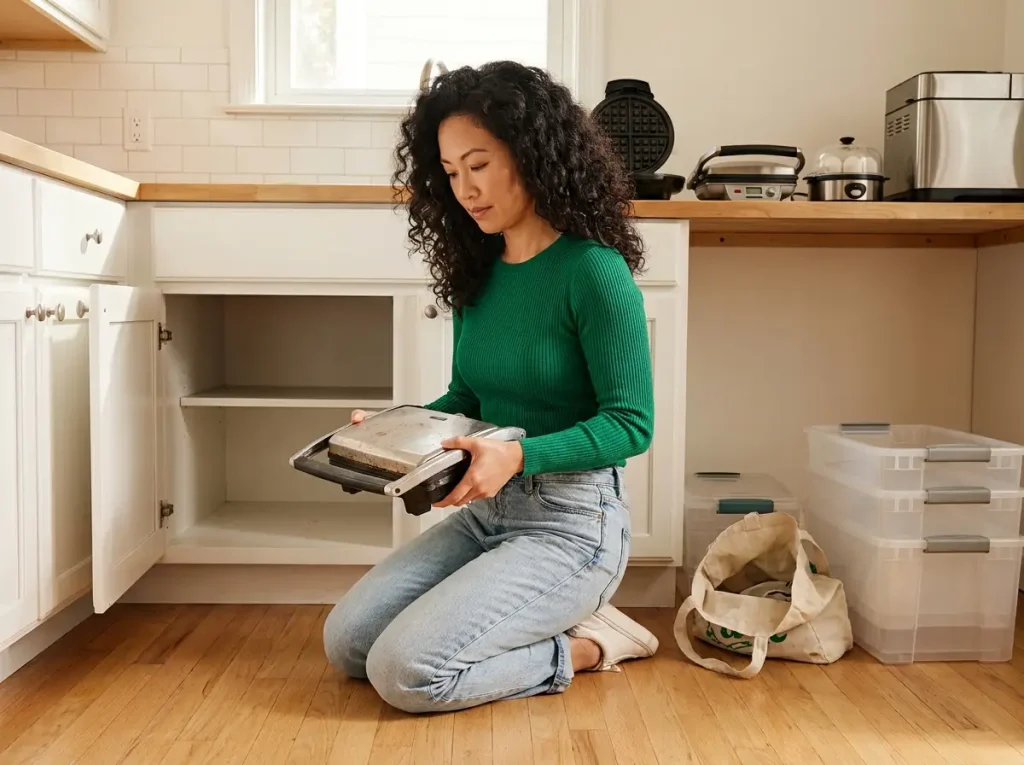
Here’s the move that saves the most money and the most frustration: do not buy a single organizer until you’ve reduced what’s in the kitchen. Half the storage problem disappears before you spend a dollar, and the most common mistake is buying bins for things that should have left the kitchen entirely. You can organize most of a small kitchen for the price of a couple of coffees, but only after the cull. Buy first, and you’re just paying to store clutter more neatly.
The one-cabinet decant audit (start here, spend nothing)
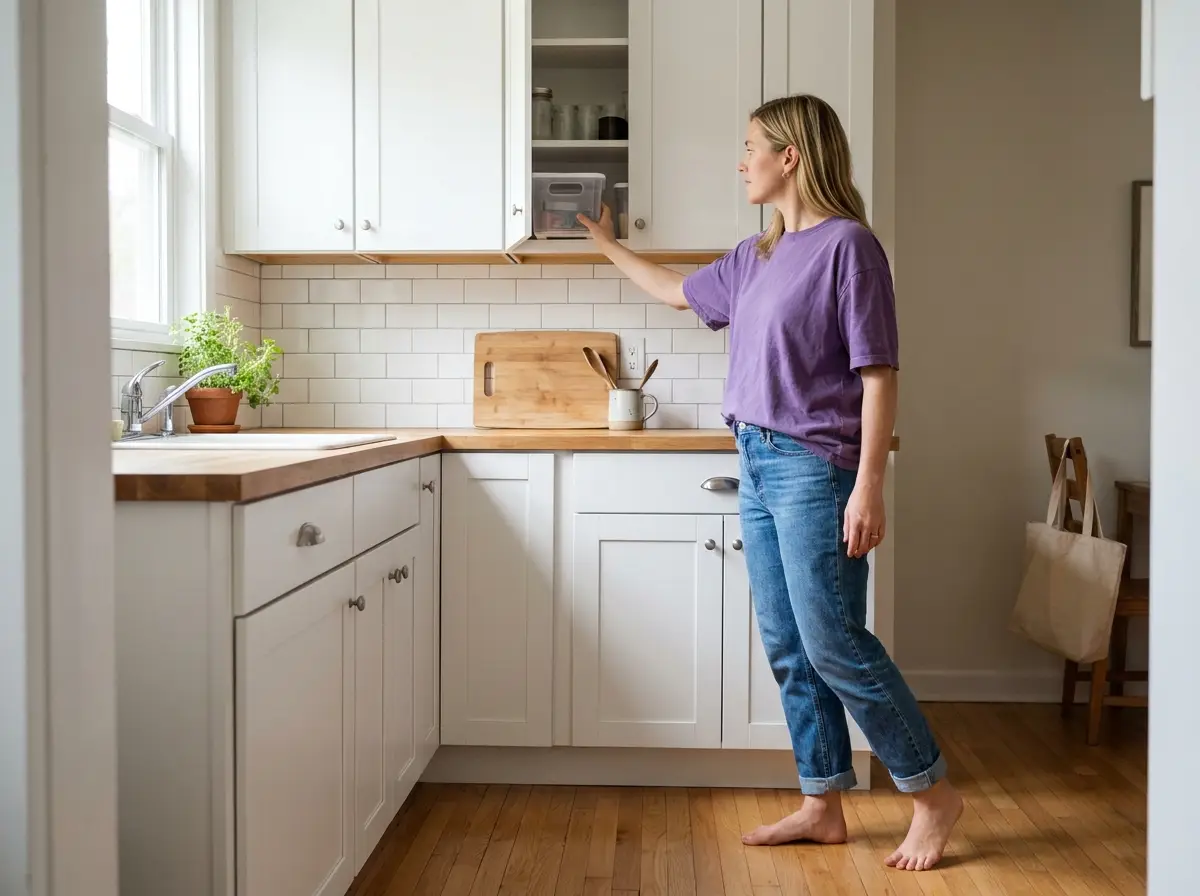
Pick one cabinet. Empty it completely, every item out onto the counter. Then return only what you actually use, and be honest about the difference between “use” and “might use someday.” What’s left on the counter is your answer. Most people find that a third to half of a cabinet’s contents don’t need to be there, which means the storage problem they were about to spend money solving was really a volume problem.
Do one cabinet. The momentum from seeing that empty, breathing shelf will carry you to the next.
The appliance audit, your biggest counter win
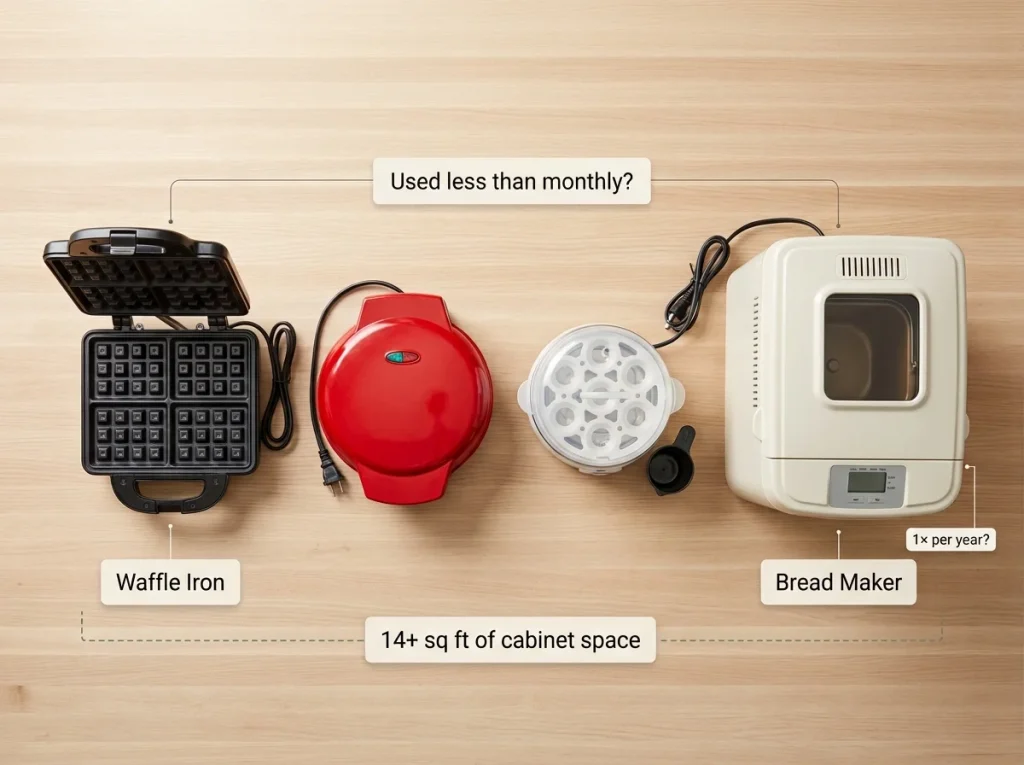
Single-use appliances are the number one counter clutter culprit, and the appliance audit is the highest-return decluttering task in any kitchen. The average kitchen holds five to seven single-purpose appliances, and together they can claim up to fourteen square feet of storage for tools you use maybe twice a month. The quesadilla maker, the egg cooker, the bread machine, the waffle iron that comes out once a year. Pull every single-use appliance out and line them up. Seeing them in one row is usually enough to make the decision for you.
The daily-use counter rule (one to three items)
The rule that keeps counters clear is simple to state and hard to hold: only daily-use items stay out. One to three things, max. The coffee setup if you make coffee every day. The knife block or the salt cellar if you reach for it constantly. Everything else has a home inside a cabinet or drawer.
The honest part is that holding this rule has nothing to do with products. It’s a decision you re-make every time you finish using something, and no bin will make it for you. Get the count right first, then worry about storage for everything you moved off the counter.
Measure First, Then Set Up Your Cabinets
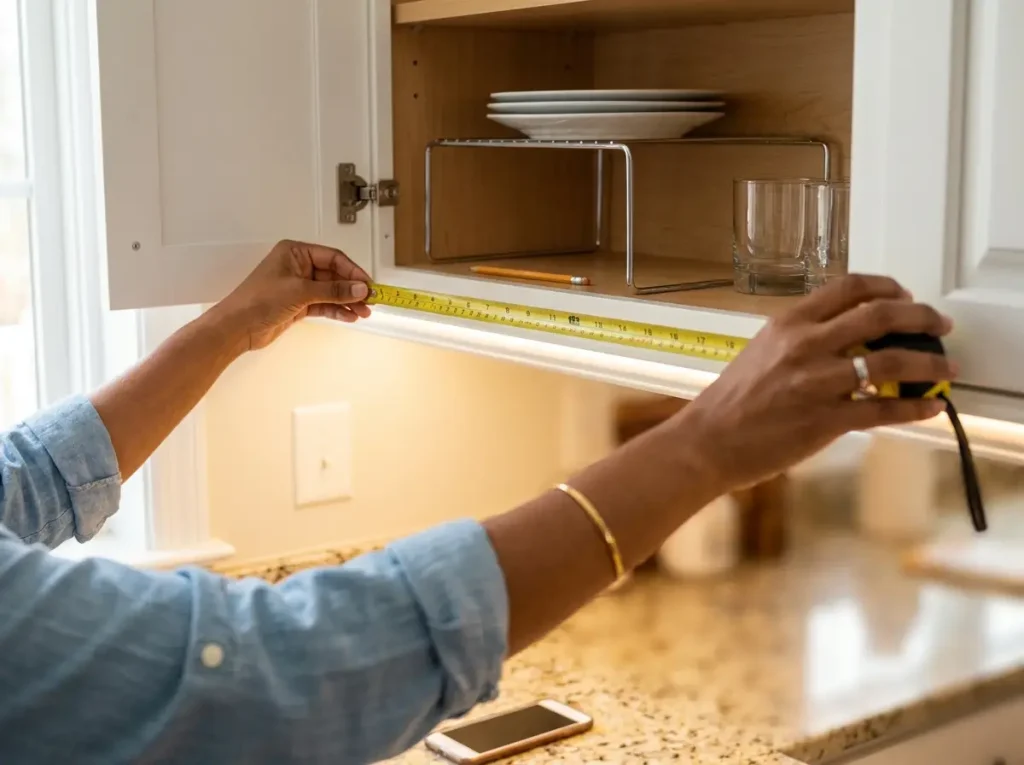
Most kitchen-organizer fails trace back to one skipped step: nobody measured. People buy an organizer built for a twenty-four-inch shelf and try to install it in a twelve-inch upper cabinet, and it doesn’t fit, and back it goes. The tape measure is the cheapest organizing tool you own, and the same measure-first rule applies to every cabinet in the kitchen.
The three numbers to measure before buying
Three measurements prevent almost every return trip. First, shelf depth: upper cabinets run about twelve inches deep, base cabinets about twenty-four. Second, the shelf-to-shelf height, the vertical gap you have to work in, usually twelve to fifteen inches. Third, the interior width. An organizer that fails on any one of these is a return, and the most common miss is depth, because so many “cabinet organizers” quietly assume a deep base-cabinet shelf and won’t slide into a shallow upper one.
Write your three cabinet numbers on a note in your phone before you shop, depth, height, width, one line each. Every organizer listing publishes its dimensions. Two seconds of comparison on the product page saves you the return trip and the second order.
Doubling upper-cabinet space without drilling
The fastest way to double a cabinet’s usable space is to add a tier inside the existing shelf gap, which turns wasted air into vertical storage. A shelf riser does exactly that, turning one layer of plates into two without any hardware. The mDesign Metal Kitchen Shelf Riser is a good fit here because at about ten and a half inches deep it slides into a standard twelve-inch upper cabinet, and at roughly seven inches tall it leaves room under a typical shelf gap. The metal won’t bow the way cheap plastic risers do under a stack of dishes.
One caveat worth knowing: one riser per shelf is usually the practical limit, since a second stacked tier needs more vertical clearance than most upper cabinets give you. And if you want to test the idea before buying anything, lay a cutting board across two sturdy mason jars. That’s a free riser, and it’ll tell you in an afternoon whether the second tier earns its keep.
The spice and oil corner that finally makes sense
Spices and oils are the worst offenders for the back-of-the-cabinet disappearing act, because the bottles are small and they hide behind each other instantly. A turntable fixes this by bringing the whole cluster forward with a spin. The nine-inch Copco Non-Skid Turntable fits inside a twelve-inch upper cabinet with clearance to spare, which matters, because a twelve-inch turntable would bind against the cabinet walls up there. Honestly, a dollar-store turntable does the same job for most households, so don’t feel you need the name-brand one. The point is the rotation, not the logo.
Give Drawers and Zones a Home That Holds
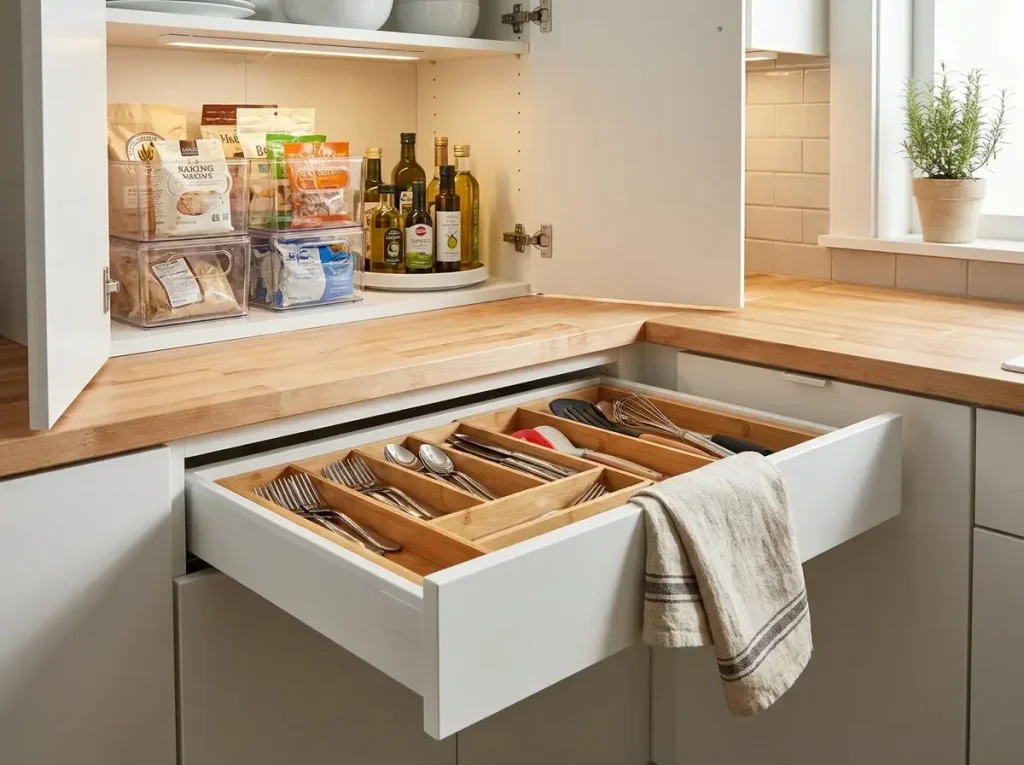
This is where the “fixed home” idea becomes physical. Your junk drawer reverts because everything goes in but nothing has a fixed spot. The fix is never tidier piling. It’s compartments with rules and zones built around your actual cooking routine, so the system matches the sequence instead of fighting it.
The drawer that finally has compartments
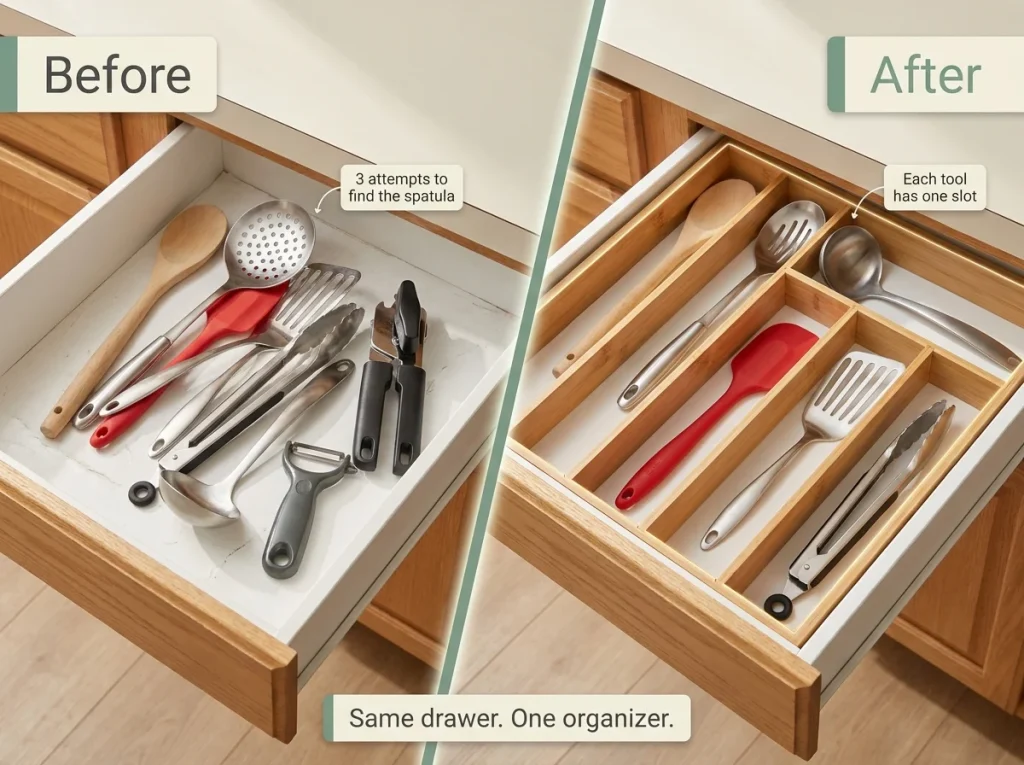
A utensil drawer with no dividers is a pile that re-tangles every time you open it. Give each tool a slot and the drawer stops being a daily small frustration. The Pipishell Bamboo Expandable Drawer Organizer works for most kitchens because it expands from roughly thirteen to twenty inches to fit standard drawer widths, and bamboo handles kitchen moisture better than plastic, which can crack at the joints over time.
If your drawer runs wider, toward twenty-two inches, the SpaceAid bamboo dividers cover that range instead. And if you’d rather spend nothing yet, a two-dollar thrift-store cutlery tray does the core job. The organizer is an upgrade, not a requirement, and the real win is the rule that every utensil has one slot it returns to.
Zone your cabinets by how you actually cook
Instead of grouping by category, group by routine. Build a coffee zone where you make coffee, a bake zone near the counter you bake on, a cleanup zone by the sink. Within those zones, stackable bins turn a deep shelf into pull-forward sections so the back row never goes dark. The mDesign Stackable Storage Bins are a reliable base for this because they’re stackable, need no hardware, and pull forward like little drawers, so you can see and reach the back of a deep shelf without unloading the front.
The anti-sell holds here too: clean shoeboxes do the same thing for free if you’re not ready to buy, and a labeled shoebox zones a shelf just as well as a clear bin. The container matters less than the zone it creates.
Rescue the corner and the deep shelf
The corner cabinet is the most wasted space in most kitchens, with something like fifteen to twenty percent of total cabinet space swallowed by corners you can’t reach into. A turntable, the lazy susan you’ve probably seen a hundred times, is the simplest rescue. The twelve-inch Copco Non-Skid Turntable spins the corner or the deep base-cabinet contents forward, and its non-skid base keeps jars from sliding when it stops. It won’t solve a true blind corner the way a specialized pull-out will, but for a standard corner cabinet or a deep shelf, it reclaims the dead zone for the cost of lunch. If your corner situation is more severe, the deeper fixes in our guide to corner cabinet dead space go further.
The Renter’s No-Drill Minimalist Kitchen
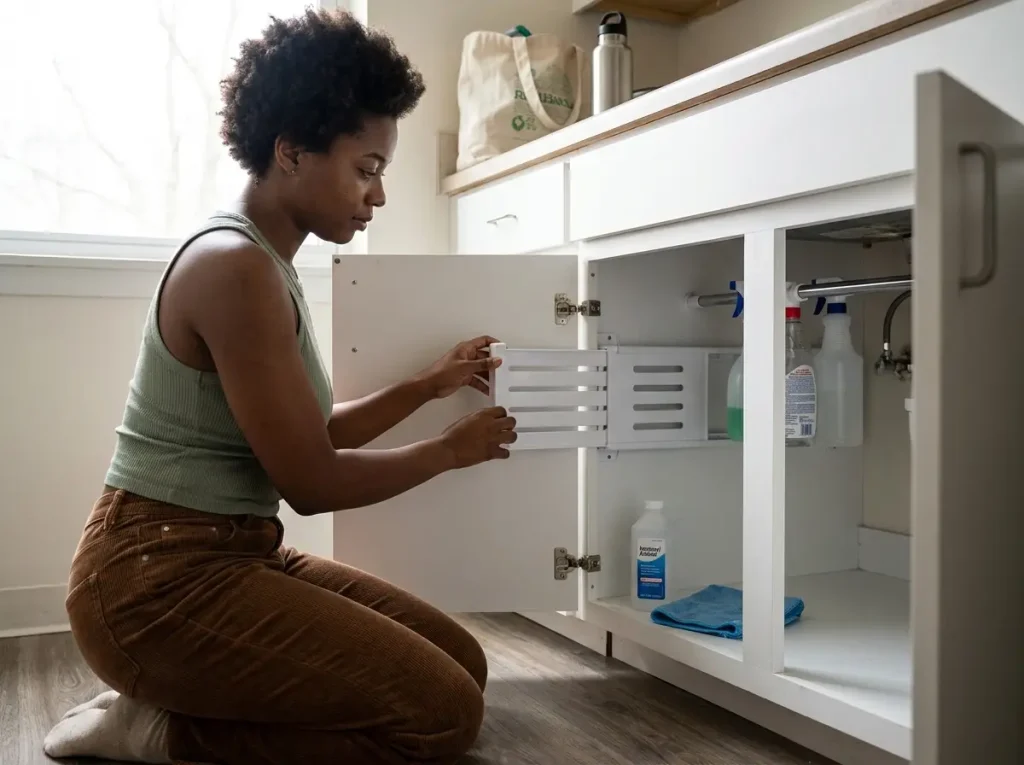
Renters get told to “install” things they’re not allowed to drill, which is most of the advice out there. Every fix in this kitchen has a no-hole version, and the no-drill route is the same playbook that keeps an apartment kitchen from reverting without costing you the deposit. There are rules to it, though, especially with adhesives, and nobody tells you those until something falls.
The four no-drill categories
Every renter-safe solution falls into one of four buckets, and once you see them this way the options stop feeling limited. Freestanding: carts, shelf units, countertop organizers that just sit there. Over-door: hooks and racks that hang over a cabinet or pantry door. Tension rod: pressure-mounted bars inside cabinets, under the sink, or between two walls. Magnetic: the side and face of your fridge, which is a free vertical surface most people ignore.
A magnetic knife strip on the side of the fridge holds a whole knife set or a row of spice tins and frees up a block’s worth of counter, with zero wall damage.
The adhesive pull-out for deep cabinets (and its one rule)
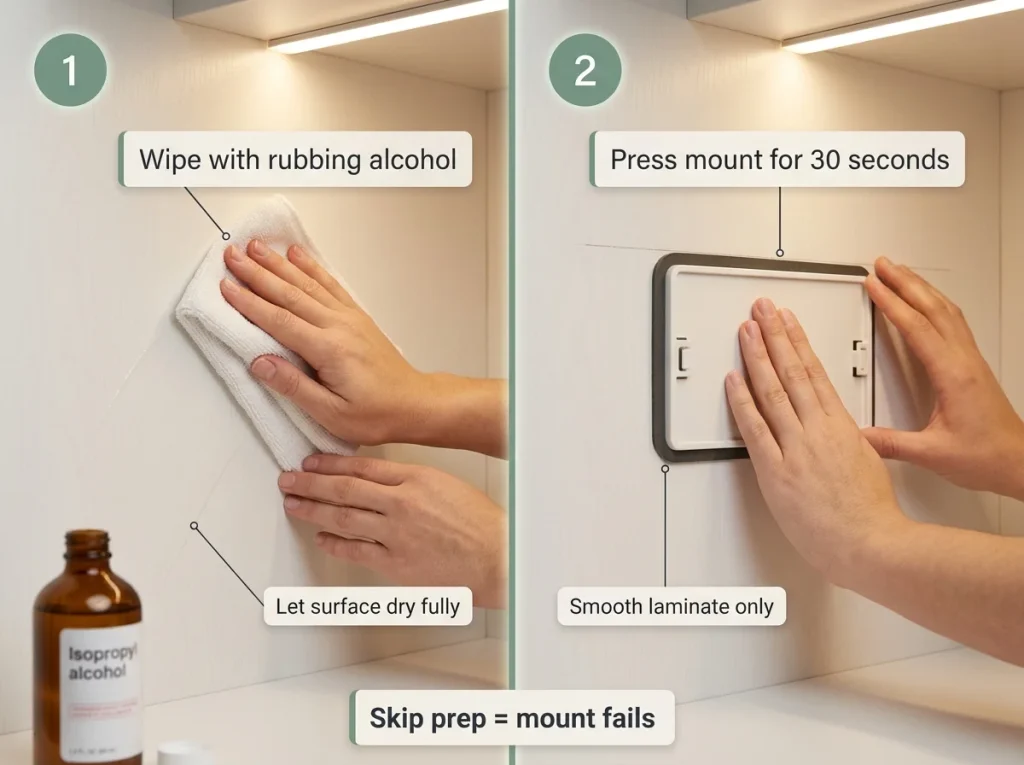
Deep base cabinets are the renter’s worst dead-space problem, because you can’t install a real pull-out without screws. The Adhesive Pull-Out Cabinet Organizer is the workaround, mounting with adhesive on a sealed-laminate interior and expanding from twelve to twenty inches to turn the dark back of the cabinet into a tray you pull forward. But the one rule matters more than the product: it only holds on sealed, smooth laminate. Not textured surfaces, not paint that might peel.
And kitchen adhesives take a beating from steam and grease, so treat the package weight rating as optimistic and mentally cut it by a quarter to a third. If you’d rather not gamble on adhesive at all, a tension rod and a couple of S-hooks reclaim the same under-sink space for nothing, assuming you already own the rod.
Before you commit any adhesive mount, wipe the surface with rubbing alcohol, press a test strip in a hidden spot, and leave it a full 24 hours before loading weight. The adhesive failures that happen at 2 a.m. almost always skipped the surface prep and the wait.
Tension rods and magnetic strips do the rest
The cheapest fixes are often the most renter-friendly. A tension rod set vertically inside a base cabinet divides baking sheets, cutting boards, and the lids for your pots and pans so they stand on edge instead of nesting into an unstackable heap. A tension rod across the under-sink cabinet holds spray bottles by their triggers and clears the whole floor of the cabinet. Both cost a few dollars, install in seconds, and come down without a trace when you move. I used to push adhesive hooks for everything renter-related, but after seeing how often they fail on textured rental walls, I now reach for tension and magnetic solutions first and save adhesive for smooth sealed surfaces only.
Build a System That Survives Grocery Day
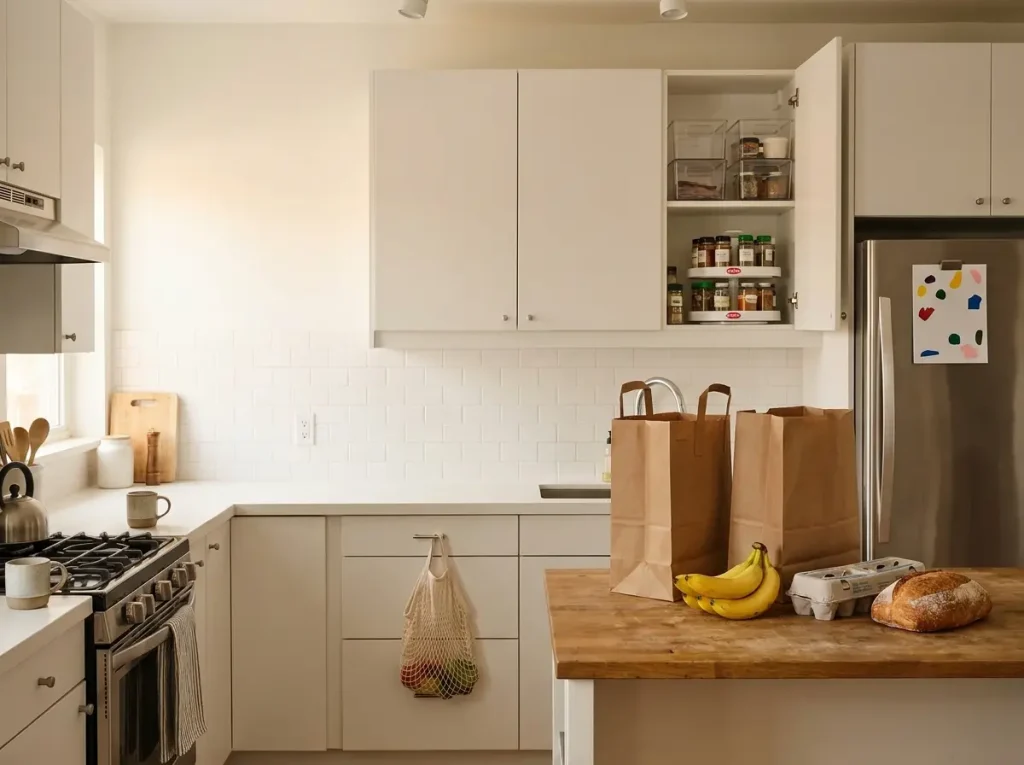
Every minimalist kitchen survives right up until grocery day, then explodes for two hours while everything gets unpacked onto the surfaces you just cleared. This is the real test of whether your system holds, and the fix is structure, not willpower. The maintenance system is what the title of this whole piece is about, the layer that decides whether everything sticks or quietly falls apart.
The weekly ten-minute reset
Once a week, do a ten-minute reset. Not a reorganization, not a redesign. You just return every item to its assigned home, nothing more. The dishes that drifted, the spice that didn’t go back, the mail that piled. Ten minutes, on a schedule, and the system never drifts far enough to collapse.
This only works if the homes are obvious enough to reset quickly, which is exactly why the zone work earlier matters. A system you can’t reset in ten minutes is too complicated to maintain.
Tie one-in-one-out to your grocery trip
The one-in-one-out rule is sound advice that dissolves by month two, because “get rid of something when you bring something in” is too abstract to remember in the moment. The fix is to attach it to a physical trigger, and the grocery trip is the perfect one. Every time you put groceries away, that’s your cue to pull one thing that’s expired, duplicated, or dead. The one-in-one-out rule only works once it has a trigger like that, something automatic that doesn’t depend on you remembering an intention.
Groceries come in, something leaves. It becomes a reflex within a month.
The shared-kitchen agreement
If you share the kitchen, the system has to be built for the person who didn’t design it. The most intuitive placement wins over the most aesthetic one, every time. The items both of you touch daily go in the most obvious, most reachable spots, even if that’s not where they’d look best. And the placement has to be guessable, so the other person puts things back right without being told.
Labels help, but I’ll be honest, I used to think labeling was the whole answer to shared kitchens. It isn’t. The real fix is placement so obvious nobody has to decode it, because the person who didn’t build the system will not study a label map. When you share with someone who organizes differently, the same principle applies: decide the homes together, or the system stays yours alone and reverts the first week you’re busy.
Conclusion
A minimalist kitchen that lasts comes down to three things. Reduce before you contain, because no organizer fixes a volume problem. Measure before you buy, because the tape measure prevents the return trip. And give every item one home, then protect those homes with a weekly reset. That’s the whole system, and none of it depends on matching containers or an empty-counter photo.
In three months, walk your counters and look at what’s landed and stayed. Anything sitting there that doesn’t have a home either gets one or leaves the kitchen. That single audit, repeated a few times a year, is what keeps the system alive long after the initial setup.
Start with one cabinet. Empty it, return only what stays, give the rest a home. Then do the next one. The kitchen you can actually cook in beats the one that only looks good in a photo, every time.
Frequently Asked Questions
01What does a minimalist kitchen keep on the counter?
Only daily-use items, one to three at most. If you use it every single day, like a coffee setup or a knife block, it earns the counter. Everything else gets a home inside a cabinet or drawer.
02Why does my minimalist kitchen get cluttered again so fast?
Because the intake was never organized. Keys, mail, and groceries have no assigned home, so they land on the nearest clear counter. Add a staging zone and a weekly reset and the reverting stops.
03How do I organize a minimalist kitchen as a renter without drilling?
Stick to four no-drill categories: freestanding, over-door, tension rod, and magnetic. A magnetic strip on the fridge holds knives, tension rods divide cabinets, and freestanding bins zone shelves. No holes, no lost deposit.
04What kitchen items should minimalists get rid of first?
Single-use appliances and gadgets you reach for less than monthly. The waffle iron, the egg cooker, the avocado slicer. The appliance audit frees the most counter space for the least effort, so start there.
05Do I need matching containers for a minimalist kitchen?
No. Containers need to fit your shelves and open one-handed, not match each other. Matching sets photograph well but do nothing for function. A free shoebox zones a shelf as well as a clear bin does.