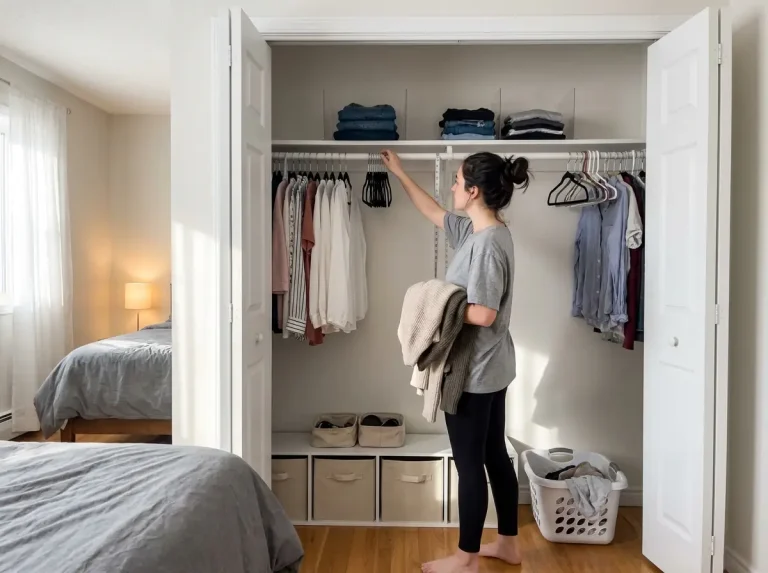
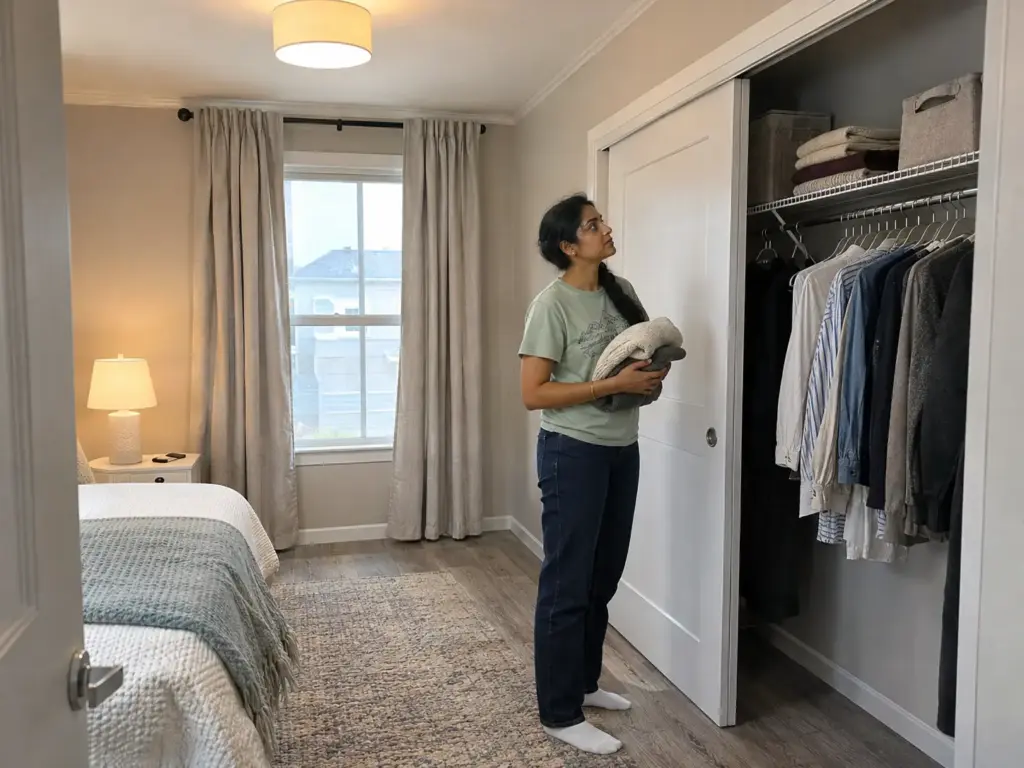
Slide a hand along the shelf above your rod and you can feel it: the middle sits lower than the ends, right where the folded sweaters, two bins and a box landed on the same stretch. That dip comes from the closet as it was handed over, with its one rod, one wire shelf and one door, and not from anything you bought. Any set of renter-friendly closet systems has to work around those three pieces of hardware, so this guide follows the order a closet tests them: what the closet gives you, why the shelf bows, how tall a floor unit can stand, what the rod already carries, and what to look at once everything is loaded. If your security deposit is the worry, the comparison of rental-friendly storage by move-out damage covers the wider field.
Quick Answer
Build the system in the order the closet will test it, starting with the stock hardware and working outward.
- Measure rod height, shelf height, depth and the reachable door opening.
- Re-seat the back wire on its clips, then put heavy stacks over end supports.
- Keep any floor unit low, and no taller than three times its depth.
- Add a second rail only after the first rod passes a straight-edge check.
- Recheck the rod, shelf and unit after the first heavy season of coats.
Measure the Closet Before You Pick Renter-Friendly Closet Systems
A cube unit that looked right in the listing can stop dead against a sliding panel, and a row of hangers can knock into the shelf above the rod. Both trace back to numbers the closet fixed long before you moved in, so the tape measure comes out first.
What a Stock Reach-In Hands You
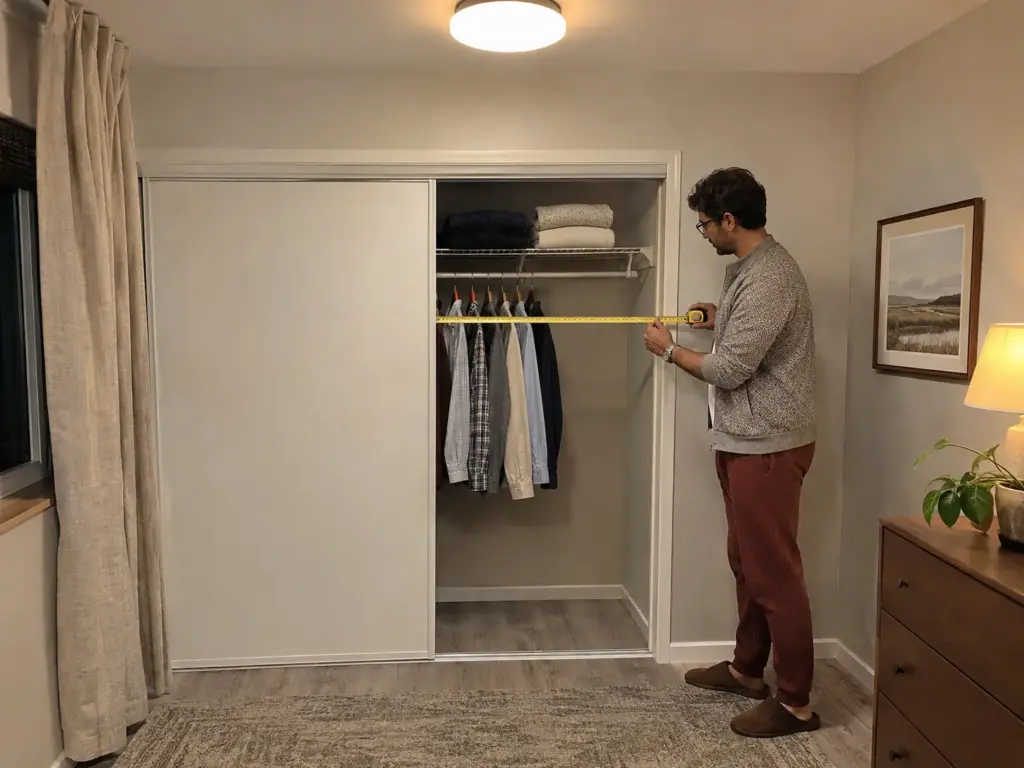
A typical reach-in closet runs 24 to 30 inches deep, and 24 is the usual minimum for hanging clothes side to side. A single closet rod commonly sits about 66 inches off the floor. Where there are two, the upper one rides near 80 inches and the lower near 40. Above them, one shelf sits around 84 inches up and runs 12 to 16 inches deep.
These are typical figures, so use them as a template to hold your own closet against and not as a promise. Closet depth is the number that bends most often: a closet that comes up short of 24 inches forces the clothes to hang turned toward you.
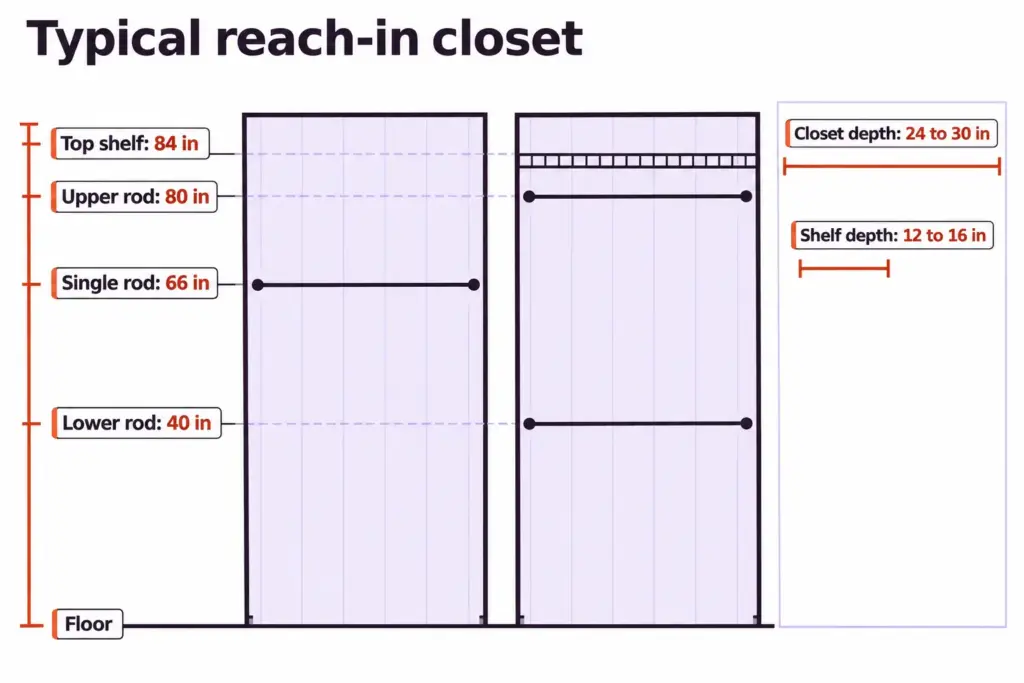
Once those figures are written down, how a reach-in closet ends up wasting half its space shows where the dead space tends to sit. Everything below works from the same few numbers.
Swing, Sliding or Bifold: What the Door Leaves Open
The door decides how much of that cavity you can reach. A swing door opens the full width but needs floor in front of it to do so. A two-panel sliding closet door opens one half at a time, and a bifold door folds its panels into the opening, so in both cases part of the width is always closed off. Anything in the closed half has to be reached by moving a panel out of the way, which makes that half the wrong place for whatever you grab every morning.
The track is the other thing a slider leaves behind. The guides that keep each panel in line sit on the floor exactly where the edge of a unit, a shoe row or a laundry basket wants to go, and they get stepped on, bumped and, over time, bent. A panel with a damaged guide is the one that comes off its track. Keep the door line clear, and treat anything standing there as temporary.
The door type also settles the over-door question. An over-the-door organizer hangs from the top edge of a swinging door and has no place on a slider, whose panels pass each other in the track. Over-door storage that won’t wreck the door covers what a hollow door can and can’t take, even when it swings.
The Four Numbers Worth Writing Down
Four measurements decide almost every purchase that follows:
- Rod height, from the floor to the underside of the rod.
- Shelf height, and how far the shelf sits above the rod.
- Depth, from the front edge of the opening to the back wall.
- Reachable width, the part of the opening you can actually get into, which on a two-panel slider is one half.
Photograph the closet twice from the same spot, once with the door open and once shut, and write the four numbers on the photos. The pair answers most sizing questions faster than a spreadsheet, and it is what you will want in hand the day a unit arrives and the panel stops against it.
Why the Stock Wire Shelf Bows and What Stops It
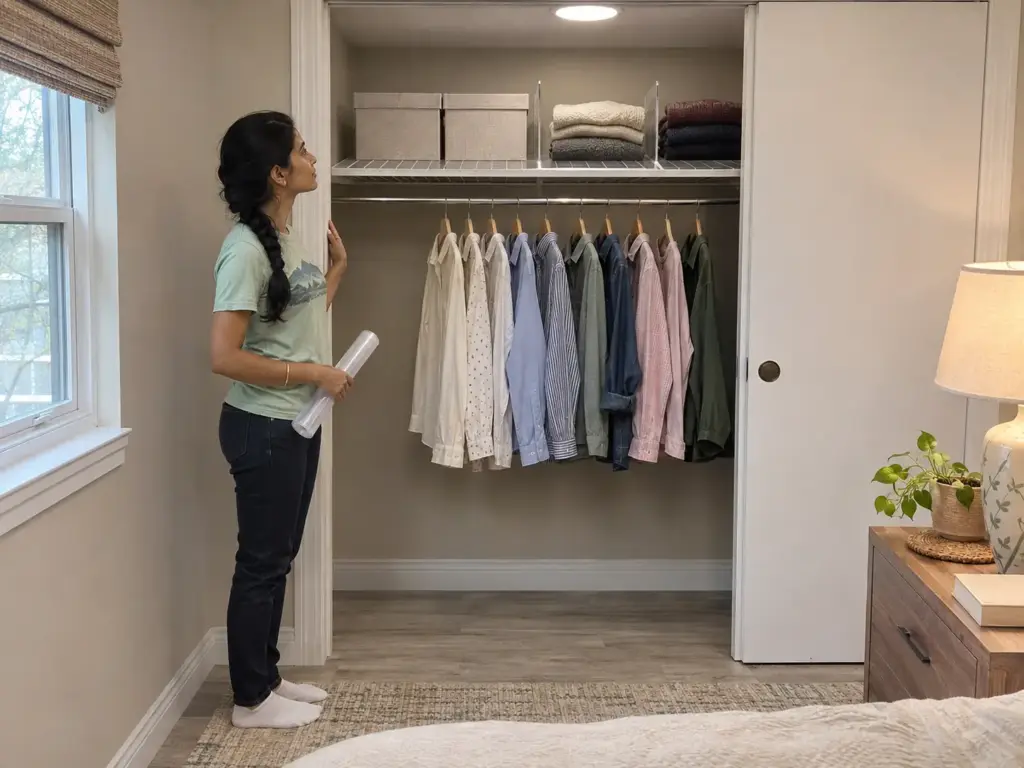
A wire shelf looks fine empty. Then a stack of folded sweaters, three bins and a shoebox land on the same stretch, and the shelf sag begins: the middle drops while the ends stay flat.
Point Loads and Long Spans
Two things bend a wire shelf: where the weight sits and how far the shelf has to reach between supports. The same weight loads a shelf far harder when it is concentrated in one spot (a point load) than when it is spread along the length (a uniform load), and a longer span deflects more under either. Wire shelving is commonly described as supporting roughly 30 to 50 pounds per linear foot. That is a range, not a rating for your closet, and it assumes the weight is spread out.
A stack of sweaters at the exact center of a long shelf can bend it even when the total stays modest, because all of it presses on the part that is carried least.
So the first move costs nothing. Slide the heavy stacks over the end supports, where the shelf is held at both sides, and give the middle of the span to light things like scarves and hats. A stack that has to live mid-span gets split into two lighter piles. And if the piles themselves keep toppling, why shelf piles keep falling over is a different failure on the same shelf.
Weigh the biggest stack on a bathroom scale before it goes up, then weigh its neighbor. The pile that surprises you is the one that belongs over an end support.
The Back Wire and the Clips
The most common cause of a bow in the centre is simpler than overload: the back wire has slipped off its clips, so the shelf is carried only along the front edge. Press along the back of the shelf and look at where it meets the wall. A back wire that sits loose or high goes back onto its clip with no tools, and that single re-seating is worth doing before anything else is added.
Clip spacing is the next check. ClosetMaid’s own guidance puts support clips no more than 16 inches apart along a shelf, so a shelf with fewer clips than that is spanning farther than it was made to. The usual fix is a clip added beside the existing ones, and for a renter the better call is a maintenance request in writing.
A shelf that has collapsed once and been patched tends to give way again. And a repair that leans on clips set into drywall can pull the anchors straight out of the wall. Improvising that fix is not a tenant’s job. Until the request is answered, the placement rules above do the holding.
A Flat Surface Over the Wire
With the shelf re-seated and the weight moved, one small problem is left: small boxes and loose bins tip through the gaps in the wire and rock on the rods. A flat surface laid over the wire ends that.
The Performore clear vinyl wire shelf liners (5-pack, 14 x 36 inch, non-adhesive) sit on top without sticking to anything, so there is nothing to scrape off at move-out.
At 14 inches wide, a liner fits best on a 14-inch shelf and overhangs a shallower one, so measure the depth first, and a shelf longer than 36 inches takes two laid end to end. A liner adds a surface, not strength. It keeps a box from tipping through. But it does nothing for the sag.
Next, keep each stack in its own lane so a load stays where you placed it. The HBlife acrylic shelf dividers (6-pack) slide on without tools, which suits a rental. The maker warns against mounting them on a board thicker than 0.95 inches, and they break easily, so measure the shelf edge before ordering and use them as lane markers, not as a wall for a heavy stack. Matching a divider to a shelf type is its own question, and the divider guide sorted by exact shelf type works through it.
The Height-to-Depth Line for a Floor Unit
The unit looks sturdy empty. The trouble starts when the top cubes get the heavy bins.
Why a Tall, Shallow Unit Tips
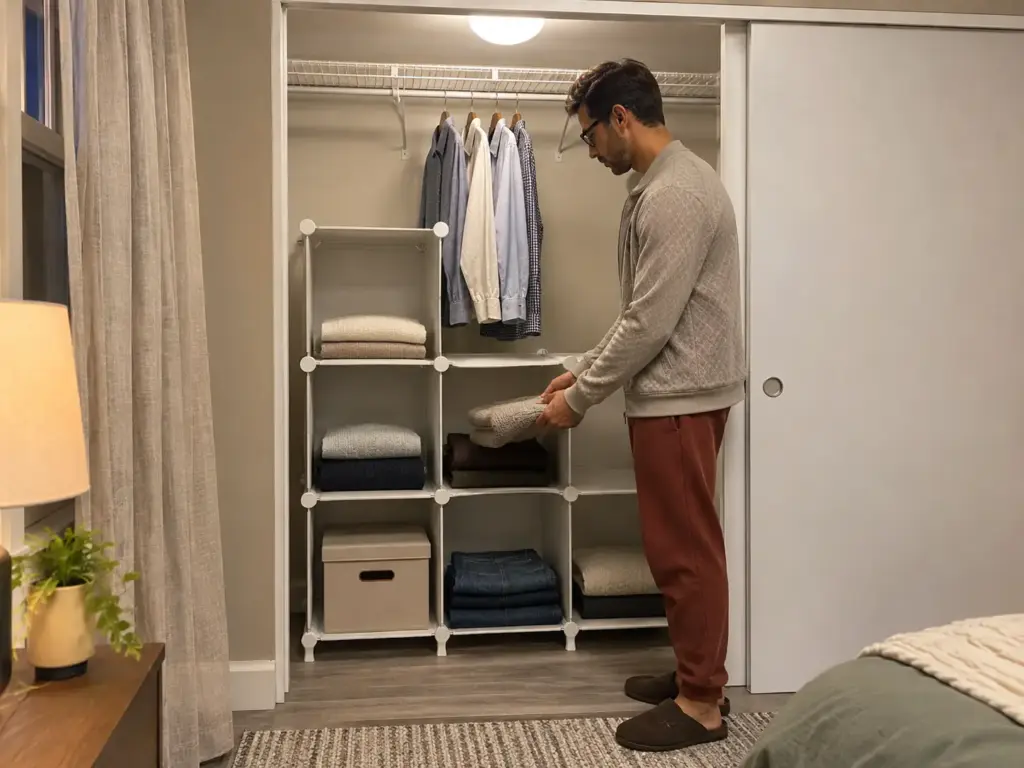
A floor unit, the simplest freestanding closet system, stays upright because its weight sits low and inside its footprint. Load the top rows on a shallow base and a nudge from the door, a pet or a child climbing the cubes is enough to carry that weight past the edge. The rule of thumb for shelving puts the line at about three times: once a unit is more than roughly three times as tall as it is deep, anchoring it to a wall stops being optional.
Take a six-cube organizer that measures about 11.8 inches deep and 37.5 inches tall. Three times its depth is about 35 inches, so it sits just over the line, at roughly 3.2 to 1. It is not unstable the way a stack of crates is, but the wall anchor the rule calls for is exactly what a rental takes away.
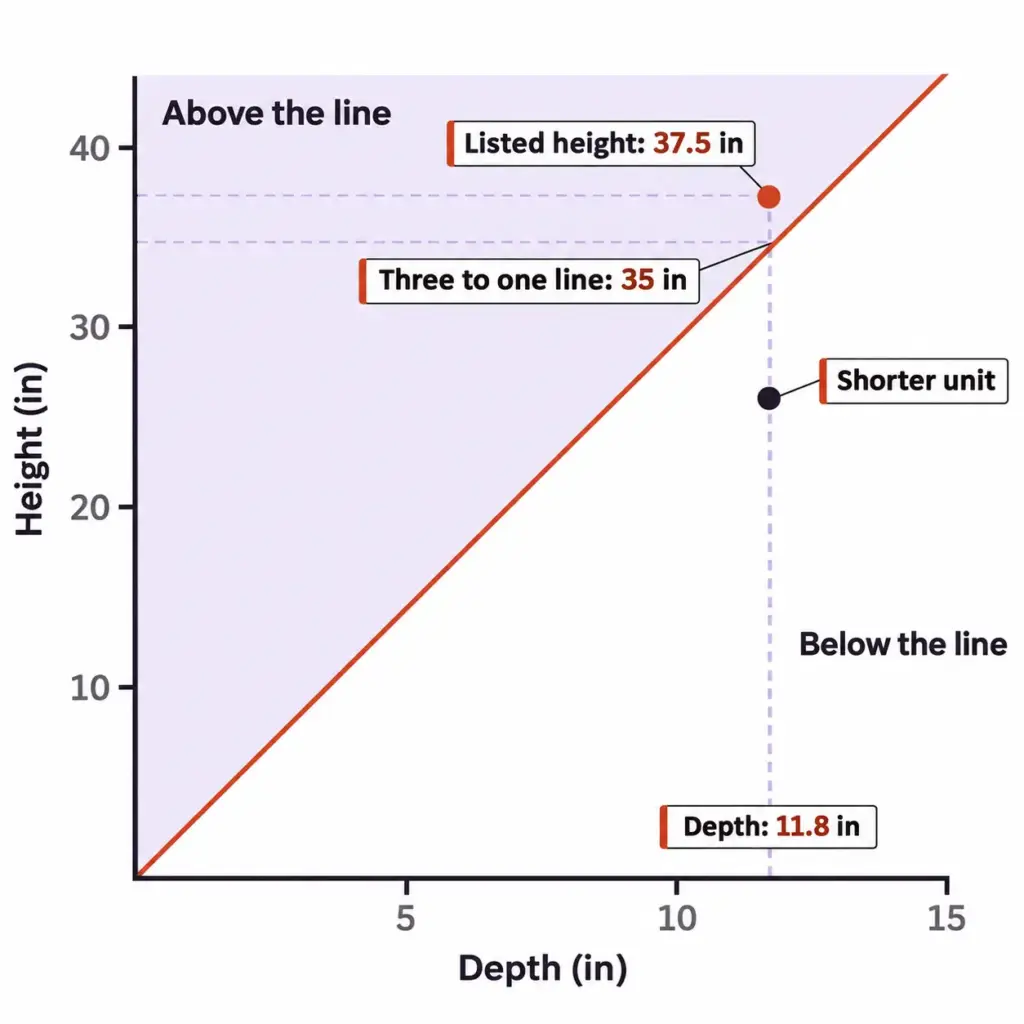
Run the same division on any unit, using the listed height and the listed depth. Under three, the unit is on the right side of the line. Over it, how the unit is loaded decides nearly everything. (Three to one is a rule of thumb, so 2.9 is not safe by decree and 3.2 is not about to fall; the number just tells you how much loading discipline the unit needs.)
What a Renter Does Without a Wall Anchor
Anchoring is the standard advice for tall furniture. According to the Consumer Product Safety Commission’s 2023 tip-over rule for clothing storage units, “CPSC recommends that consumers anchor furniture, including dressers, securely to the wall.” A renter often cannot follow that, so ask before assuming a wall attachment is off the table, since landlord permission costs nothing to request. Where the answer is no, the workable substitutes are a shorter unit, or one wider than it is tall, with the heavy things in the bottom row.
Weight Low, Light High
A free option comes before any unit: two sturdy delivery boxes on the closet floor give you free floor storage for folded jeans and sweaters at ground level, which is the safest place for the heaviest things in the closet. If the floor needs more structure than boxes give, the AWTATOS stackable cube organizer (freestanding, 6-cube, white) is a cube storage unit that stands on the floor and touches no wall.
It is listed at 35.5 inches wide, 11.8 deep and 37.5 high, and the maker lists each cube at up to 11 pounds, which rules out loading it like a bookcase. Heavy items go in the bottom row and light ones high up. The unit comes apart over time and does not suit heavy loads, and with a ratio just over the line, that is reason enough to size down.
In a closet where a pet or child will climb it, the shorter unit is the better call, even at the cost of a few cubes. Shoes are the usual occupant of that bottom row, and shoe storage for small spaces covers each shoe rack that stays low. For a wider look at which freestanding units hold up, that guide ranks the options this section only measures.
A Second Rail Is Only as Strong as the First One
A hanging doubler doubles the hanging space by using vertical space the closet already has. It also doubles the load on a rod that was already holding a winter’s worth of coats.
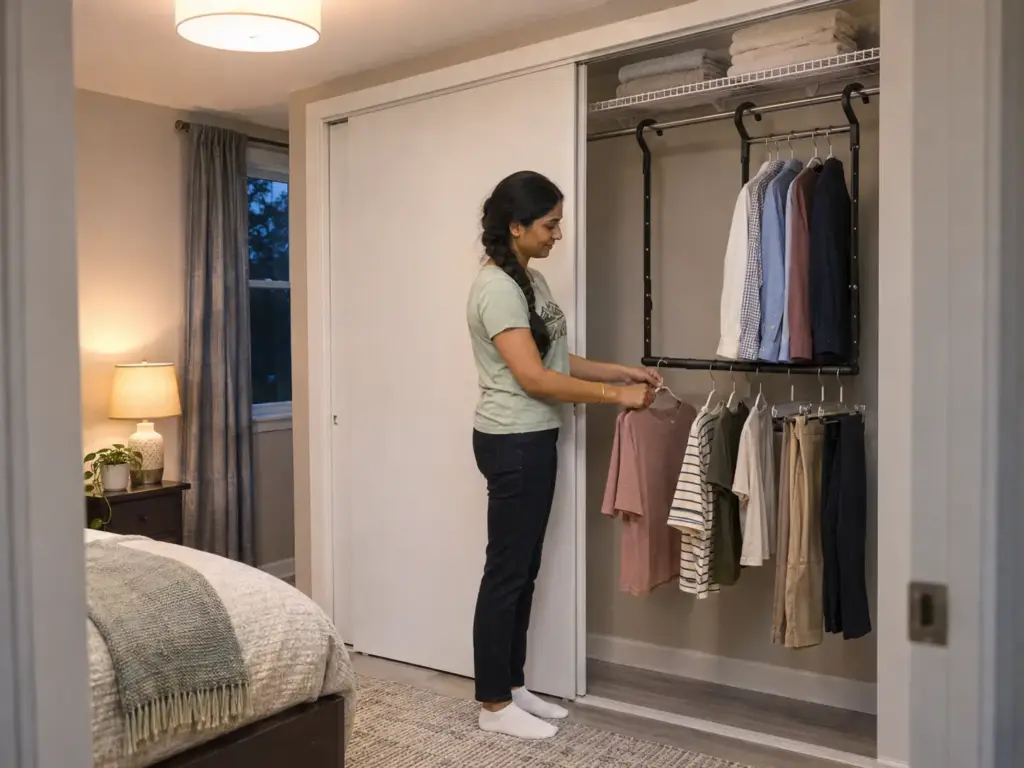
What the Existing Rod Is Carrying Already
A hanging rod doubler adds a lower level without touching the wall, but the original rod carries every pound of it. If that rod is already sagging in the middle, the doubler makes the sag worse. To test it, rest a straight edge, a yardstick or a level, along the top of the rod: a visible gap at the middle means it is bowing.
A rod that sags under a shelf is a landlord’s repair. The usual remedy is a support bracket at the middle of the span, fixed to the wall, that holds up the rod and the shelf above it, and that makes it a maintenance request and not something to prop up with a purchase. Landlords are sometimes willing to split the cost of an improvement that stays with the unit, so the ask is worth making.
Where a Doubler Goes When the Door Slides
Behind a sliding door only part of the closet opens, so the doubler belongs in the half you open most, along with the heavy winter coats. The STORAGE MANIAC adjustable closet double rod (2-pack) adjusts from about 17.9 to 29.7 inches wide and 9 to 37.8 inches high, which lets you pick a width that clears the panel as it travels. It mounts without screws and goes with you to the next place, the portability test every renter applies to a purchase.
The listing says up to 110 pounds, but that number belongs to the product. The real limit in your closet is the rod it works from: a rod that passes the straight-edge test gets the doubler, and one that does not gets the landlord request first. For the full rod-and-shelf setup around it, the no-drill closet organization guide lays out the whole list.
Put the lightest clothes on the new lower level and keep the heaviest coats on the original rod, toward the ends where the wall brackets hold it. The weight then lands where the rod is carried best, the same logic as the shelf.
Hanging Space Versus Shelf Space
The doubler is the obvious answer to wanting more hanging room, and the second choice is often the better one: slim velvet hangers raise the number of garments per inch of rod, so a rod full of bulky hangers can hold noticeably more after a swap, with no extra hardware to carry. How velvet hangers compare with wood shows how much thickness matters. If hanging room is still short after that, other ways to extend hanging space are worth a look before a second rail.
Lightweight hanging items such as belts and scarves can ride on a tension rod that holds light items, leaving the main rod to clothes. And if the problem is folded things and not hung ones, a second rail is the wrong tool entirely. That is shelf space, and the floor unit above does that job.
What to Recheck Once the Closet Is Full
The system looks right on day one. The weak points only show once everything is in it.
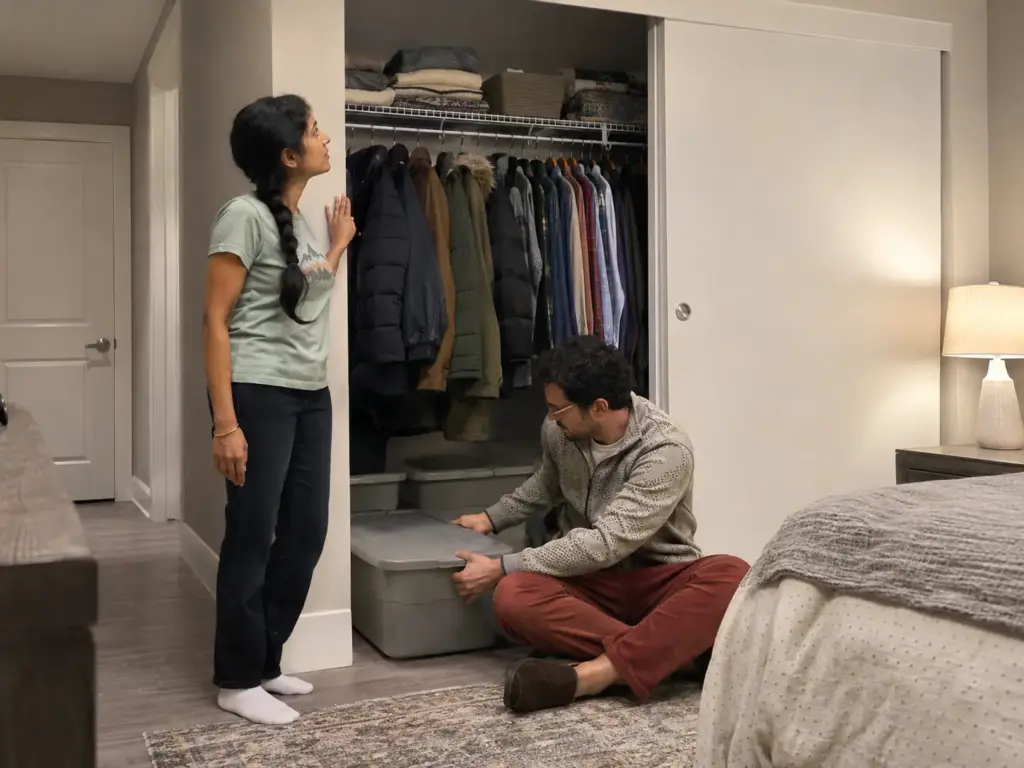
The Rod, Shelf and Unit Check
Three looks tell you whether the closet is holding: the middle of the rod against a straight edge, the shelf’s back wire still seated on its clips, and whether the floor unit leans at all. None of them needs a tool. All three are worth repeating after the first heavy season of hanging clothes, when the winter coats are in.
A wire shelf that was repaired after an overload and then gives way again is telling you to take weight off it, not to prop it up. The wider habits behind closet organization that keeps working start from the same idea: look at the load, not just the tidiness.
Tie the recheck to the day the winter coats come out of storage, and keep a yardstick on a hook inside the door. A check that needs a trip to find the tool tends to get skipped.
The Back of the Shelf and the Floor Edge
Look at what has drifted toward the front of the shelf and what has crept toward the track. The back wall is the hardest zone in any reach-in, and the layout that works there keeps the long hanging on one side, stacks folded things on the tall shelf and puts bins on top. A bin at the back that has not moved since it went up has stopped being storage, so pull it forward or empty it. For the door and the walls around it, removable hooks matched to what you hang hold the small stuff without a screw, the way adhesive hooks do.
The floor edge by the door line deserves a glance too. A basket or a unit corner that has crept toward a slider’s track will wear on the guides, and that is the damage that turns a tidy closet into a repair request.
Taking It All With You
Each piece in this rental-friendly closet hangs, rests or slides. Nothing is fixed to the wall, so move-out comes down to lifting things out, and the wire shelf should look the way it did on day one: liner off, dividers gone, back wire still on its clips. A photo of the shelf from the first week is worth keeping for that day. The next room has its own constraints, and renter ideas that reach past the closet pick up where this one stops.
Spread the Weight, Then Look Again When the Coats Come Out
A renter’s closet sags in predictable places, and each one has a free first move. Measure the cavity and the door before choosing anything. Spread the weight along the shelf and rest the heaviest stacks over the end supports.
Keep any floor unit within three times its depth, or keep its heavy things in the bottom row. And remember that a second rail asks the first rod to carry everything.
When the heaviest coats of the season have hung for a few weeks, lay a straight edge along the rod, press a hand along the back of the shelf and see whether the unit still stands square. Today, lift the stack sitting in the middle of the shelf and slide it over an end support, then notice whether the dip stops deepening. For deciding when a full set-up beats a handful of accessories, the closet systems guide lays out the trade.
Frequently Asked Questions
01What are some renter-friendly closet systems?
Renter-friendly closet systems are freestanding units, a hanging double rod and a shelf layer of liners and dividers, all of which rest or hang without touching the wall. Each one comes out cleanly at move-out. The sections above cover how to size and load every piece.
02Is it cheaper to build or buy a closet system?
For a renter, buying a freestanding or hanging system is usually cheaper than building a built-in, because a built-in stays behind when the lease ends. The cheapest first step is rearranging what the shelf already holds, which often stops the sag.
03What is the best budget-friendly closet system?
The budget-friendly closet system is a sequence: rearrange the shelf first, then add a liner, then one low floor unit. A doubler comes last, and only if the first rod passes the straight-edge test.
04What can I use instead of a closet?
A freestanding wardrobe or clothing rack works in place of a closet if it stays within the three-to-one height-to-depth line. Anything taller needs a wall anchor, and heavy items belong low.
05How much weight can a wire closet shelf hold?
Wire shelving is commonly described as holding about 30 to 50 pounds per linear foot, which is a range and not a rating for your closet. Weight spread along the shelf and near the supports counts for more than the total.
Disclaimer: ClutterlessNest is a participant in the Amazon Services LLC Associates Program. As an Amazon Associate we earn from qualifying purchases. This article may contain affiliate links — if you buy through them, we may earn a small commission at no extra cost to you. We only recommend products we have tested or genuinely believe in.