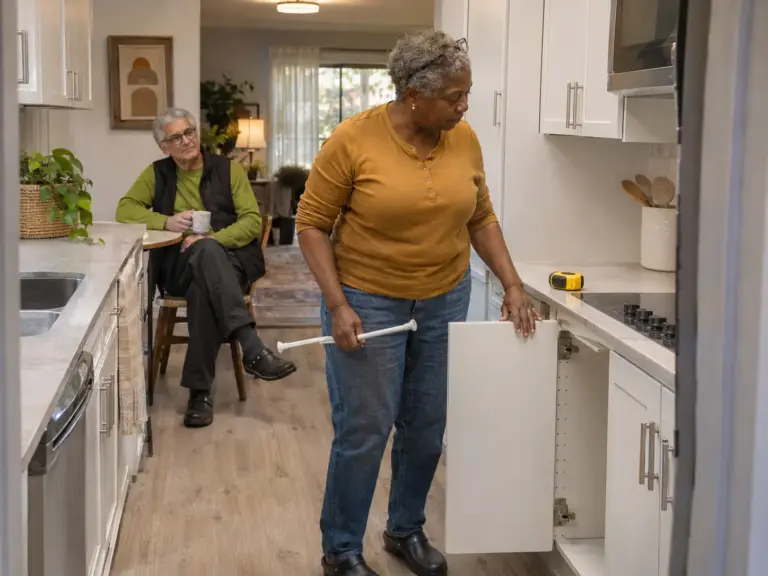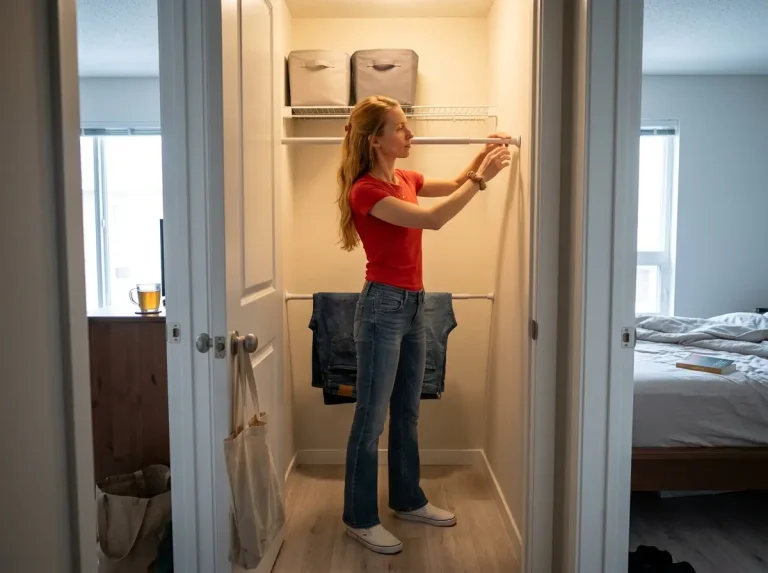

Your closet is one rod and one shelf, the lease says no holes, and every storage plan you sketch runs into the same two places: the back row of the closet, where nothing gets reached, and the empty strip beside the refrigerator that holds a broom and a lot of air. The best organization ideas for renters go after exactly that dead space, the room a lease hands you and your furniture never uses. The move-out walkthrough decides which ideas are worth doing, so each one below is judged by what it asks from the wall or the door and whether it leaves with you. Six spaces follow, measured first, with what each one holds, what it won’t do, and which ones stay behind.
Quick Answer
Start with the ideas that ask the least of your walls, in this order.
- Hang an over-the-door organizer, then confirm the door still closes over it.
- Put a freestanding cube unit on the closet floor, anchored if tall.
- Add wall hooks, stay under the package weight, and pull strips down, never out.
Organization Ideas for Renters Start With a Map of Your Dead Space
A closet shelf can look full and still be mostly wasted. The front edge carries everything you reach for, the back row holds whatever got pushed there during the last move, and from the doorway the whole thing reads as packed. A lease takes away the usual cure, shelves screwed into studs, and leaves the dead space exactly where it was.
Which Spaces Count as Dead Space in a Rental
Dead space in a rental is the room the lease gives you and your furniture doesn’t use. Six places account for most of it: the back row of the closet, the closet floor, the back of the door, the strip beside the refrigerator, the clearance under the bed frame, and the wall near the door. None of them shows up on a floor plan as storage, which is why they stay empty or fill with whatever lands there.
Closets deserve the suspicion first. The back wall is the hardest part of a renter closet to use, and the building’s wire shelving makes it worse, because wire is the cheapest thing an owner can put in and it sags under the first stack of folded sweaters. Everything below is no-drill storage that works with that closet instead of trying to replace it.
What to Measure Before You Buy
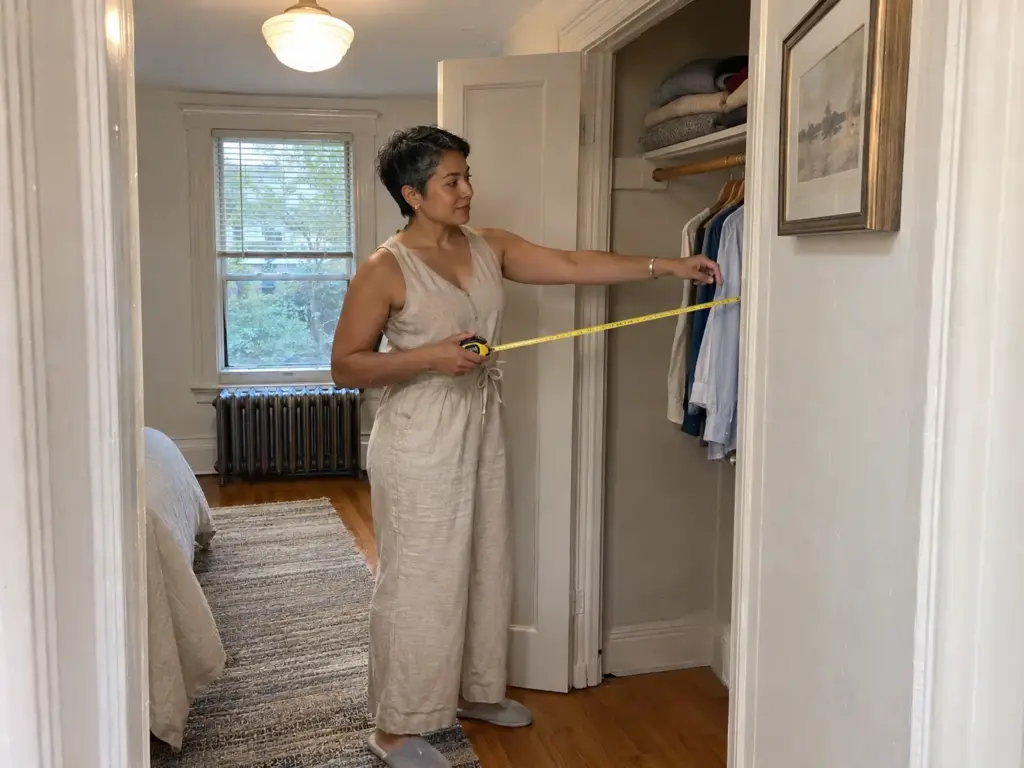
Measurements come first, ahead of any product page. For each space, write down the depth, the width and the height the item will sit in, plus the swing of anything that opens next to it: a closet door, a bedroom door, the refrigerator door. A note on your phone is enough. The point is to have numbers in hand when a listing says it “fits most closets,” because a purchase that arrives two inches off is the usual way a renter’s storage plan ends in a return label.
Width needs the narrowest point, not the middle. Strips beside appliances and closets built around a pipe pinch somewhere along their length, and the pinch decides what fits.
Weight needs the same honesty. A bag of coffee is about 1 lb, a bag of potatoes about 5 lb and a gallon of milk about 8 lb, so a hook that “holds a bag” holds very different things depending on the bag. The wall-hook part of this guide does the full load math.
The Move-Out Test Every Idea Has to Pass
Every idea here faces one question, asked the way a tenant asks it: does it touch the wall, does it need an adhesive, and does it leave with me? That single question sorts the list faster than any product comparison, and it’s the same one the walkthrough will ask.
Four of the six ideas touch nothing at all. Two do, and they come with rules. If you want the damage side in detail, the full comparison of rental-friendly organization by move-out damage pairs well with the measuring habit above.
The Back of the Closet Needs a Tension Rod Set Where It Holds
Open a one-rod closet and look at where the clothes actually live: on the front half of the rod, hangers jammed together, with the back kept for things that were put there to be forgotten. A tension rod across that stretch recovers it without a screw.
Why the Back Wall Beats Most Closets
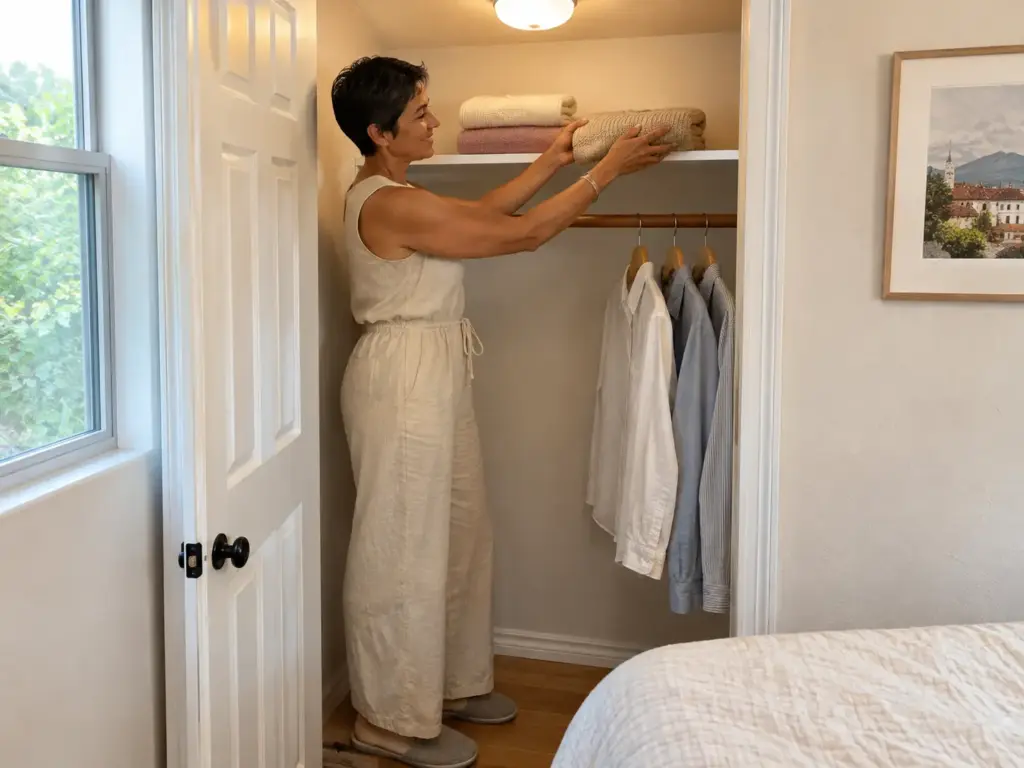
The back wall of a rental closet is hard because nothing was built for it. The rod ends at the side walls, the shelf above is a single wire run, and the wall behind your clothes is blank paint you can’t drill into. A no-drill rod turns that blank wall into a second level.
Try the cheaper move first, though. A hanger that holds five pairs of pants frees closet rod length with no pressure on any wall, and plenty of closets feel twice as big after that one swap. If the rod is still crowded, the back wall is next.
Where a Tension Rod Holds Best
A tension rod holds best when the gap it spans sits in the middle third of its adjustable range. Stretched to its last notch, the spring force drops, and that last notch is where a rod slips first. So the instinct to buy the longest range and extend it all the way is the wrong one for this job; buy a range that covers your gap with room to spare at both ends. (Measure the gap, then read the range on the listing, because that’s where each rod prints its own.)
The Home in Bold Tension Rod Shelving is the version of this idea that gives a one-rod closet its extra shelf: an expandable, no-drill set that goes up by pressure and comes down the day you leave. Home in Bold’s rod set shares the limit every tension rod has, since near full extension it slips, so match its range to your gap before you match it to your hopes. For layouts beyond the closet, there are more tension rod shelving ideas that hold real weight in other rooms.
Dust and oils on the wall cut a rod’s grip, and rubber on the end caps raises the limit. Wipe the wall with rubbing alcohol, let it dry, and only then set the rod.
What the Rod Will Not Do
It’s an extension for light folded items, not a place for a stack of sweaters. The load rating belongs to the maker, so read it on the listing before anything goes on the shelf. A rod that slips also marks the wall on its way down, and a slipped rod with clothes on it ends up on the floor.
For a plan that covers the whole closet, the no-drill closet organization that protects the deposit walks through it shelf by shelf.
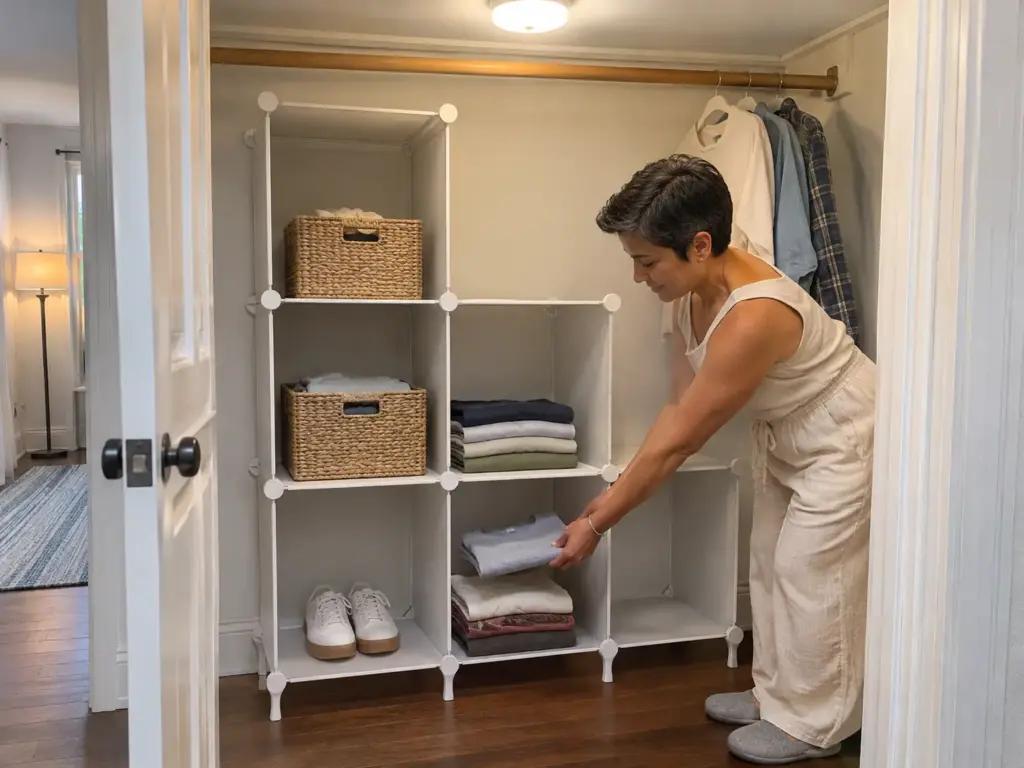
The Closet Floor Wants a Freestanding Unit You Can Carry Out
Look down at the floor of your rental closet. Shoes in a heap, a bag of “later” in the corner, maybe a laundry basket that does no real work. The floor gets skipped because nothing fixes to it, and a renter assumes that means nothing can be done with it.
Why the Closet Floor Gets Skipped
Floor storage feels like an owner’s job. Built-in drawers, a custom base, a shoe tower bolted to a wall: all of it implies a drill.
The freestanding version asks nothing of the building. It needs no wall, no adhesive and no permission, which makes it the cleanest answer to the move-with-you test in this list. You assemble it in the closet and take it with you on moving day.
Two measurements decide whether it fits: the depth of the floor and the swing of the closet door. A unit that clears the floor but catches the door ends up pushed into the bedroom, and then it’s furniture, not closet storage.
A Cube Unit Against the Landlord’s Wire Shelf
The wire shelf the building provides is the natural thing to compare against. It’s attached, it belongs to the owner, and it sags under folded stacks. A cube unit, which is a freestanding shelf in square sections, puts that weight on the floor instead, and the cubes keep each stack in its own square so one pile can’t lean into the next, and woven baskets slide into the cubes for the loose items.
The AWTATOS Stackable Cube Organizer is a freestanding six-cube unit that stands on the closet floor with no installation. AWTATOS’s cube set has one real limit, and it’s height: stack it tall and it becomes the one piece in this guide that should be anchored, which the last part of this section covers.
A freestanding wardrobe from a big-box store is the bigger version of the same idea, with no installation and the same ability to leave with you. For the floor alone, the cube unit is the lighter commitment. If the closet needs more than a floor unit, the closet organizers that fit an apartment closet compare the freestanding options.
When a Tall Stack Needs an Anchor
Freestanding is the renter’s default, and tall storage is where the default stops being safe. A loaded cube stack is top-heavy, and anything with drawers, doors or shelves that a child can climb or a pet can pull on can tip.
According to the U.S. Consumer Product Safety Commission’s Anchor It! campaign, “Anchoring all furniture with drawers, doors, and shelves to the wall prevents tip-over injuries and deaths.”
Covering the anchor holes is not a problem when you rent, and patching them at move-out is fine. That makes anchoring the one place in this list where a renter may choose a small hole over a real risk, and the call is yours by height and household. A knee-high unit in an adult household is one decision. A tall stack in a home with a toddler or a climbing cat is another.
The Back of the Door Is Free Storage With One Limit
The back of a bedroom or closet door is the one surface in a rental that is already yours to hang things on, and almost nobody uses it. It also fails in a plain way: the organizer arrives, hooks over the top, and the door rubs the frame.
What Hangs Over a Door and What Doesn’t
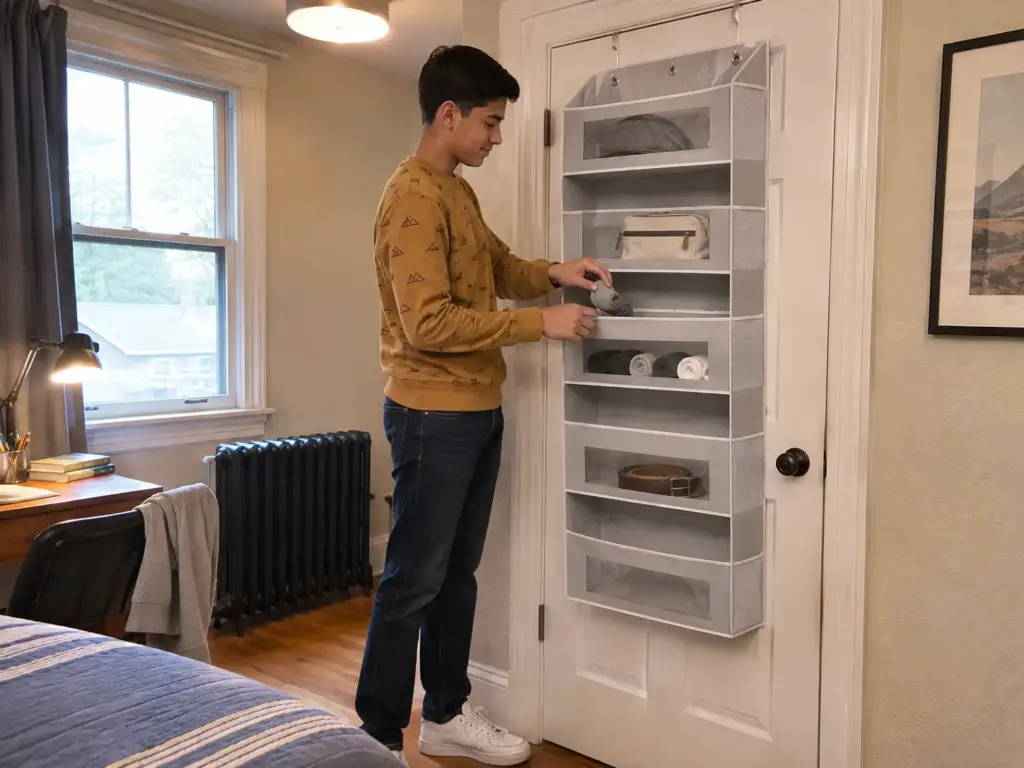
An over-the-door organizer hangs, so it needs no hole and no adhesive, and it leaves the same day it came. Light, small, frequently reached things belong in it: scarves, small bottles, folded accessories. Anything heavy doesn’t. A door carries what its organizer is rated for, so read the rating on the listing instead of guessing.
The SimpleHouseware Over-The-Door Organizer is the budget-friendly way into this idea, and a cheap one does most of the job a wall rack would do in this space. SimpleHouseware’s over-door organizer has one limit that matters, and it’s the door itself, which has to keep closing over it.
Check the Clearance Before It Goes On
Hang it empty first, then close the door. If the door rubs the frame or stops short of the latch, the organizer goes back before anything is loaded into it. (Filling the pockets first is how that test gets skipped.)
Check the clearance twice: once with the door closed, and once with the door swung fully open against whatever it stops on. An organizer that clears the frame can still catch a doorstop or a hook behind the door.
The same logic runs through every wall and door limit in a small apartment, and more apartment storage ideas that go vertical carry it across the rest of the rooms.
The Gap Beside the Refrigerator Fits a Slim Rolling Cart
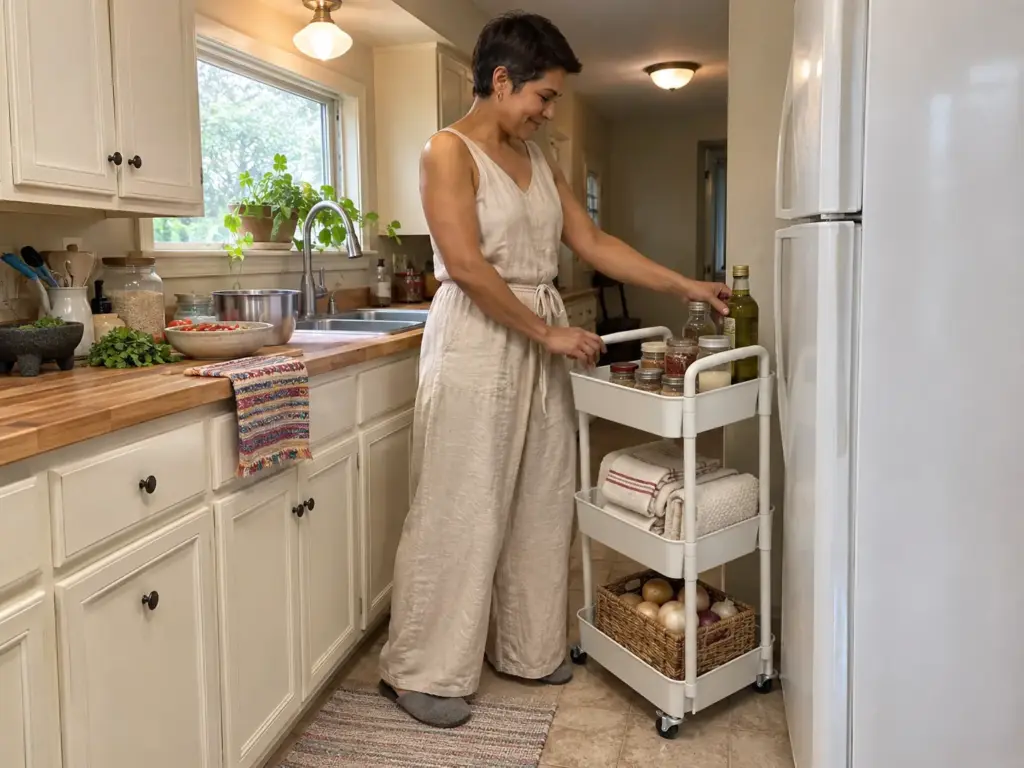
The strip beside the refrigerator is where a broom lives, and where the idea of a cart that “should fit” goes wrong. A slim cart fits that gap on paper. In the room, the hinge side pinches the strip and the refrigerator door has to open past the cart.
Why the Strip Beside the Refrigerator Goes Unused
It’s too narrow for a cabinet, too tall for a stool and too awkward to measure. Whoever installed the refrigerator set that gap, and it was never meant as storage, so it ends up holding the broom and not much else.
Measure the Gap at Its Narrowest Point
Measure the width where the gap is tightest. The hinge side of the refrigerator often pinches it, and that narrowest point is the number that counts, not the one at eye level. Then open the refrigerator door all the way and check what’s left: the cart has to roll out past an open door, or you’ll drag it out for every use and the door will win.
The width everyone quotes for a slim cart is the width of the cart. The width that decides it is yours at the pinch, plus the room the wheels and the door need. A cart sold as slim is still a wrong buy for a gap that pinches by even a little, so put the listing’s width next to your own number before anything is ordered.
What a Cart on Wheels Gives You at Move-Out
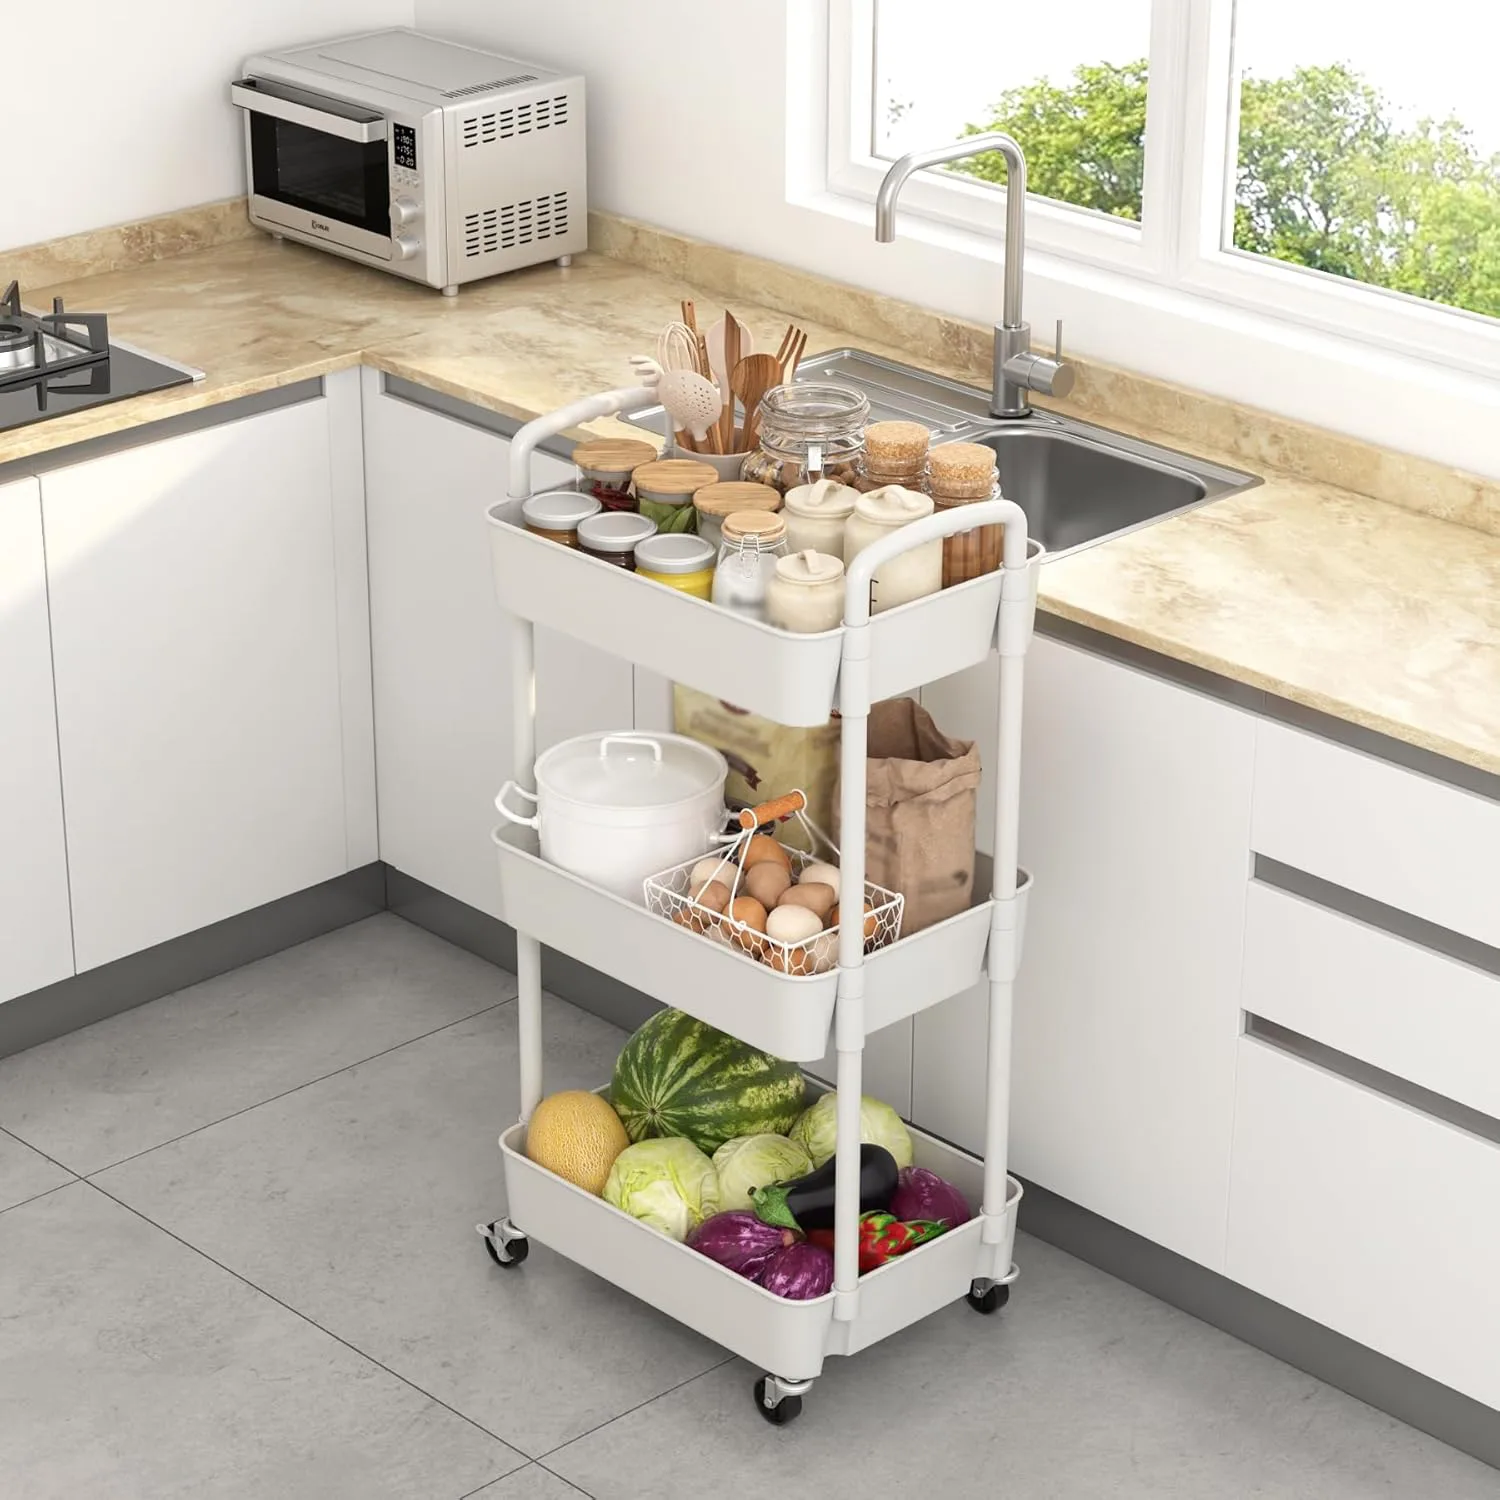
A cart rolls out for use, rolls back, and leaves with you. For a renter it also beats a built-in cabinet on the one measure that counts at the end of a lease: it needs no one’s permission and puts nothing on the deposit line. Its limits are plain. It carries light kitchen items, a heavy stack of cans on the top tier isn’t what it’s for, and it won’t turn the strip into an appliance garage.
If your kitchen problem is inside the cabinets and not beside them, no-drill kitchen cabinet organization for renters is the next step.
Under the Bed, Clearance Comes Before Containers
Under-bed storage fails in a familiar way: a rigid bin bought for the space under the bed, an inch too tall, parked at the foot of the bed for good.

Measure the Clearance, Not the Bed
Measure from the floor to the underside of the frame rail. That one number picks the container, not the bed size. A queen and a twin can share the same clearance, and a tall bed with a solid base can have almost none.
Two routes exist from there: flat bags that fit the clearance as it is, or risers that add height. Risers get named first because they promise more room, but I’d try the flat bags first as a renter, since they change nothing about the bed. Heights and sizes differ between listings for both products below, so match the numbers on the listing to the clearance you measured.
Risers or Flat Bags: Which One Fits Your Frame
The Nest Neatly SmartCubePlus Under Bed Storage Bags are the flat route: soft sides with no rigid walls, so they slide into the clearance the frame already has. Nest Neatly’s three-pack is only as good as that clearance, though. A bag taller than the gap won’t go under, so the listing’s height against your measurement settles it.
When the clearance is too tight even for flat bags, the EclatBain Bed Risers add height without fixing anything to the frame or the floor. EclatBain’s set of four changes how the bed sits, so follow the maker’s directions and keep the frame stable.
Space above the bed is the opposite case, since Command’s directions say not to hang its hooks there, which comes back in the next part of this guide. For more layouts that fit a low frame, see these under bed storage ideas that fit a small bedroom.
On the Wall, the Package Weight Is the Limit
A hook holds a tote of groceries for a week, and then the tote is on the floor with a square of paint still stuck to one of the Command strips. That is a deposit deduction, and it rarely comes from a bad hook. It comes from a load nobody weighed.
Weigh the Bag, Not the Hook
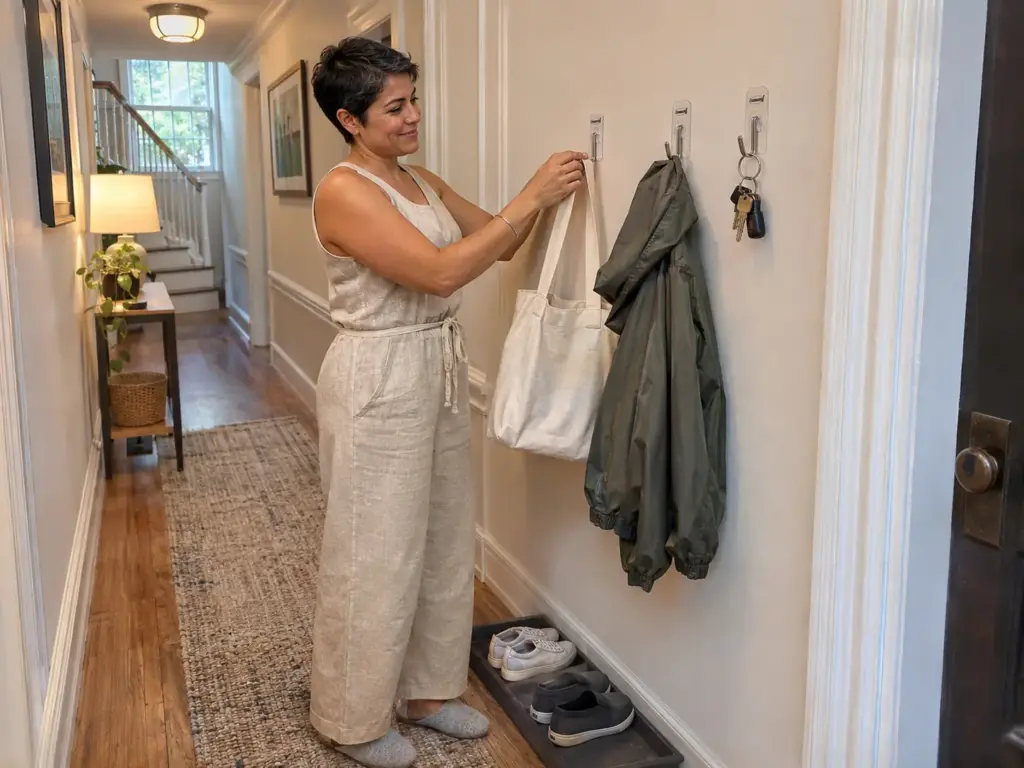
Command hooks, the best-known removable hooks, come in 1, 3, 5 and 8 lb families, and the weight printed on the package is the weight limit. Read that as the ceiling for everything hanging on that hook, bag included. Coffee runs about 1 lb, potatoes about 5 lb and a gallon of milk about 8 lb, so a tote with the potatoes and the milk in it is past even the 8 lb family before a single can goes in.
The Command Large Wire Hooks multi-pack is the adhesive-mounted option I’d use for this wall idea. Command’s wire hook multi-pack carries its rating on the package, so read it there before anything hangs.
Why Hooks Let Go Before the Rating
A hook loaded past its rating pulls the adhesive off the wall, often with a chunk of paint or drywall. But overloading isn’t the only way the printed number misleads. The package weight is the ceiling, not the plan, and several things pull the real limit under it.
Start with timing: the maker’s directions say to wait one hour after pressing the strip before hanging any weight. Then fresh paint, which needs at least seven days before a hook goes on, and latex can take about 30 days to cure fully, so a wall painted last week isn’t ready.
Heat moves the number too. Command’s directions say to take the load off above about 104 F, so a hot closet wall or a steamy bathroom wall changes the rule, and the bathroom storage ideas for renters cover that room’s version. And one place is off the table entirely: the directions say not to hang its hooks above a bed.
Press the strip, set a timer for an hour, and hang the load only after it rings. A strip that starts its life under weight is the one that lets go first.
How to Take One Off Without Taking the Paint
Pull the tab straight down, several inches, and keep pulling down. Pulling toward you is the usual way a hook takes paint, and it’s the flaw this whole product line carries when it’s removed wrong. Try the removal on the least visible hook first; if that one comes off clean, the rest of the wall will tell the same story.
What Stays on the Wall and What Moves With You
The week before the walkthrough, the question stops being how to store things and becomes what has to come off clean.

The Four That Leave the Day You Do
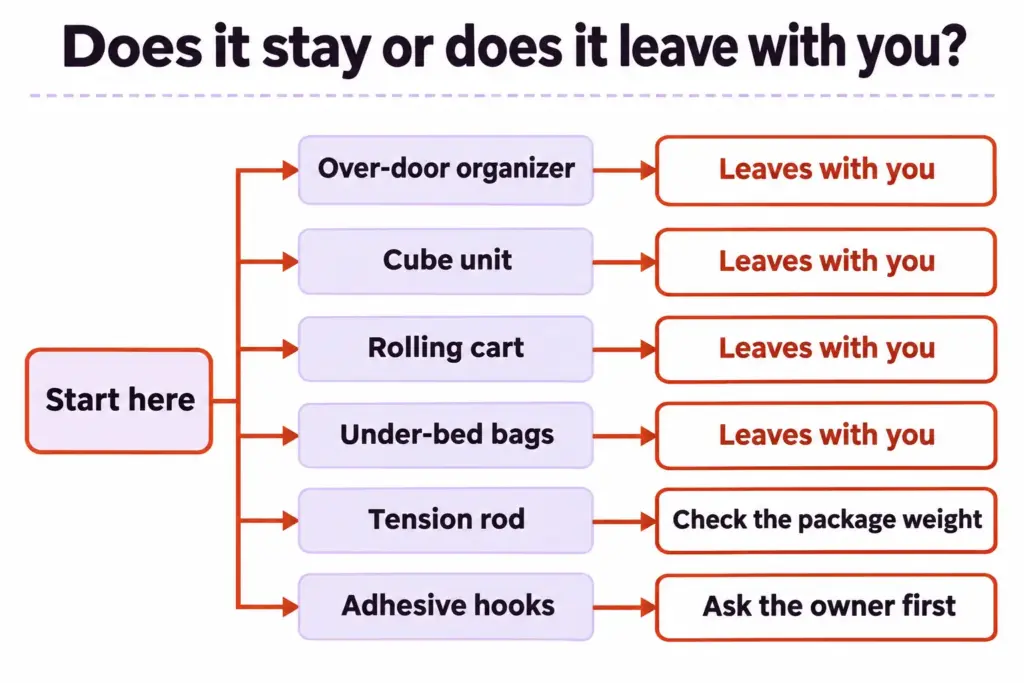
Four of the six ideas touch no wall: the over-door organizer, the cube unit, the cart and the under-bed bags (risers included, if you used them). They go in the boxes you pack on the last weekend, and the walkthrough has nothing to find. That’s why I’d spend first on these four and treat the other two as supporting acts.
The Two That Touch the Wall
The tension rod and the adhesive hooks do touch the wall. The rod uses pressure alone and marks the wall if it slips. The hooks use an adhesive and take paint when the load, the heat or the removal goes wrong. Both leave no damage when used inside their limits, and that earns them a place among renter-friendly storage.
Sorted that way, the six ideas fall into the four that leave and the two that touch the wall, and anything on the wall deserves your attention before it gets your adhesive.
For small apartment storage beyond these six spaces, how to maximize space in a small apartment goes room by room, and its map of the other rooms pairs well with the six spaces here.
When Asking the Owner Beats Working Around Them
Some owners will go halfsies on an improvement that stays with the unit, especially when you leave it behind. Get landlord approval in writing before you mount anything permanent. That’s a route, not a guarantee, and a written yes is the only version that survives a change of manager.
Anchoring is the other exception. Covering anchor holes at move-out is not a problem, so a tall unit is the one place a renter may choose a hole over a risk. And nailing crates together into a divider is not a renter solution; it’s a deposit line item waiting for a date.
Check the hooks and the rod after a hot season or after anyone repaints, because those two events change what a wall will grip. If the closet still needs bins to finish it, clear storage bins for rental shelves fit the same shelves that came with the unit.
Your Move-Out Walkthrough Is the Test That Counts
The walkthrough is the part of renting nobody schedules around, and it’s where each of these renter storage ideas gets graded. Measure the space and weigh the load before anything is ordered, touch the wall as little as the job allows, and take everything that can leave. Four of the six ideas never ask the building for anything. The other two come with rules, and the rules are the point.
Look at the hooks and the rod after the first hot stretch or the first repaint, and look at the door clearance after a few weeks of daily opening and closing. Those are the moments a grip lets go or a frame starts to rub.
Today, take a tape measure to the one dead space that bothers you most and put the numbers in a phone note. A week later, notice which of the things you reached for would travel with you if you moved tomorrow.
Frequently Asked Questions
01What are some good closet organization ideas for renters?
A tension rod shelf for the back of the closet, a freestanding cube unit for the floor and an over-the-door organizer all work without a single hole. Keep the rod in the middle third of its range, and anchor any unit that stands tall.
02What are some good ideas for organizing my apartment?
Measure the dead spaces first, meaning the back of the closet, the back of the door, the gap beside the refrigerator and the clearance under the bed, then pick the idea that fits each one. Run every pick through the move-out test: does it touch the wall, and does it leave with you?
03What are some creative storage ideas for renters?
A slim rolling cart for the refrigerator gap, flat bags under the bed and adhesive hooks chosen by weight rating are the three that recover the most overlooked space. Pull the hook strips straight down at move-out and all three leave clean.
04What to use instead of a closet?
A freestanding unit that carries its own weight and leaves with you, such as a cube unit, plus a tension rod that spans a gap it can truly hold. Measure the space, weigh the load, and anchor anything tall to the wall.
05How much weight can a Command hook hold?
The weight printed on the package is the limit, and Command hooks come in 1, 3, 5 and 8 lb families. Weigh the full bag, wait an hour after pressing the strip, and keep hooks out of the space above a bed.
Disclaimer: ClutterlessNest is a participant in the Amazon Services LLC Associates Program. As an Amazon Associate we earn from qualifying purchases. This article may contain affiliate links — if you buy through them, we may earn a small commission at no extra cost to you. We only recommend products we have tested or genuinely believe in.